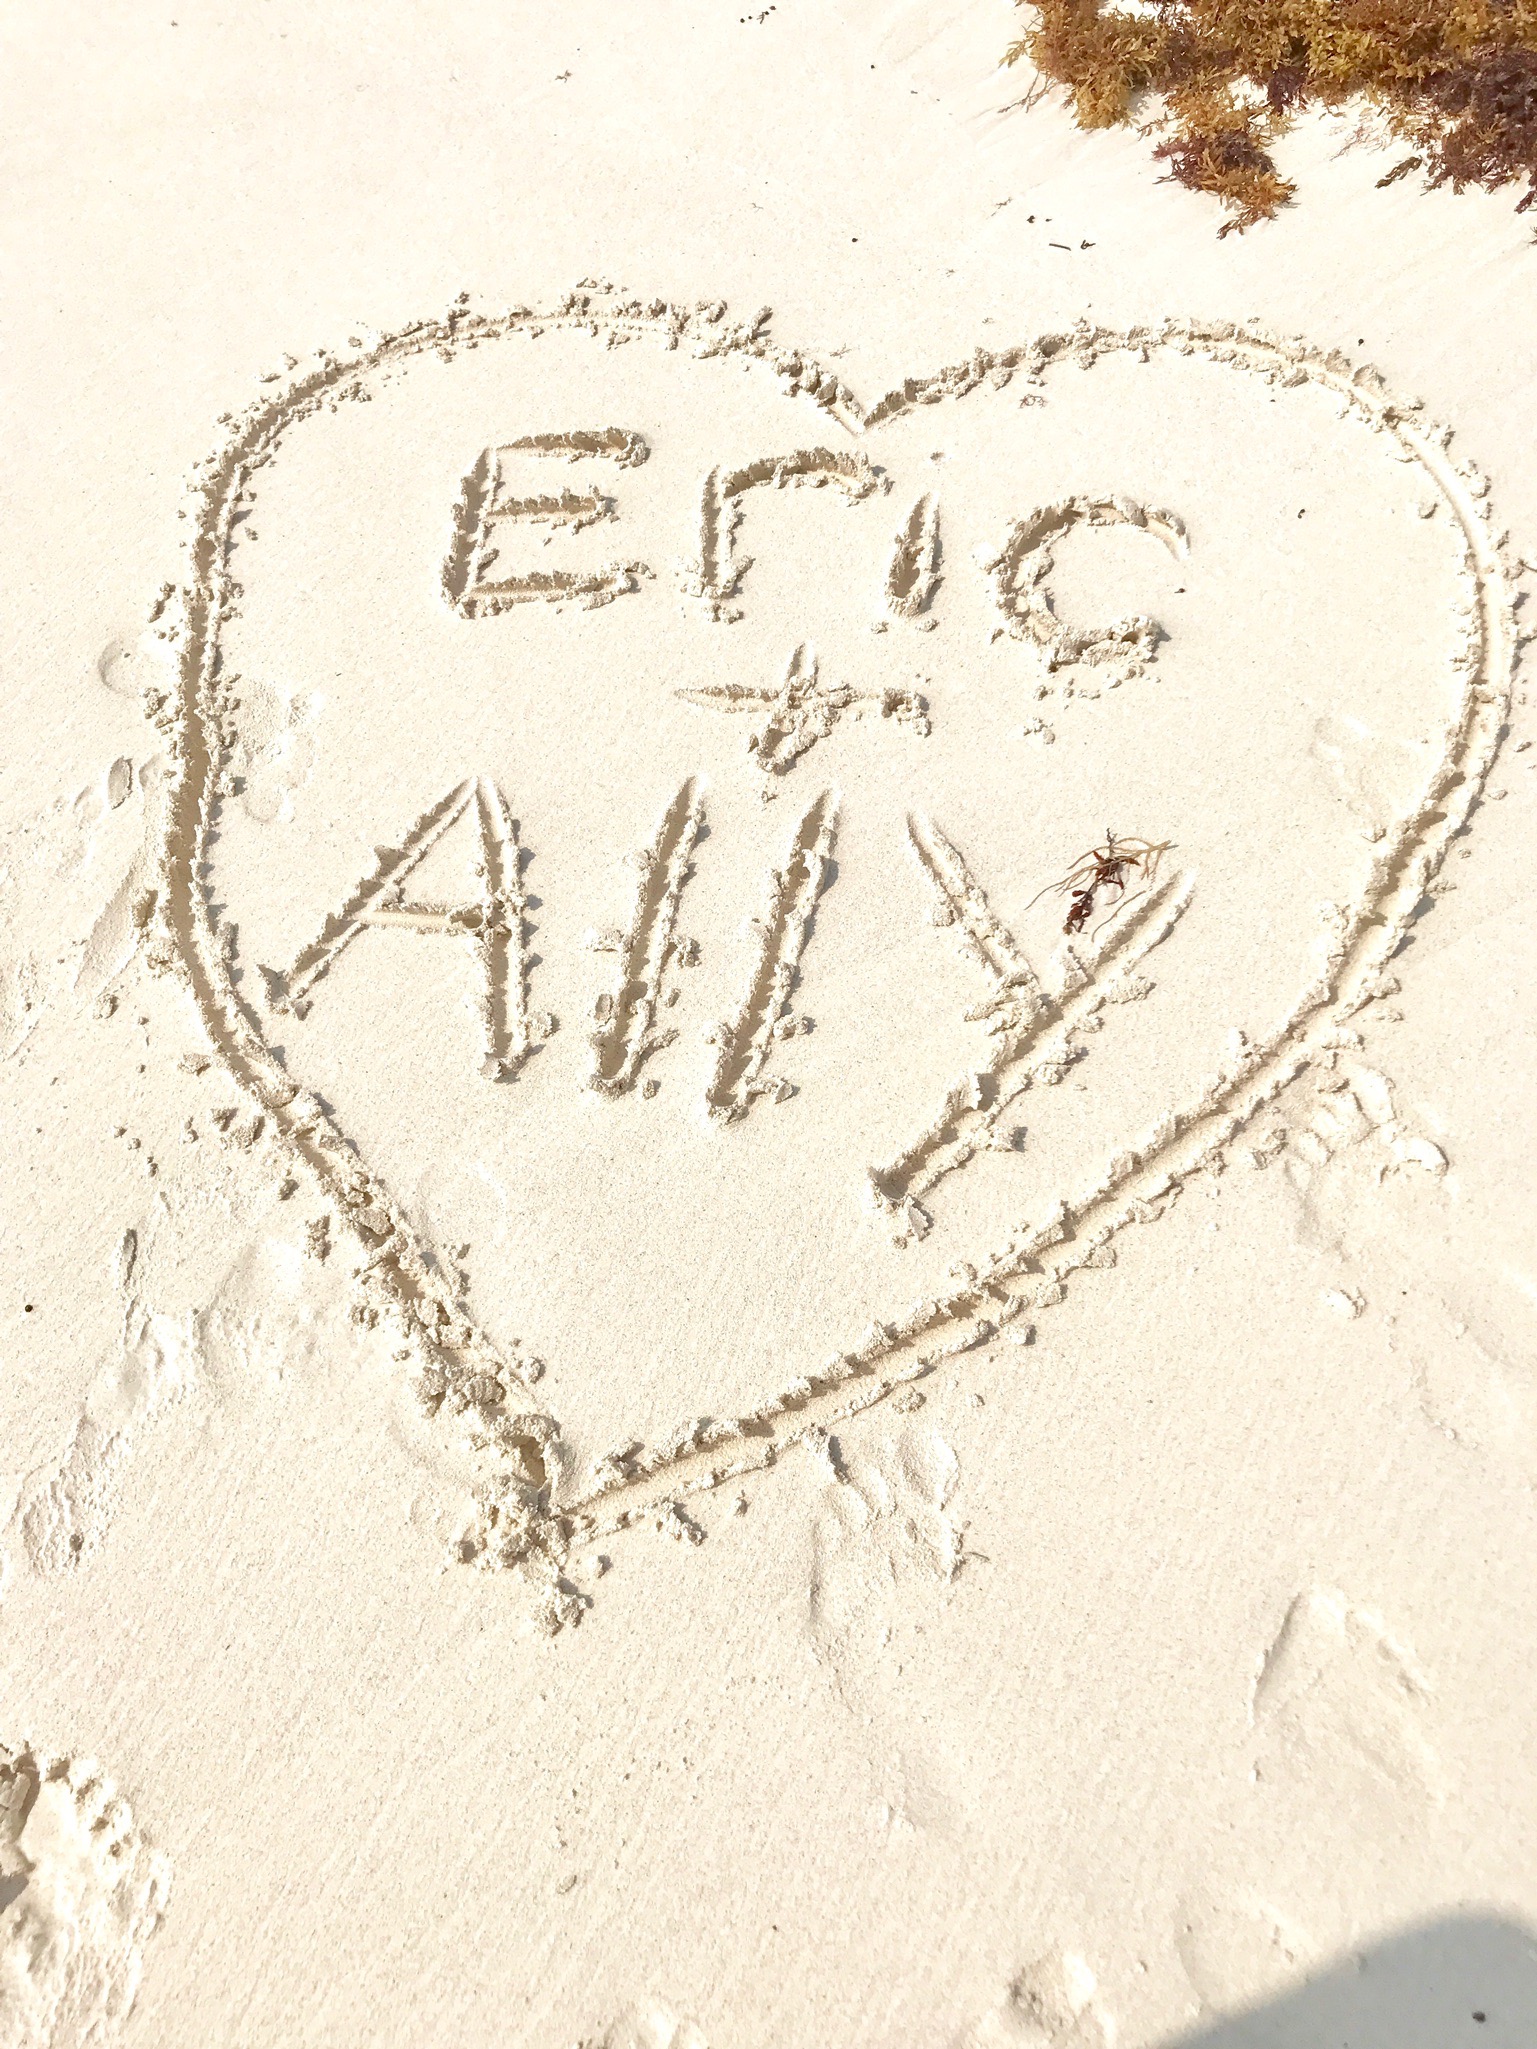
The Ultimate Travel Guide for Tulum, Mexico
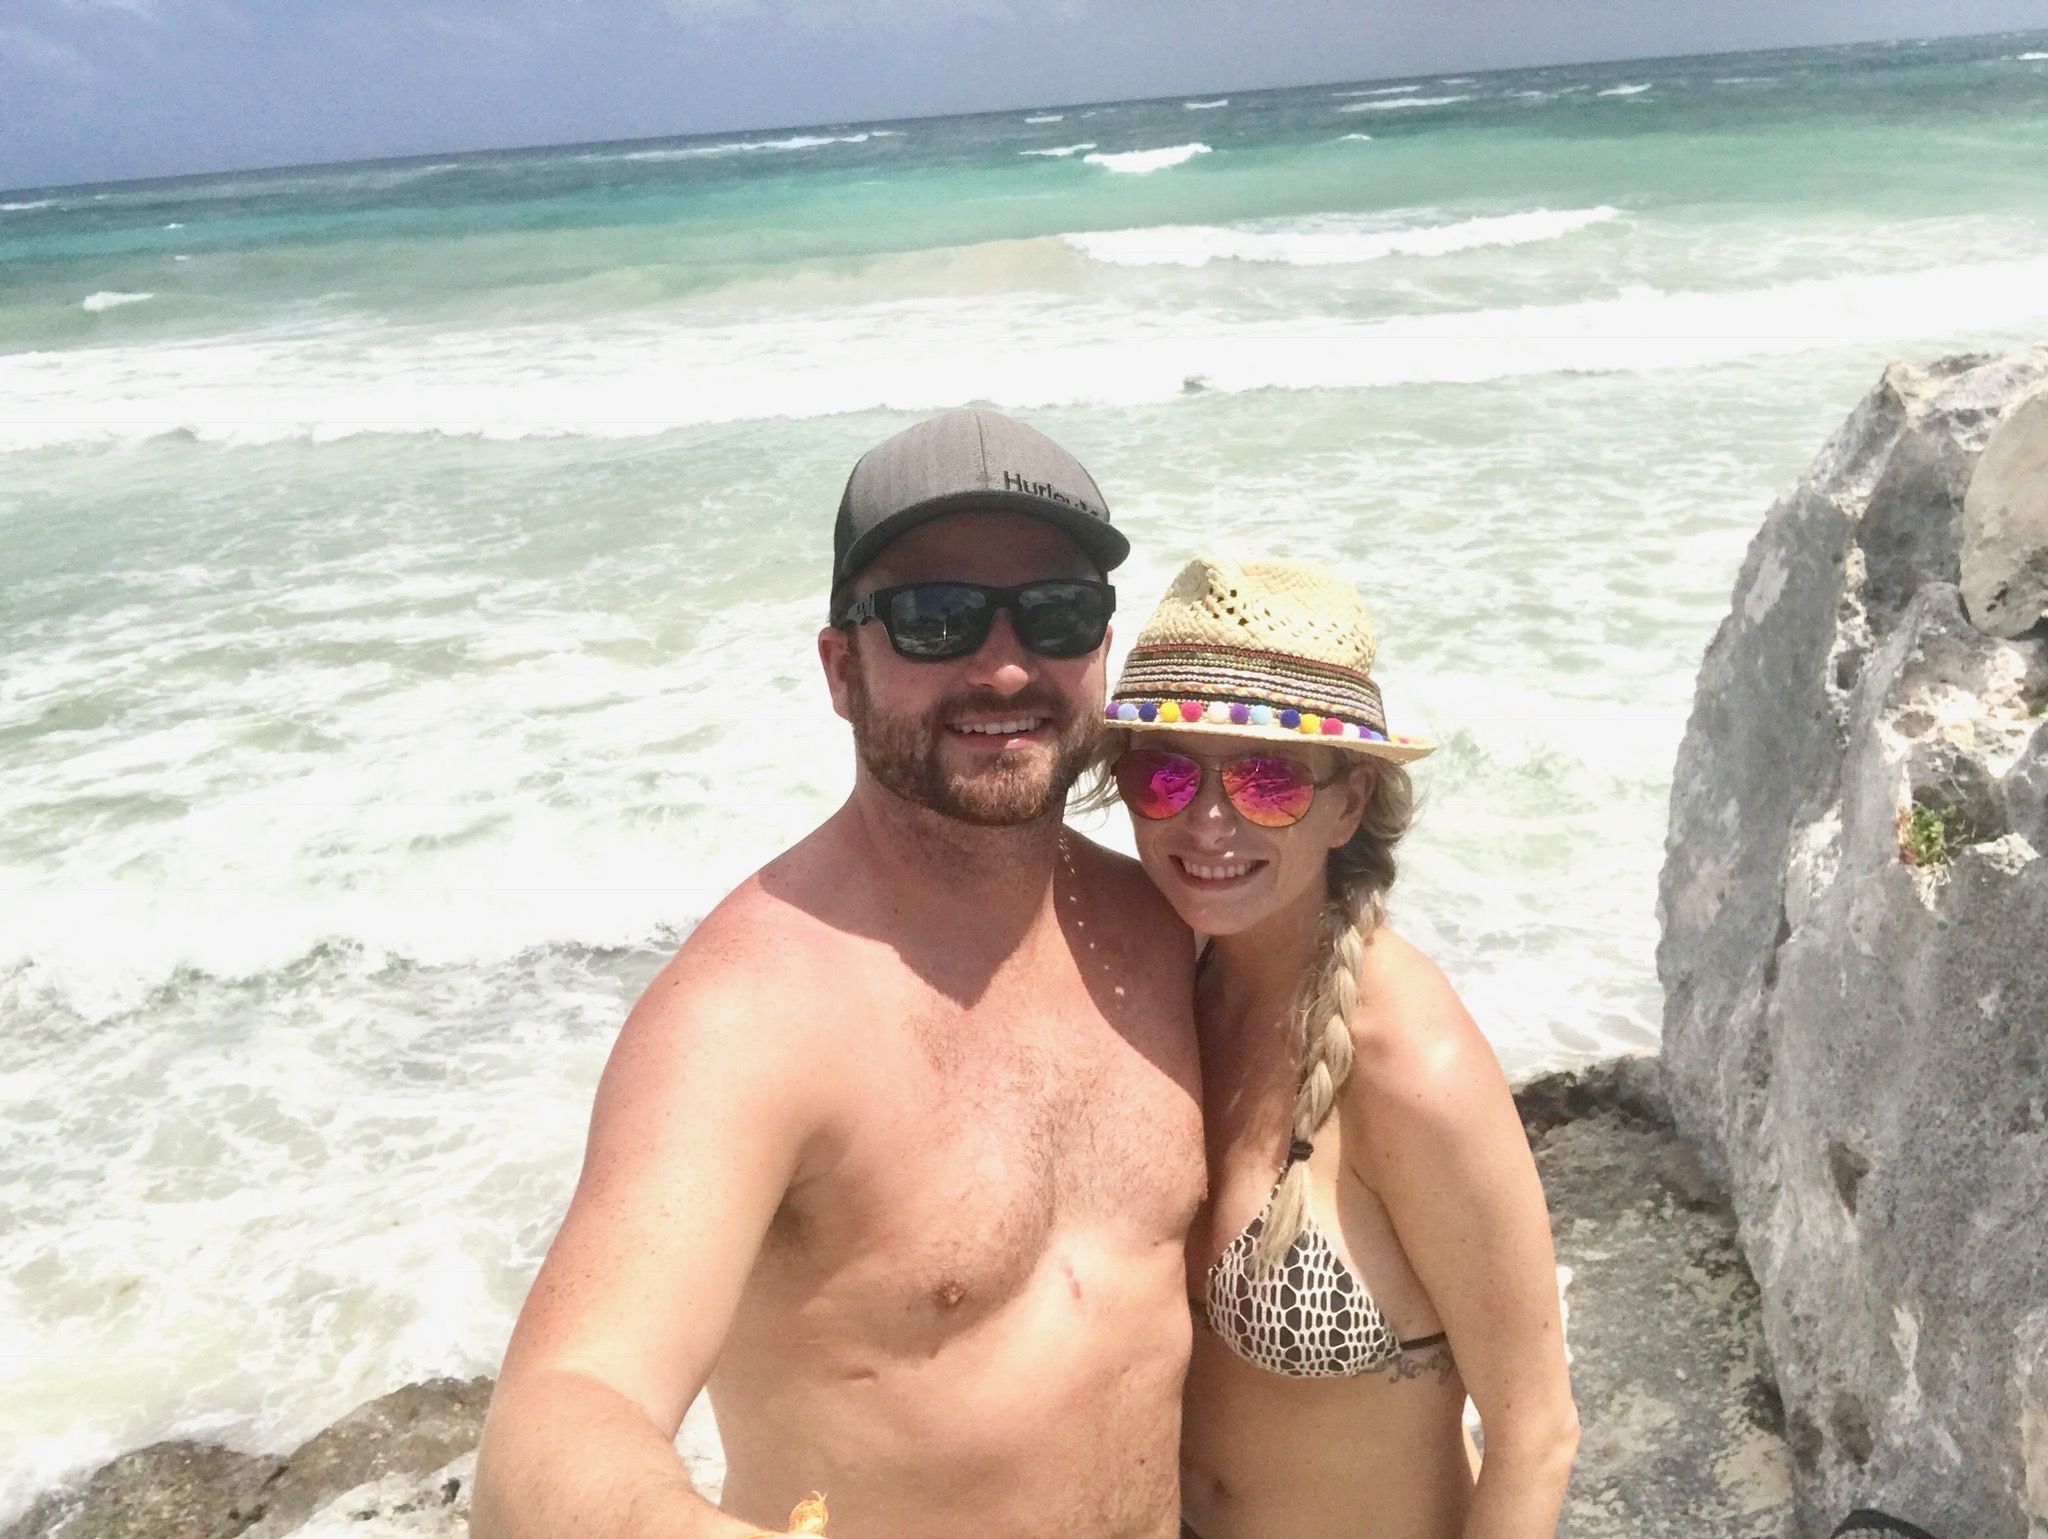
/Hey guys! I'm SO excited to share my amazing experience in Tulum with y'all! If you haven't heard of or been to Tulum I highly recommend this beautiful jungle, beach escape for your next vacation. I'll be sharing some essentials that I brought, where we ate, my favorite beach clubs, where to take the best photos, what to wear, how to deal with your beach hair and what to do while you're there!

A LITTLE ABOUT TULUM FIRST:
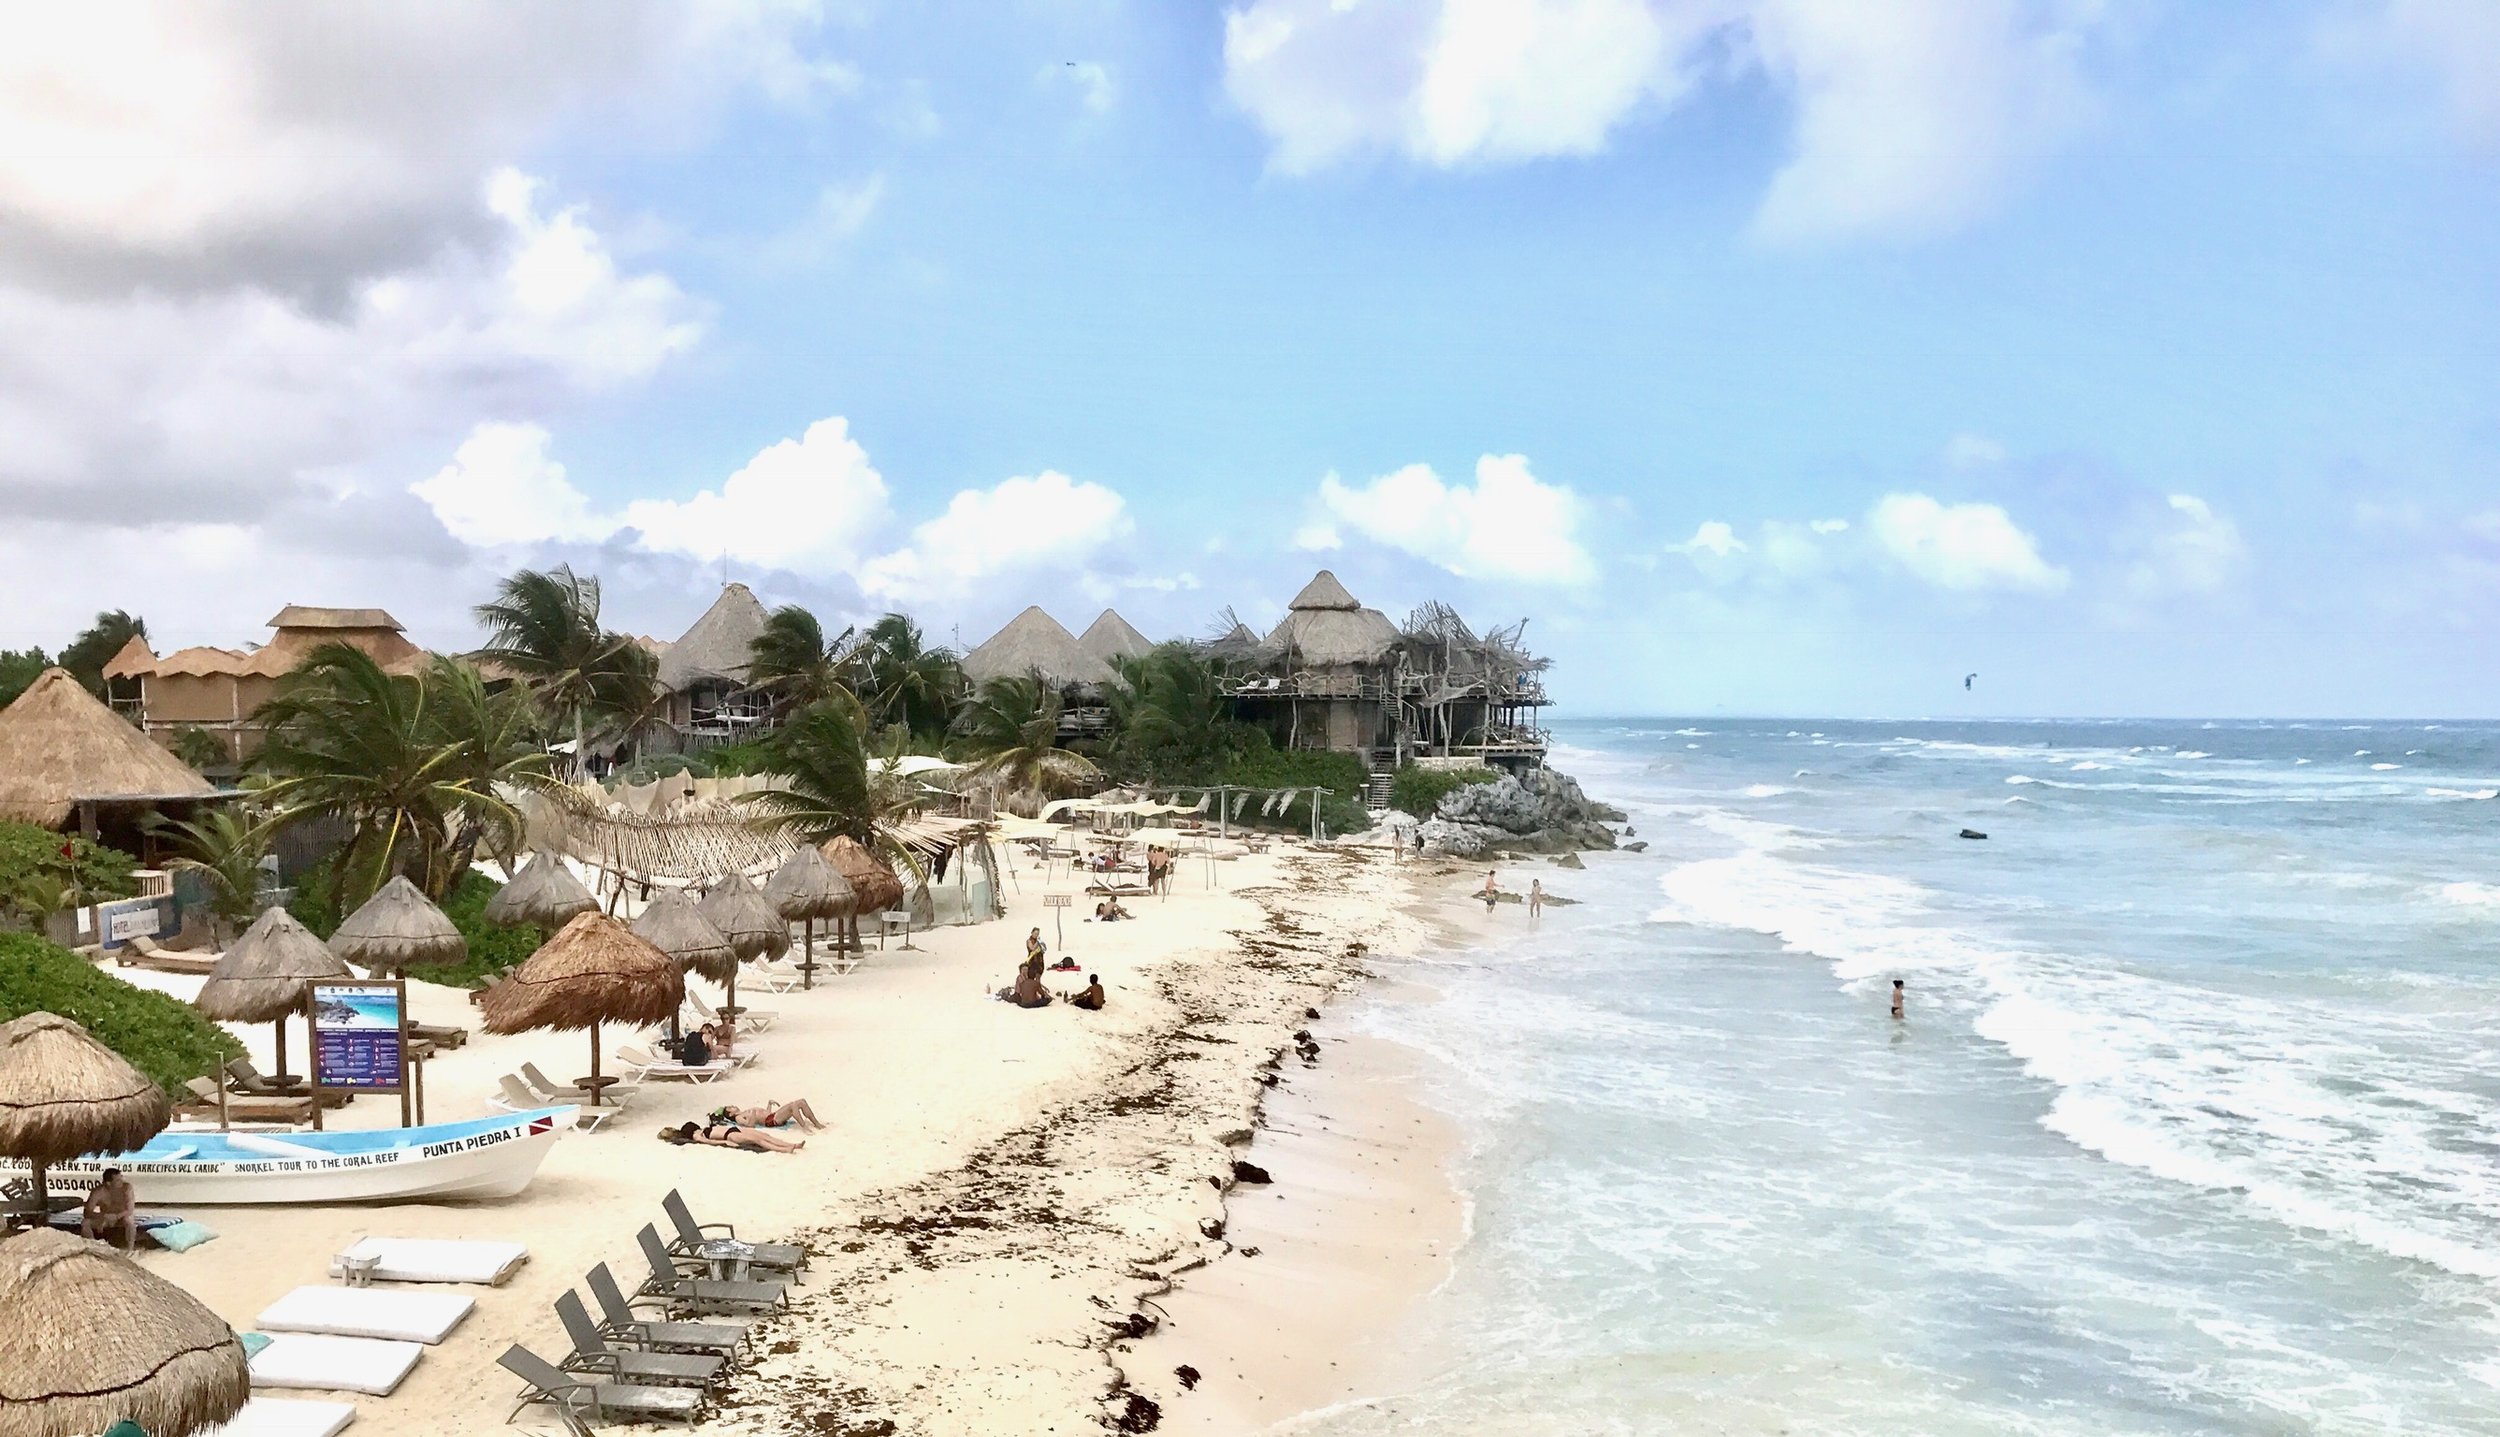
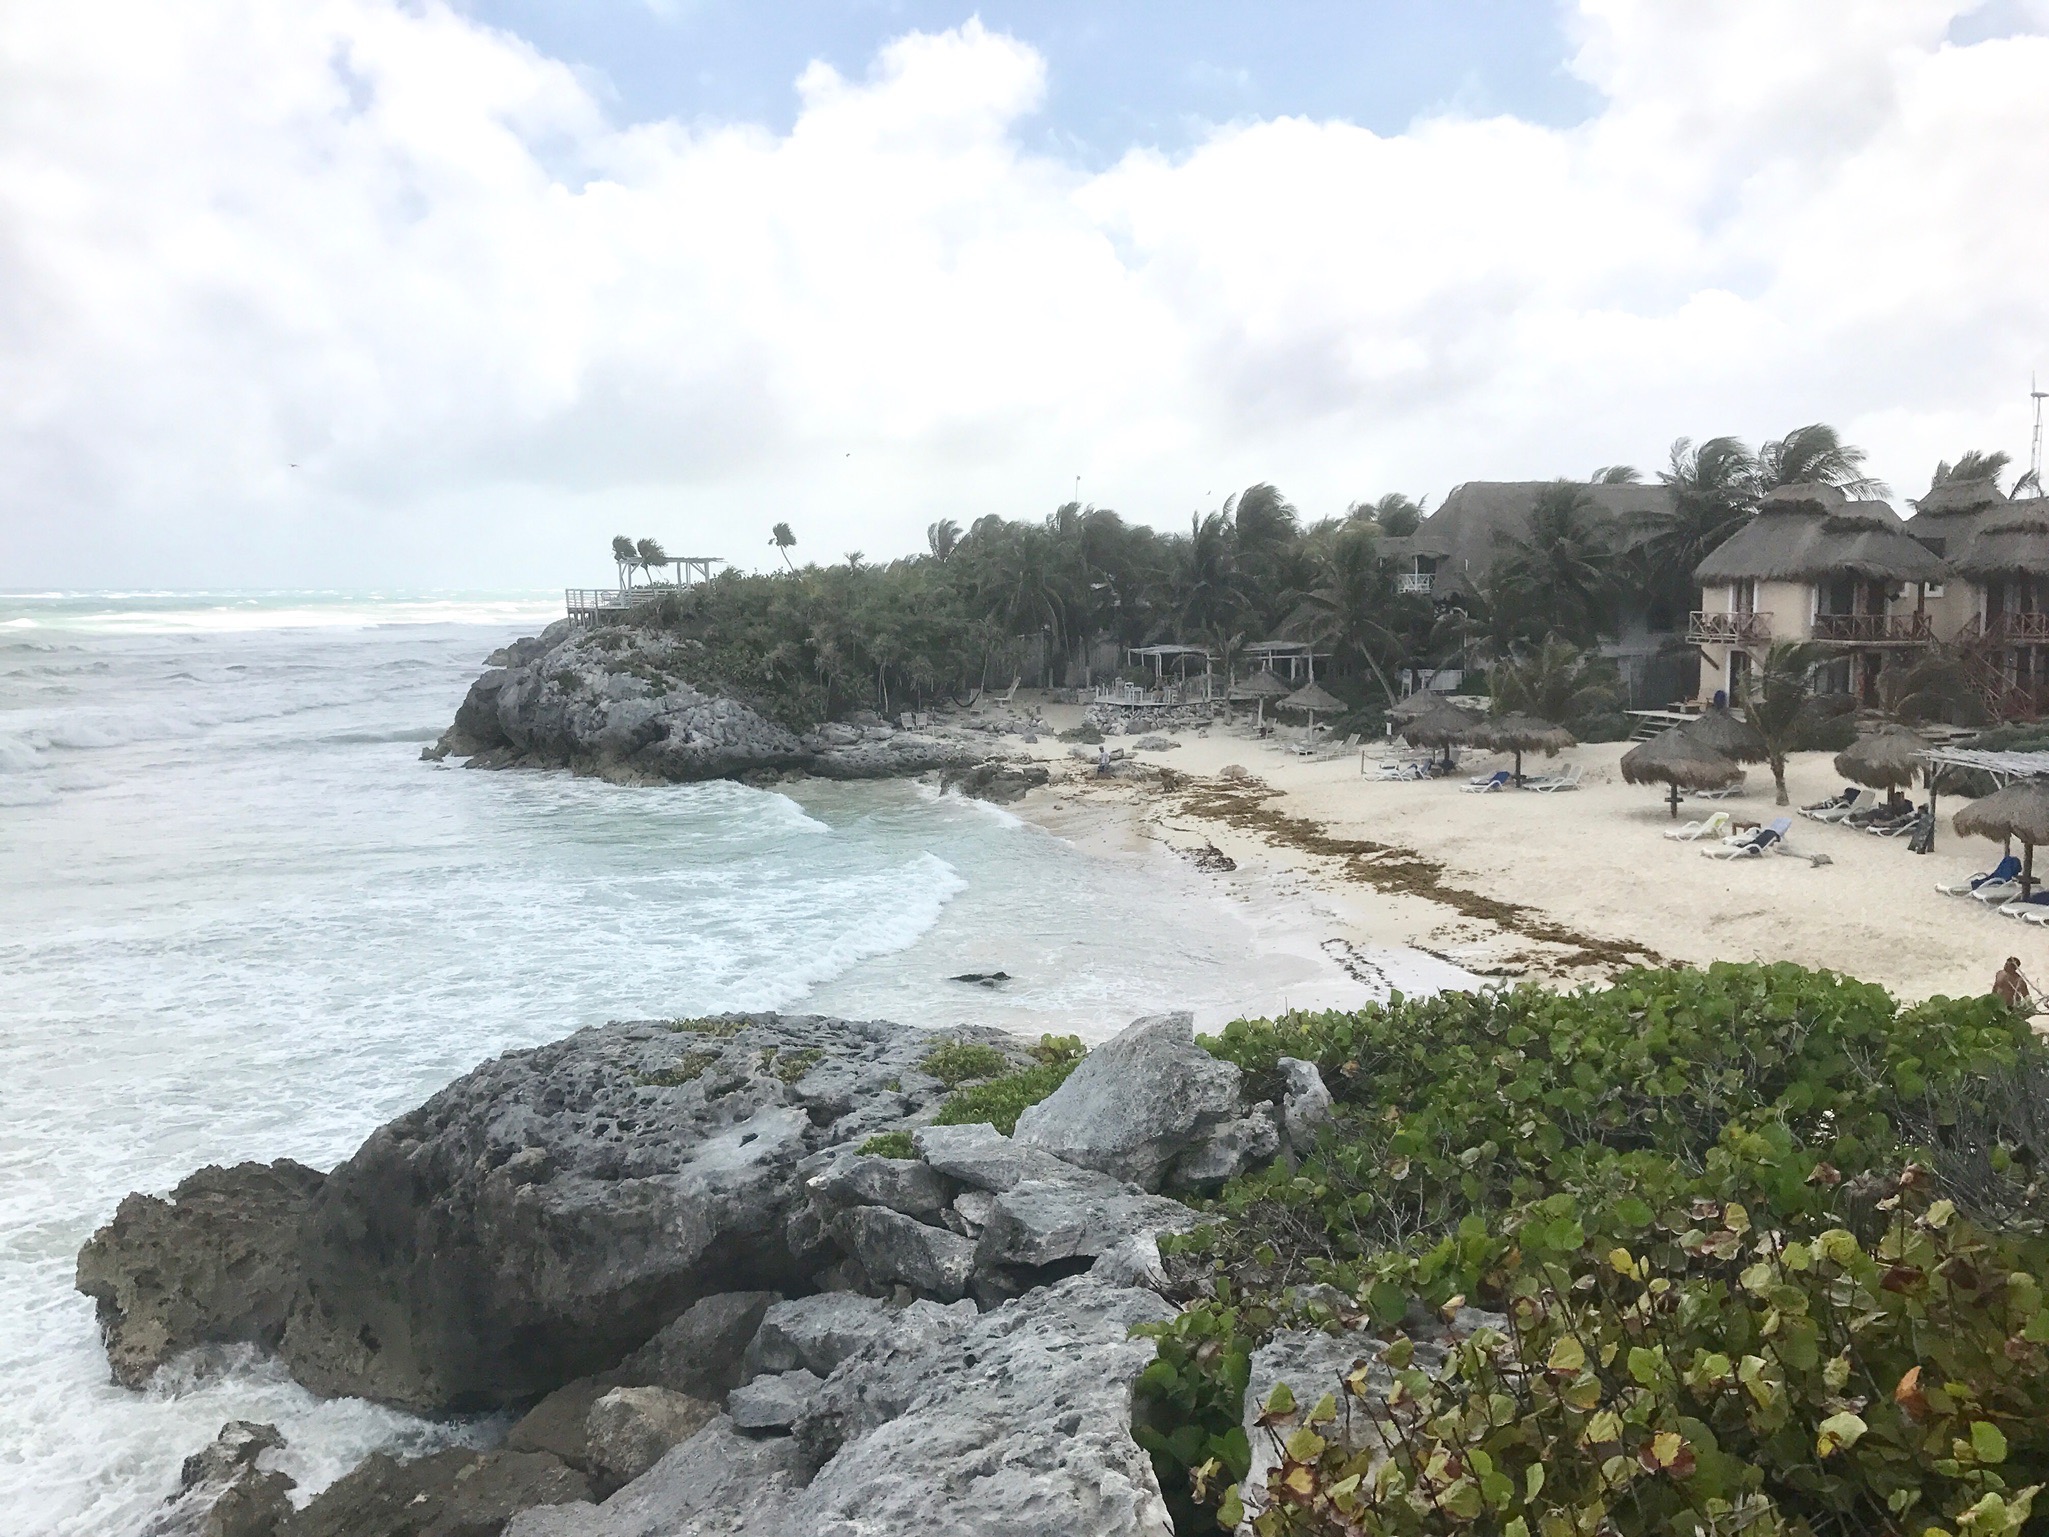
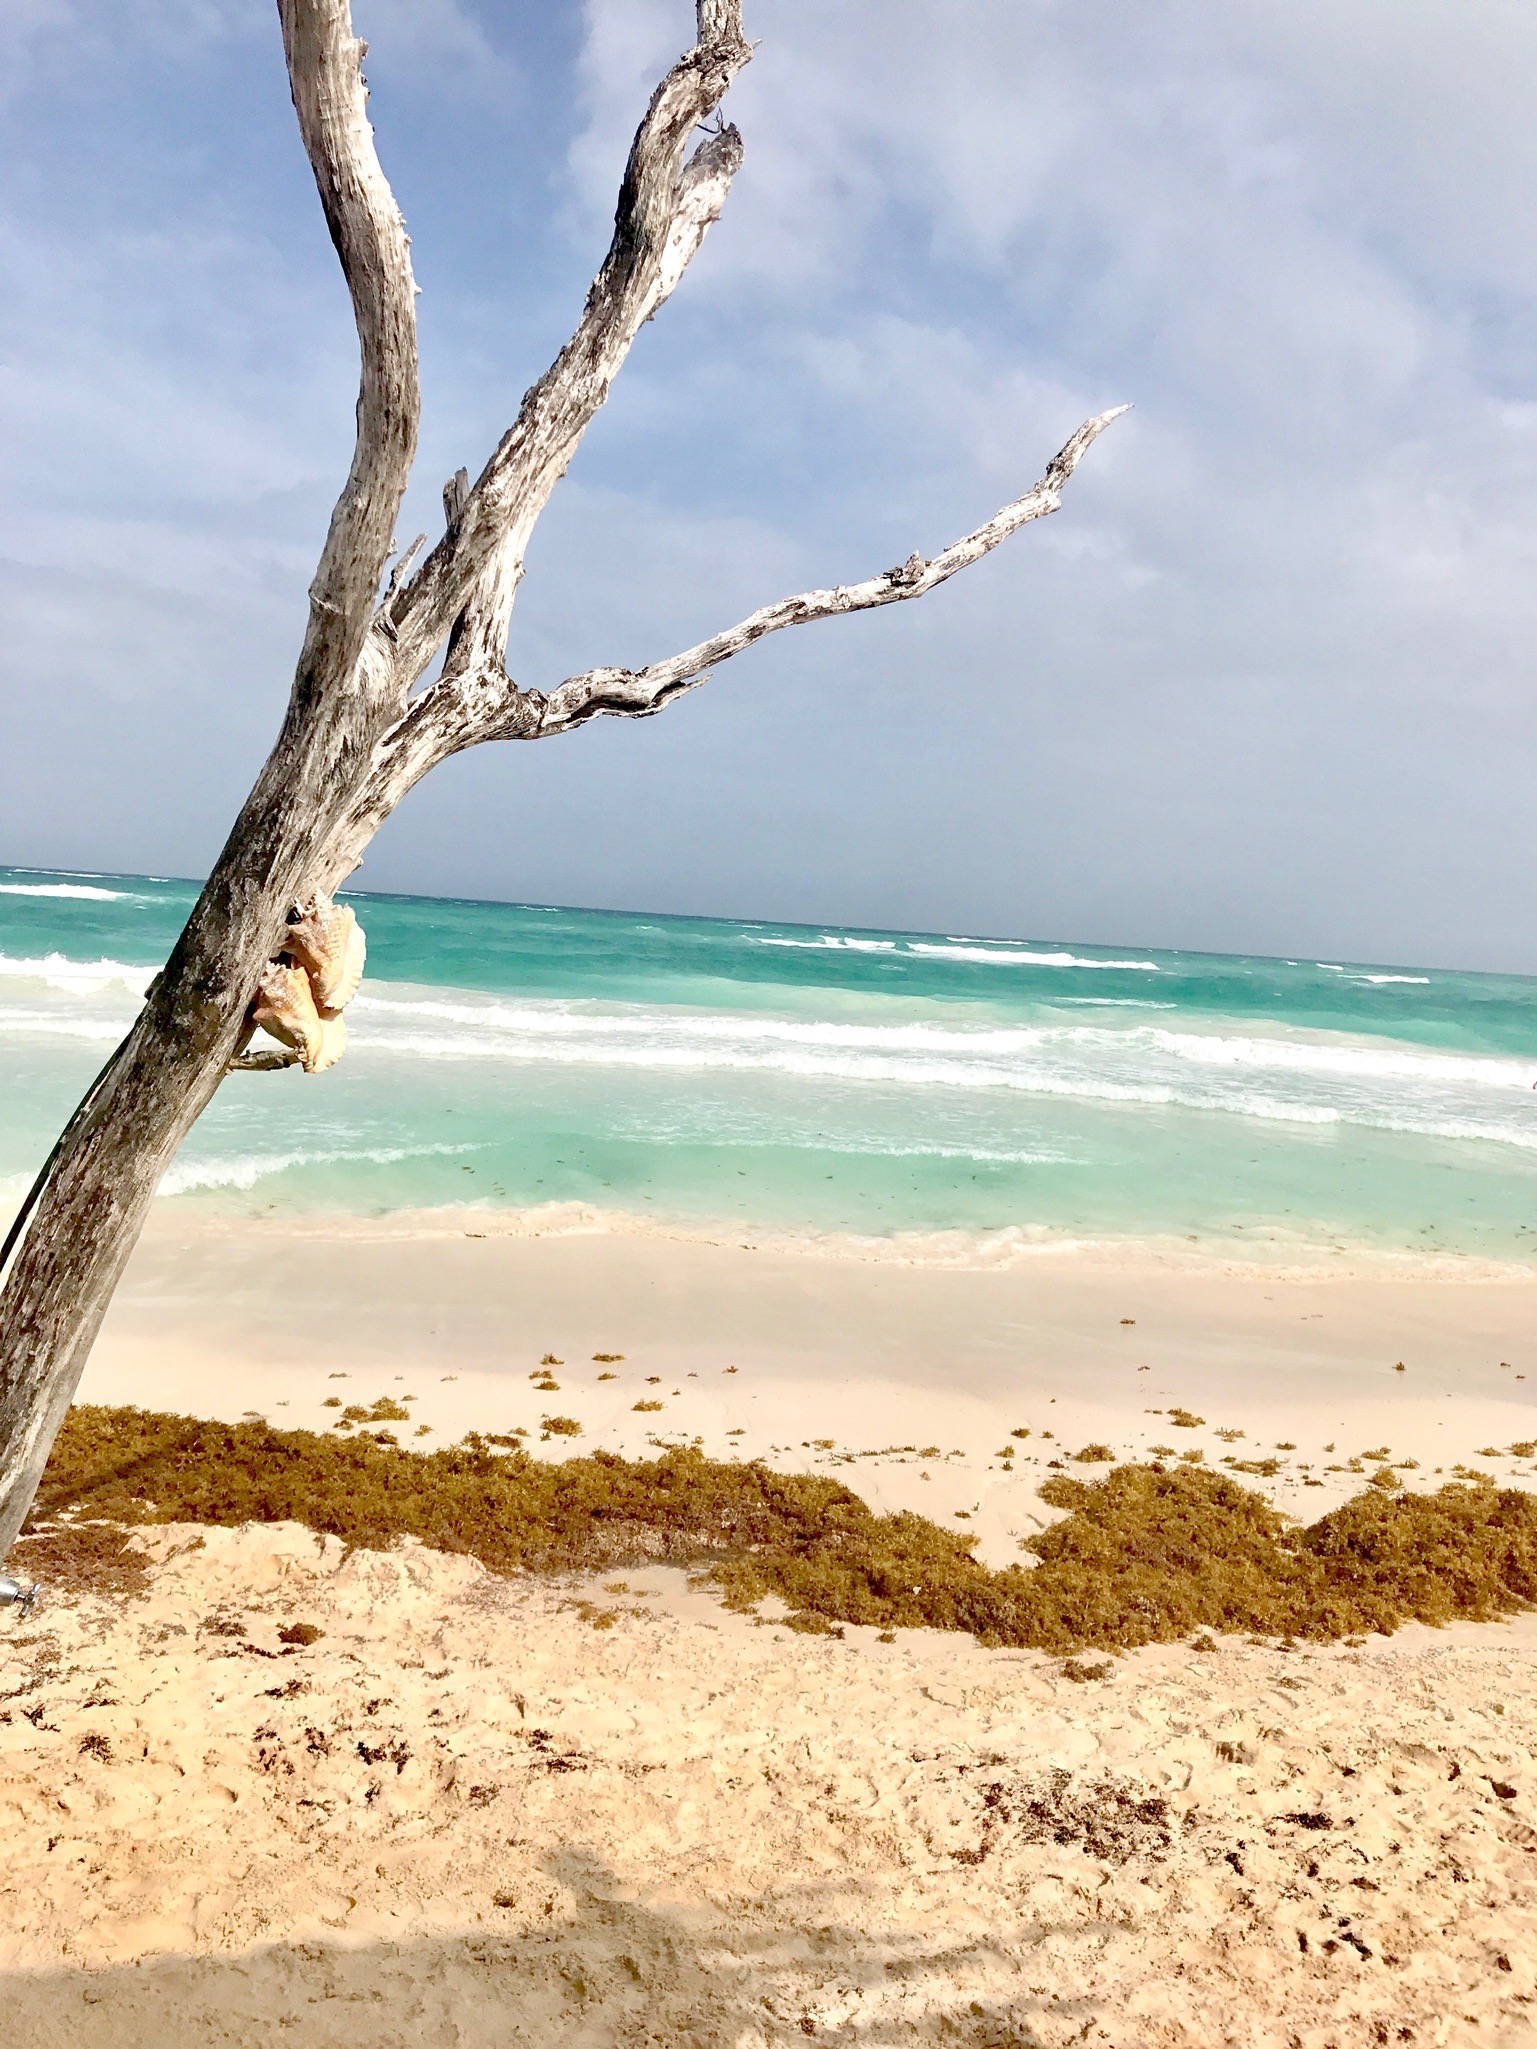
Tulum is about 2 hours south from Cancun Airport. Tulum beach is beautifully authentic and untouched by modernized development like most of Cancun. It is separated by one small road, with the hotel zone on the beach side, and the jungle with bars, restaurants, and shops on the other. We had very little to no cell phone reception while we were there, which is exactly what we were looking for in a unwinding vacation to paradise. We felt very safe over the entire visit, and everyone we met was extremely friendly and helpful.
GETTING TO TULUM:
Since Tulum is about 2 hours from the airport we were somewhat torn on how to get to our hotel. You can take a bus for very cheap, but it does stop along the way for other drop offs, so it would take a little longer to get to our destination. I'm sure this option is inexpensive and safe from what I've heard and read.
We decided to rent a private driver from Cancun Airport Transfers so we could get to our destination fast and not deal airport crowds. Our driver was right outside waiting for us ready to go and he had a couple Coronas ready for us for the ride! For the way back home he came right to our hotel to pick us up and dropped us off at the airport at the exact time we wanted to arrive. I'm definitely glad we went with this service, it only ended up costing about $200 round trip, which I felt like was totally worth if for the convenience.
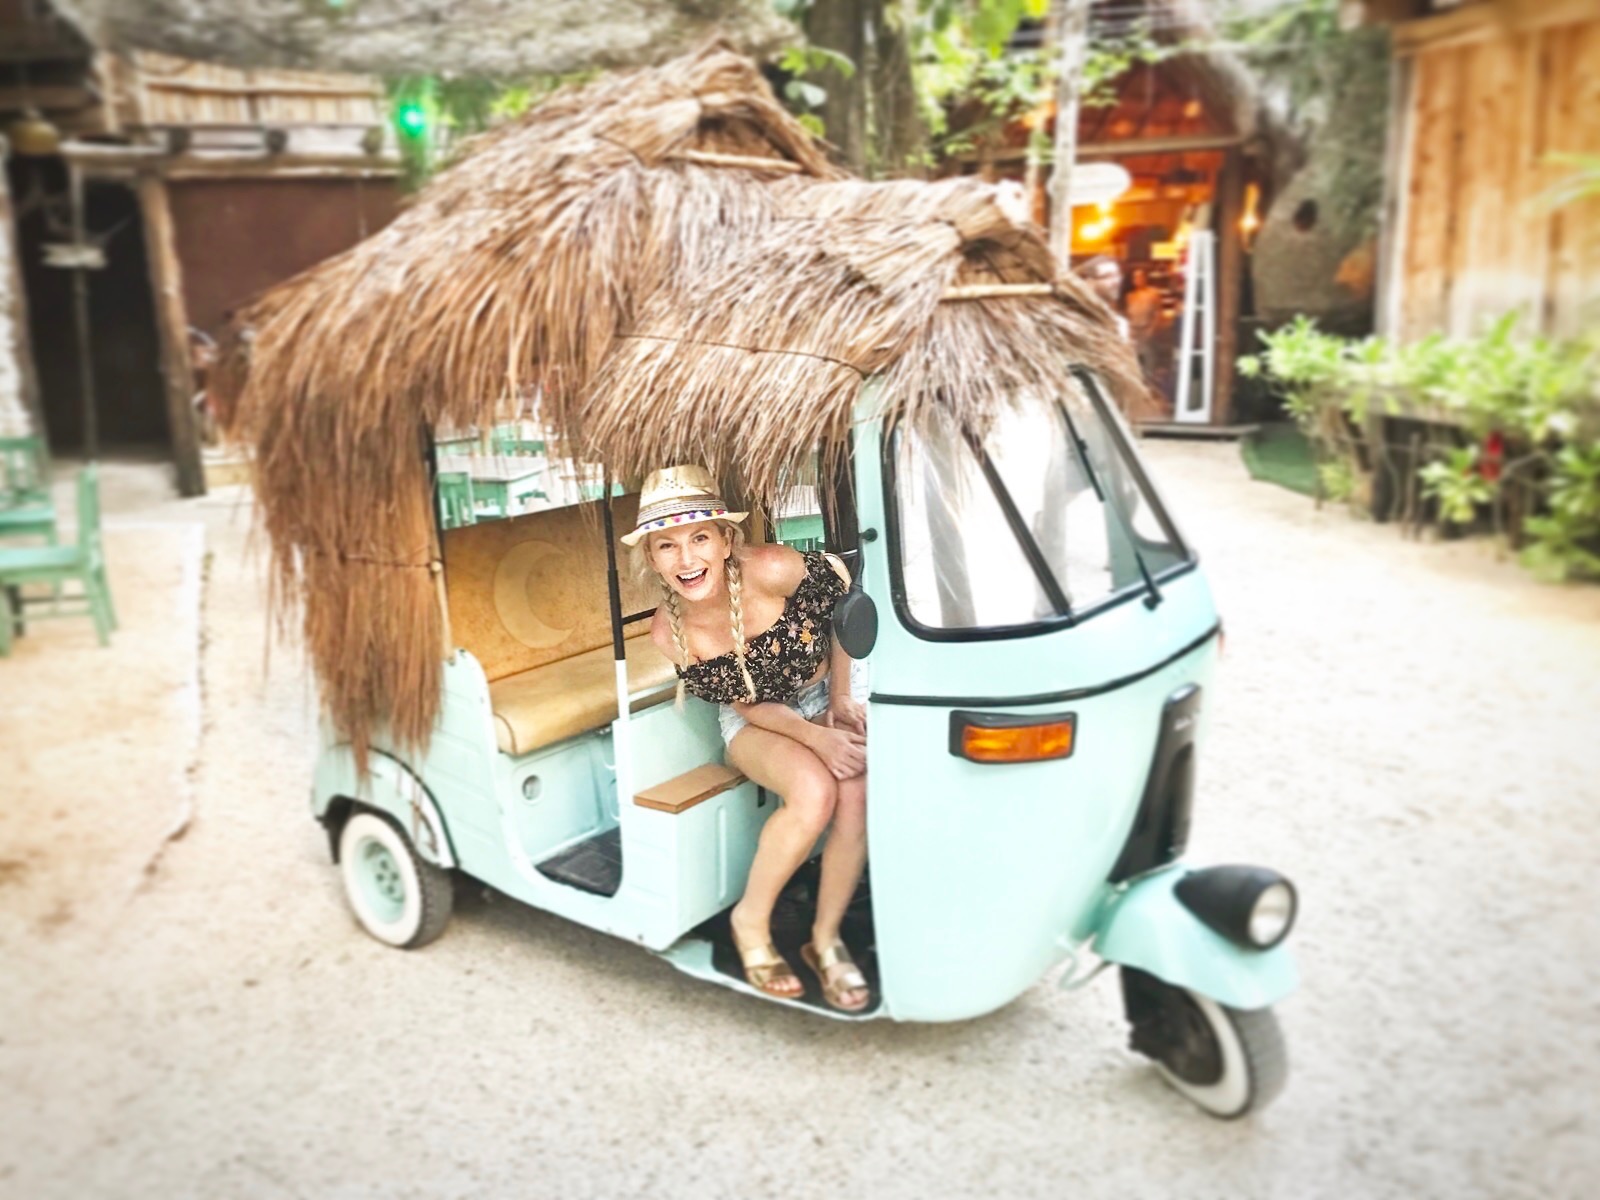
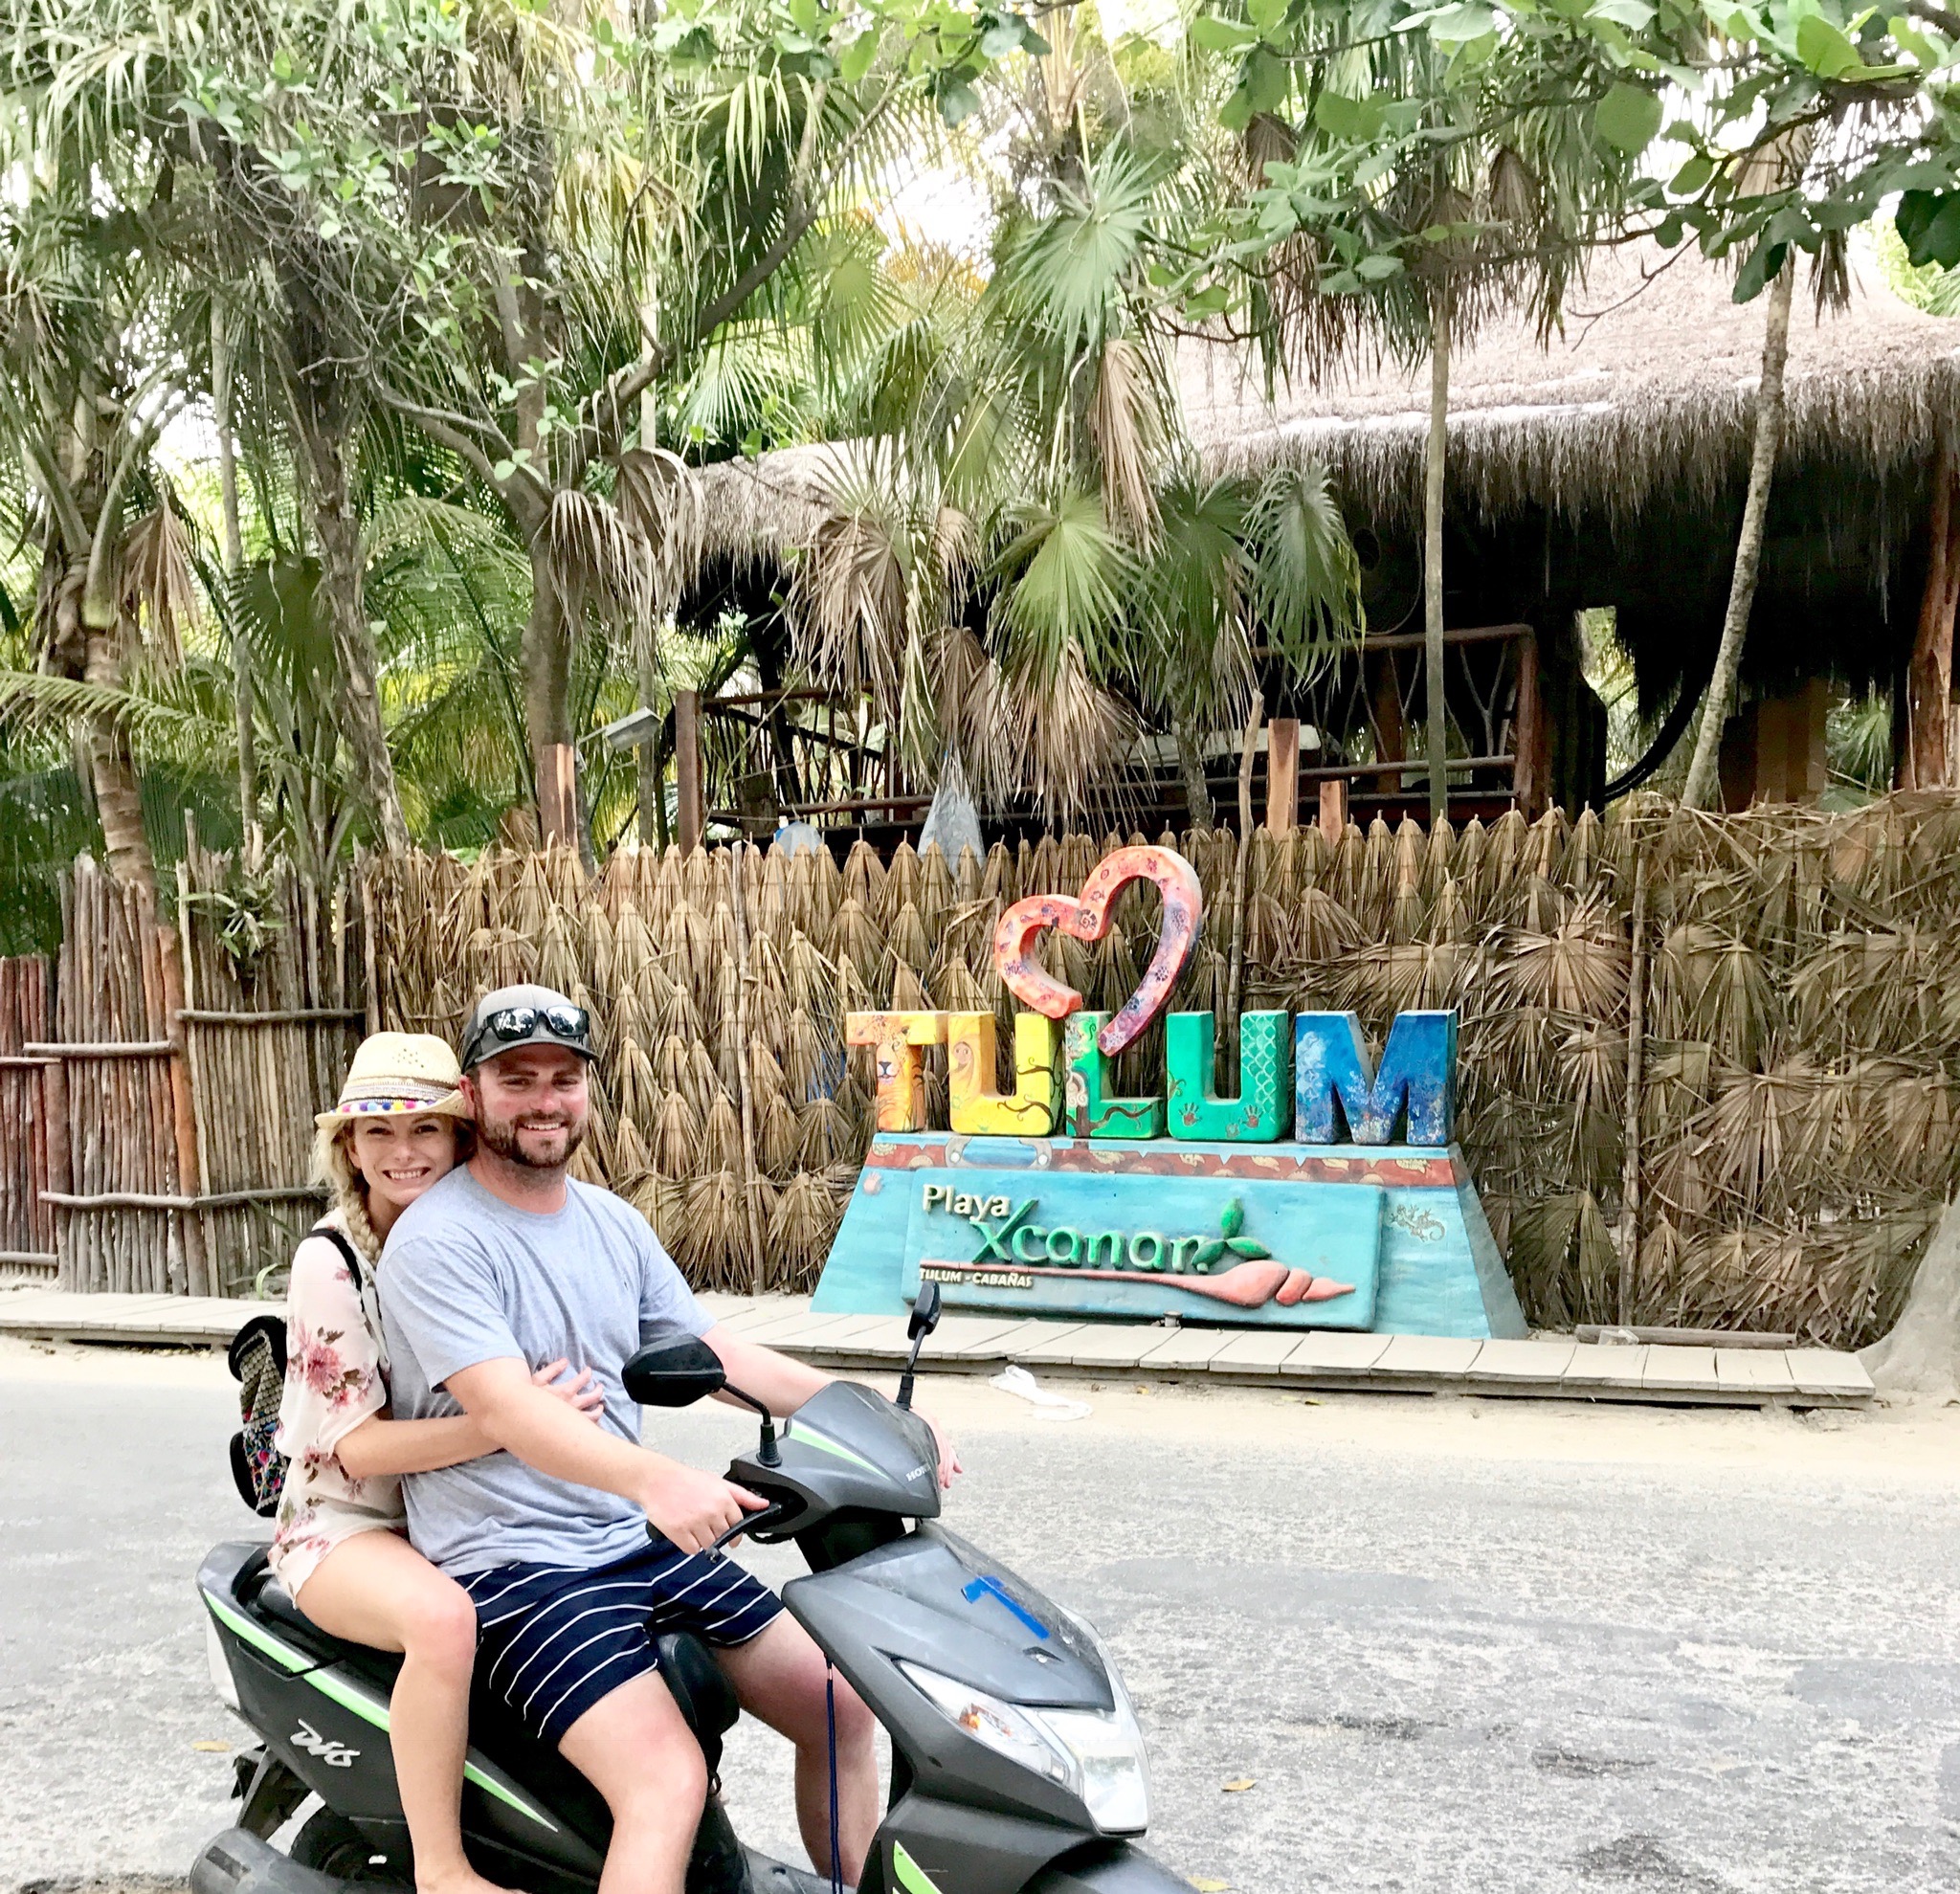
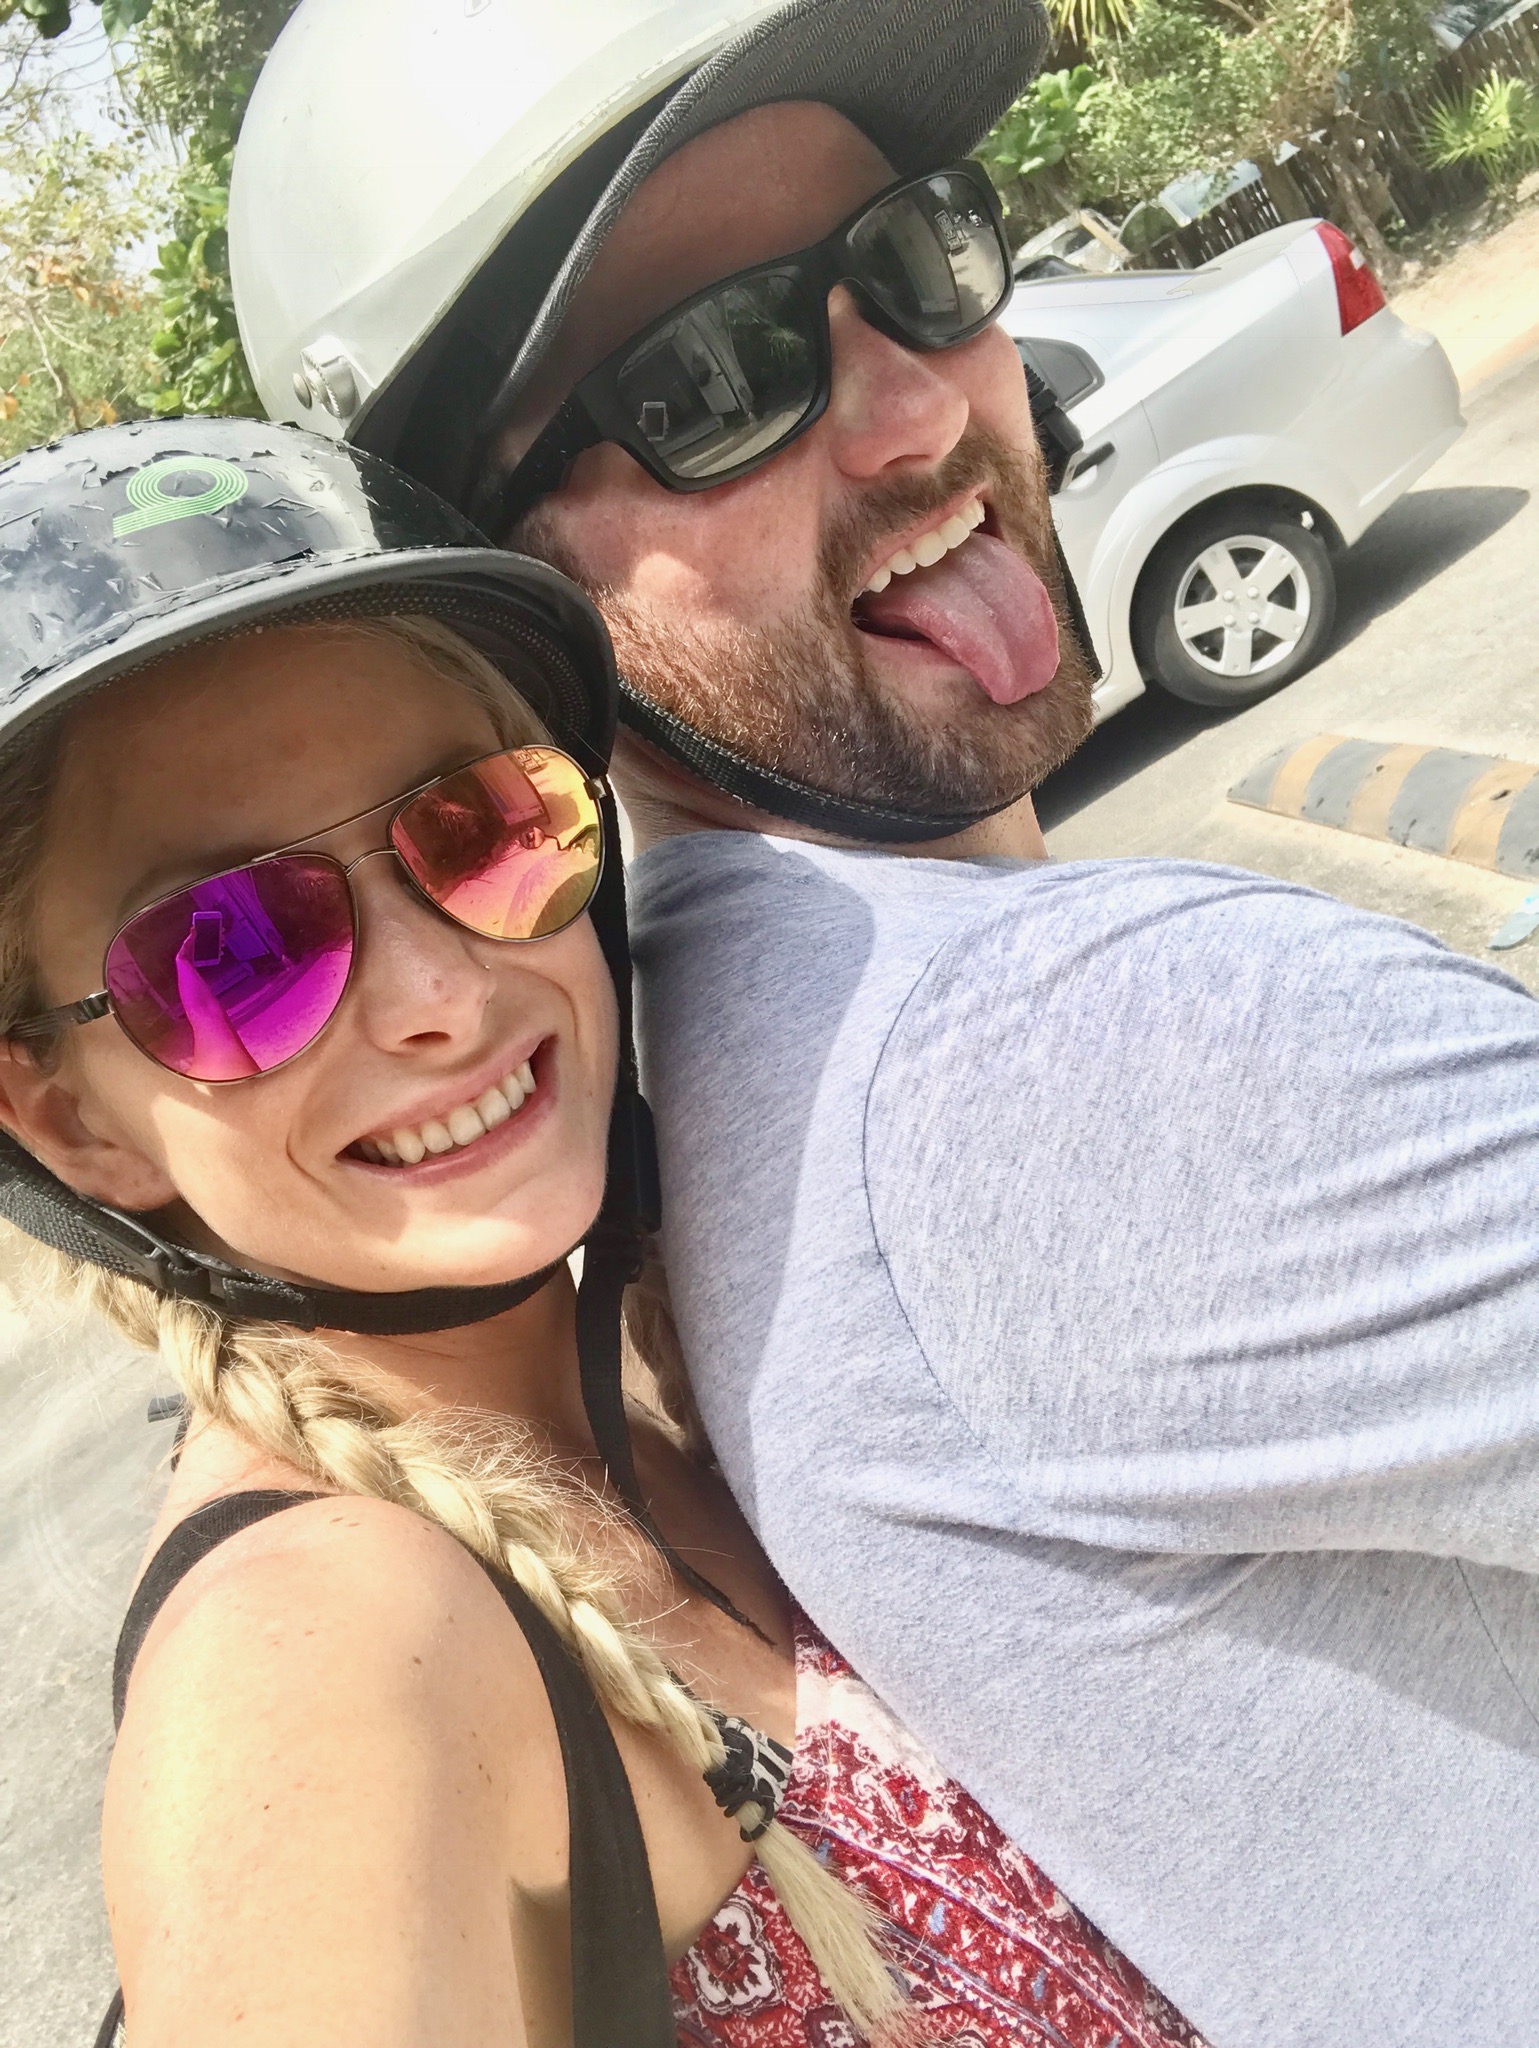
We also thought about renting a car ourselves but I was nervous about driving 2 hours in Mexico never being there before and hearing stories from other people about bad experiences. After making the drive with our driver, I think this would have also been a good option because the road to Tulum was literally a straight shot and a pretty simple drive. I'm glad we didn't do this though, because we ended up renting a moped through our hotel for the entire trip for only $30 a day, which made parking in and around Tulum SO much easier...plus it was so much more fun! :)
WHAT TO BRING:
SUNSCREEN
My fav is Elta MD!
BIODEGRADABLE SUNSCREEN
Need this If you plan on visiting the cenotes!
2 CANS OF BUG SPRAY
Use this & Bring it with you at night! We forgot to put it on our last night there and it was the ONLY night we got bit up!
SWELL BOTTLE
My Swell definitely came in handy at night since our room didn't have a fridge or cold water, we usually just got cold water from the hotel to refill in our swell, which stayed cold all day and night
WET WIPES
Obviously when you're a the beach you get salty, sweaty and sticky. This came in handy for sure before spontaneous meals along the beach
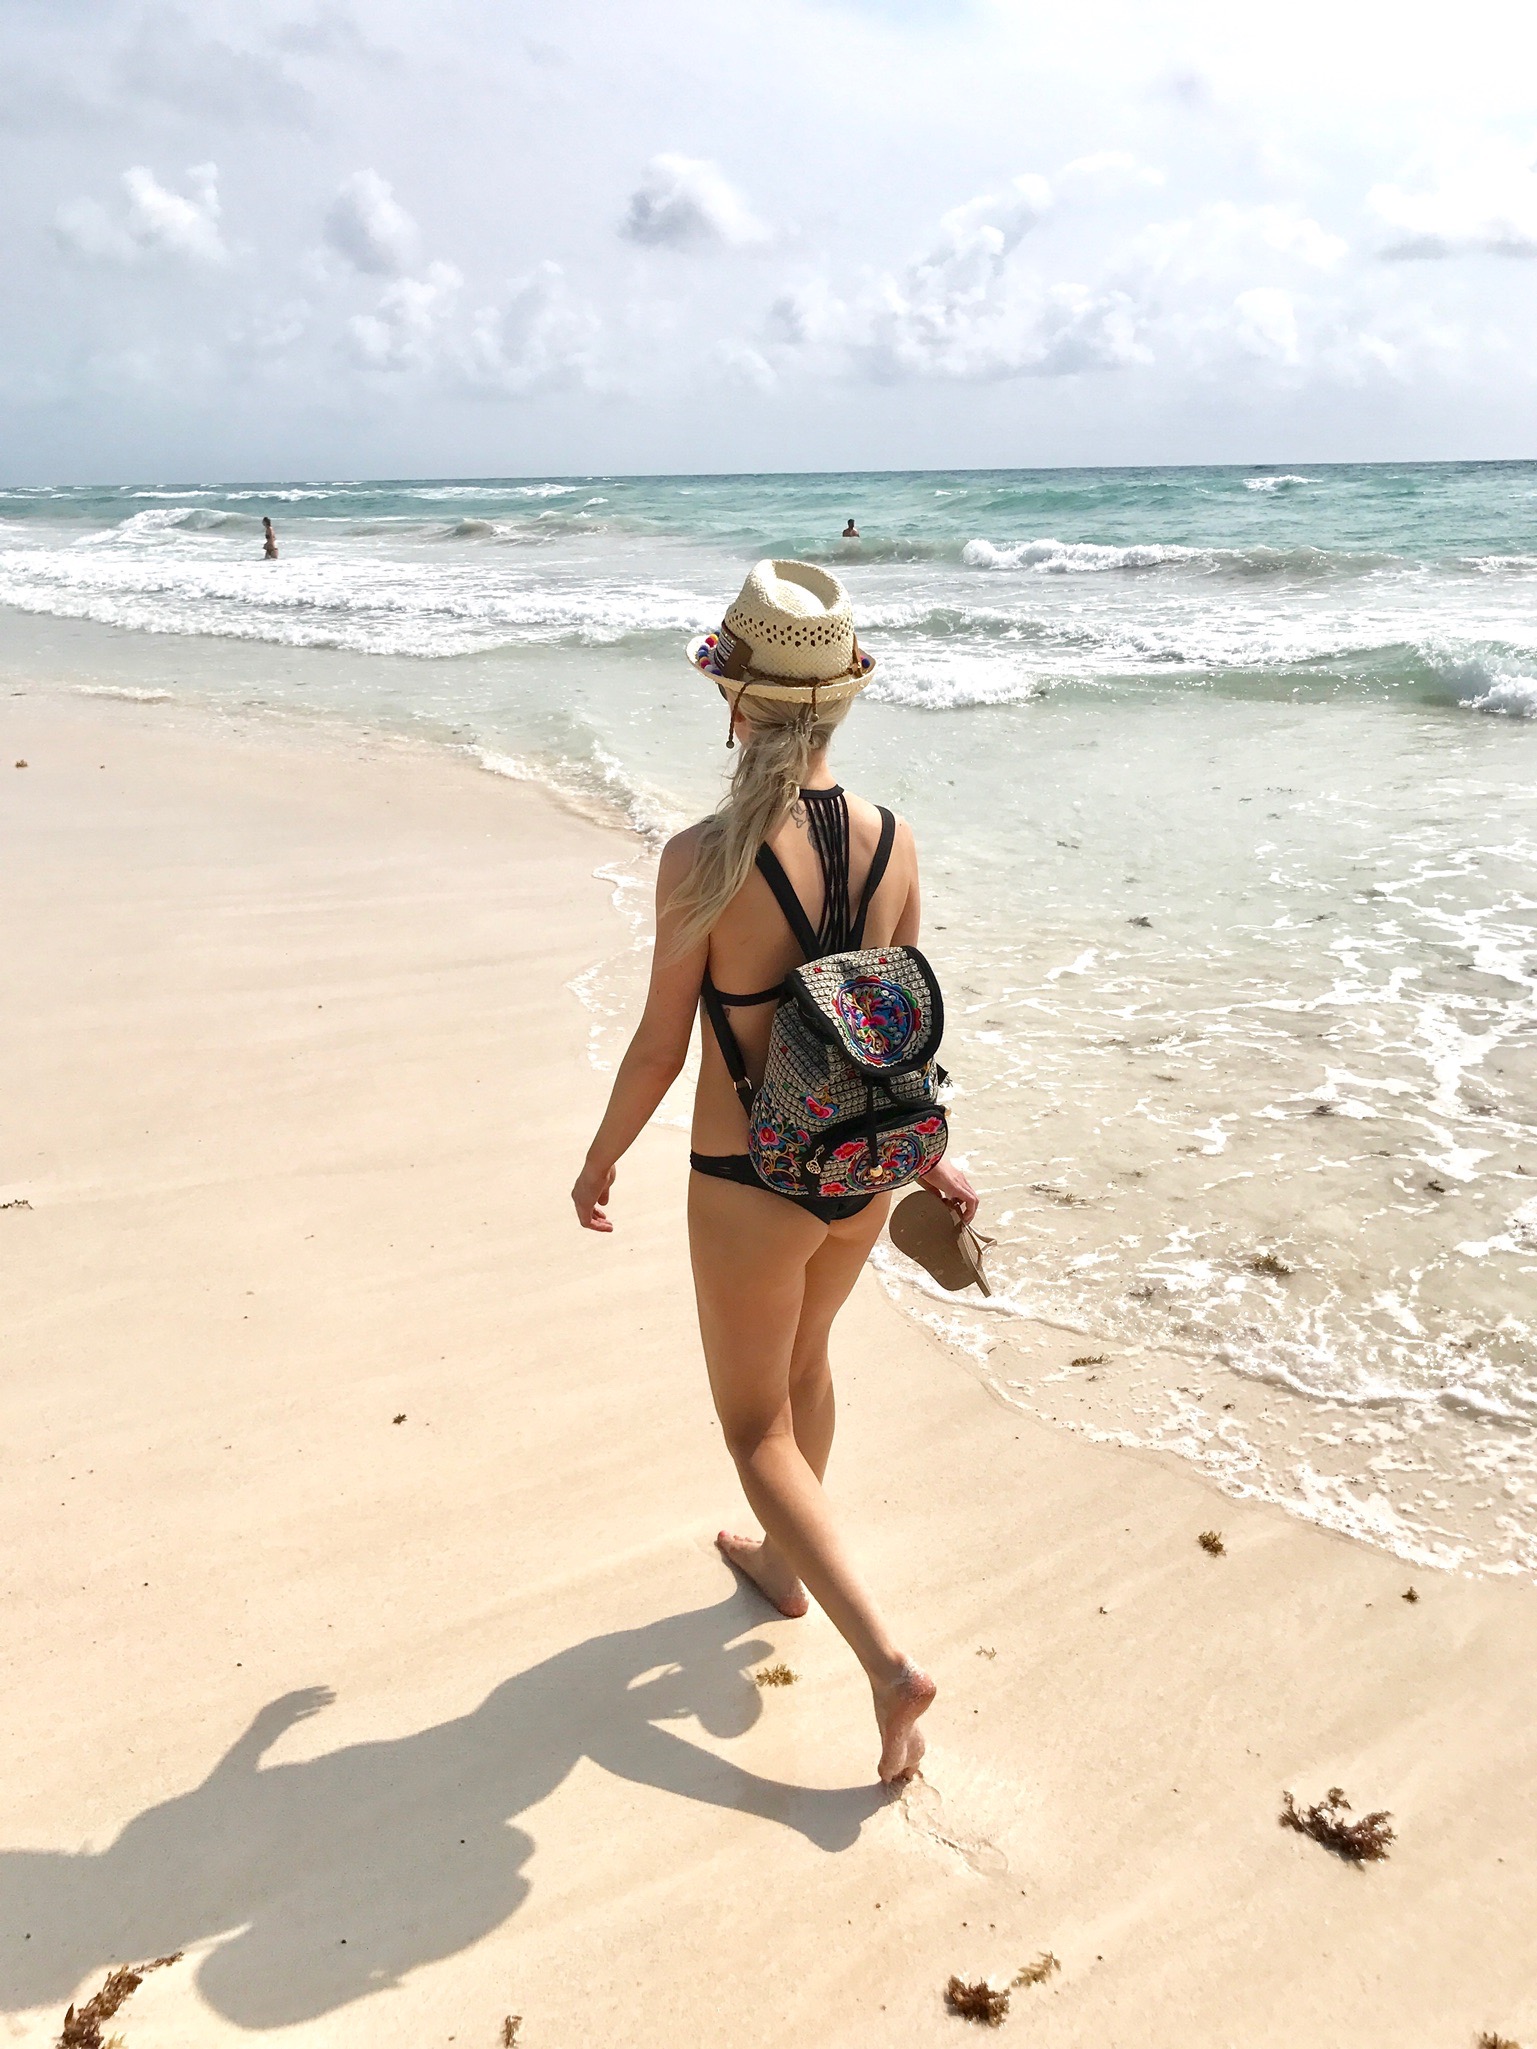
1 BACKPACK/BEACH BAG AND 1 SMALL WALLET BROSS BODY
I didn't even bring my purse for this trip and brought this super cute backpack for the plane ride and beach days, I used my cross body at night for my phone and money

SELFIE STICK-
Touristy I know, but I mean look at all the cute pics we got!
UNDERWATER PHONE CASE
We found this Pelican Marine case on Amazon and totally came in handy for the cenotes, and beach pics!
ALOE VERA AND ANTI ITCH MEDS
OMG totally came in handy after a day in the sun and Mosquito bites!
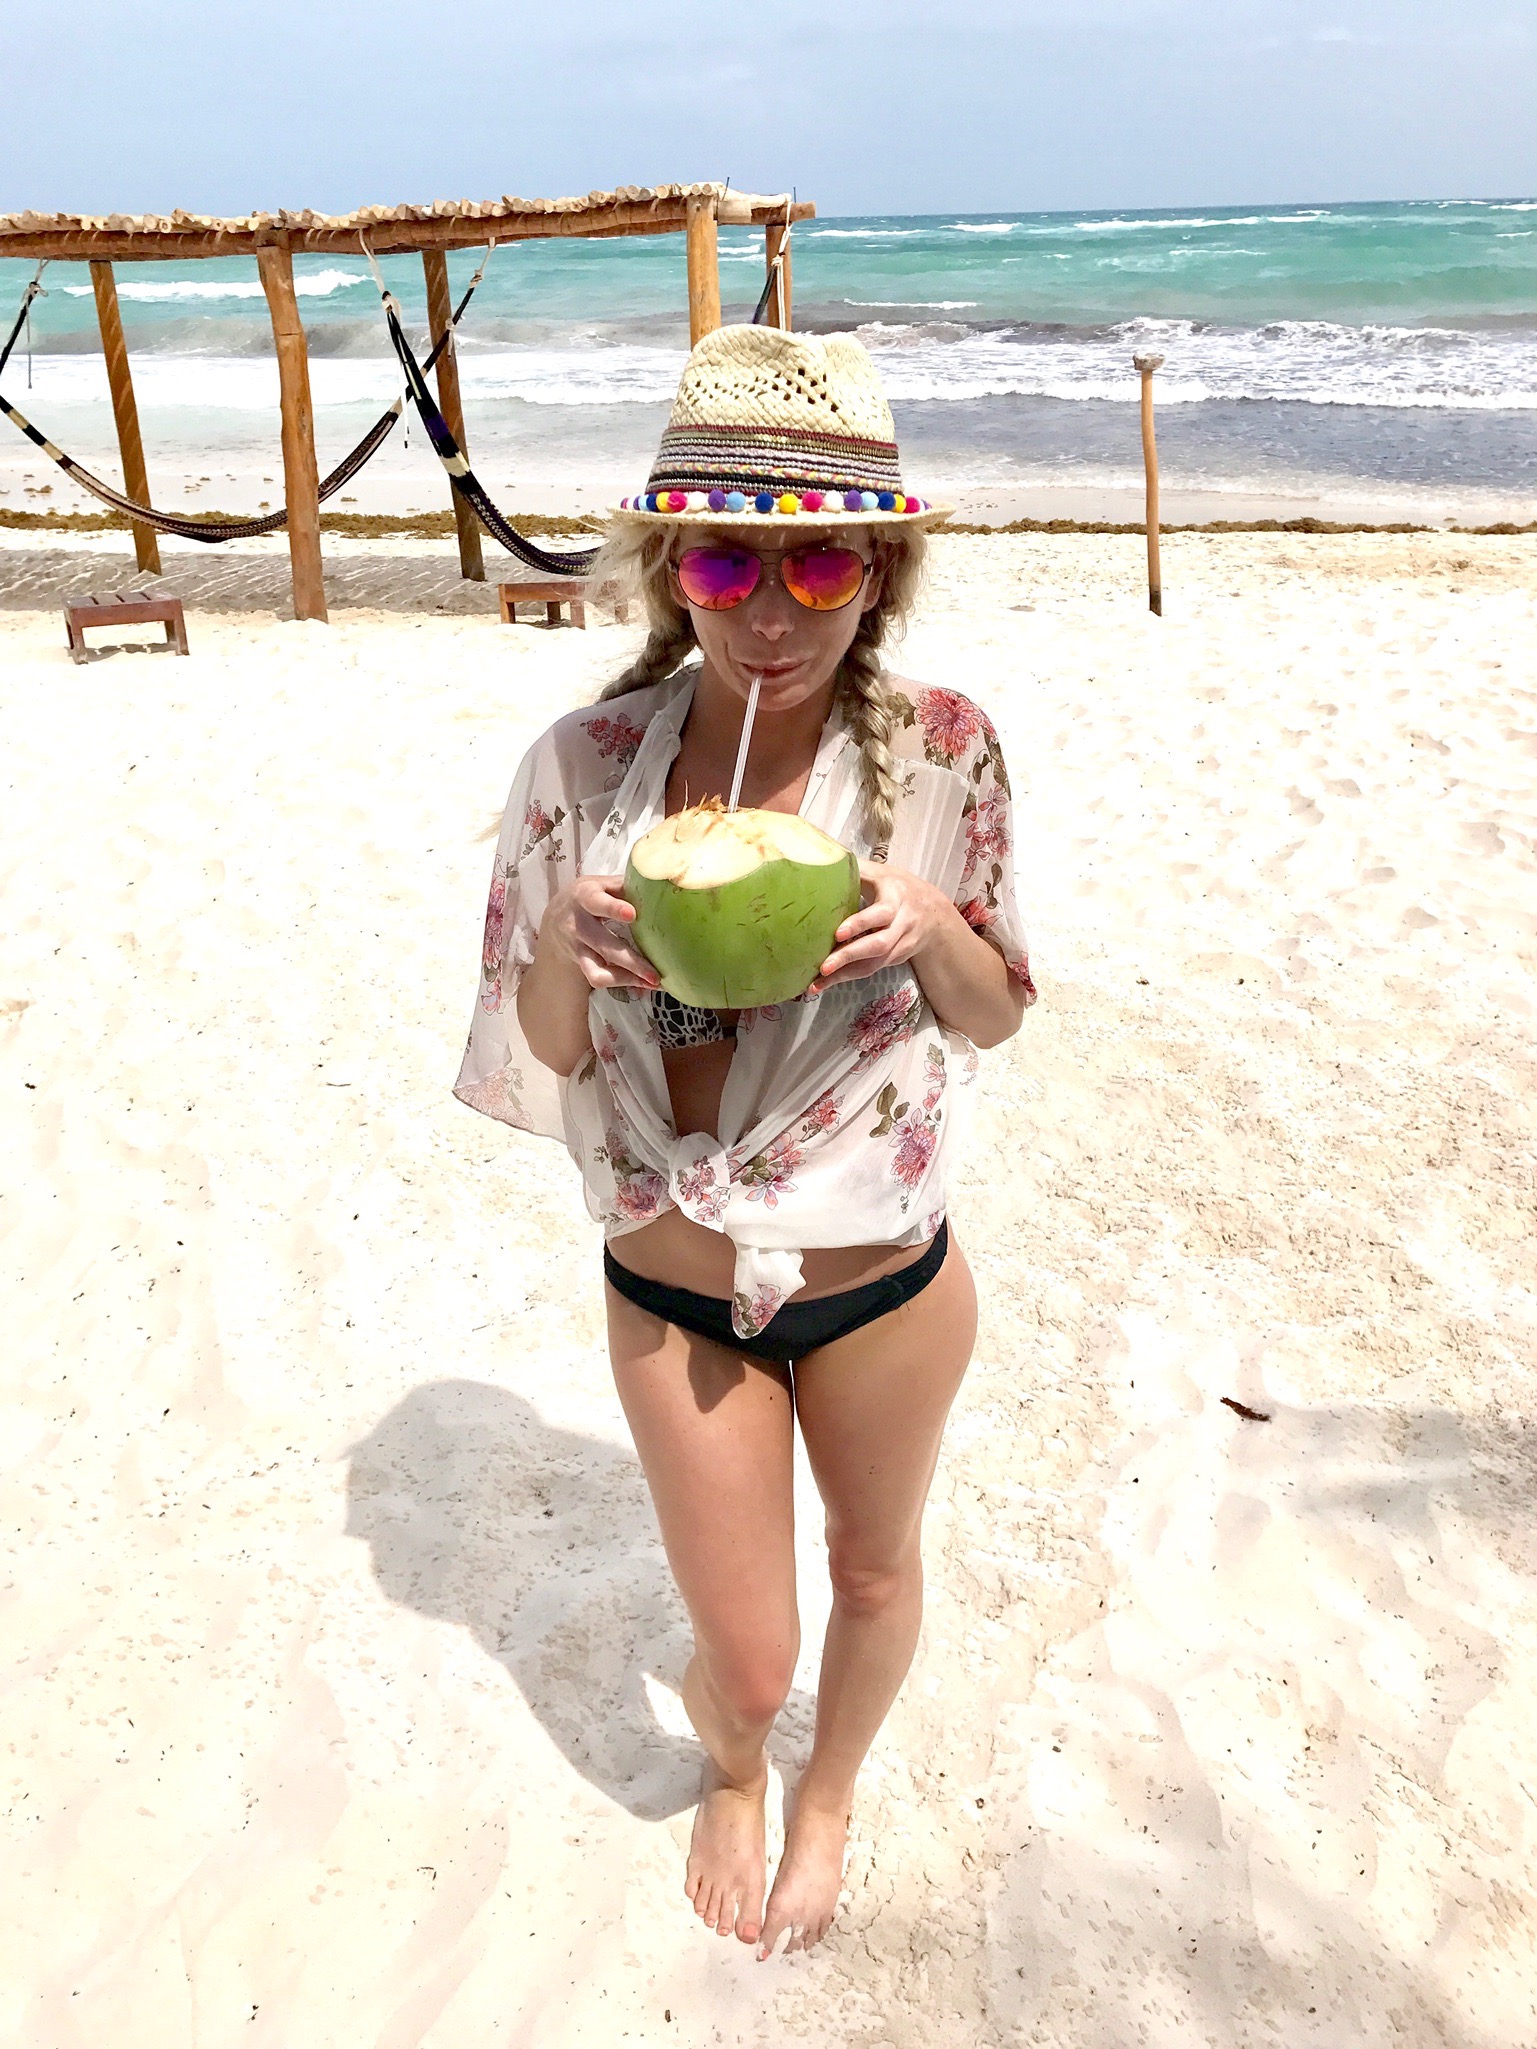
1 SUNHAT
I brought 3 hats because I'm an over packer and i just wore this one the whole time, no need to bring more if you're trying to pack light! I got this hat from express, I can't find it online anymore but click here for a similar one!

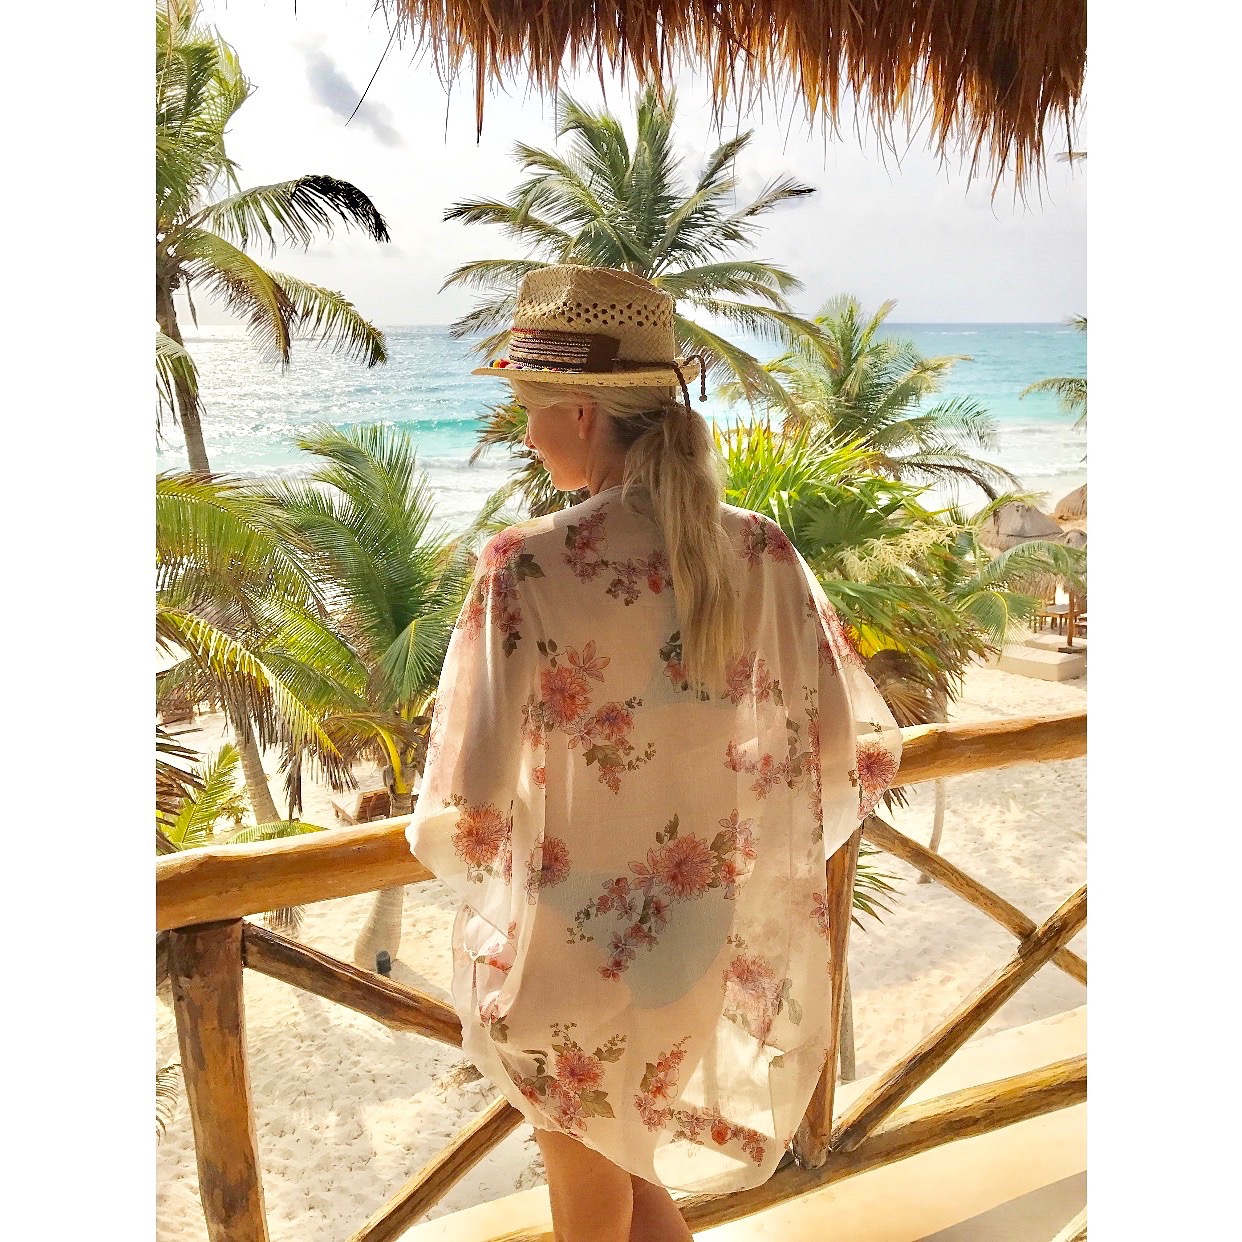
2 BEACH COVERUPS
I just brought this one below from Buckle, which came in handy for sure! I wore it every day, but I did wish I had brought another to alternate with. Towards the end of the trip this one was pretty salty!

2-3 BATHING SUITS
I liked alternating out my bathing suits every day while the other one was drying out. You can never have too many bathing suits!
DRESSES, ROMPERS, JEAN SHORTS, CUTE OFF THE SHOULDER TOPS AND ONE LIGHTWEIGHT SWEATER!
I wore jeans on the airplane because I get cold, but other than that I mainly wore my bathing suit and beach coverup during the day and wore my dresses, rompers or off the shoulder tops for dinner at night. I brought one lightweight sweater, I wore it once and probably could have lived without it, but I'm glad I brought it along!
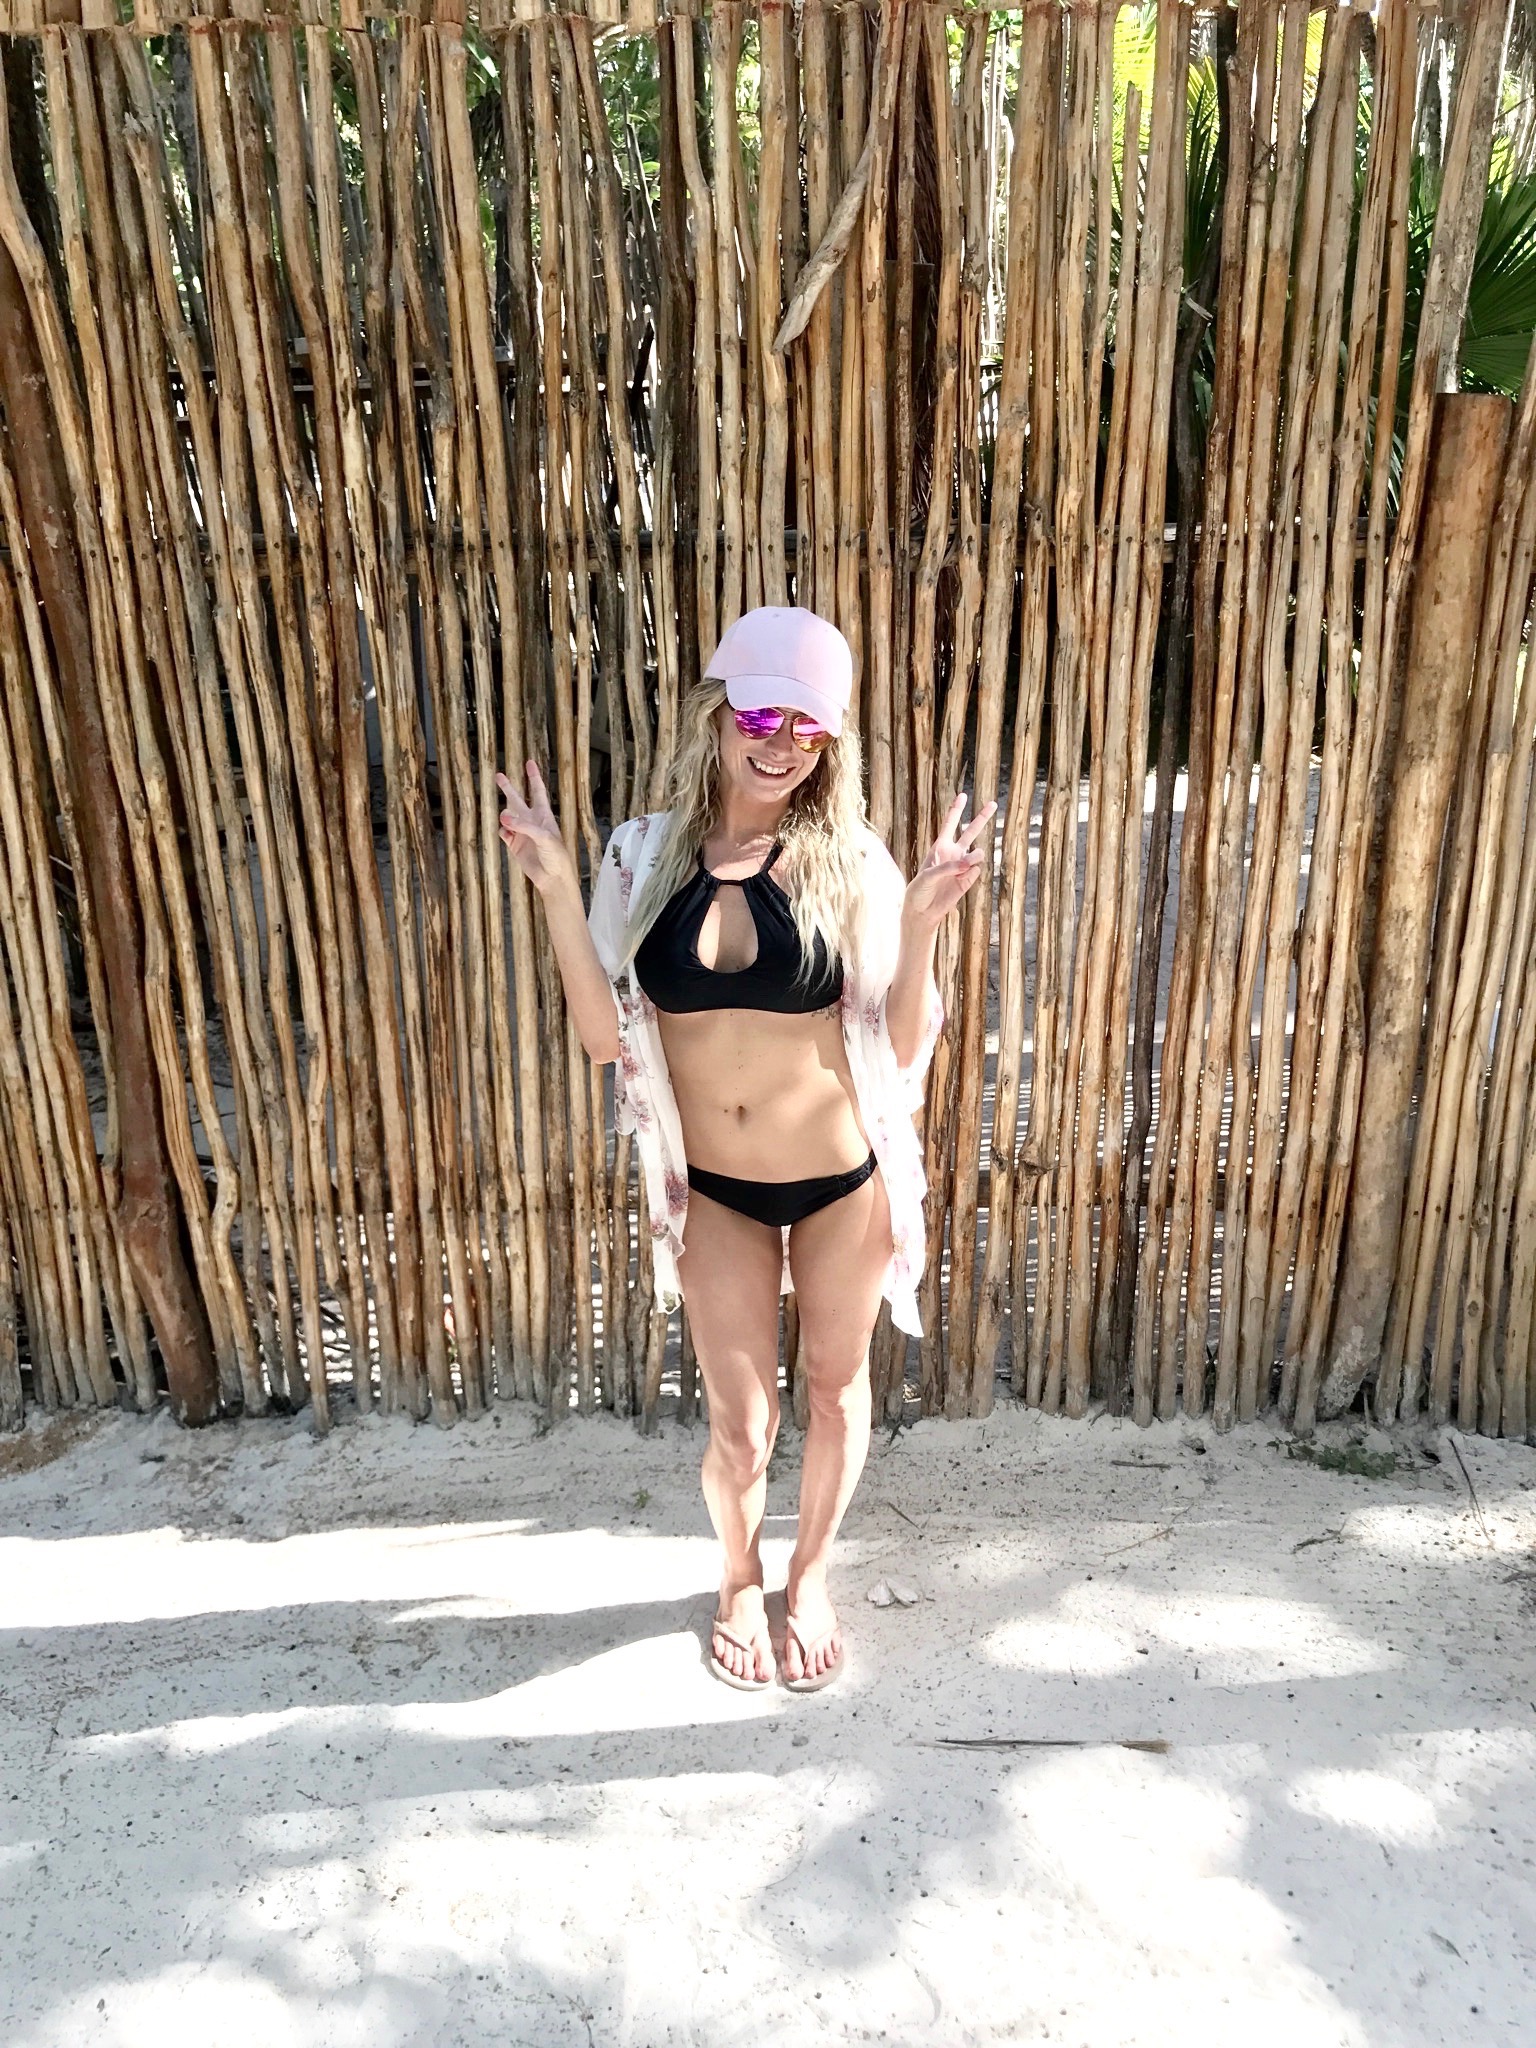
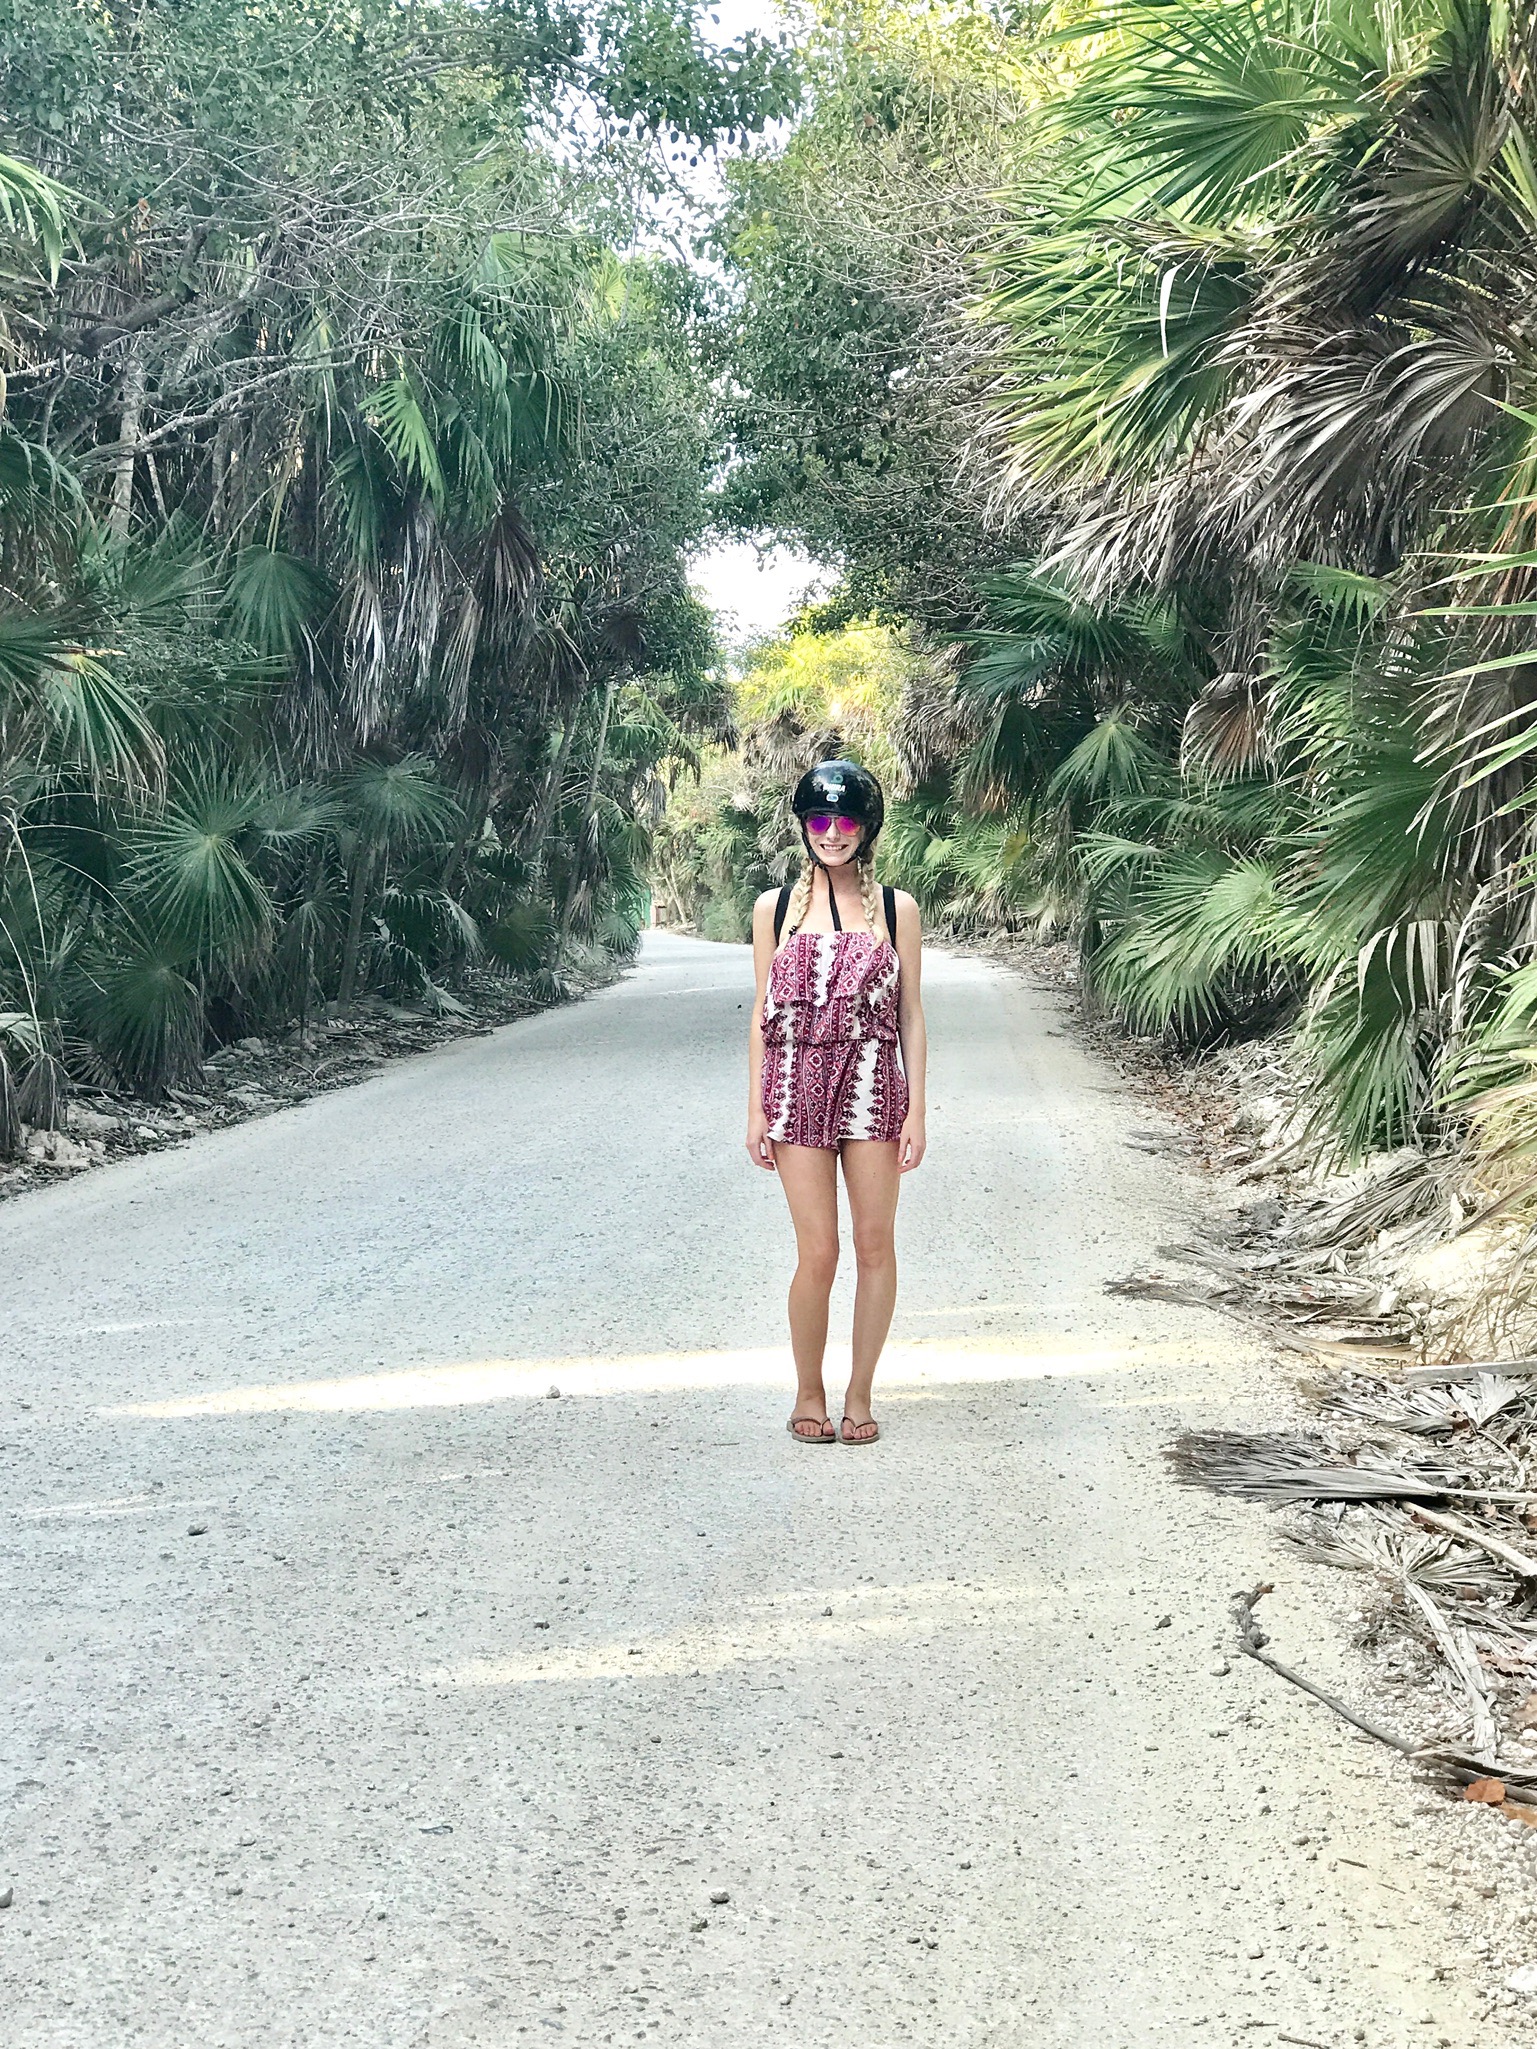
Heres some outfits I wore during the trip!


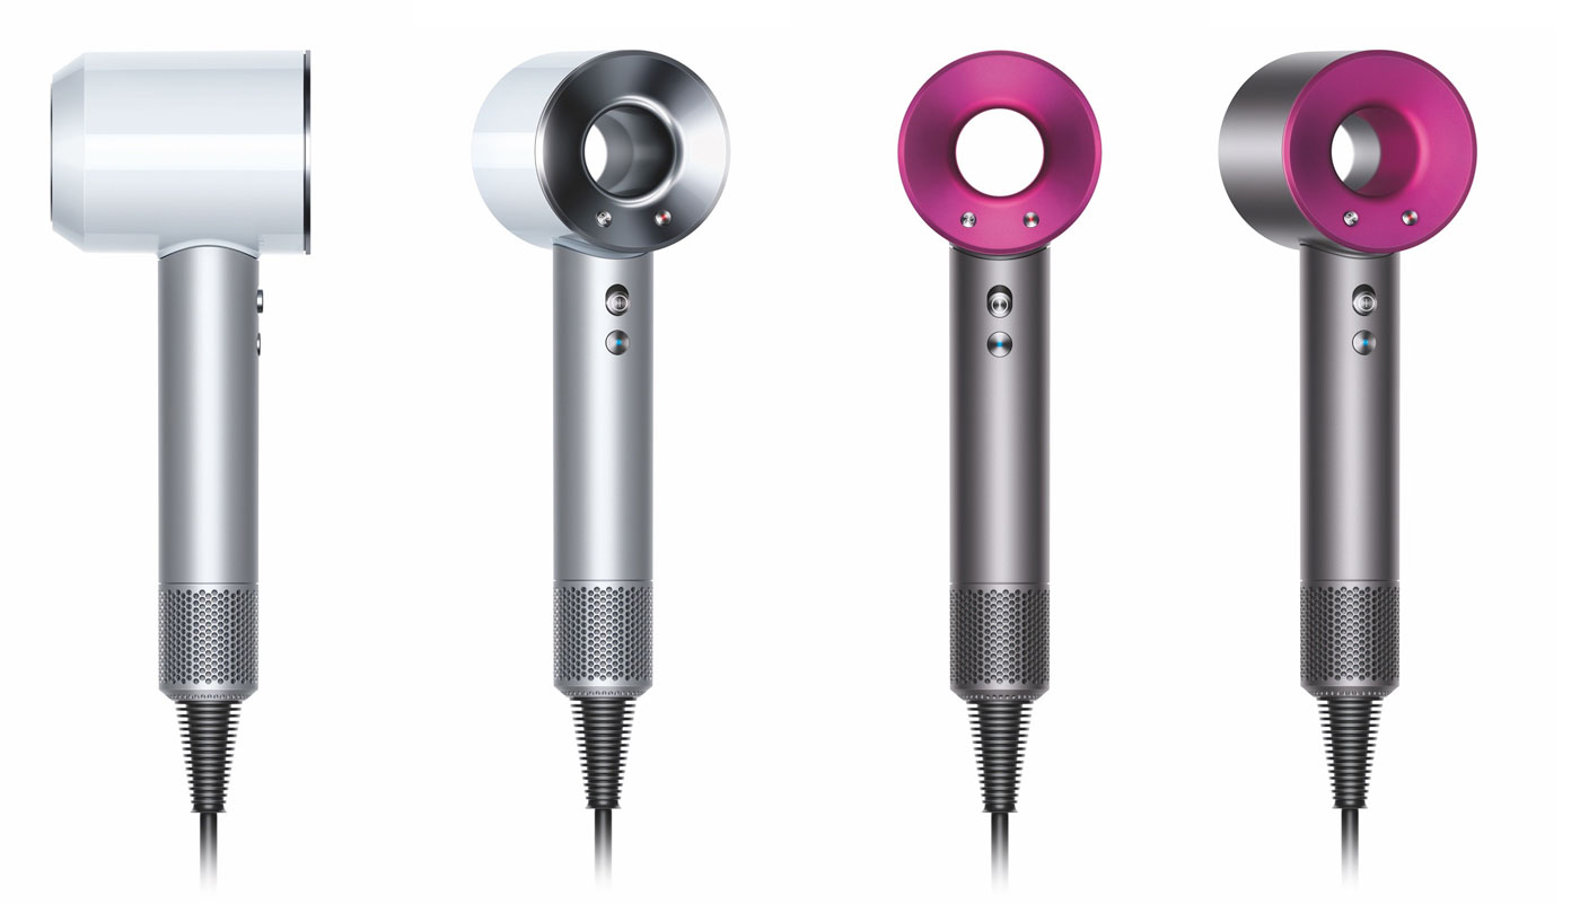
DONT BRING A LOT OF MAKE UP AND HAIR TOOLS
If anyone overpacks makeup and hair tools for a vacation, its me. But in Tulum the restaurants are so dark at night you don't need much makeup, also most of the town is without electricity, making it hard to put makeup on in your room before you leave at night. It was nice taking a break from the everyday life of getting ready for an hour, embracing the laid back lifestyle of Tulum and not doing my hair and makeup everyday.
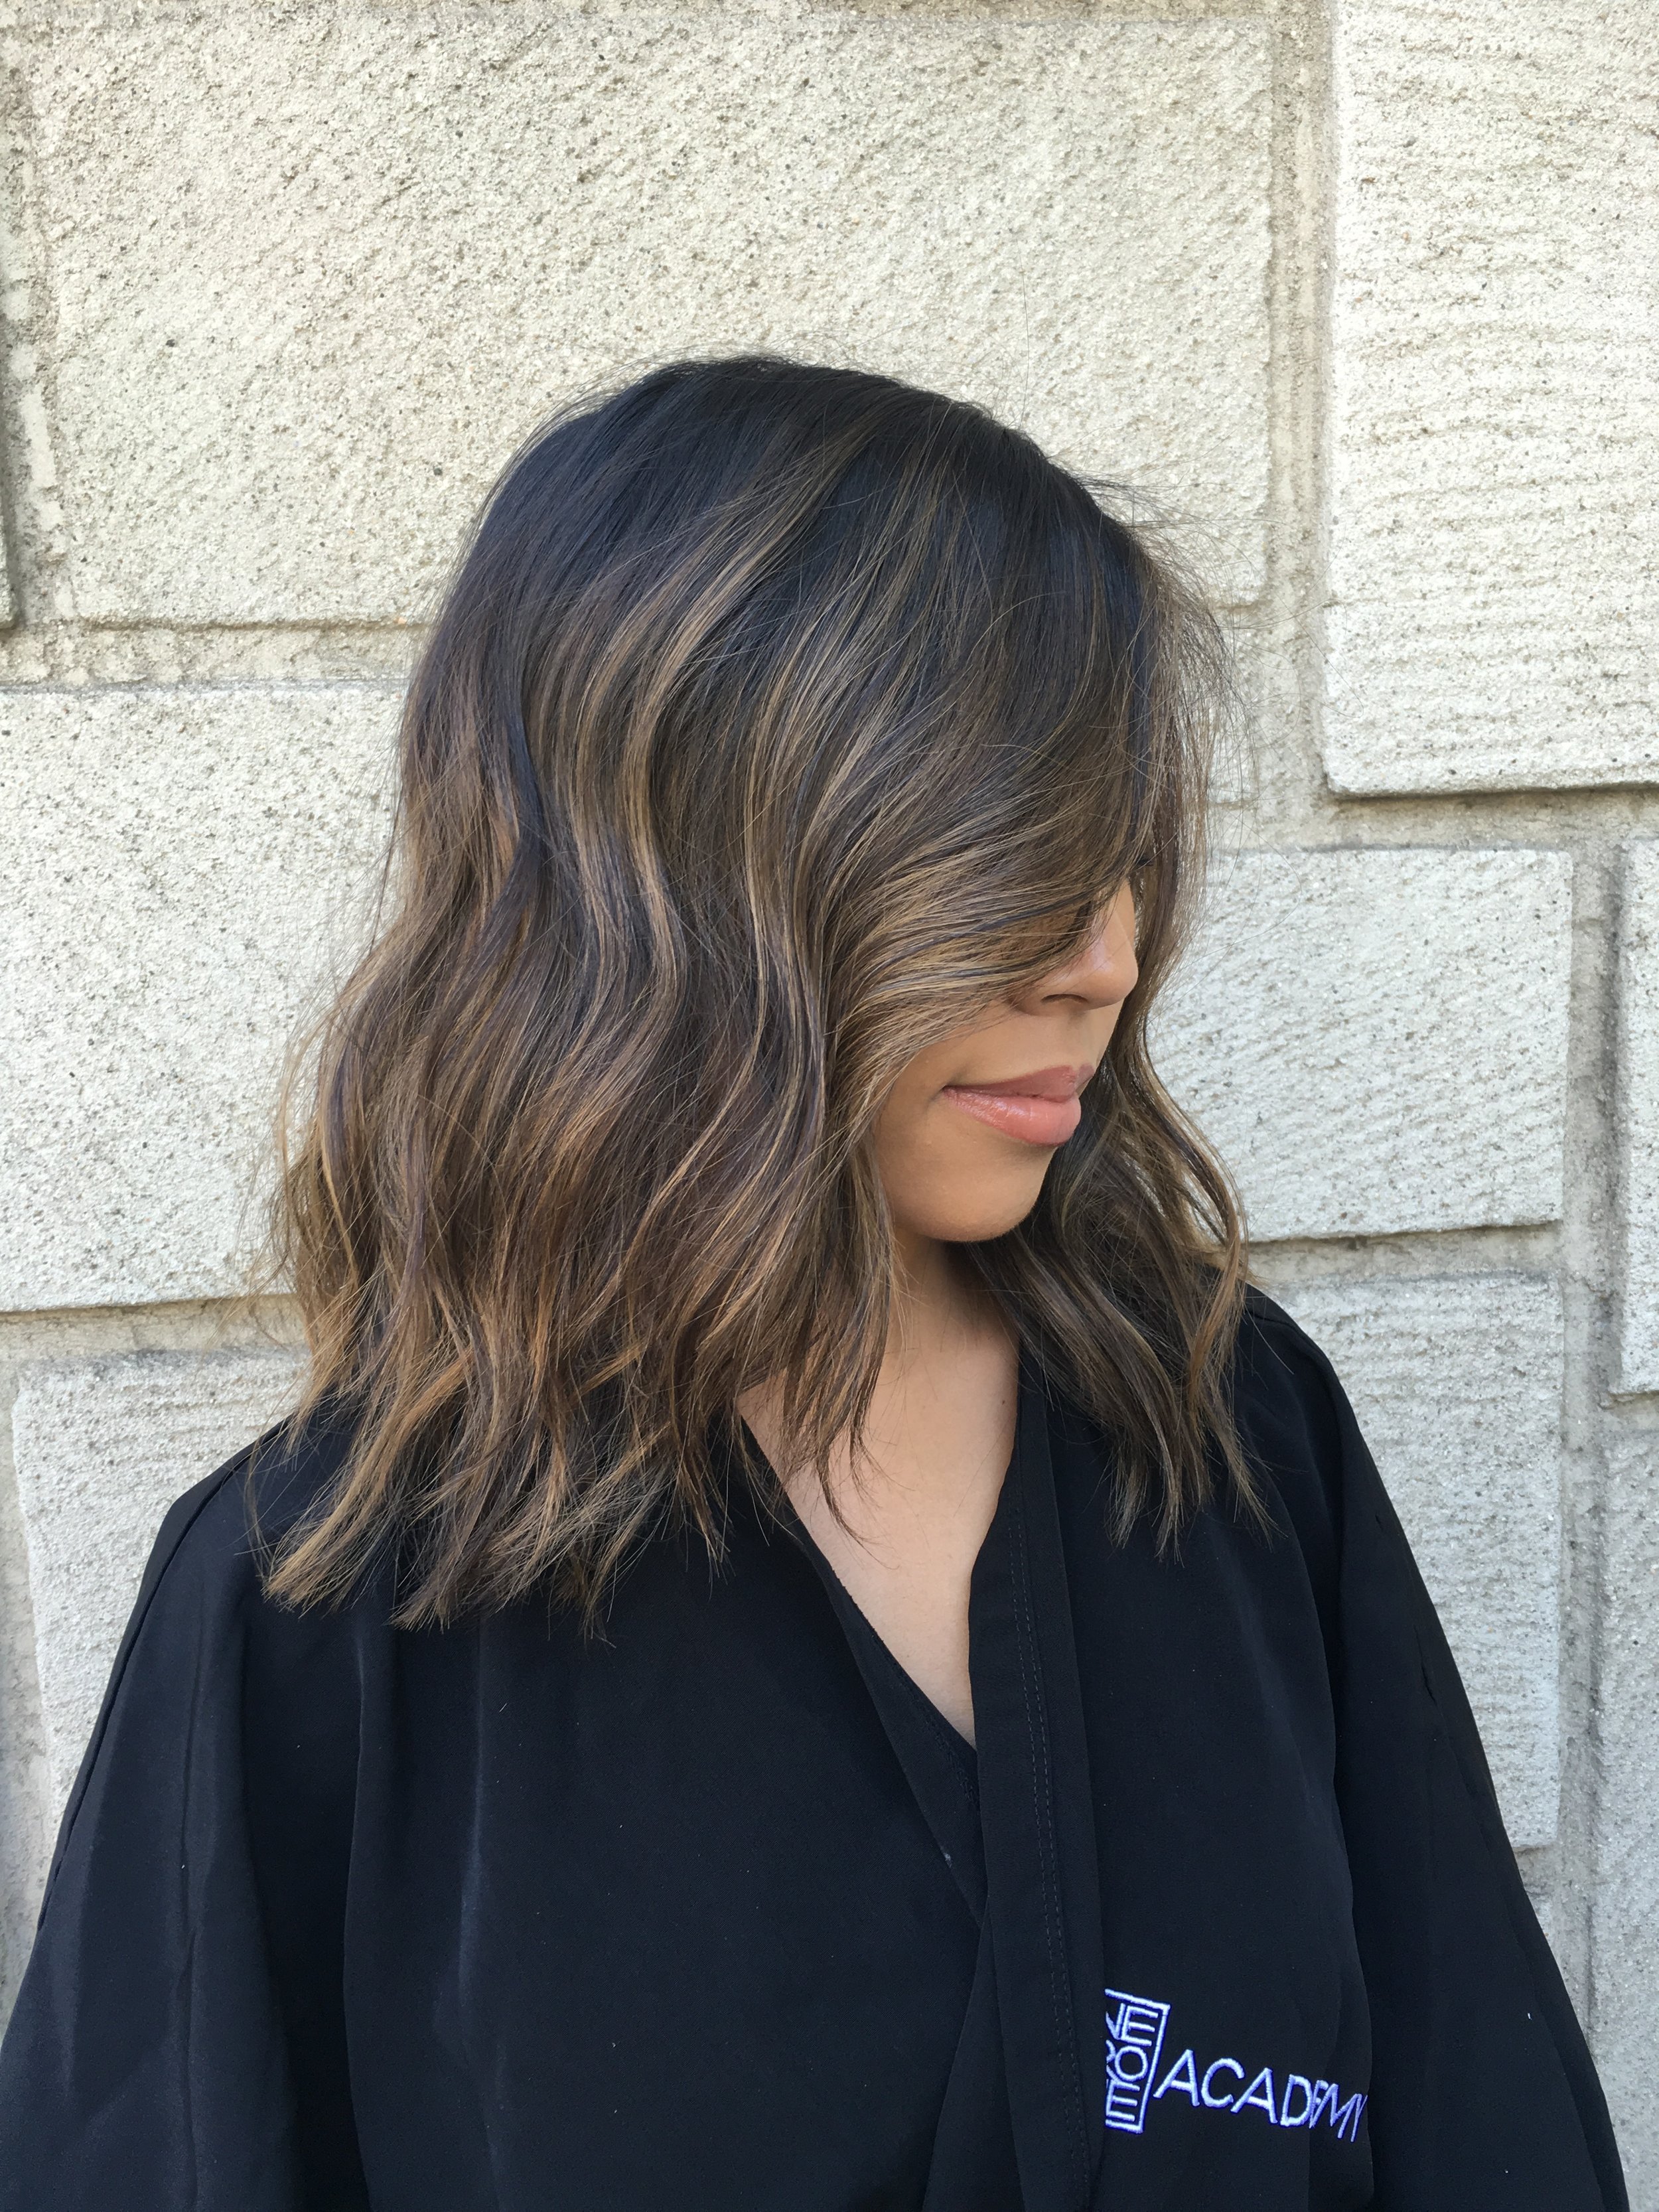
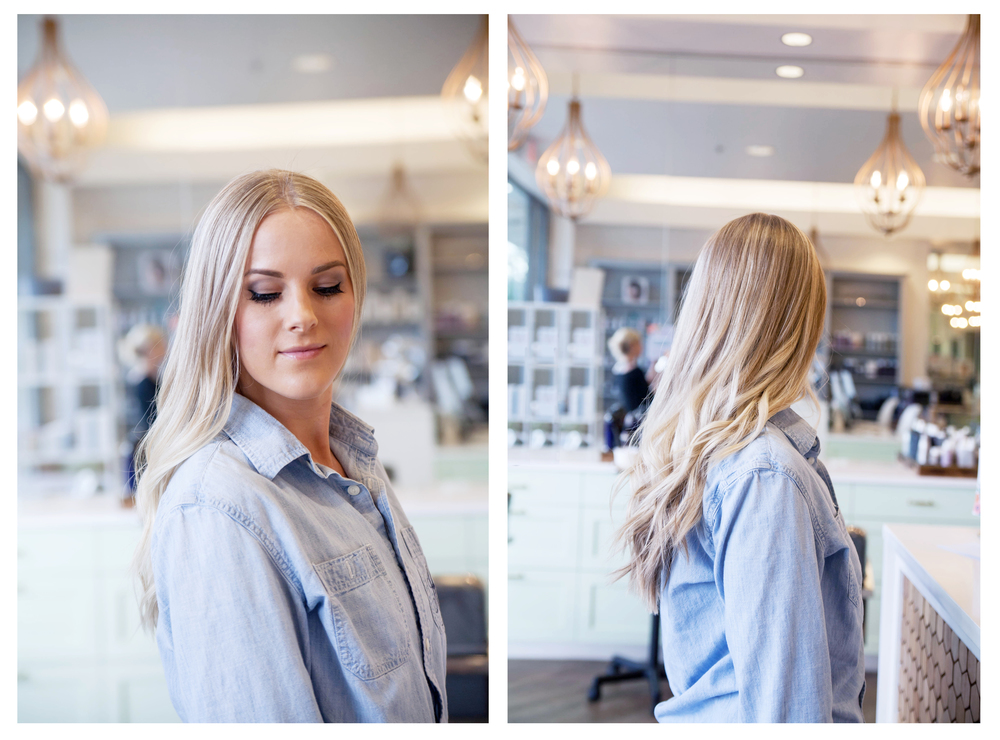
I also didn't use a blow drier, flat iron, or curling iron one time. With all the sand and salt water there was no reason to spend time blowdrying my hair. My hair is curly, frizzy, terrible in humidity AND I have extensions! I was so worried my hair would look like a mess!
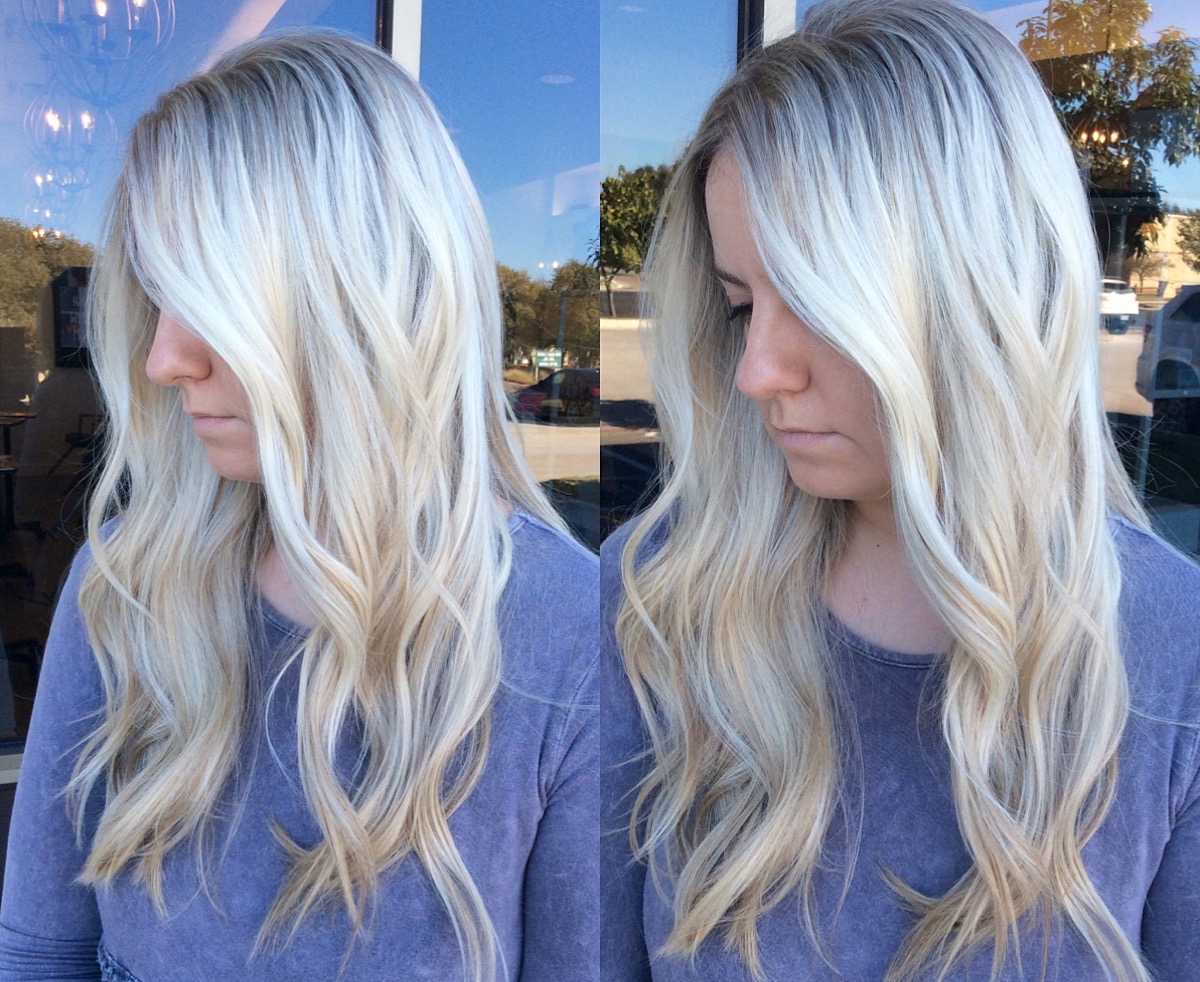
Heres what I did for my beauty routine:
During the day:
Rewet my hair with a TON of 7seconds leave in conditioner and my U-OIL, scrunched it to get a little wave, and put it in a braid, two braids or a top knot. I found that the sea salt from the ocean and shower dried it out enough to help with frizz.
For makeup I put on a little mascara and my Elta MD tinted sunscreen and thats it!
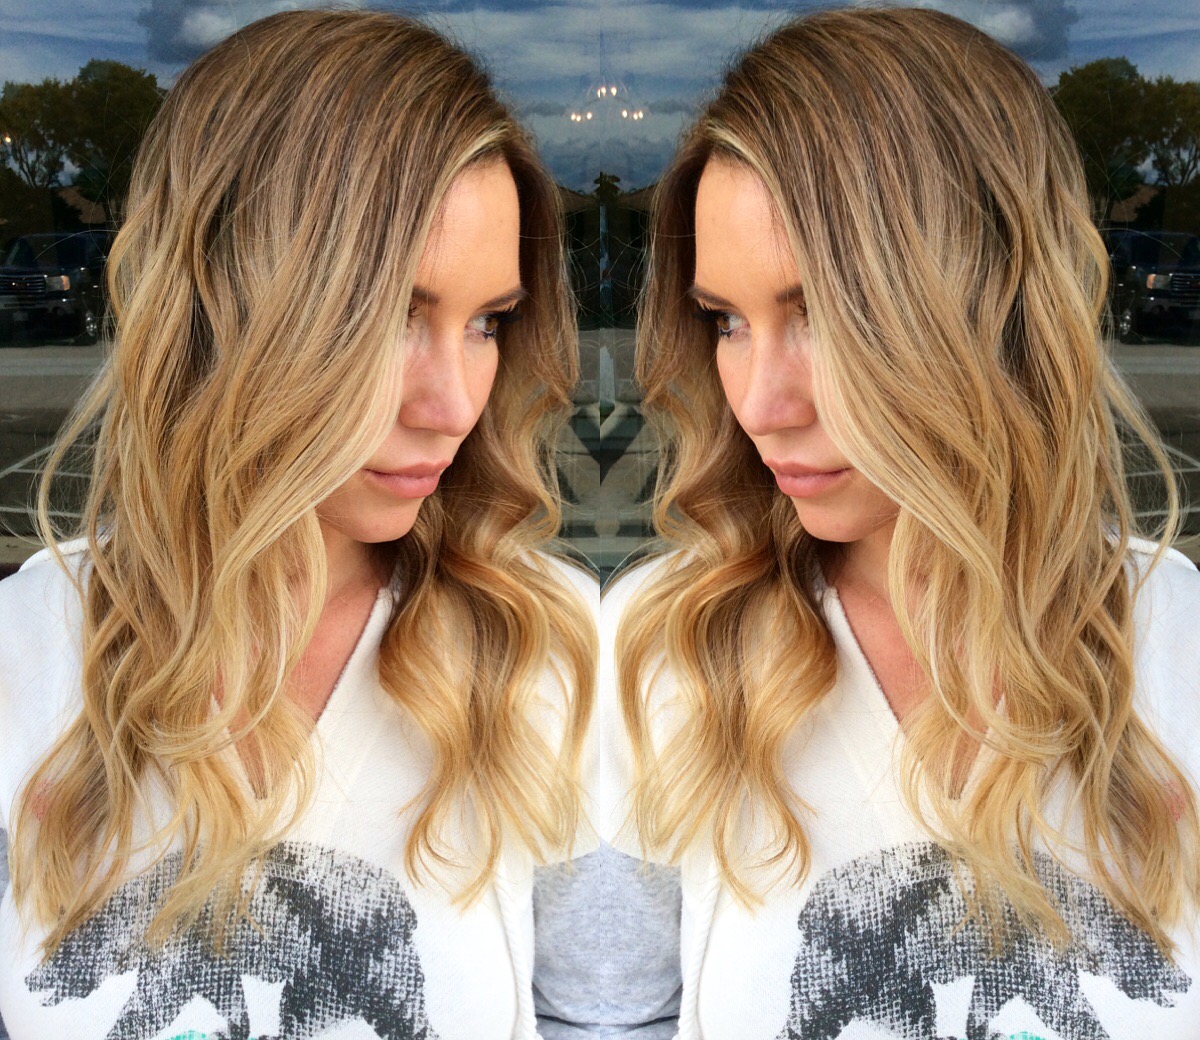
At night:
Rinse my hair with conditioner if I didn't wash it, and repeat the above. I wore it in 2 braids most of the time I was there.
For makeup I put on my RAE Climate control foundation (amazing for humidity) a little bronzer, a little eyeshadow from one of my naked palettes and Mascara!
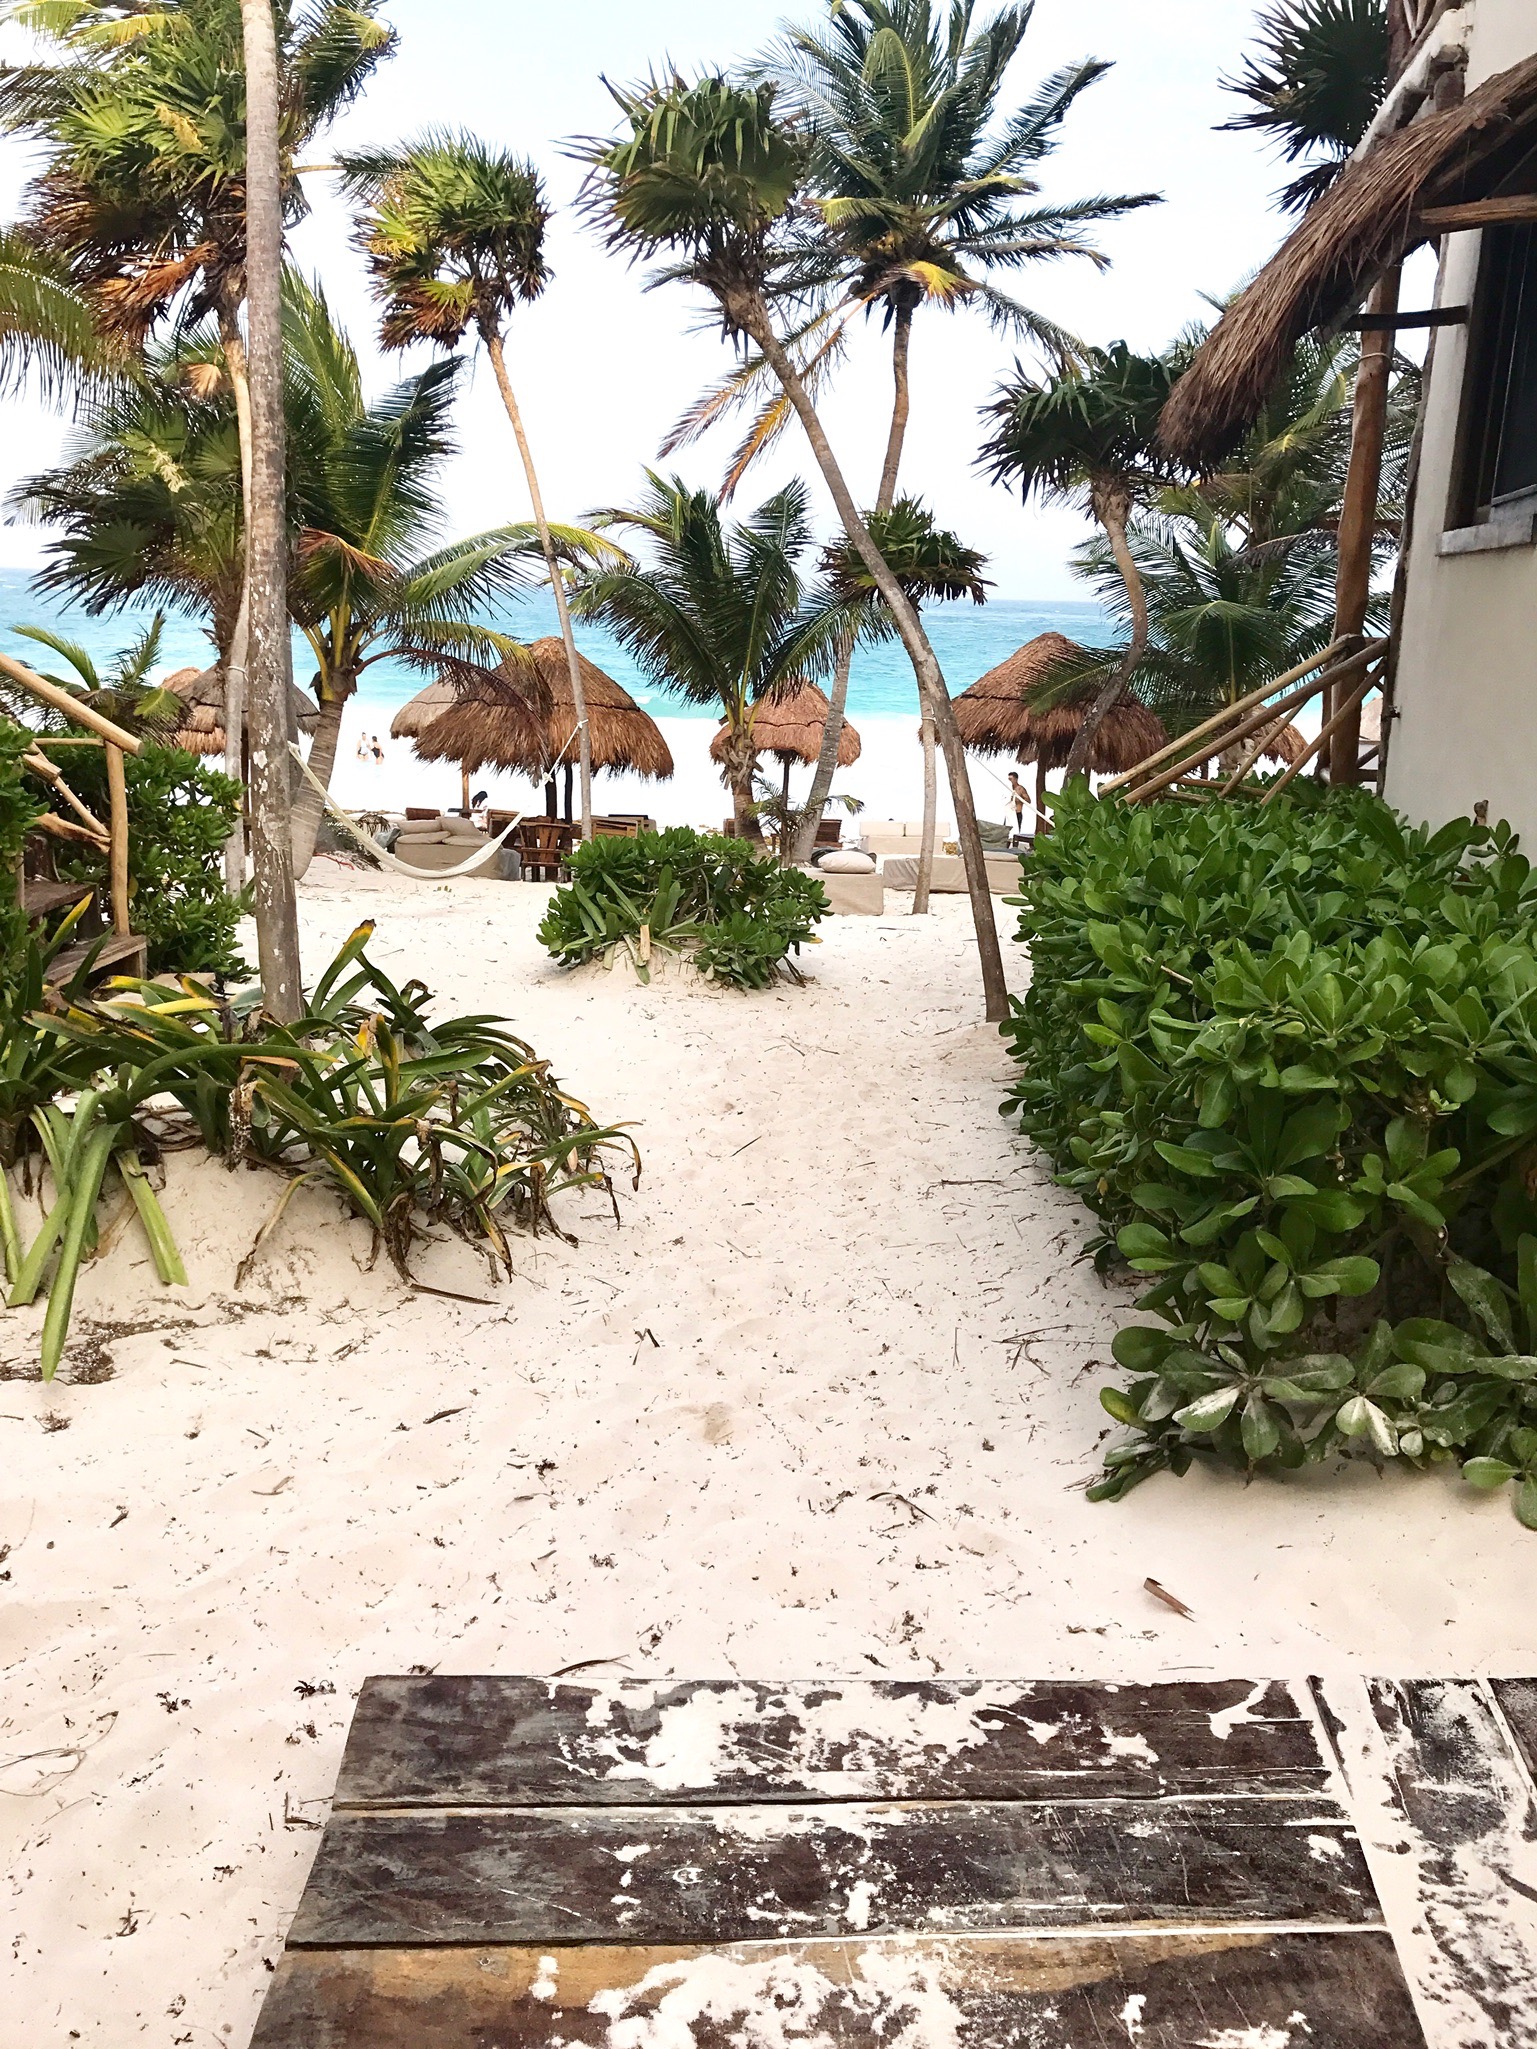
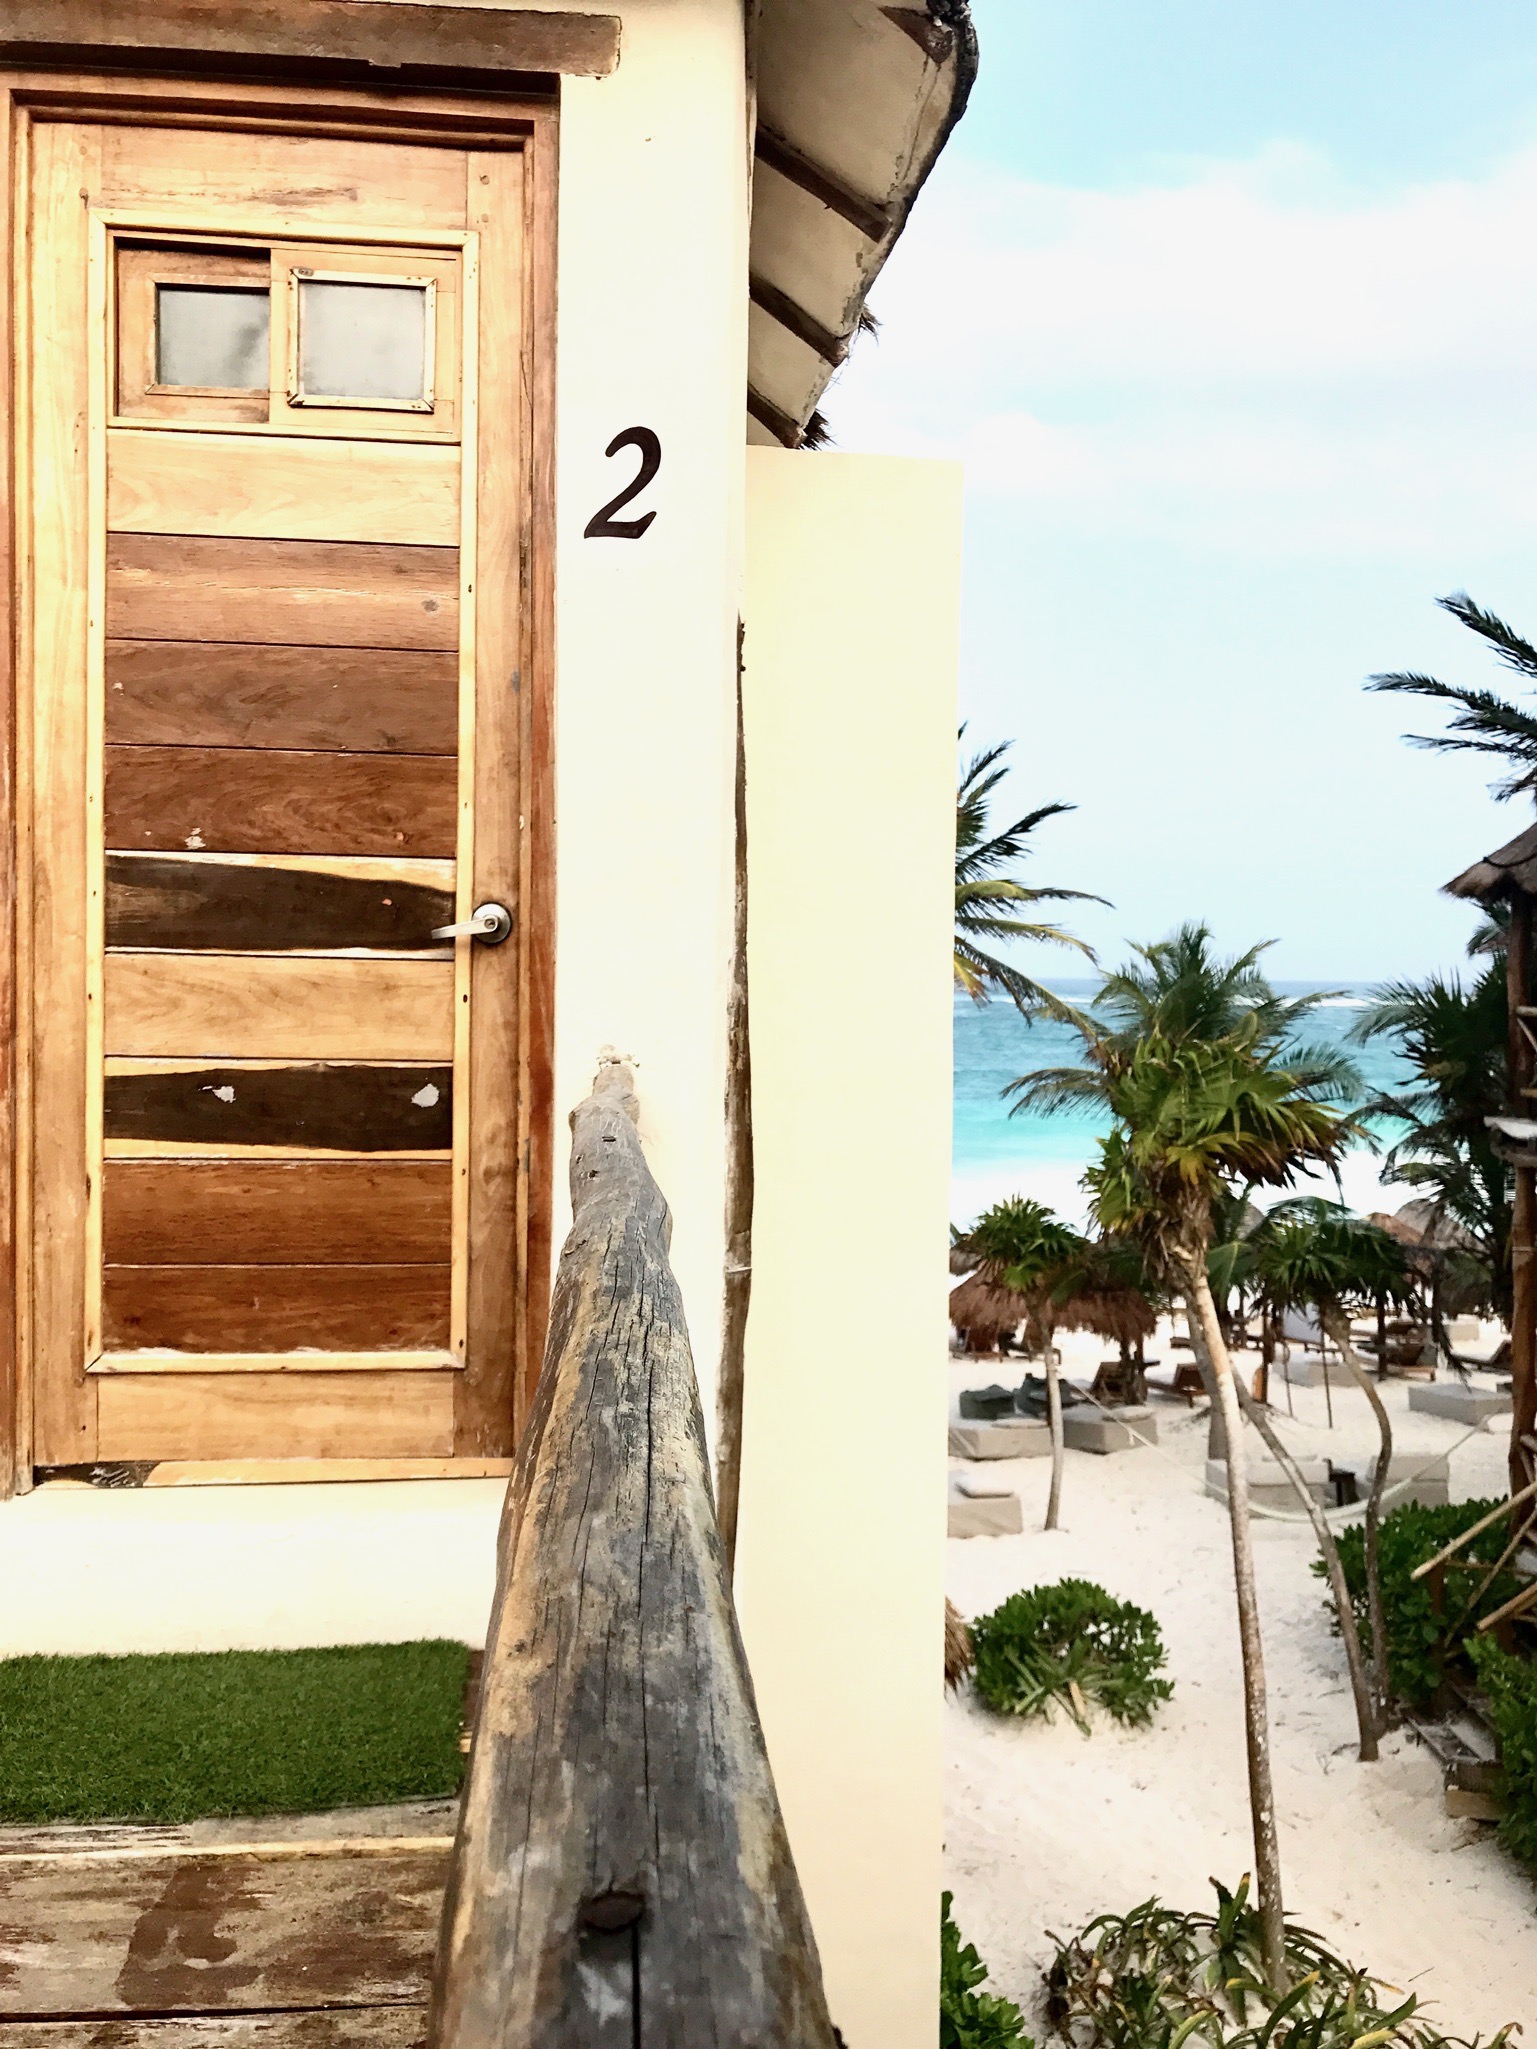
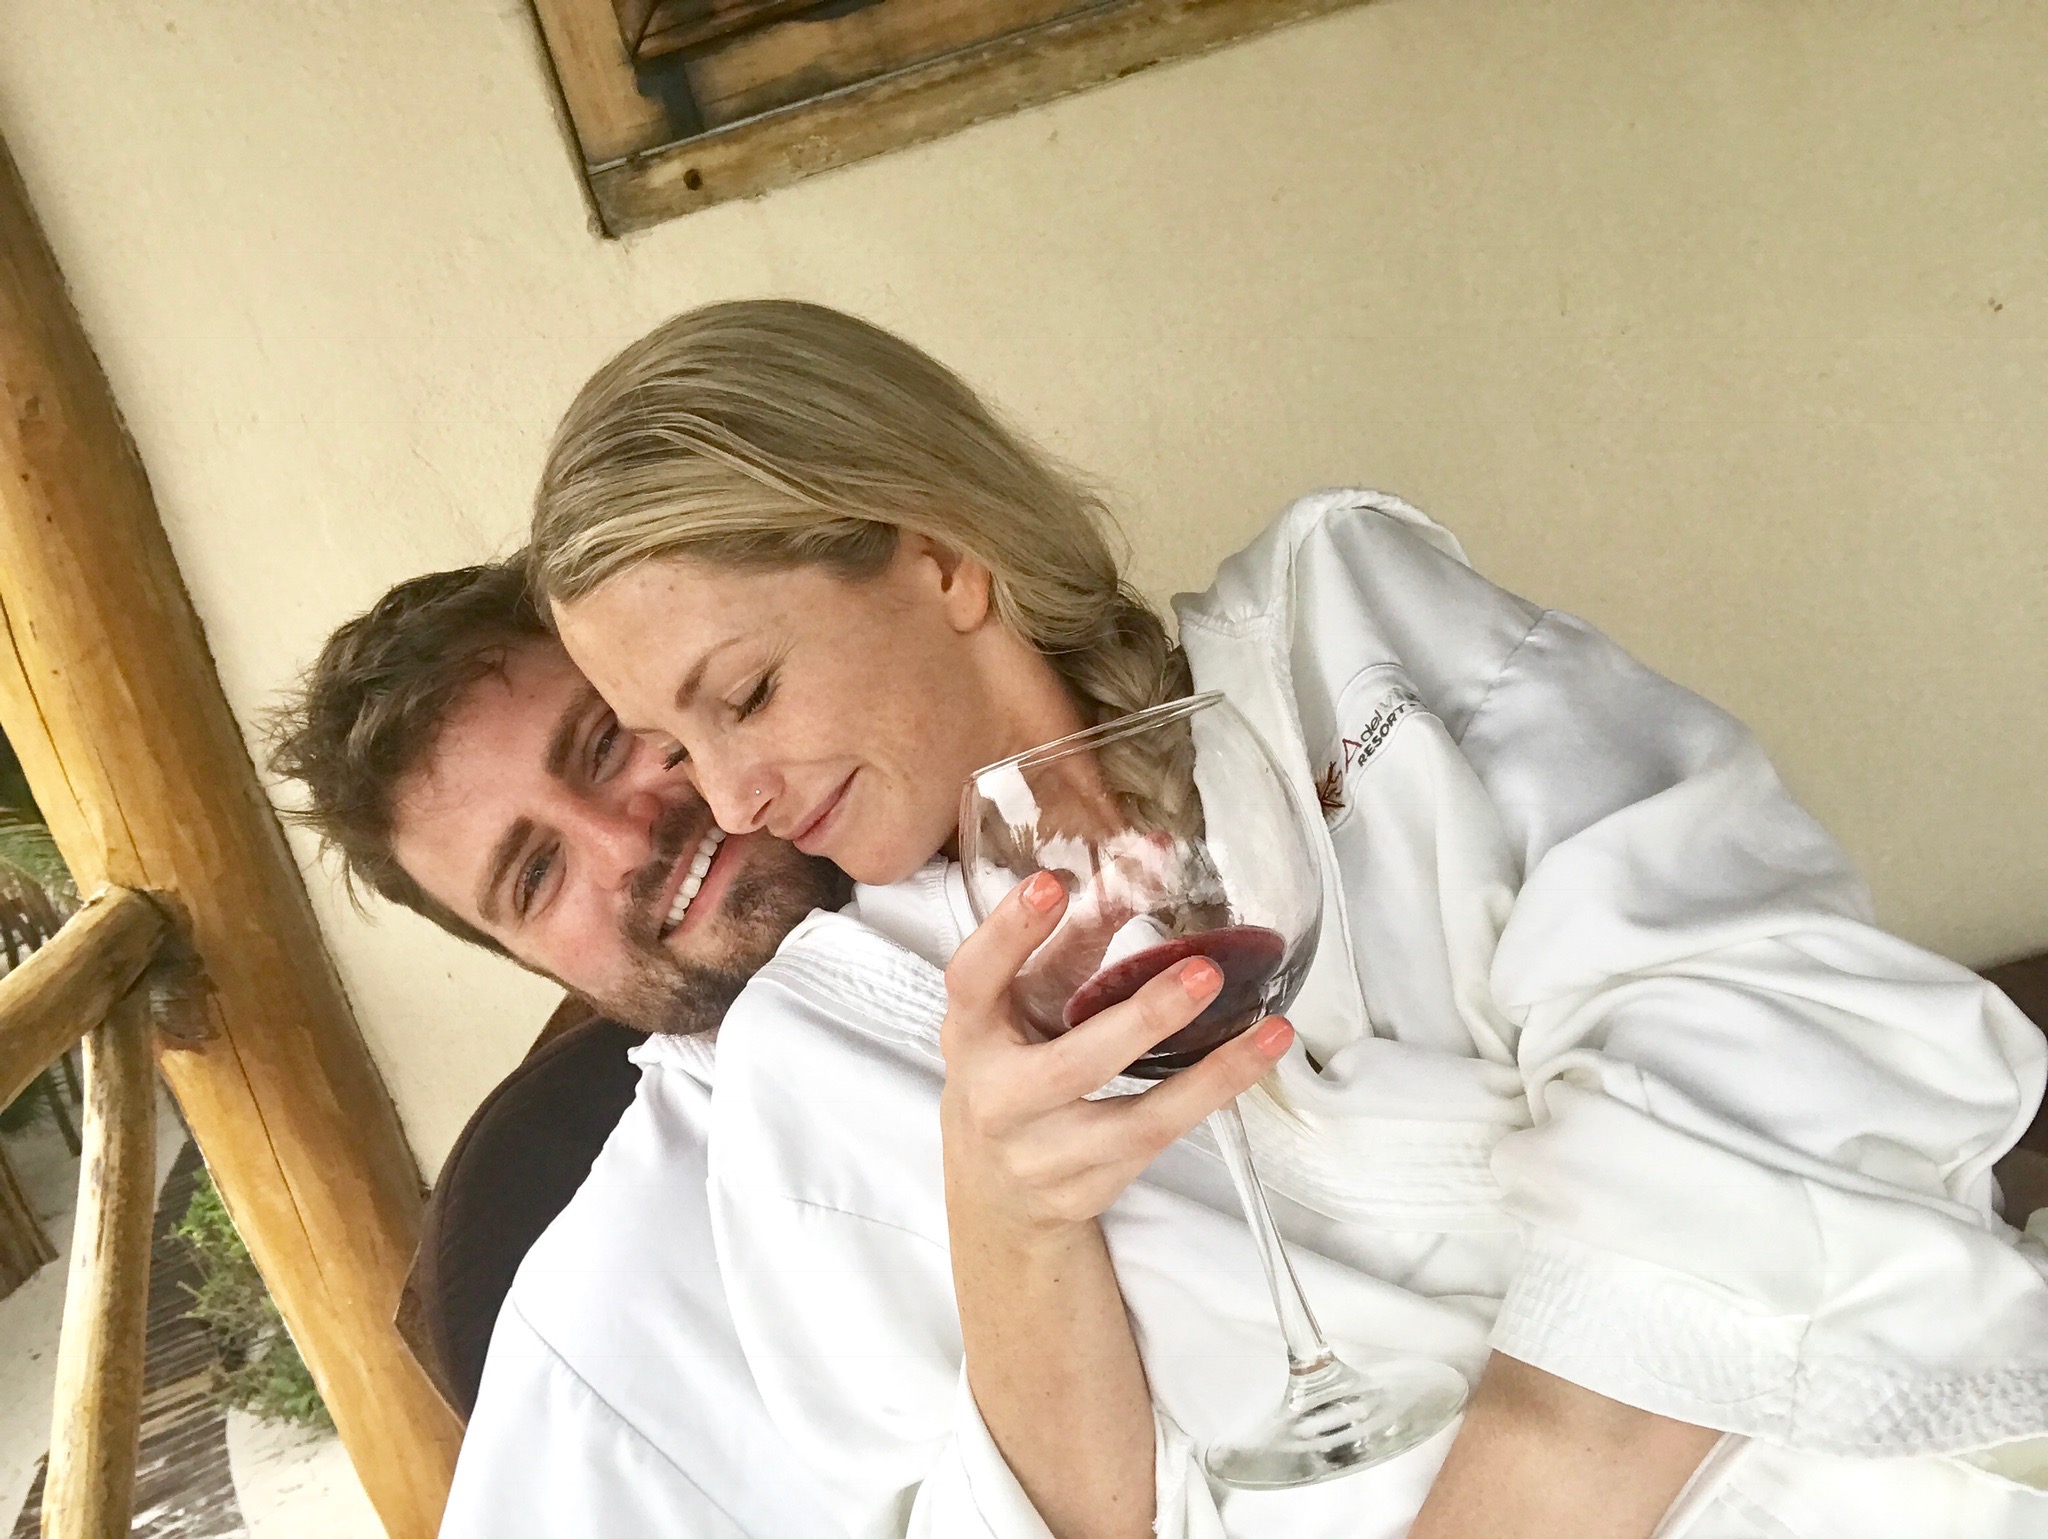
WHERE WE STAYED
We stayed at Rosa Del Viento and absolutely loved it! I would definitely stay here again. Our hotel was literally the very last hotel along the hotel strip, about an hour walk or a 10 minute drive up to the main part of the beach. We had a beach front, ocean view room and was absolutely incredible. I would highly recommend this hotel.


PROS:
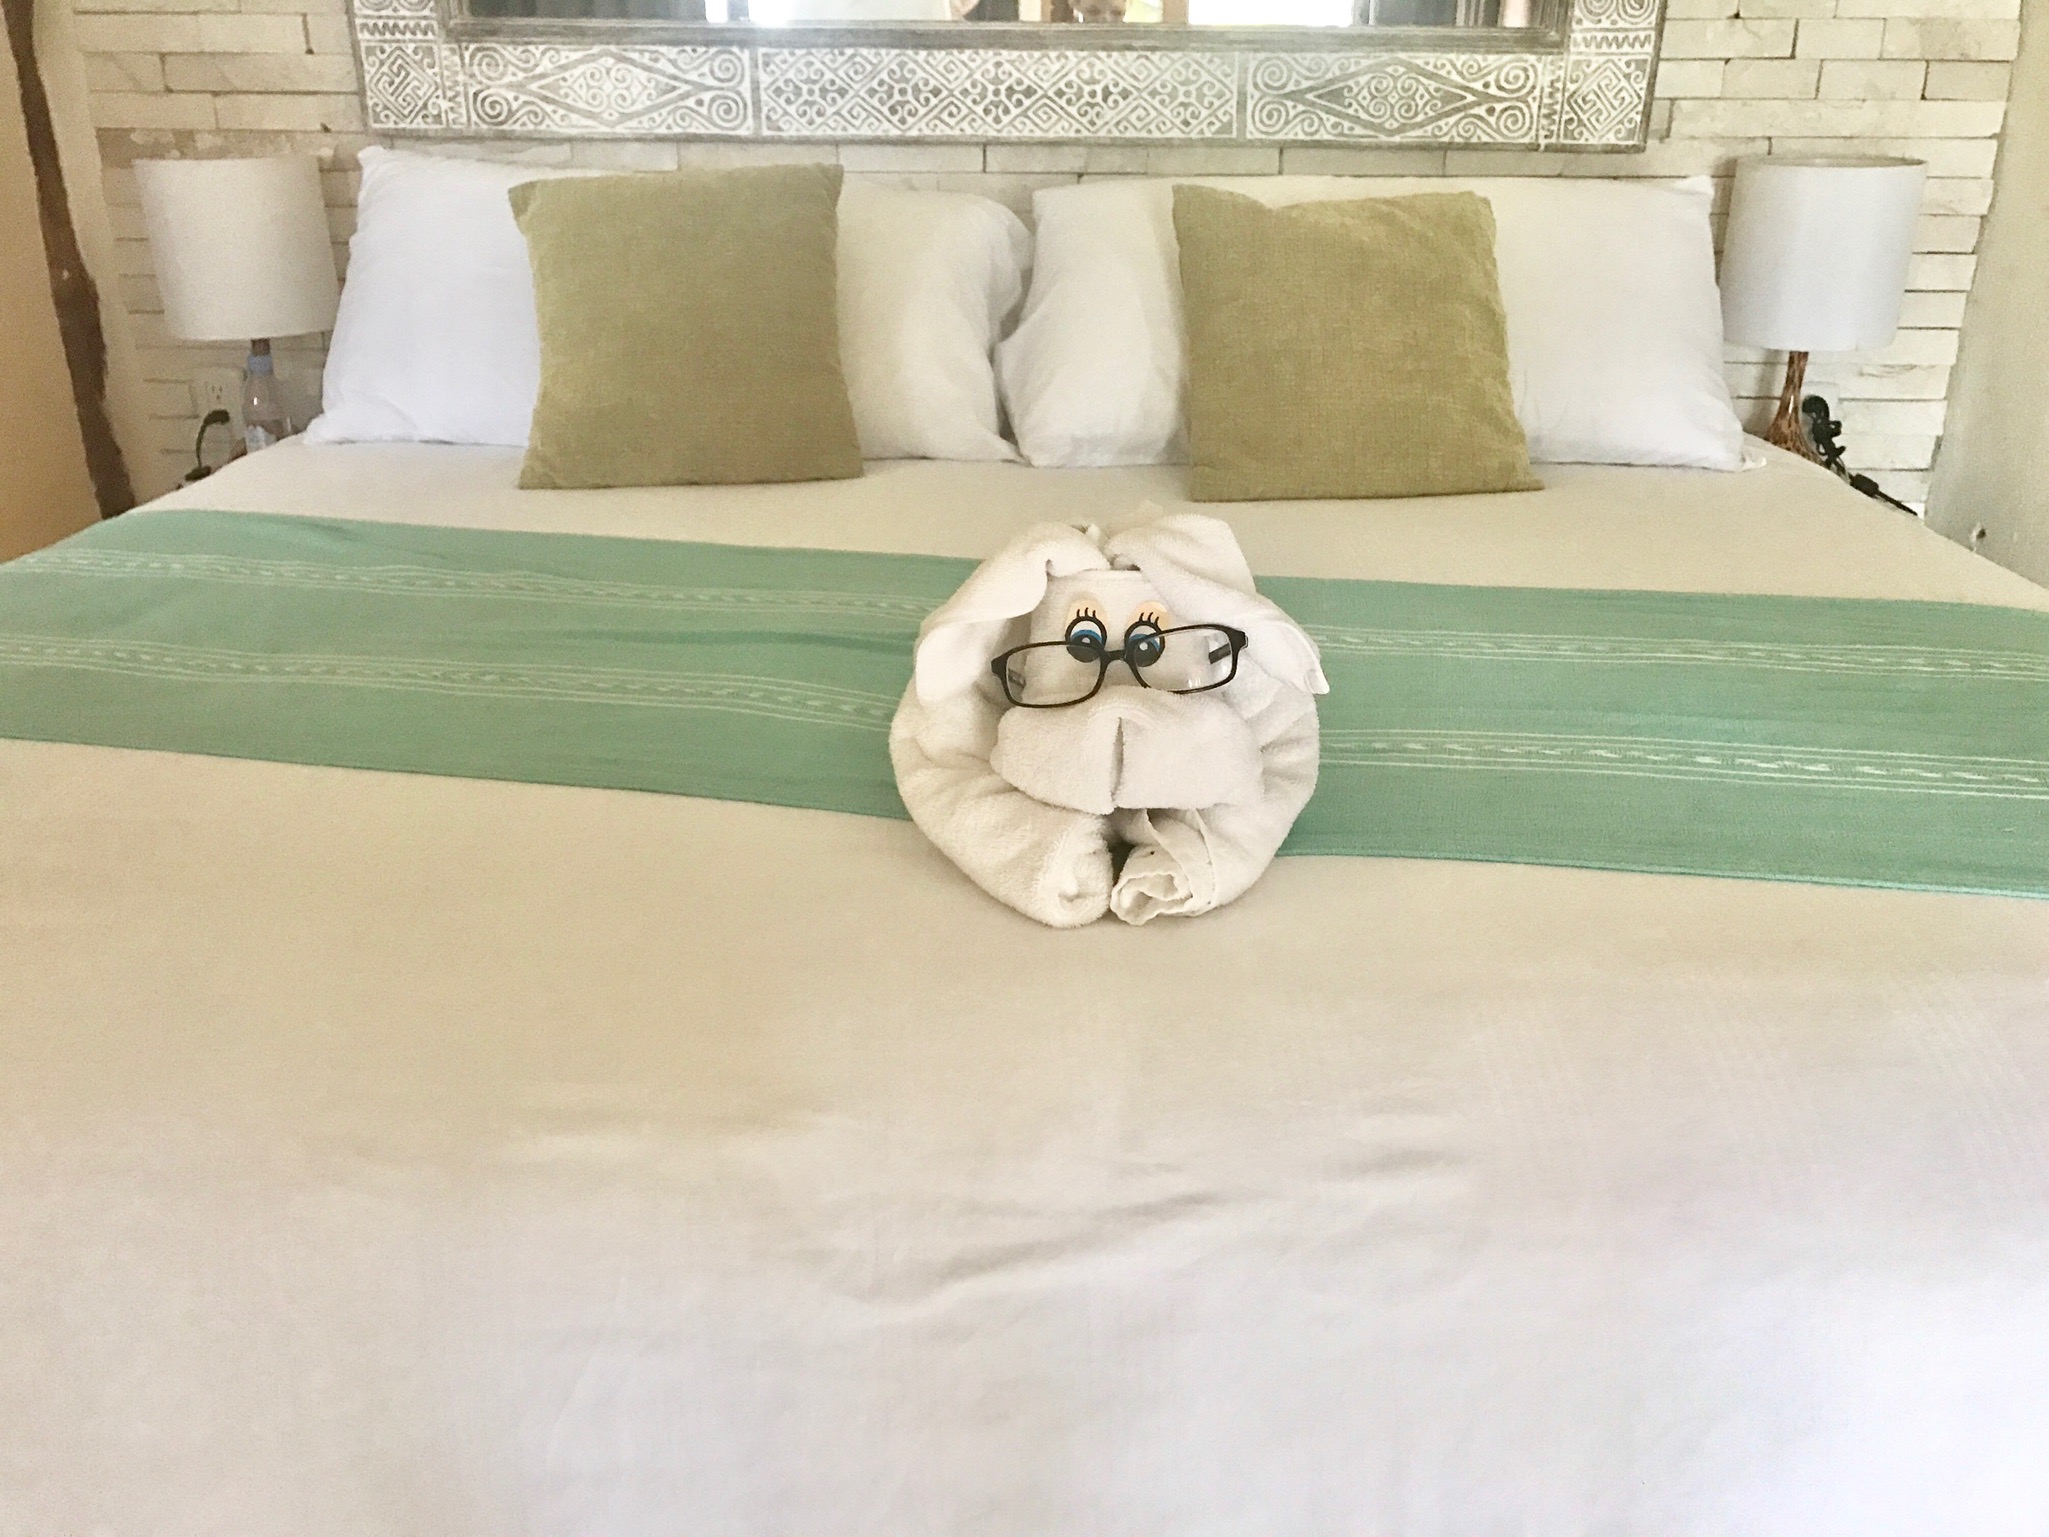
Amazing and friendly hotel staff
Clean, safe and beautiful resort
Free breakfast for hotel guests
Location- Being so far from the main hotel zone meant there was plenty of open beach chairs, no crowds, and basically a private beach
CONS:
Location- This wasn't really a con for us, but I'm sure to some people it would be if you wanted to be within walking distance to the other resorts and restaurants. We rented a moped to get around which I would highly recommend
Food- The food and drinks were just okay compared to other resorts but this also wasn't really a big deal to us since we explored other restaurants and beach clubs anyway.
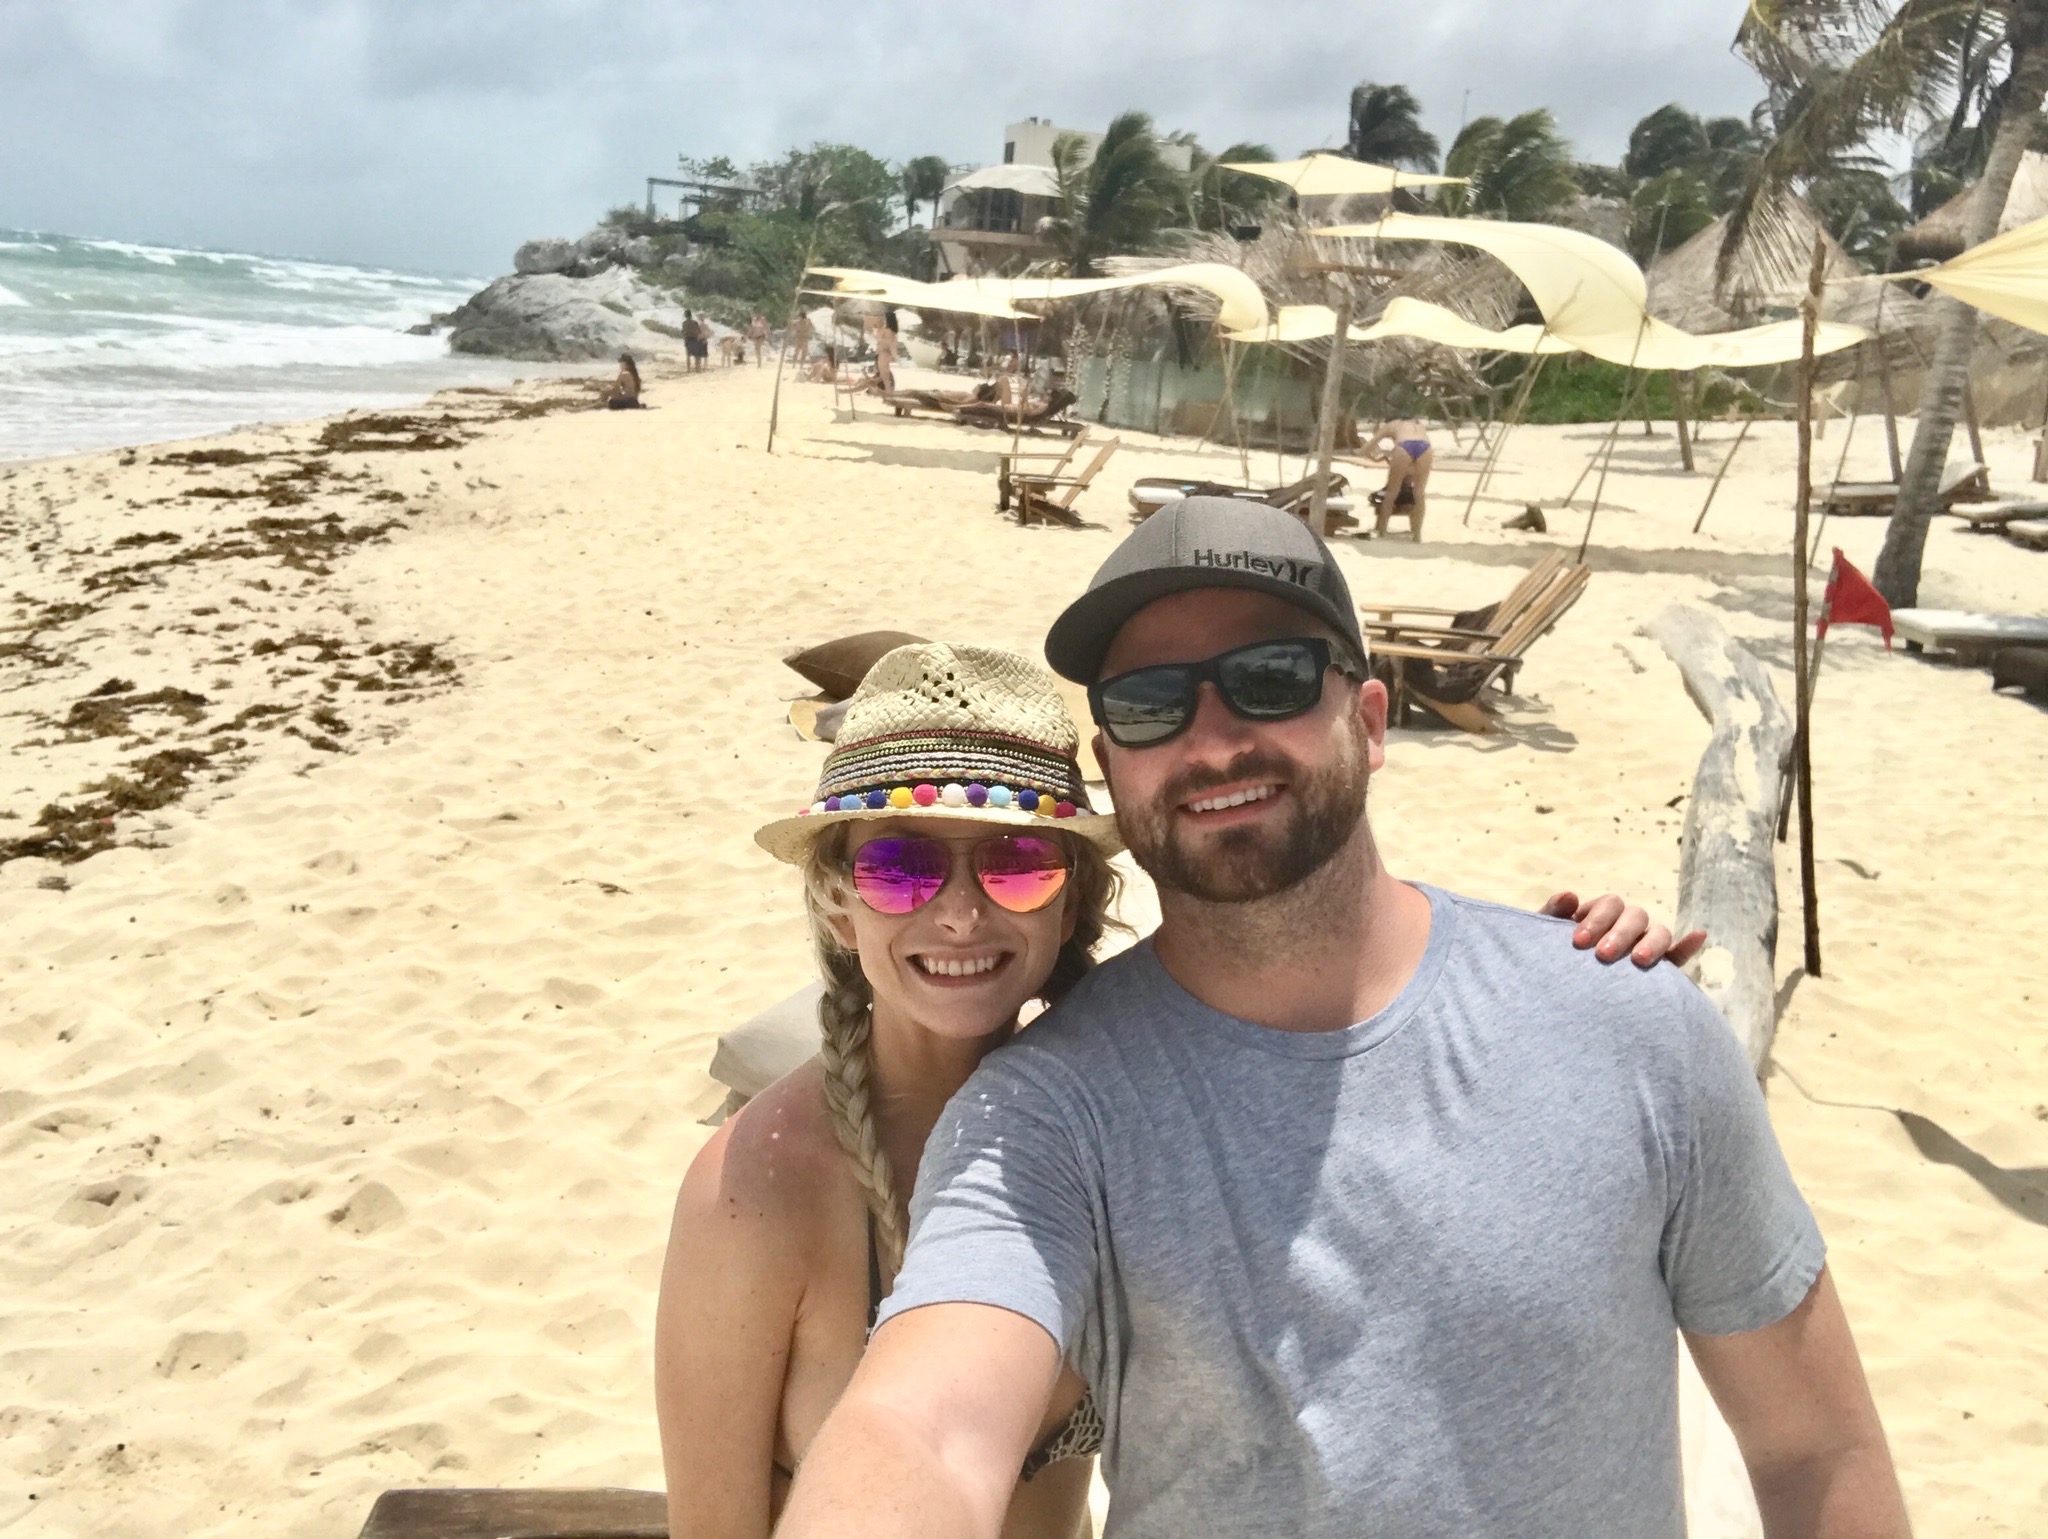
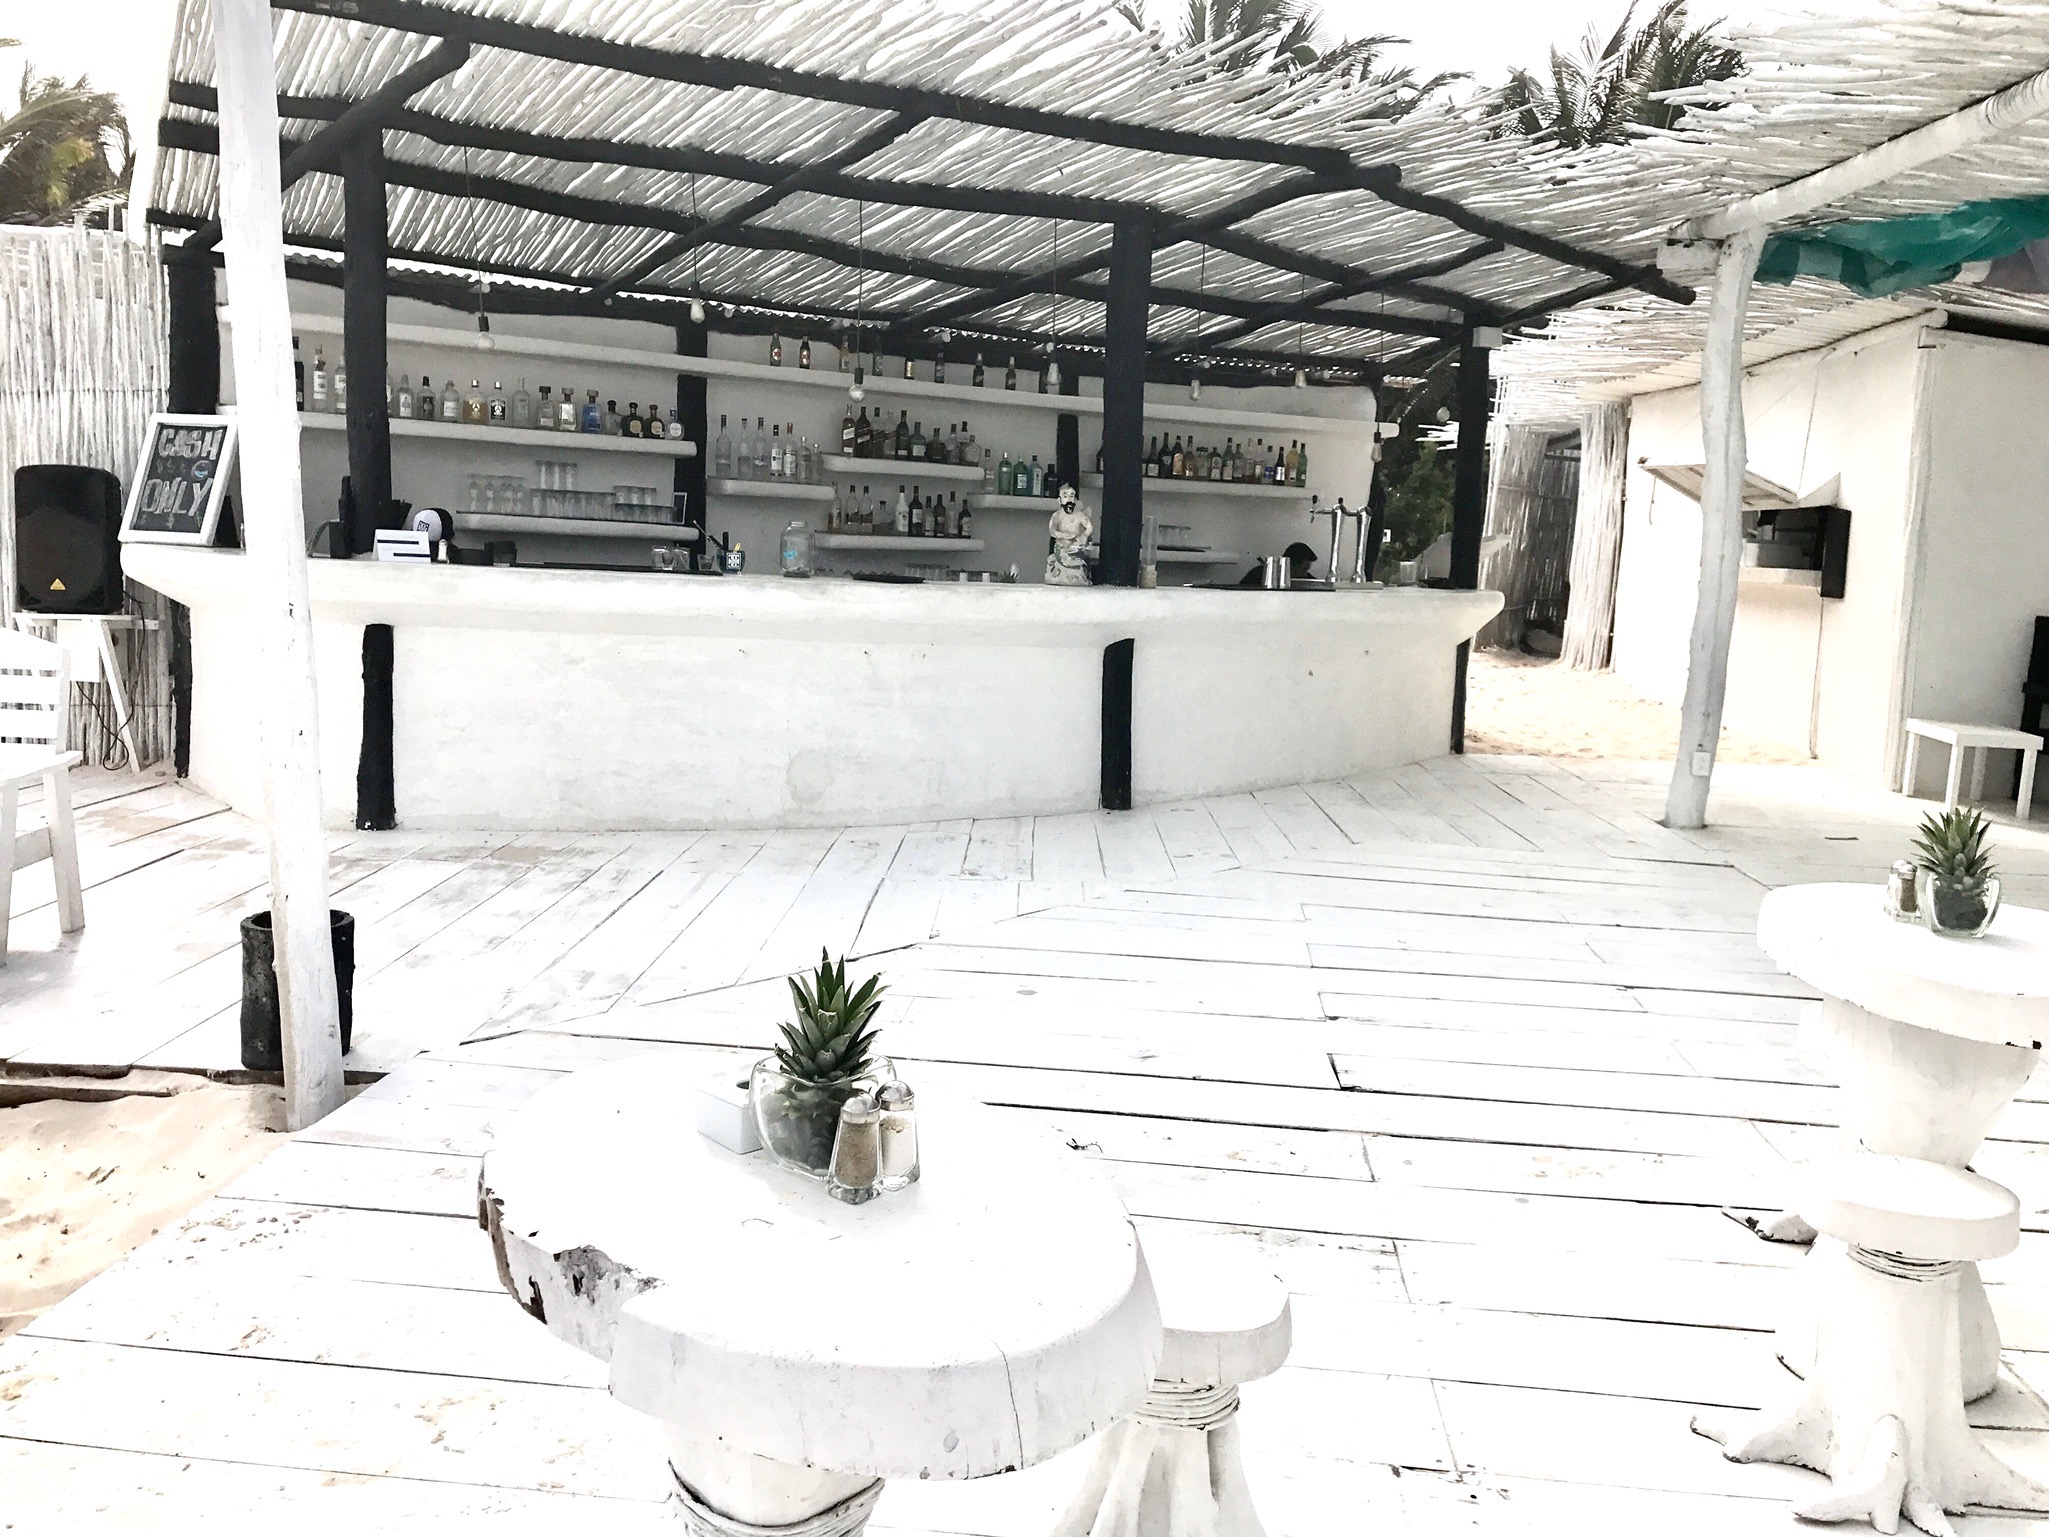
FAVORITE BEACH CLUBS
AZULIK
My absolute favorite beach club. You MUST go here...that honeymoon suite is on the bucket list ✔
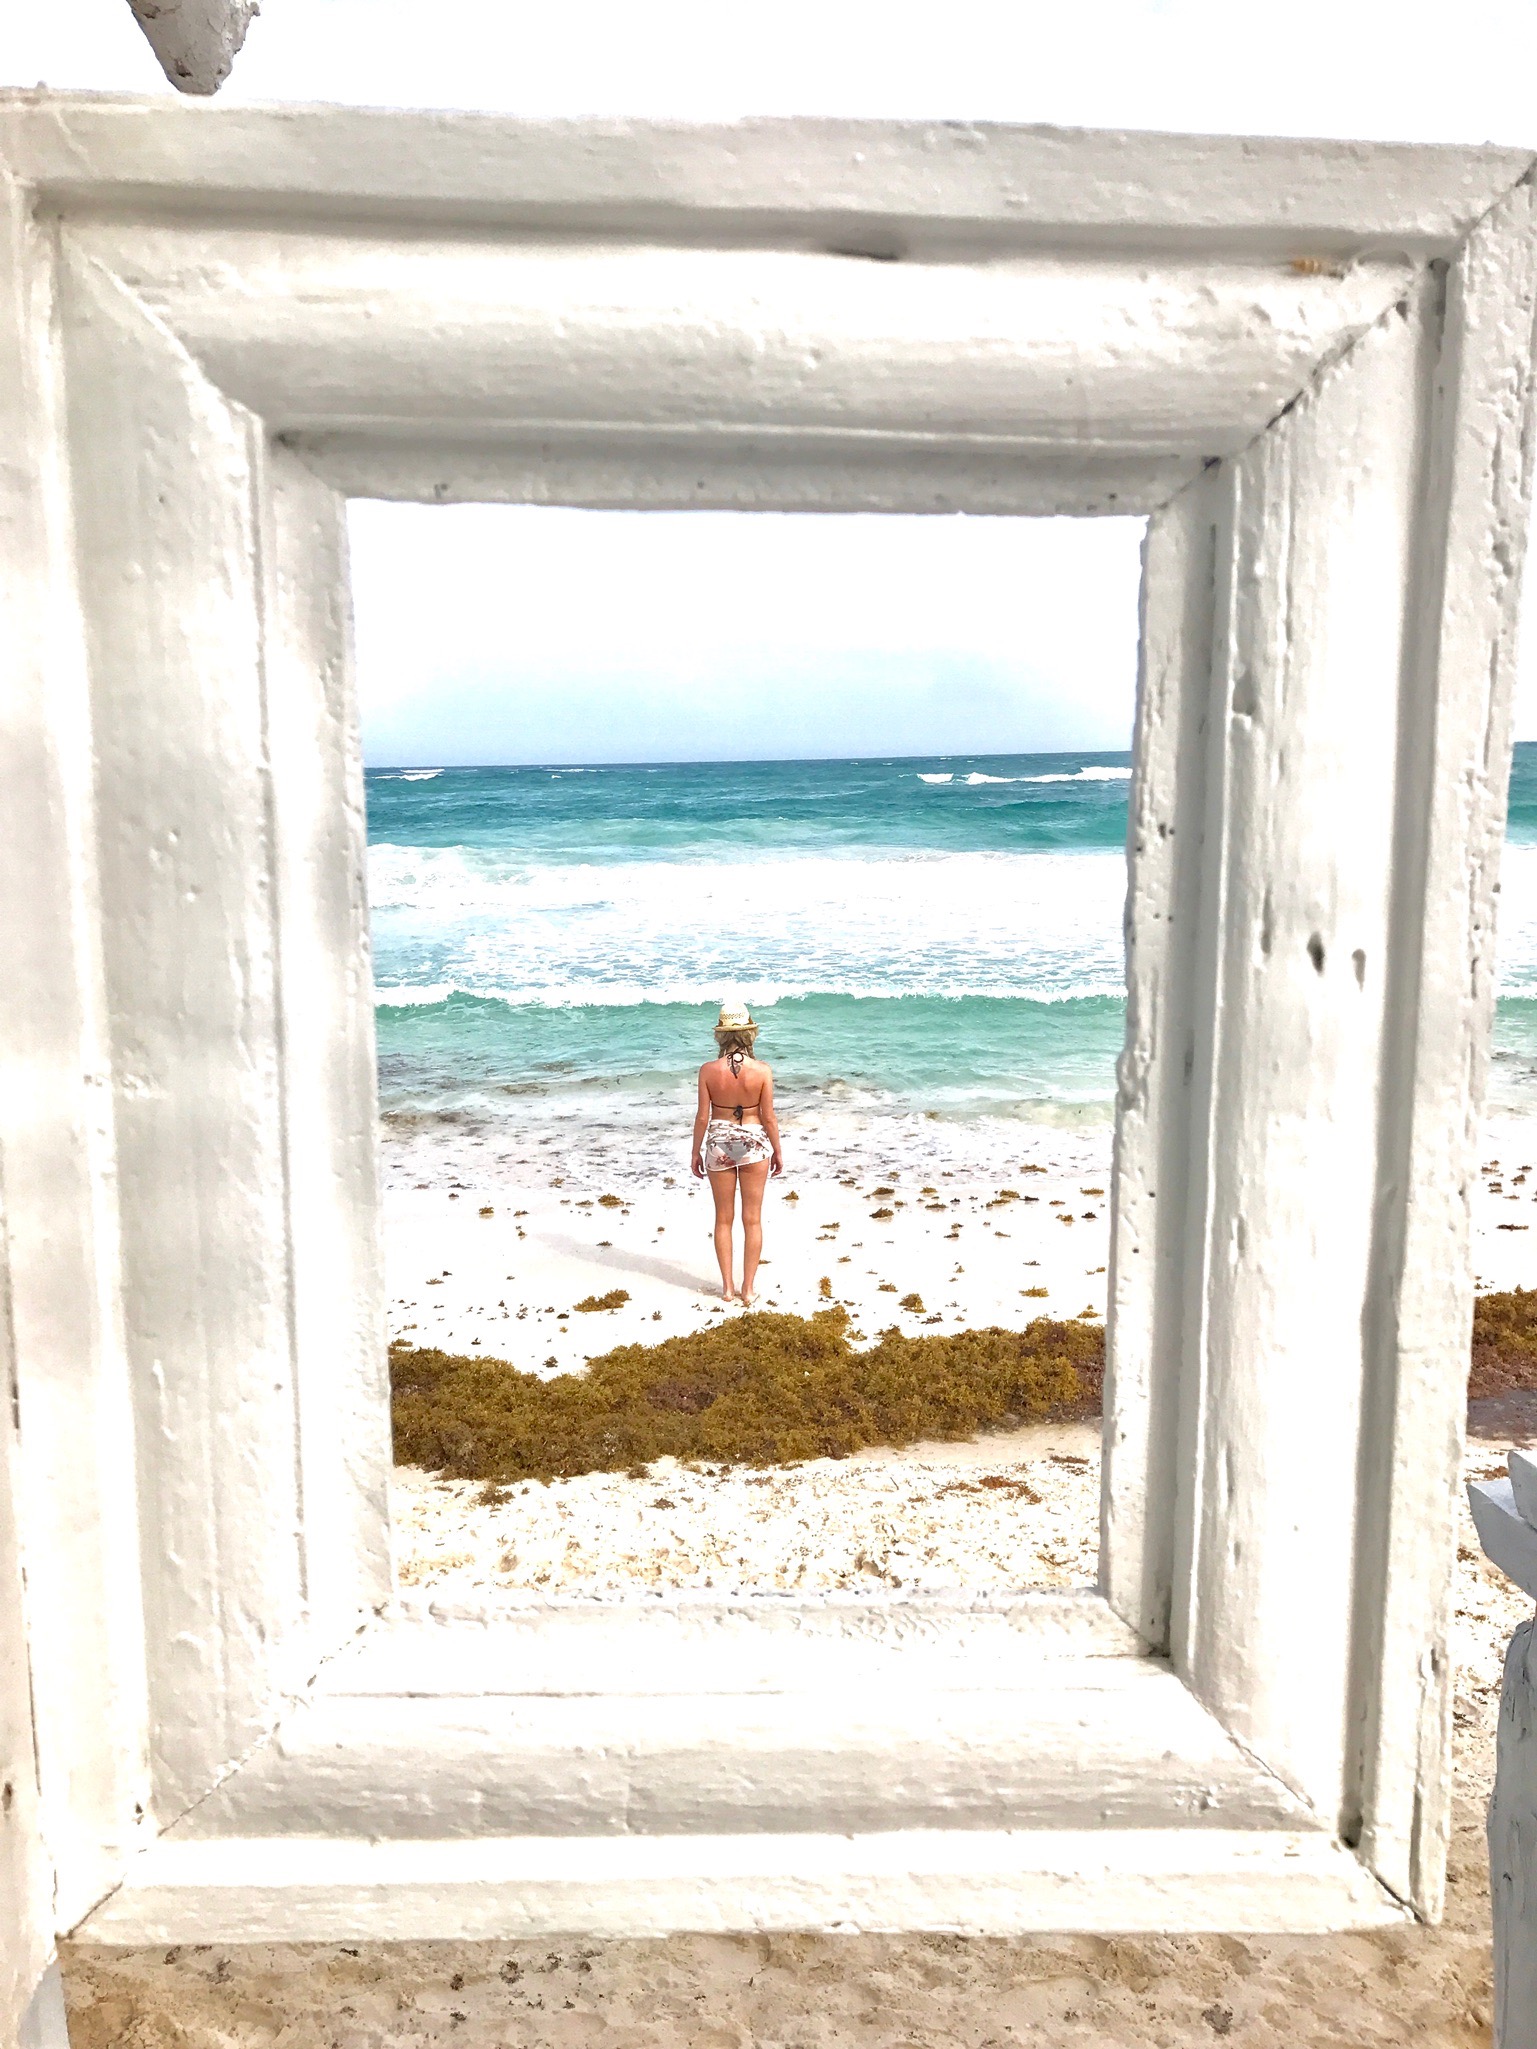
(All of the photos below were taken at Azulik! There is also no access to any other hotels here, so the only people here are hotel guests or visitors. You must spend $40 for access to their beach)


COCO TULUM
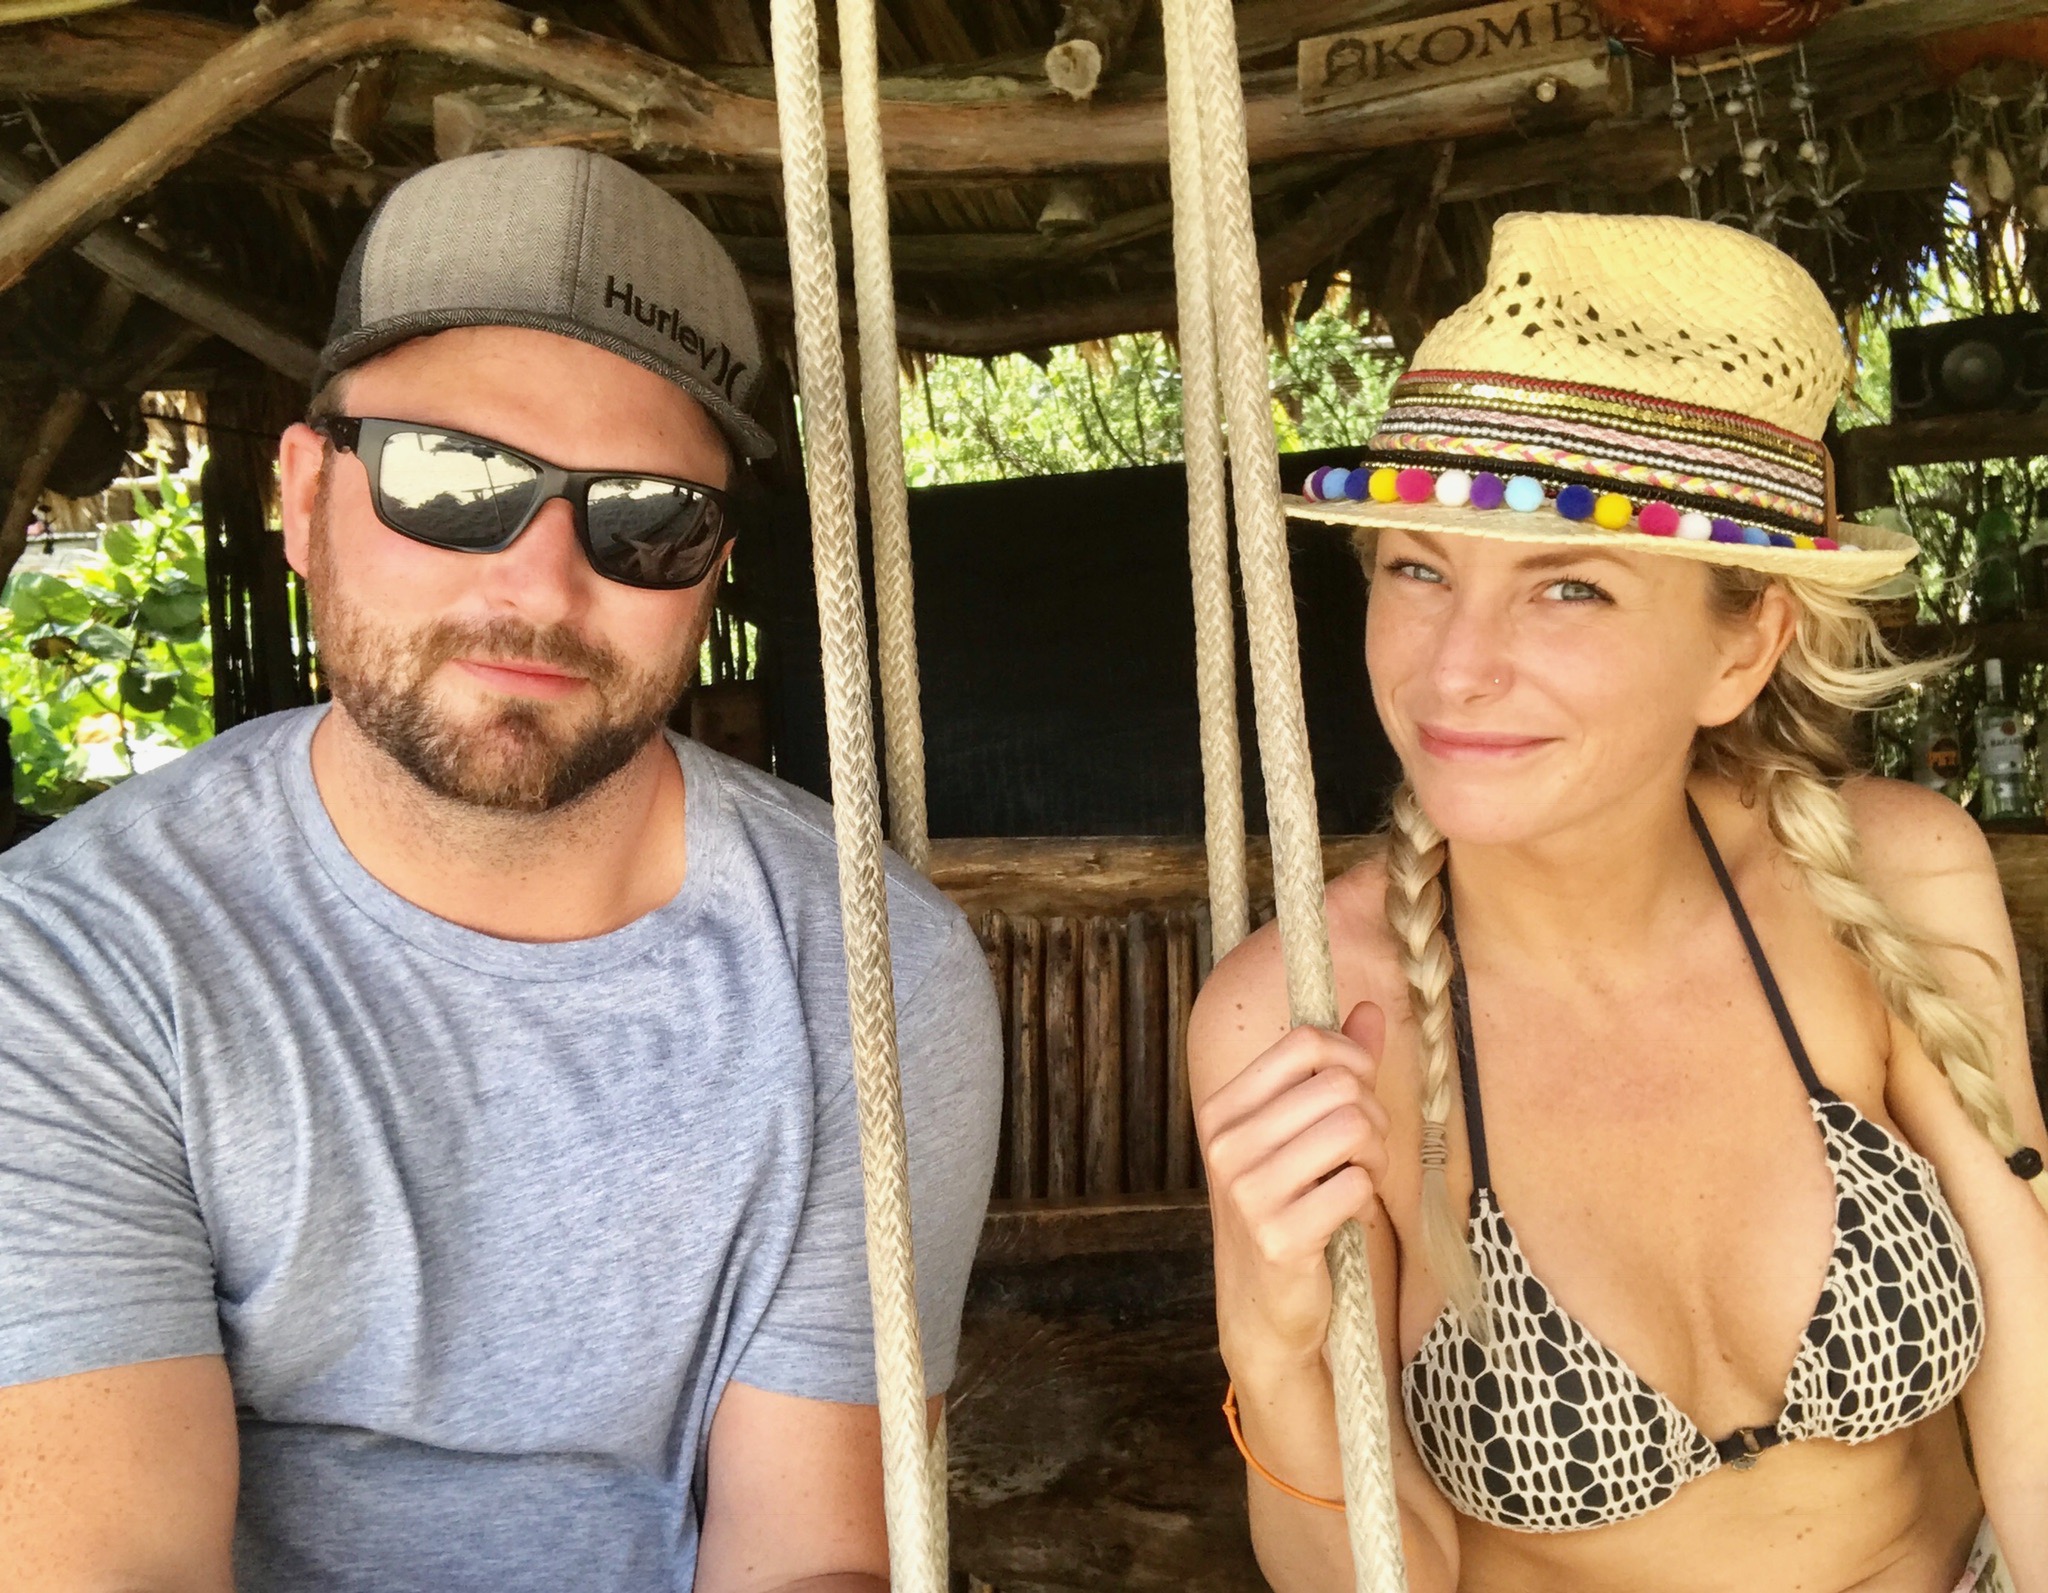
The most picturesque beach club with swings aligning the beach! Try to make it there at sunset!


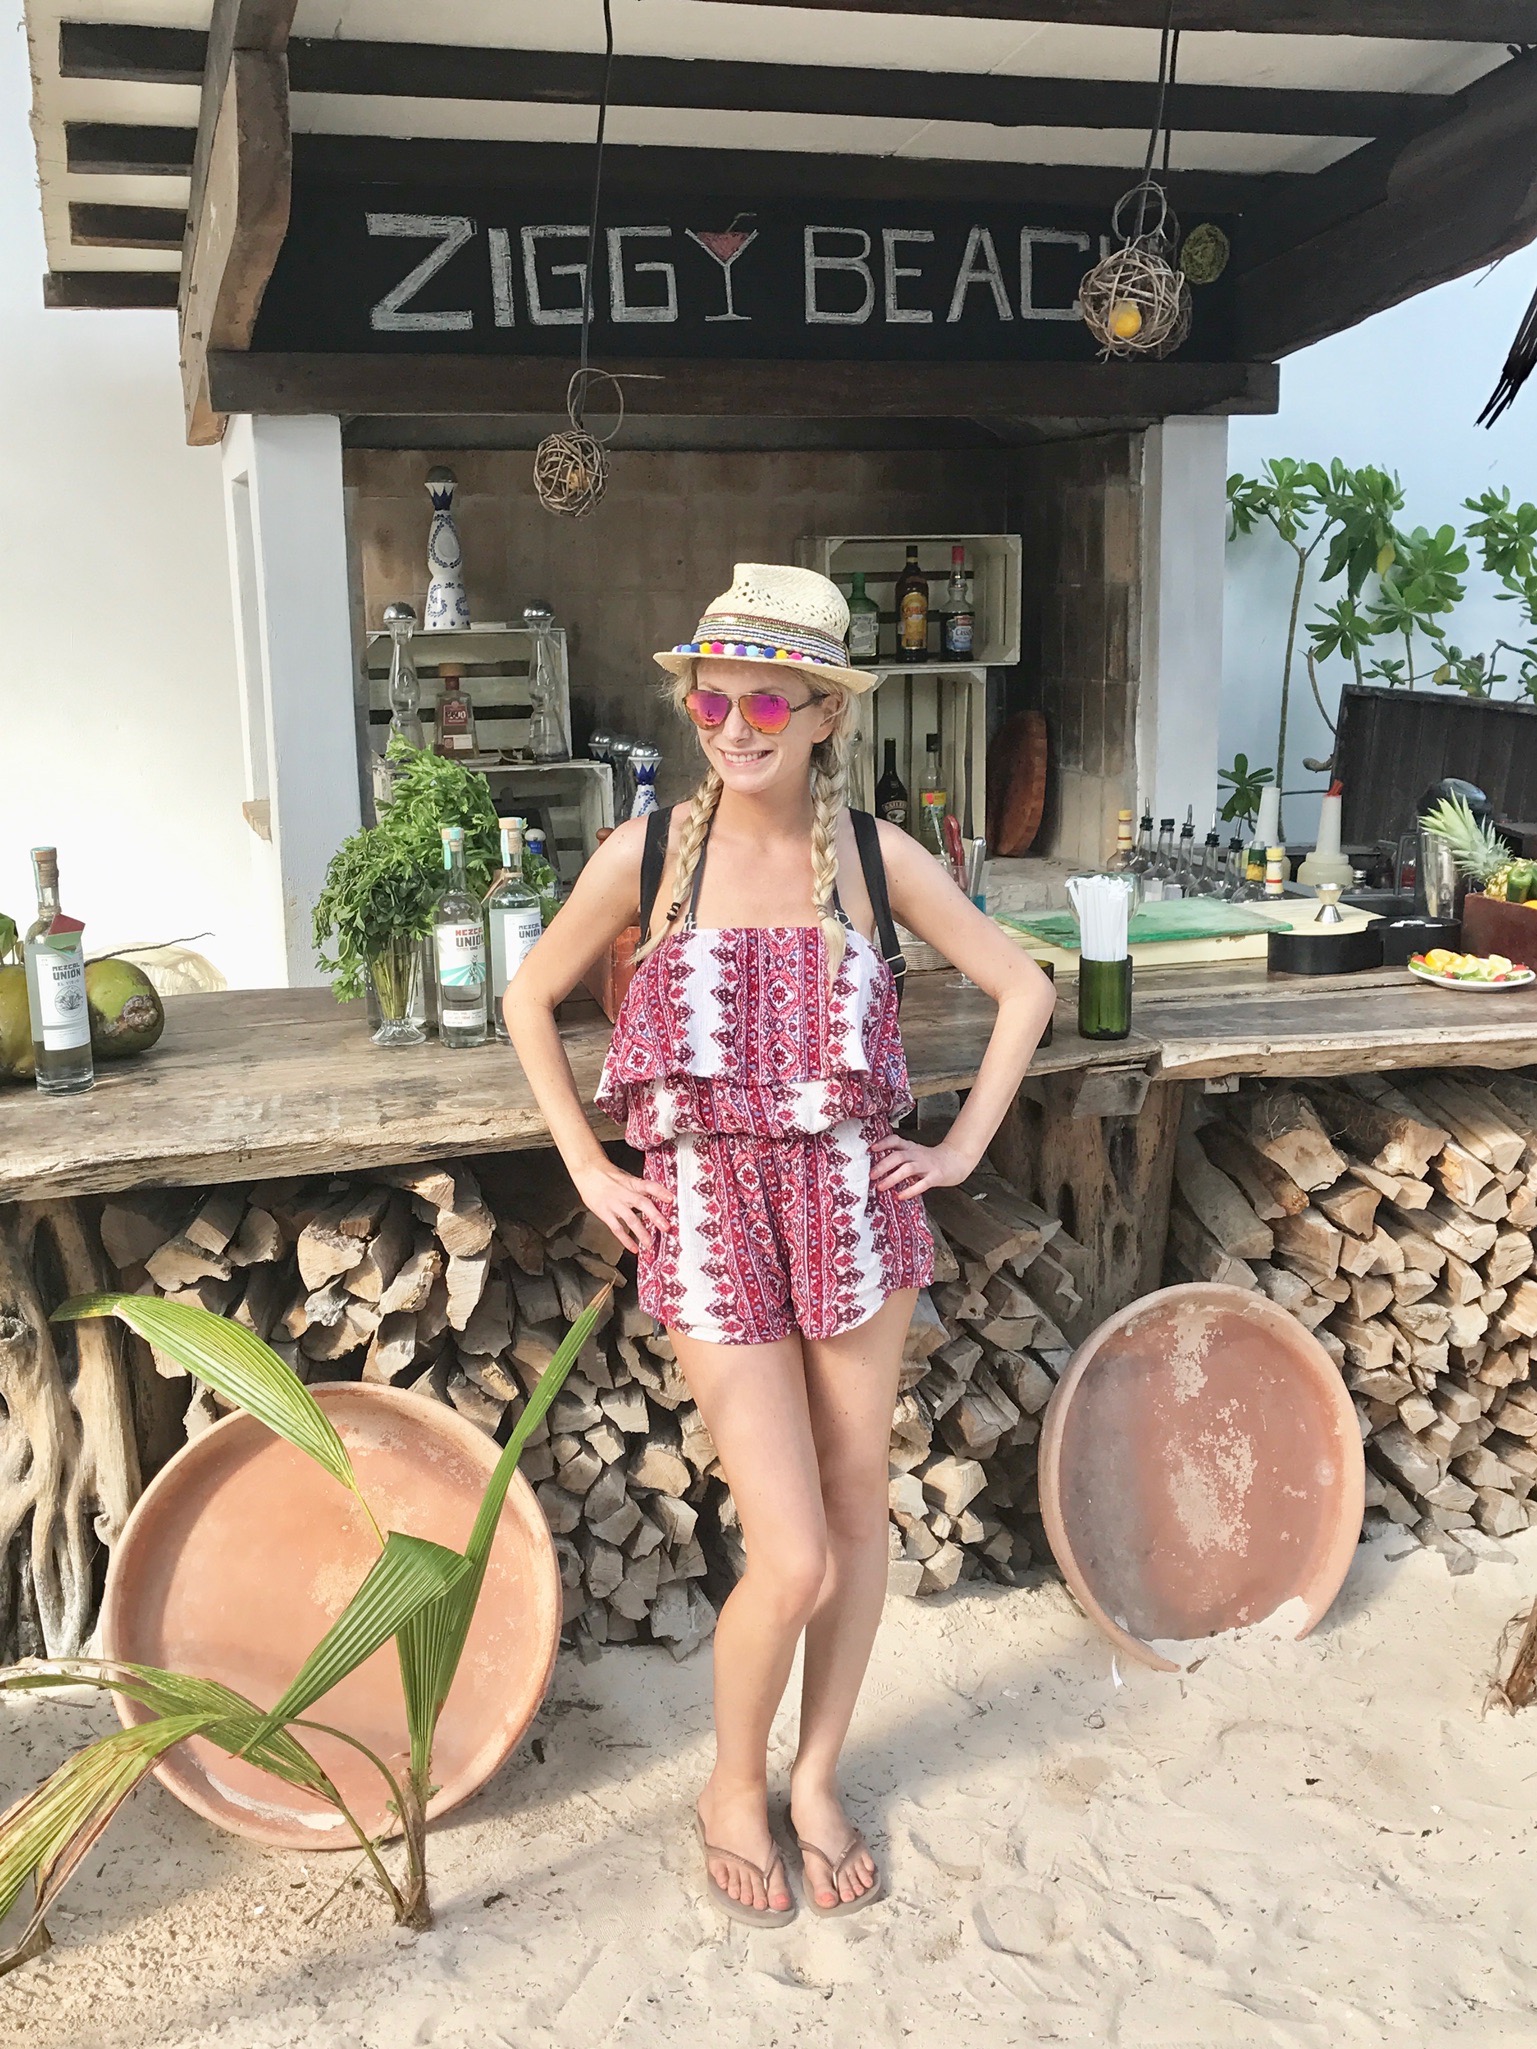
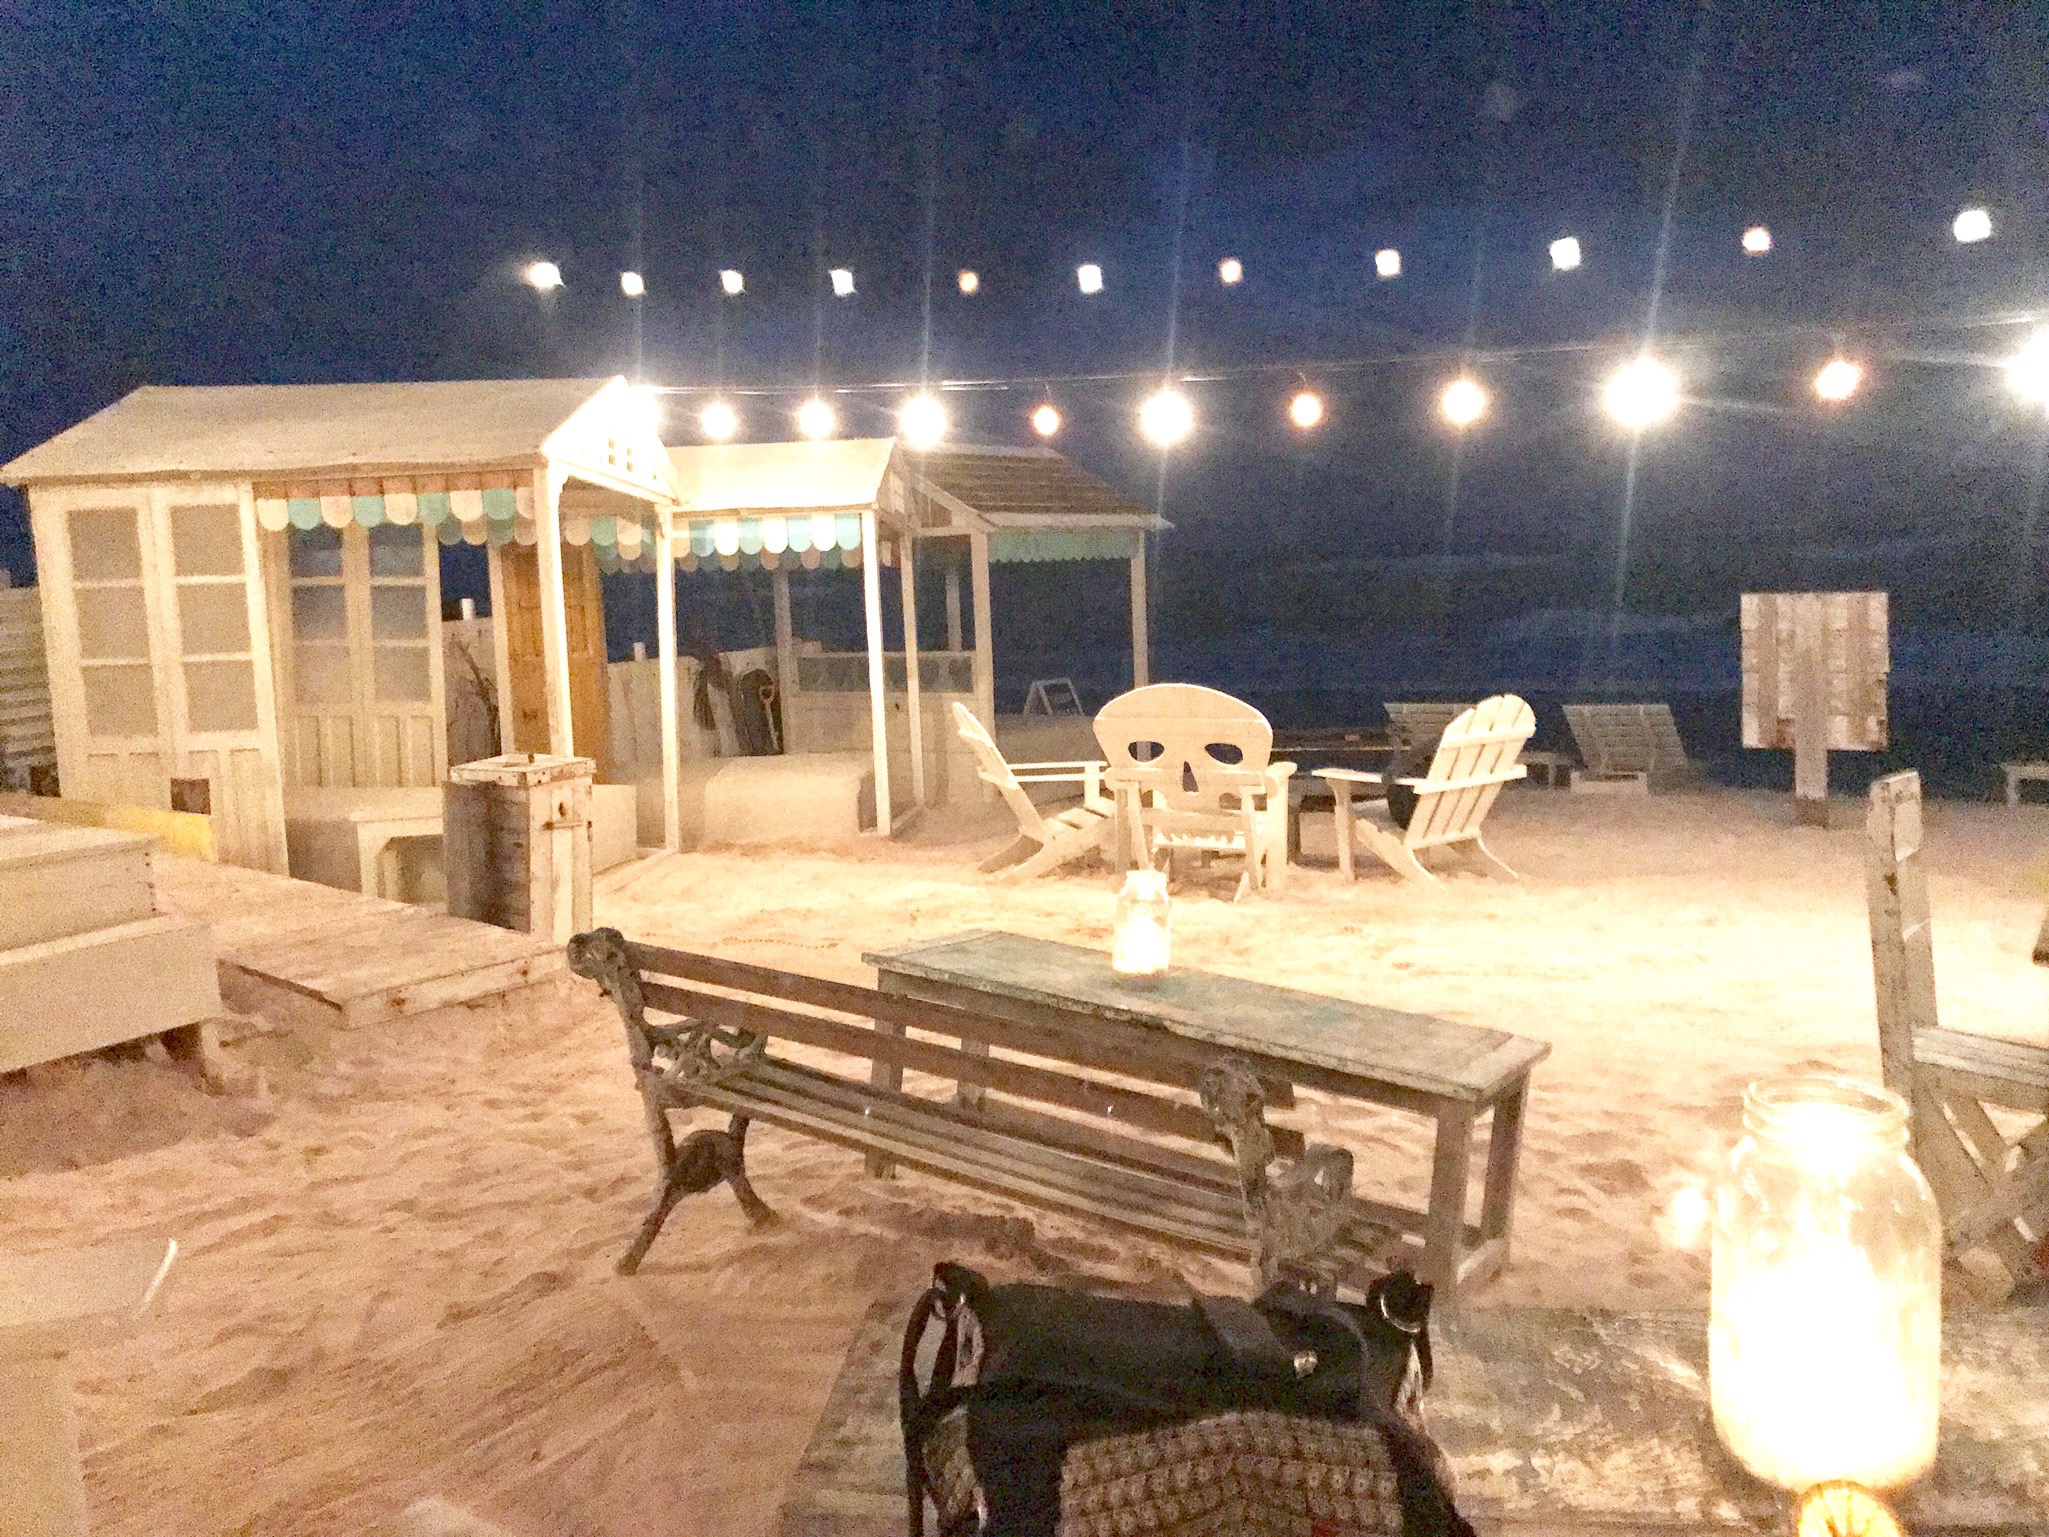
ZIGGYS BEACH
Ziggys has GREAT service and is also super cute at night! They have comfy chairs and a little fire pit close to the beach.
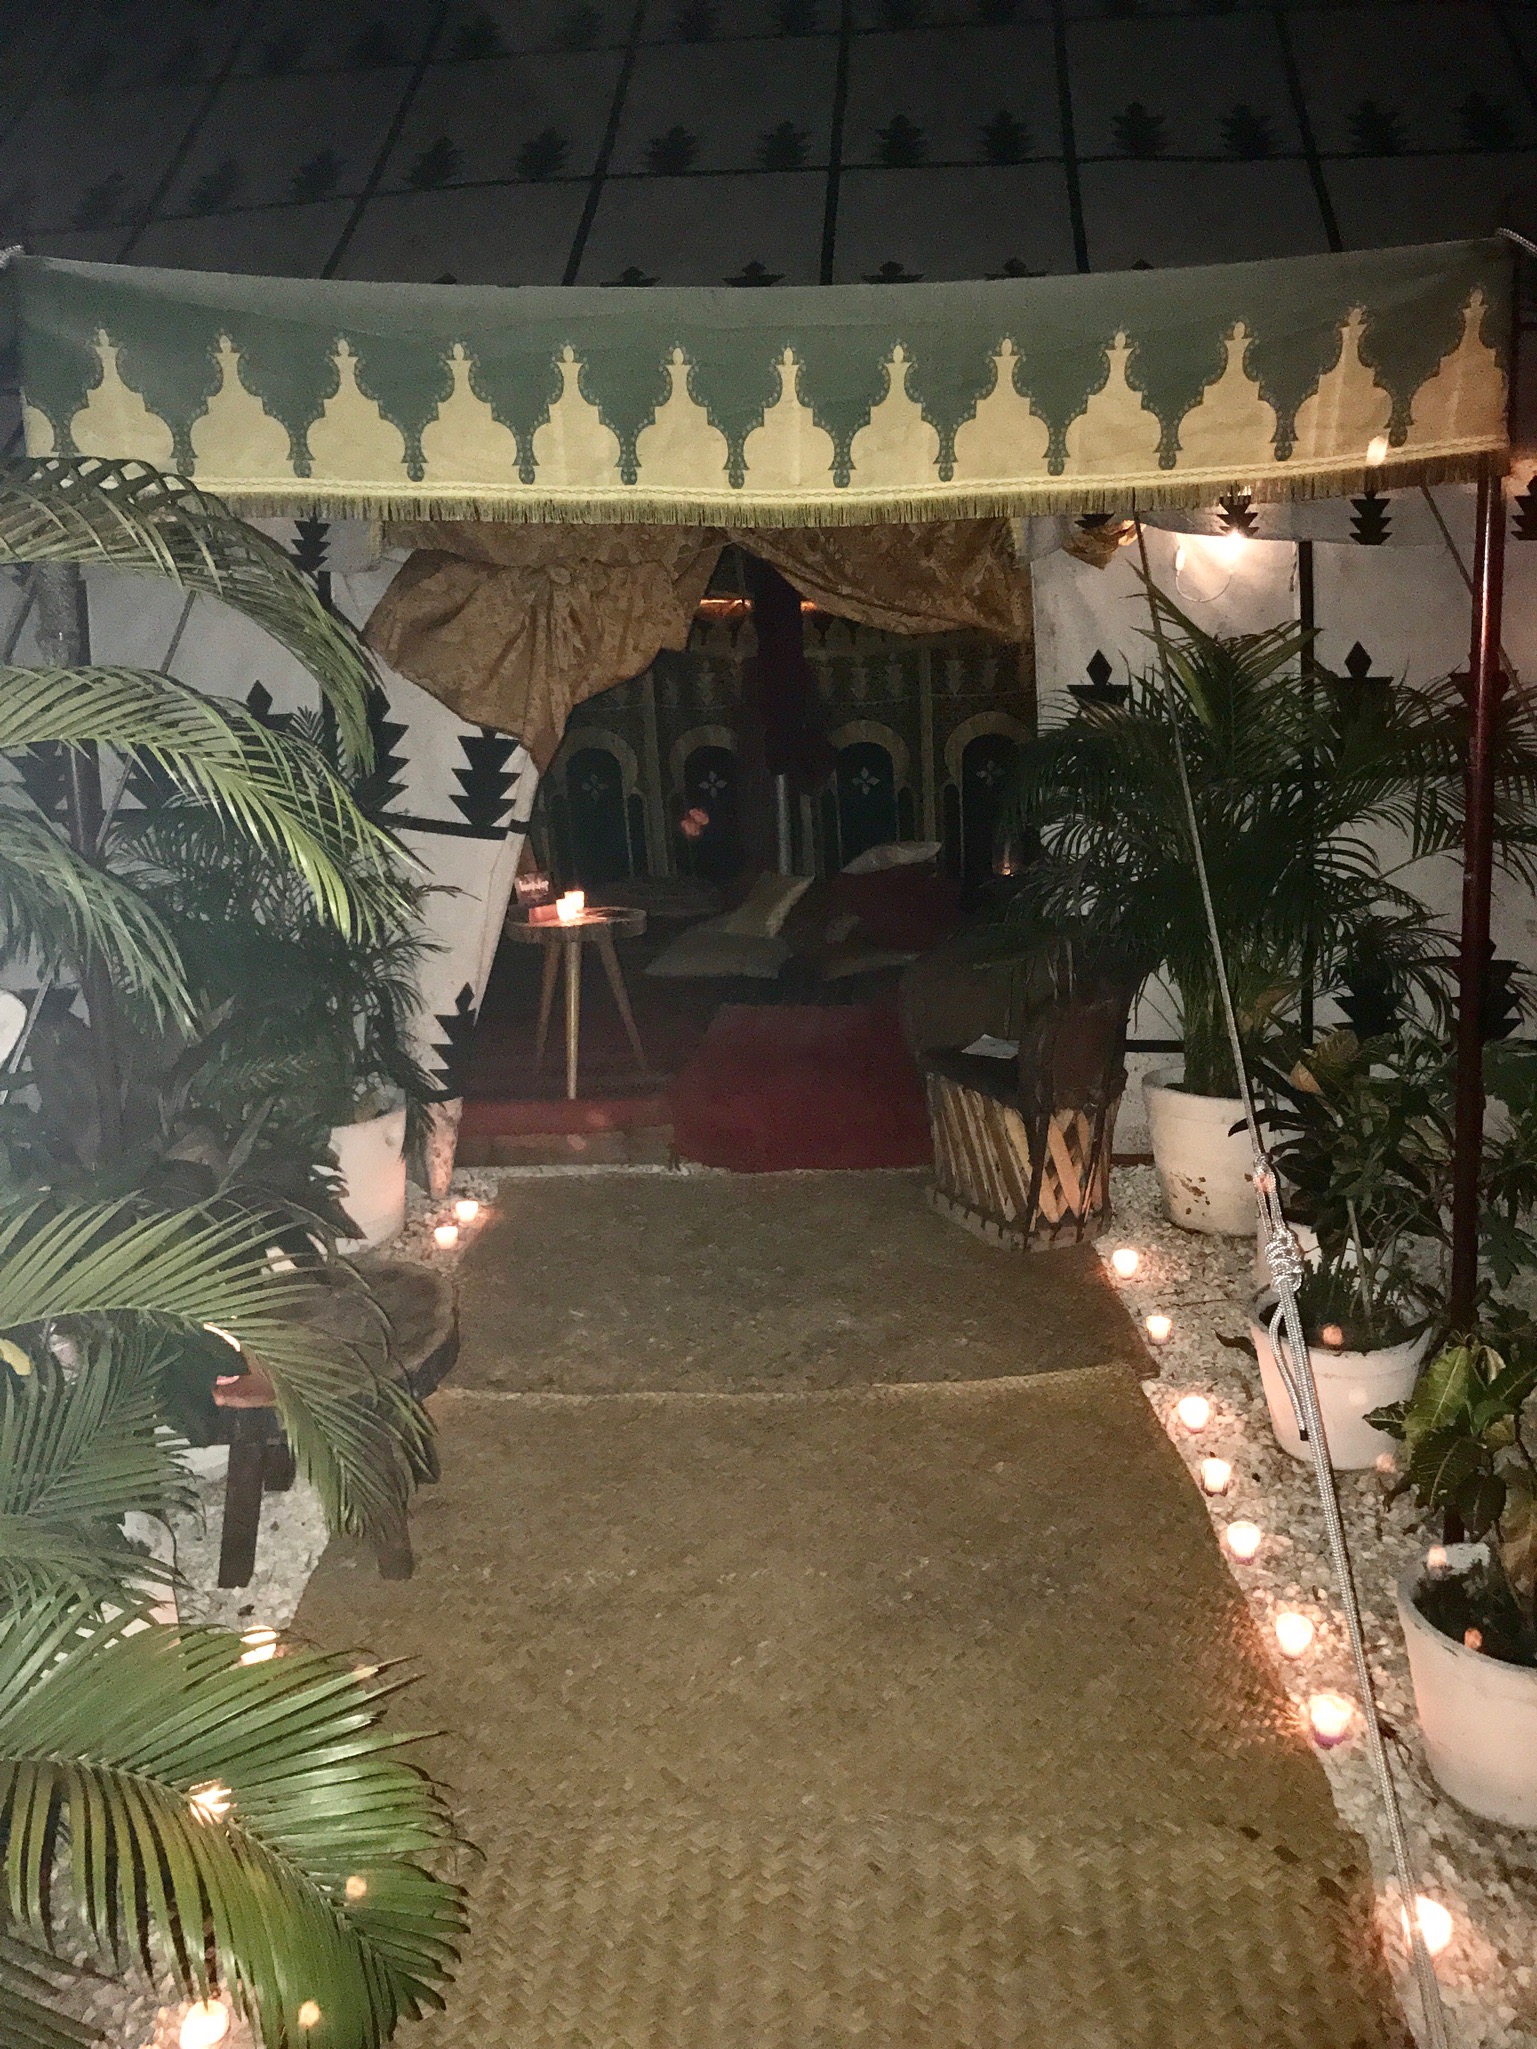
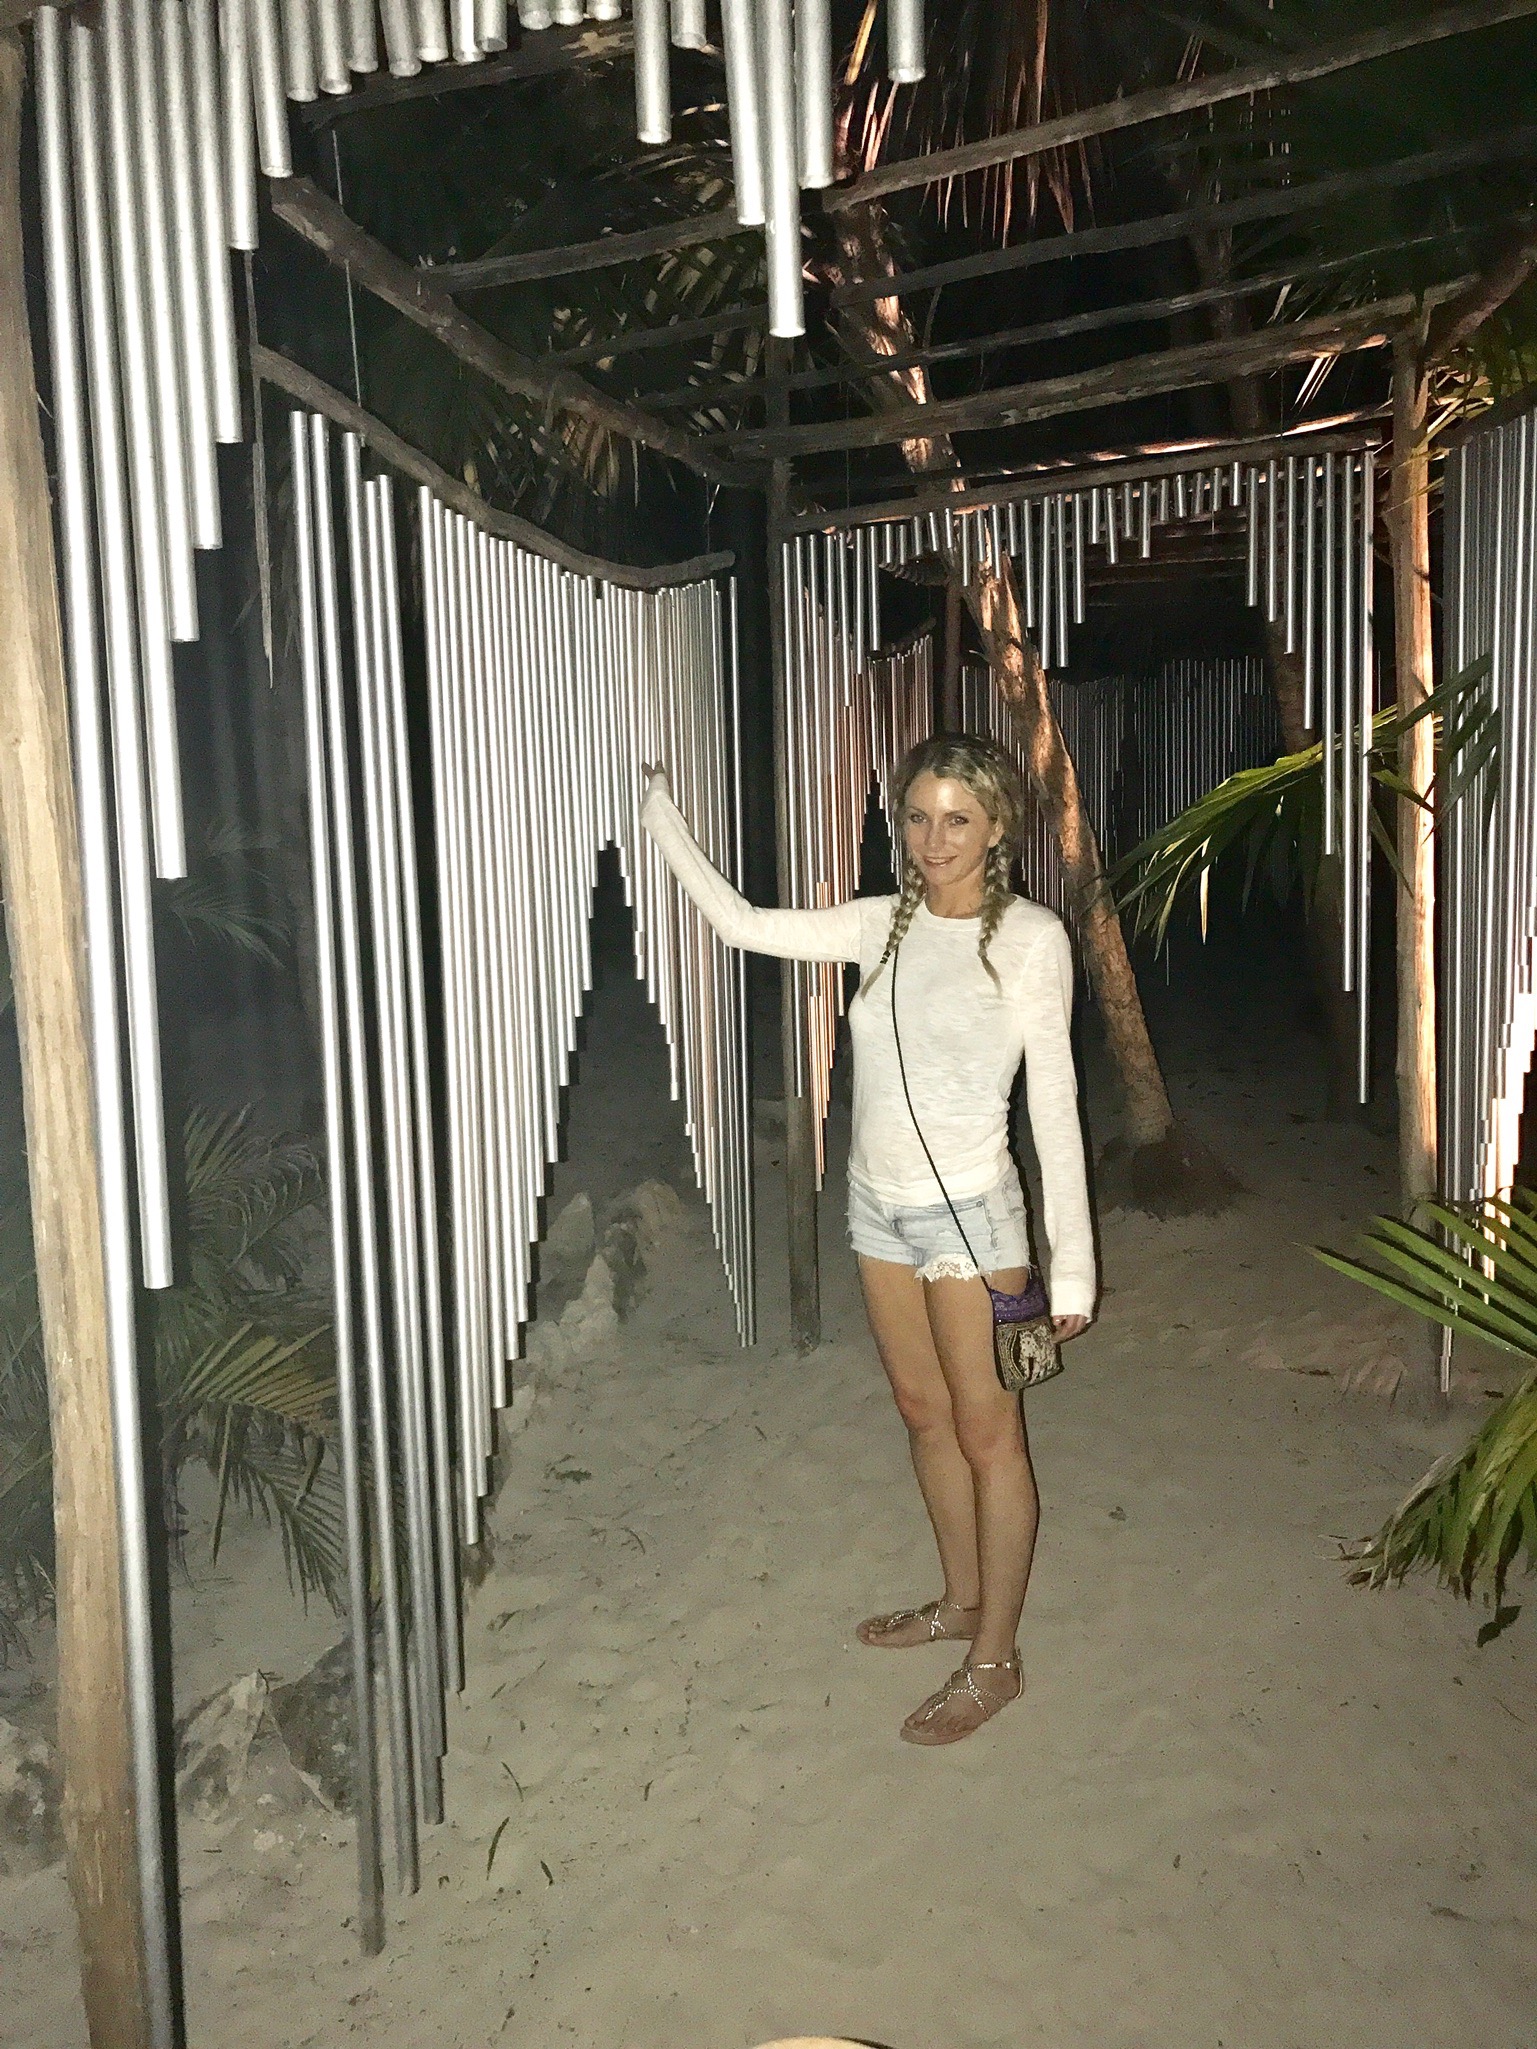
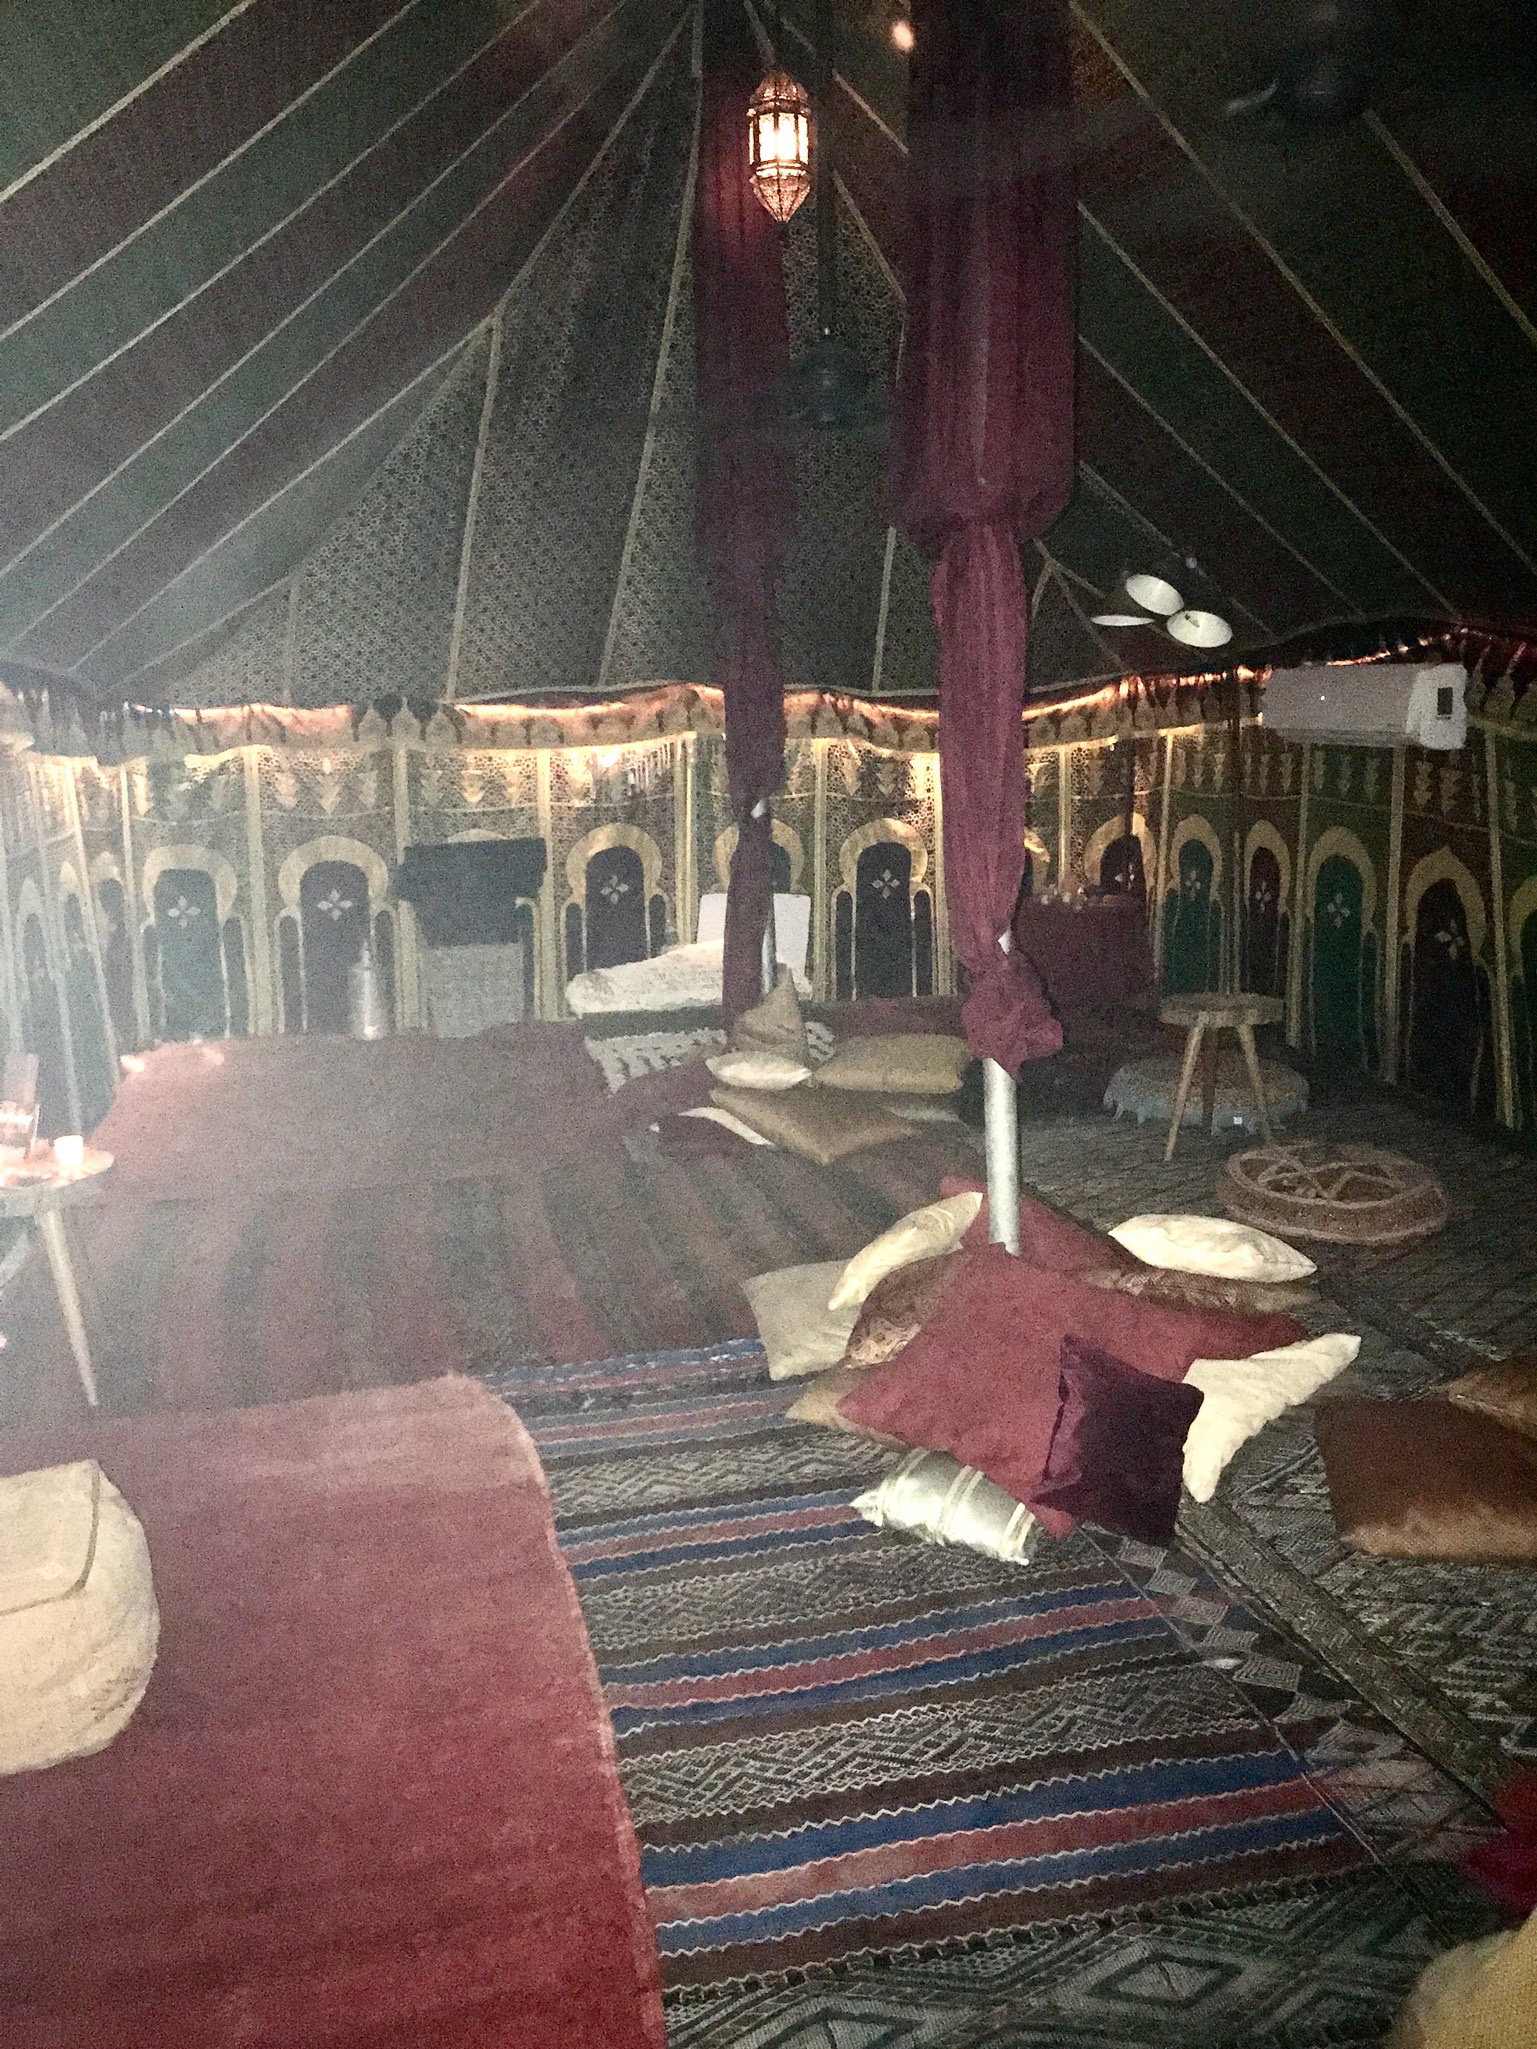
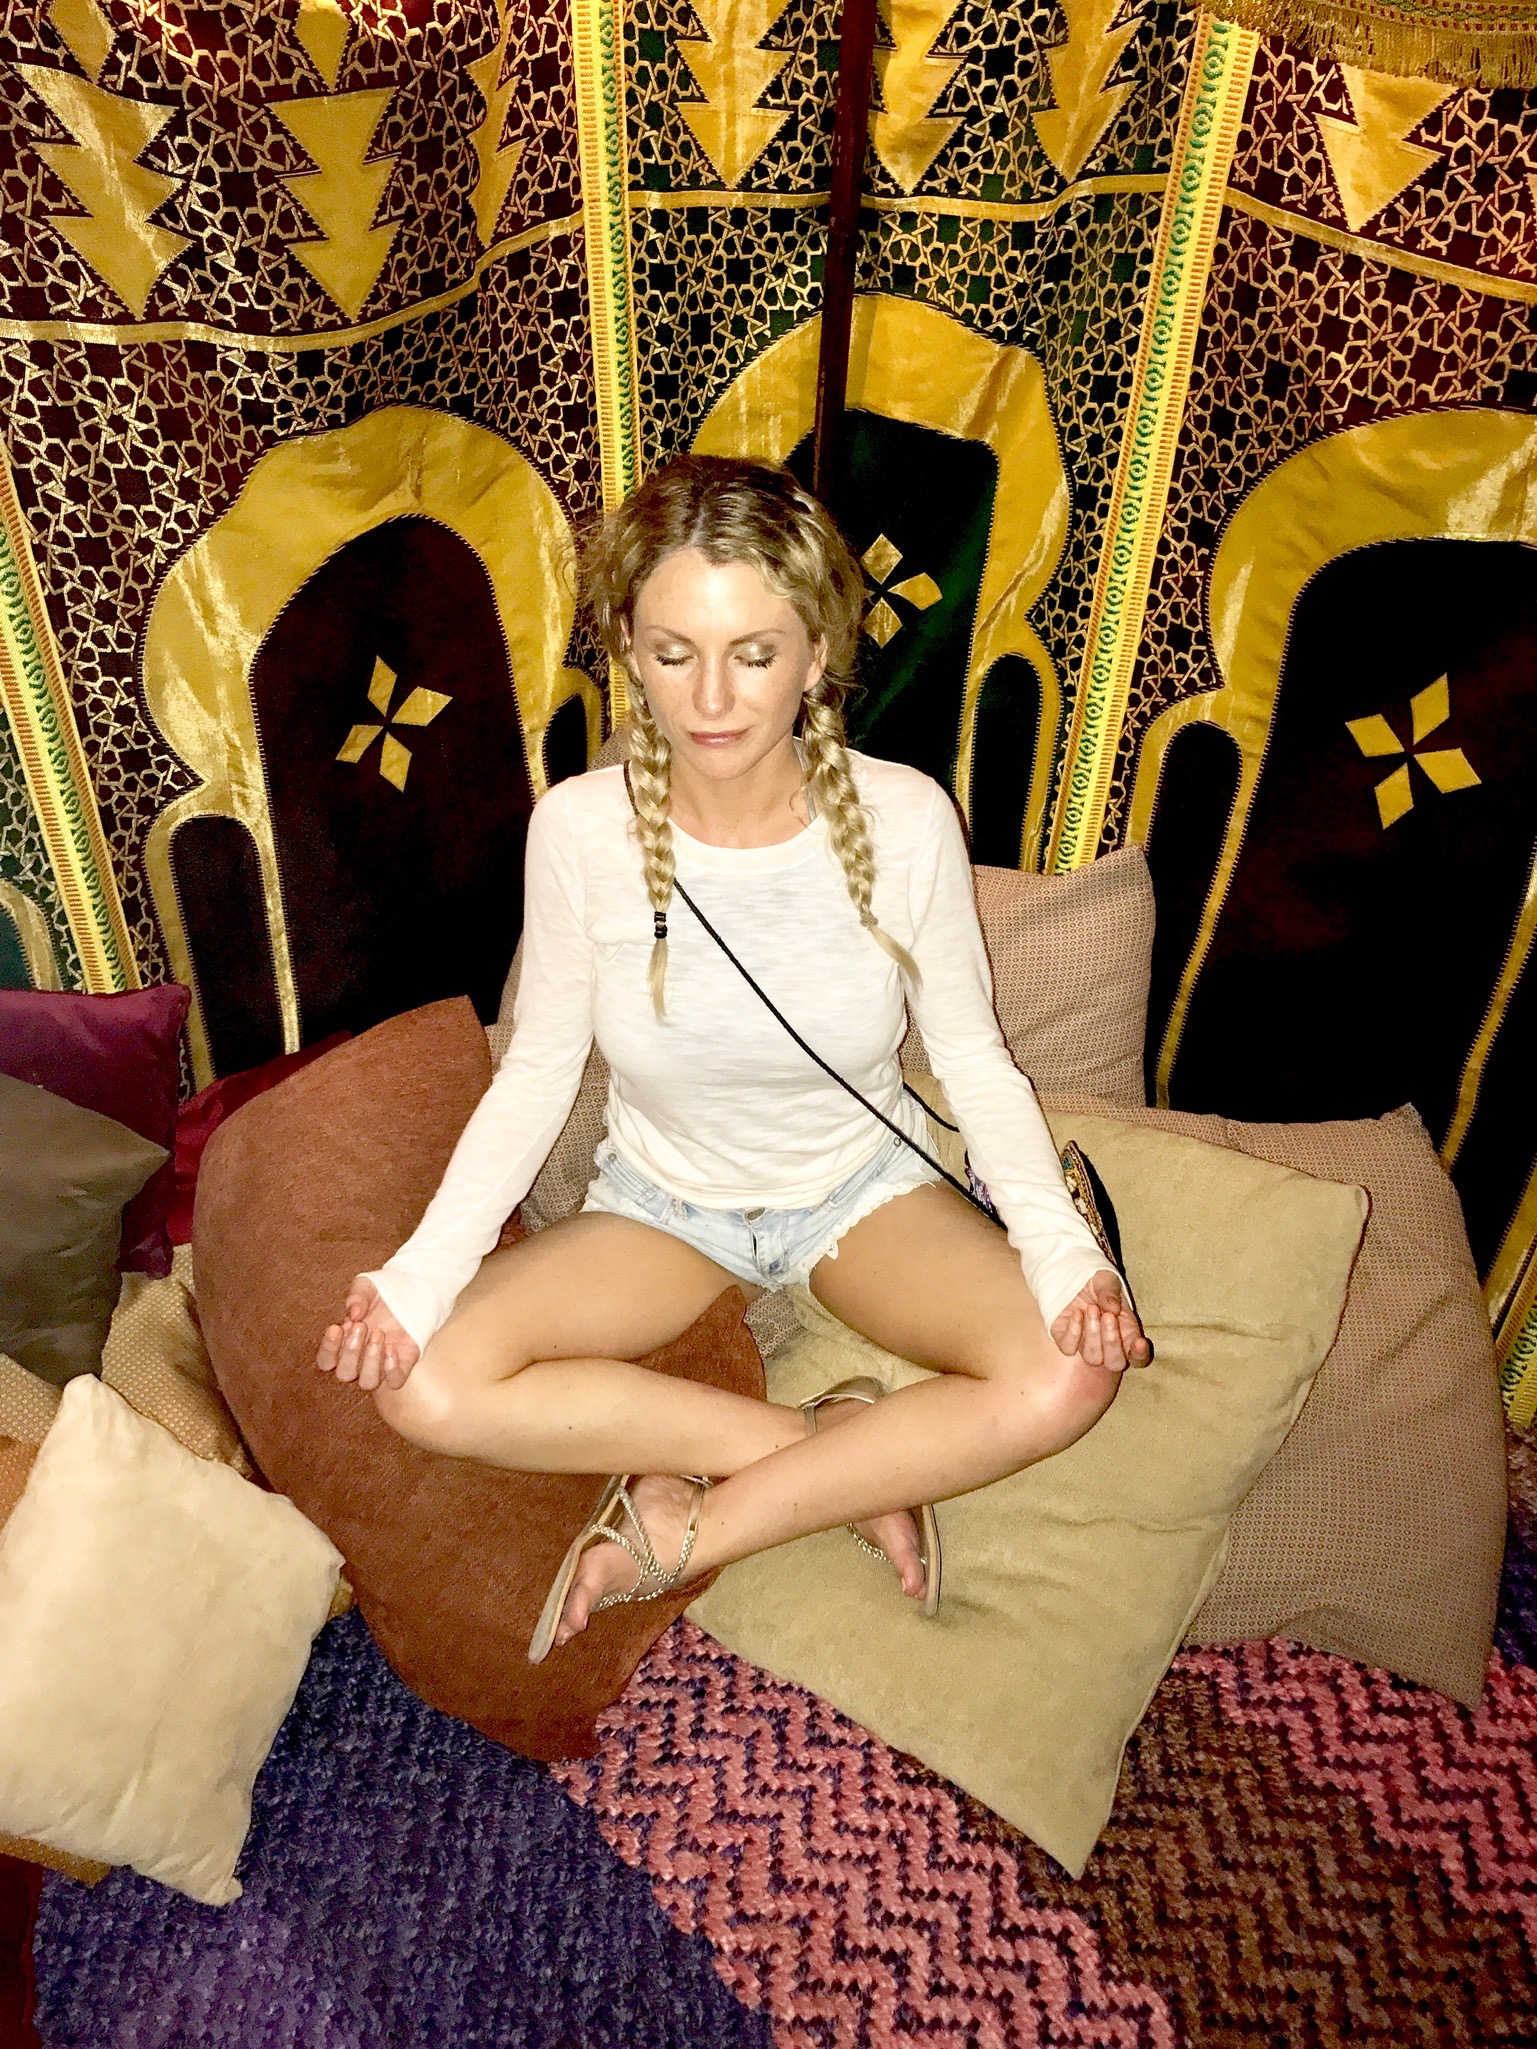
NOMADE
We went to Nomade on our last night and wished we had gone during the day! This place was a yogi's paradise

FAVORITE RESTURANTS
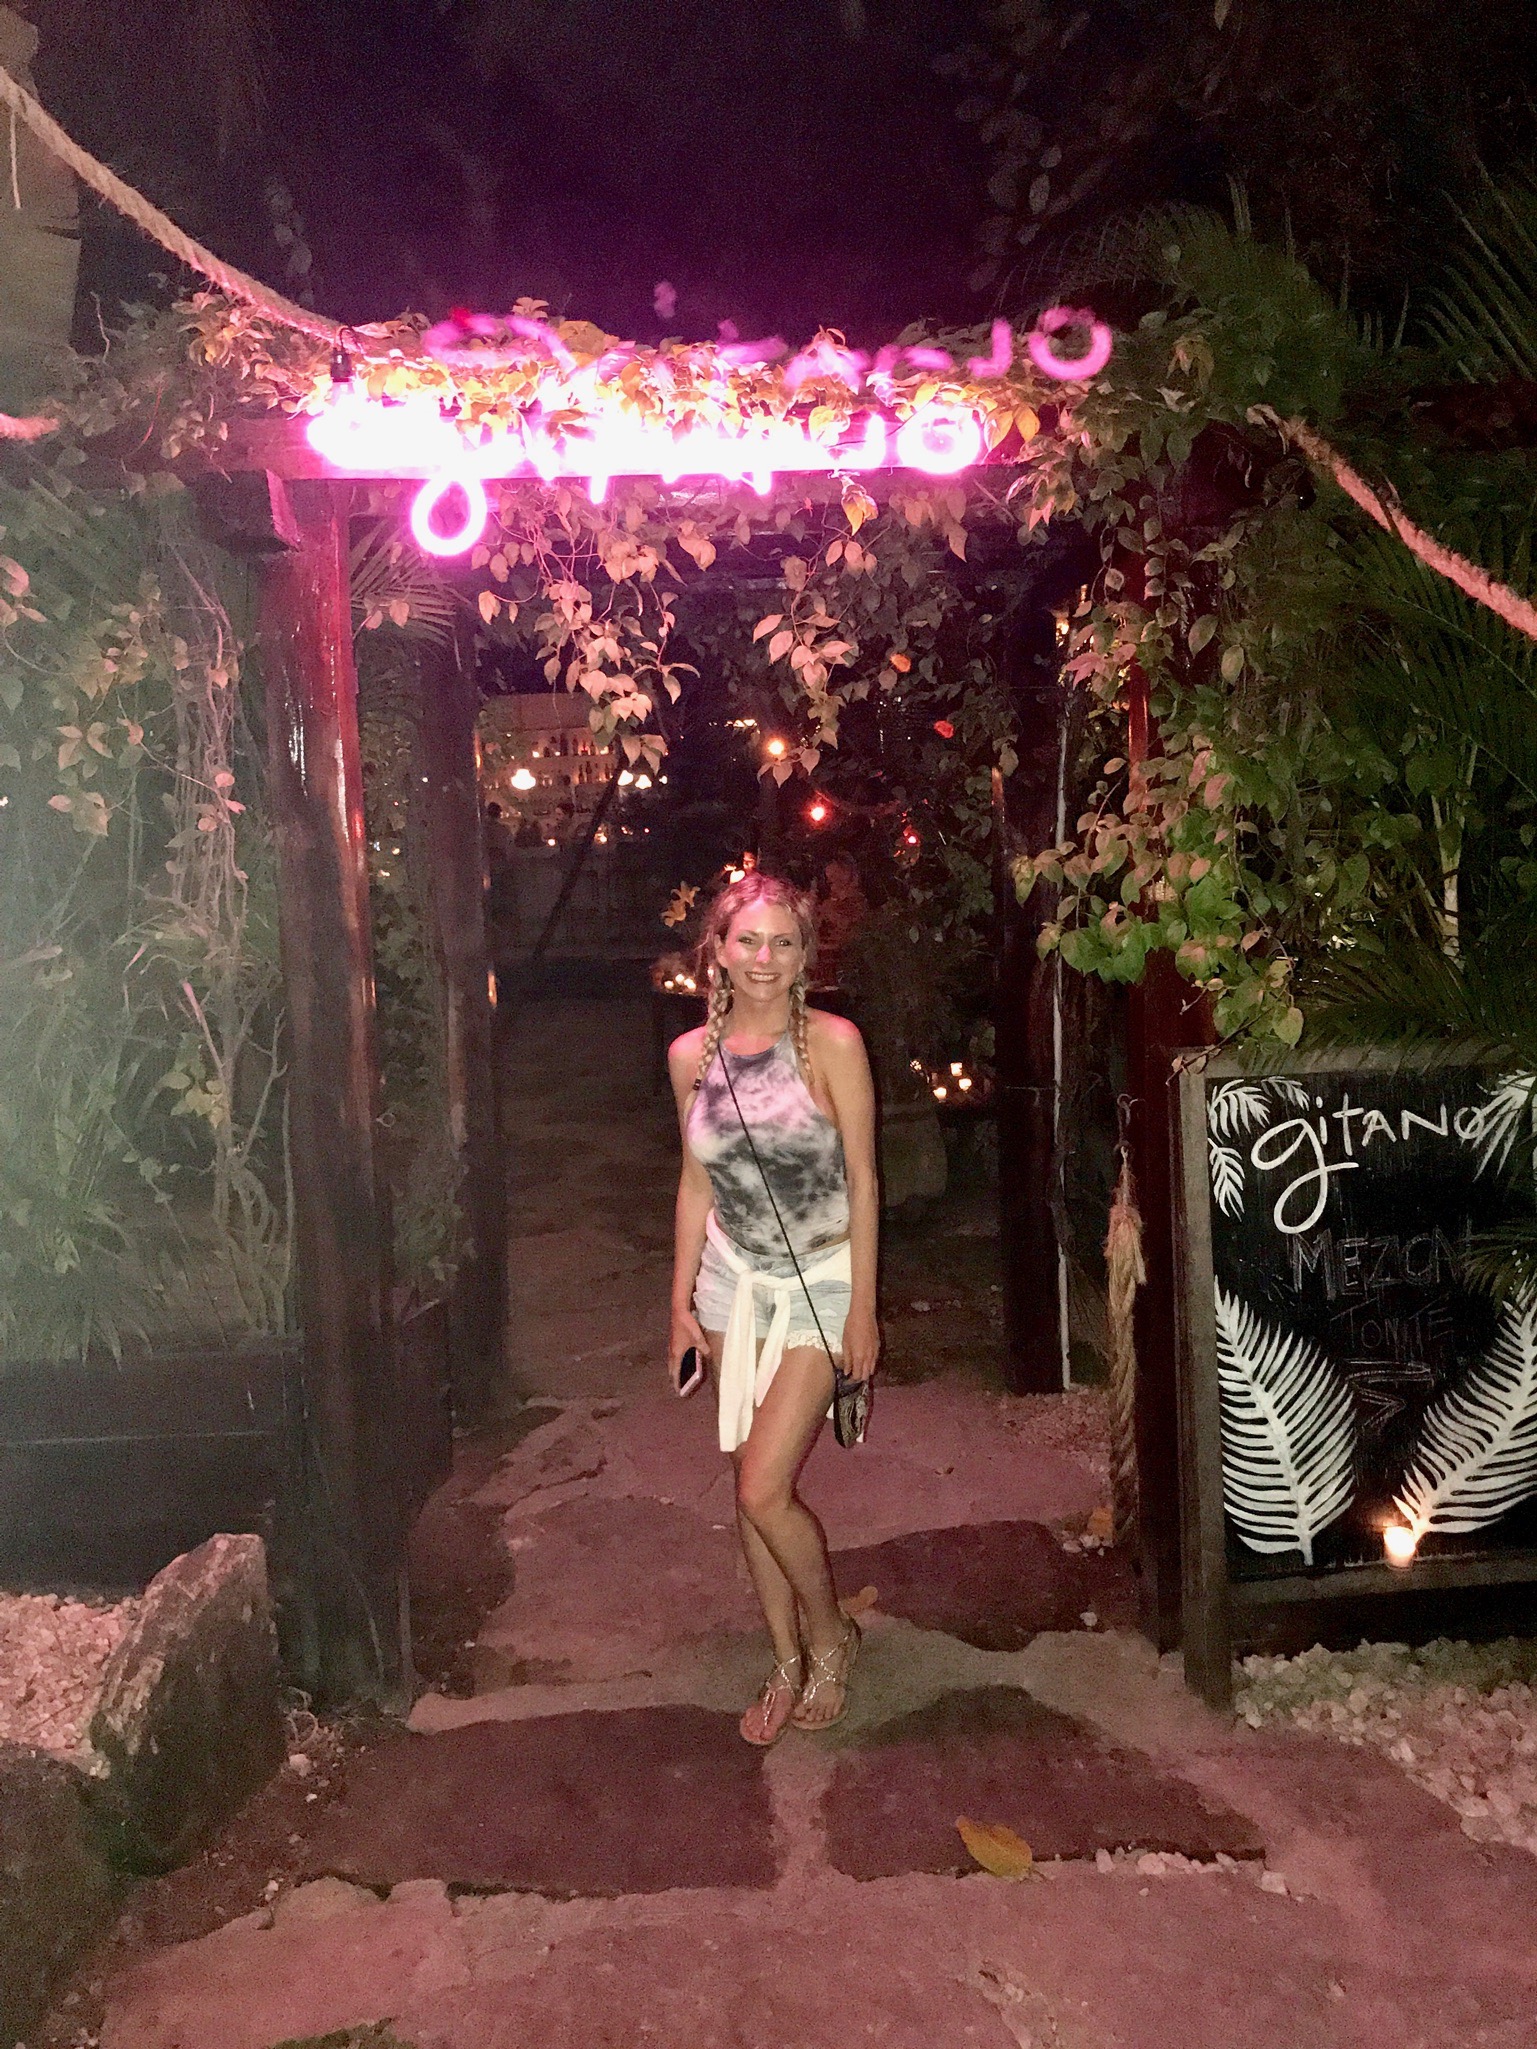
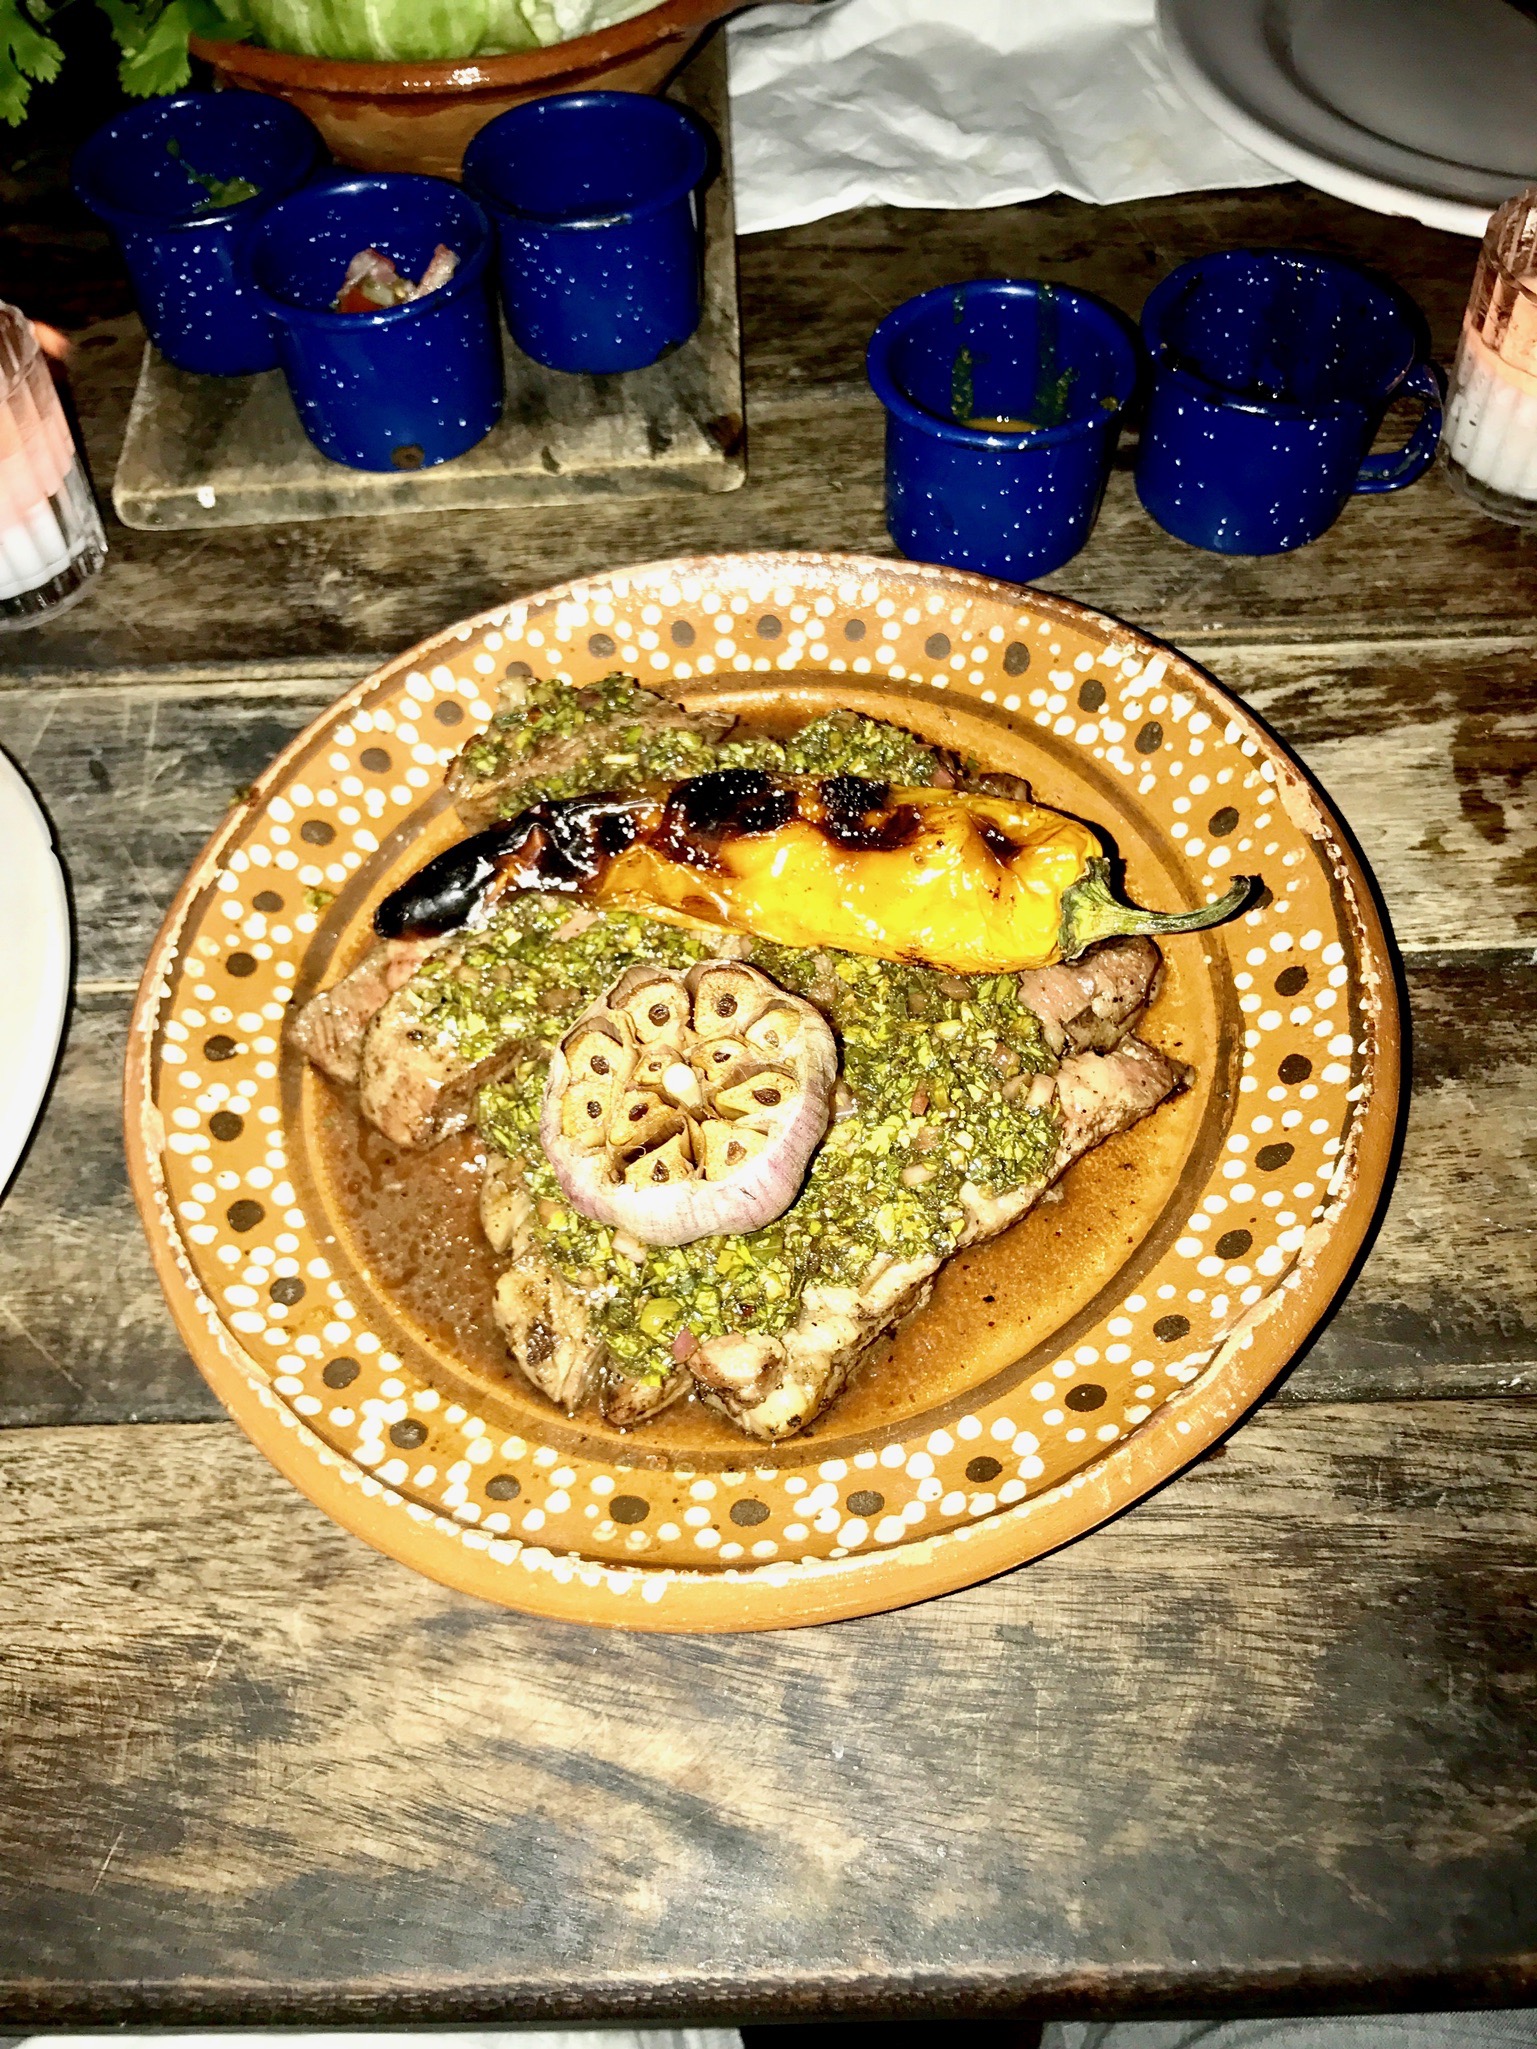
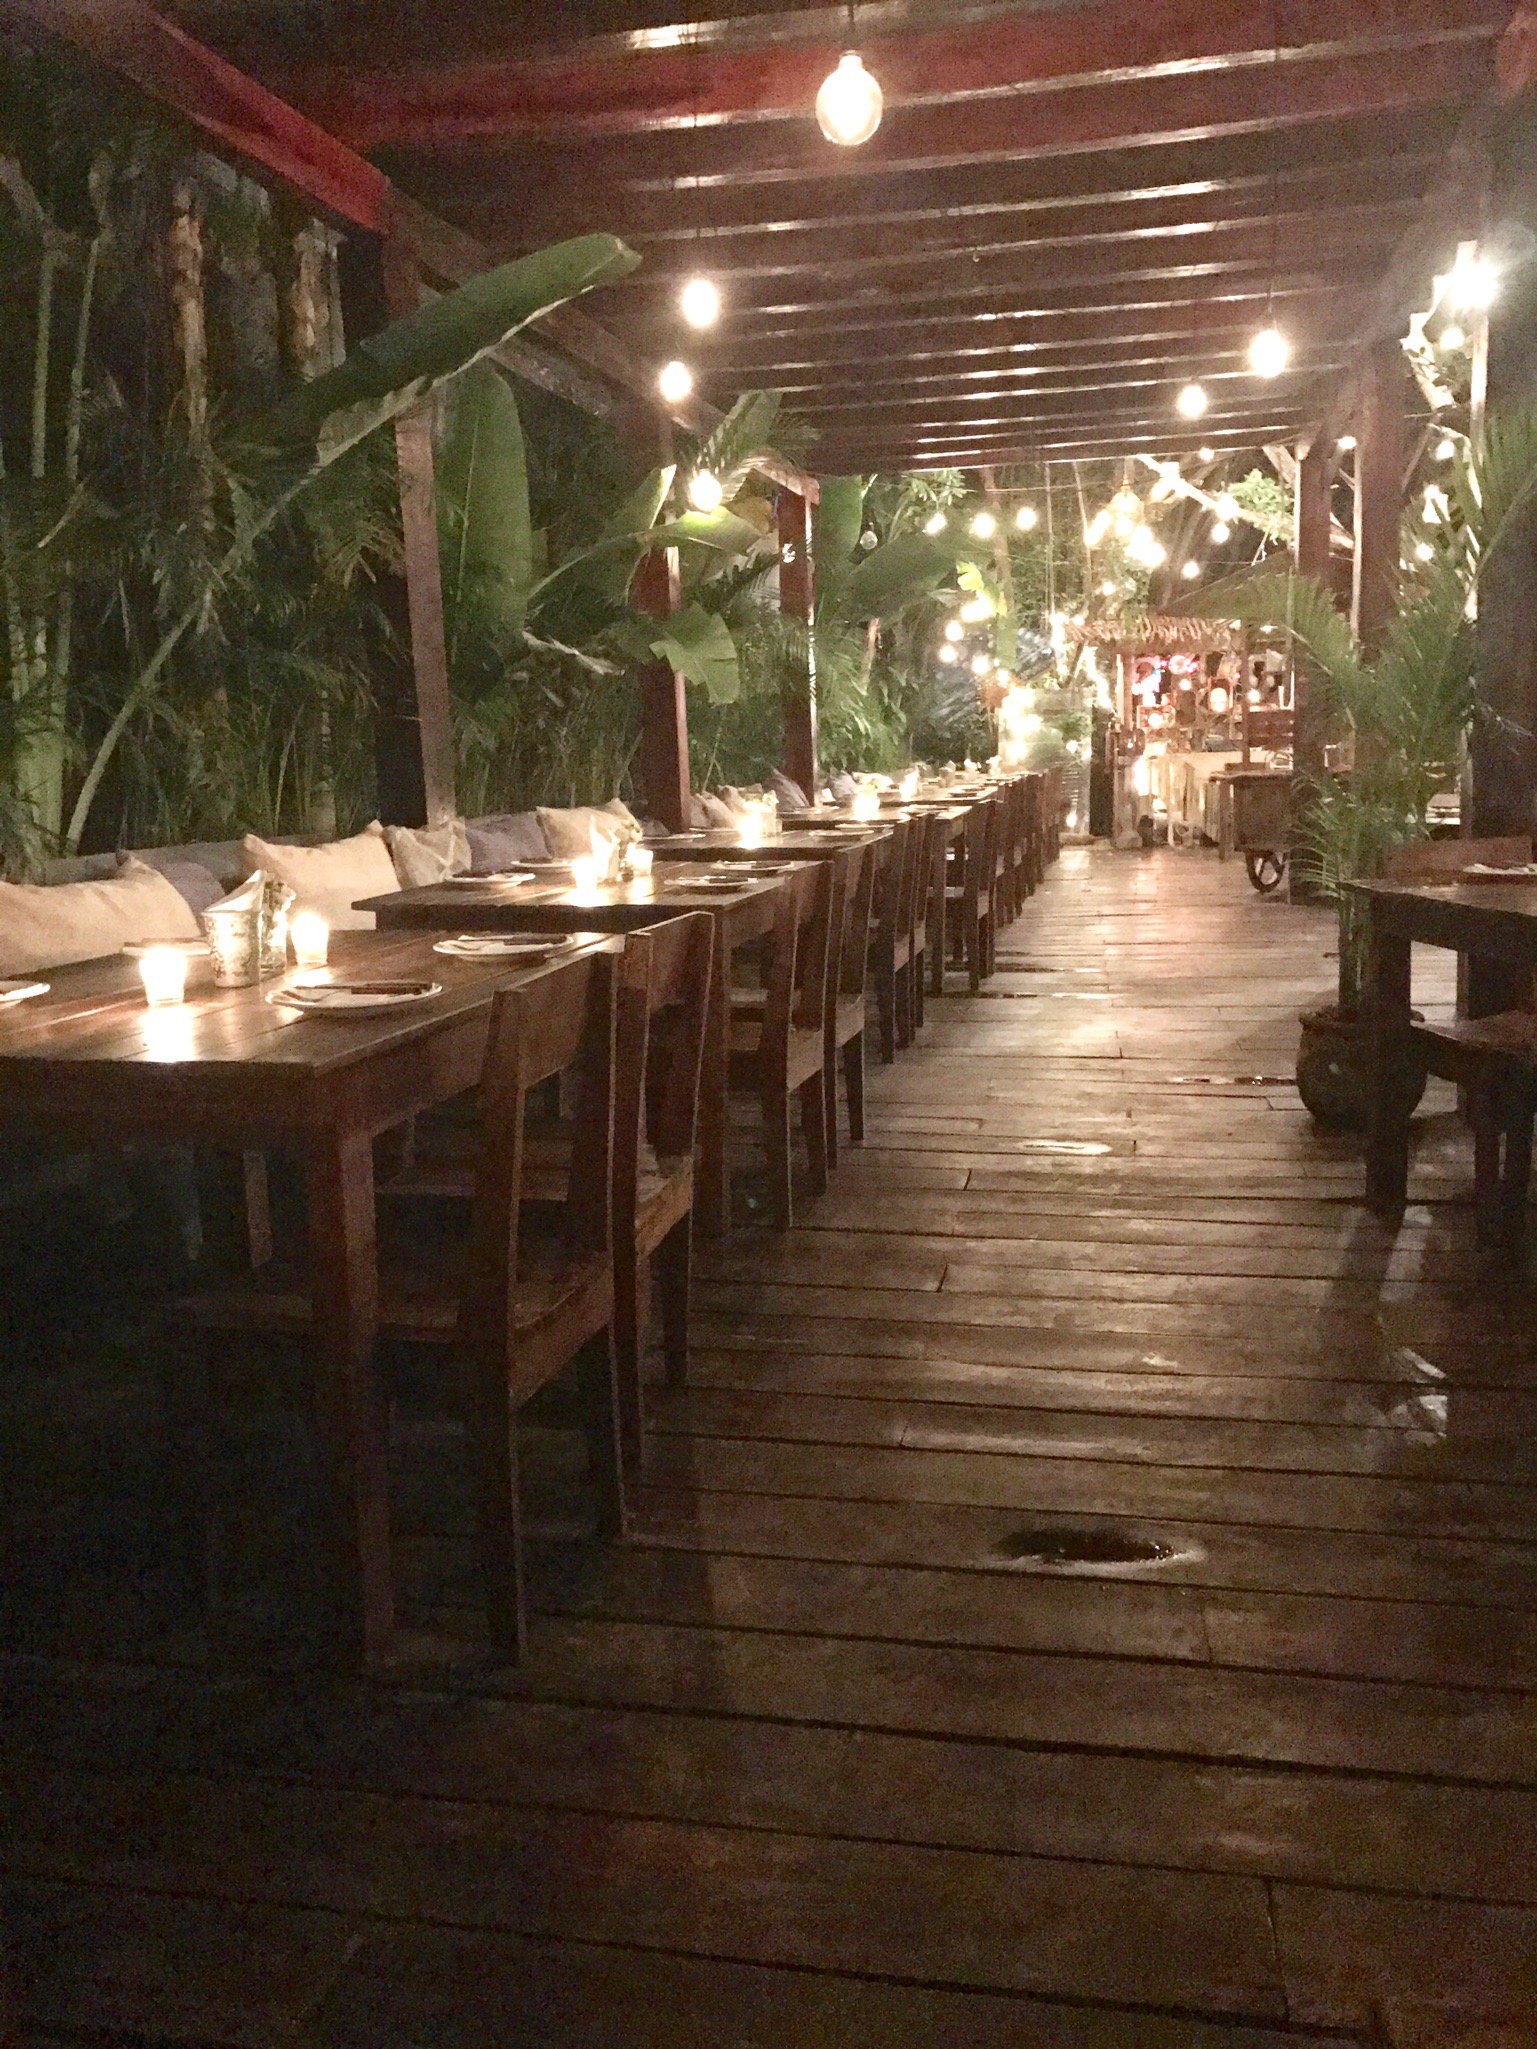
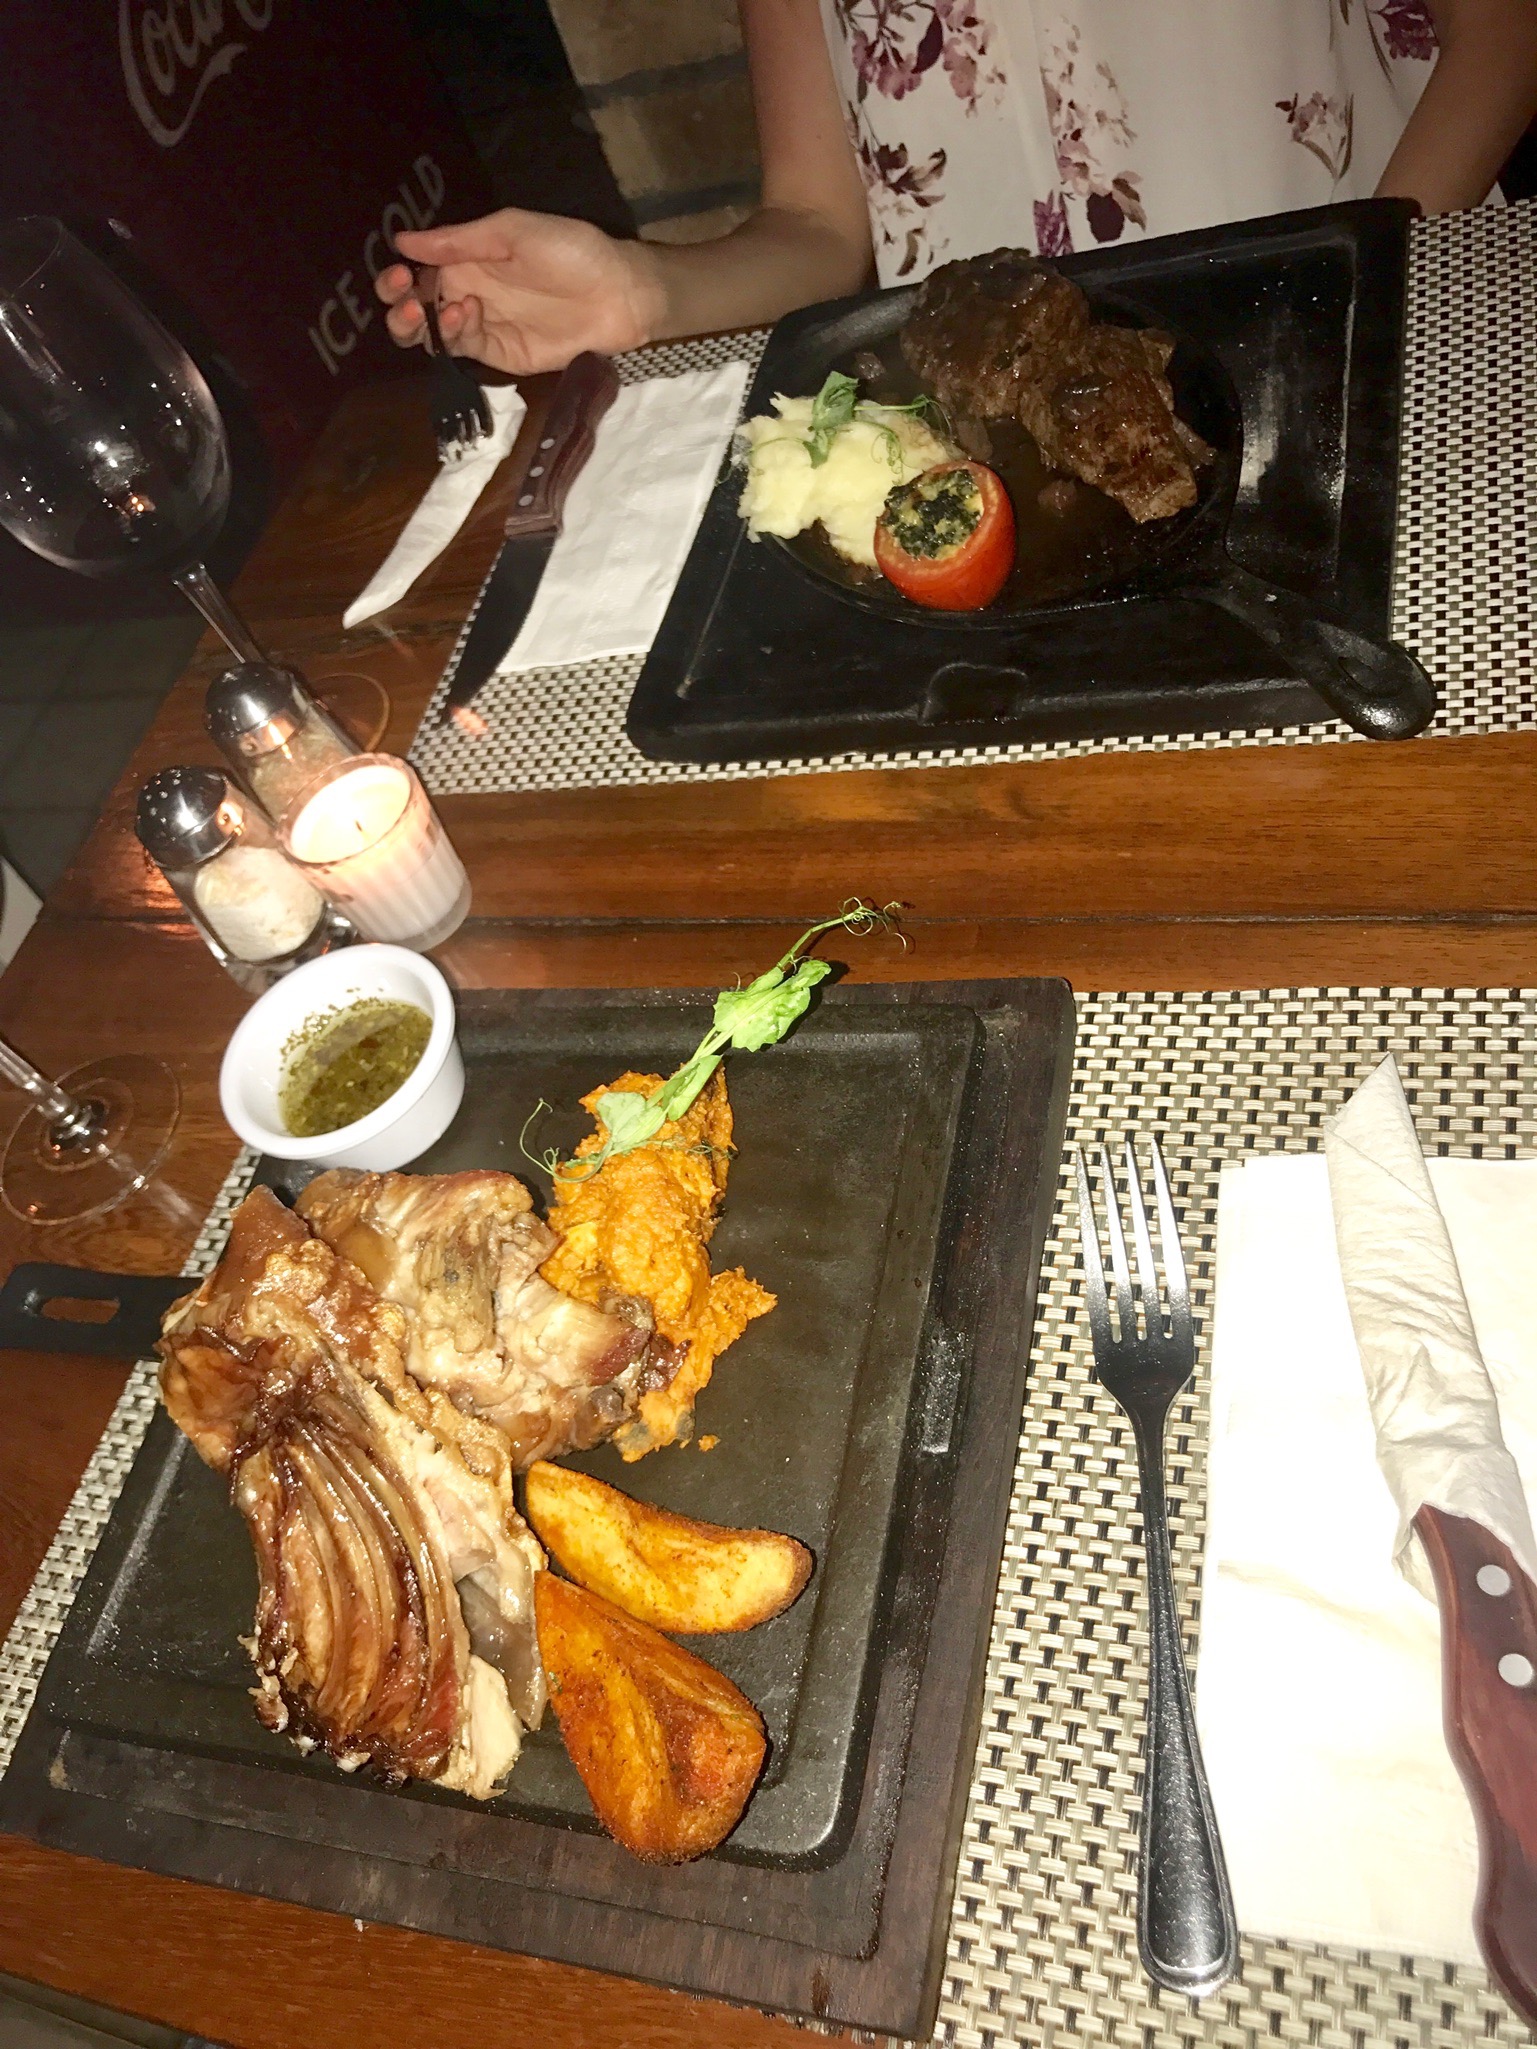
GITANO
We loved this place so much we went there twice! We got the Quesadillas, Grilled Avocado and the Ribeye with Salsa Verde and Garlic...both times ;) Order Kisses in the Car to drink...SOO good! (Ask for it a little spicy)

HARTWOOD
Make a reservation wayyy in advance to reserve a spot! Most popular restaurant in Tulum!

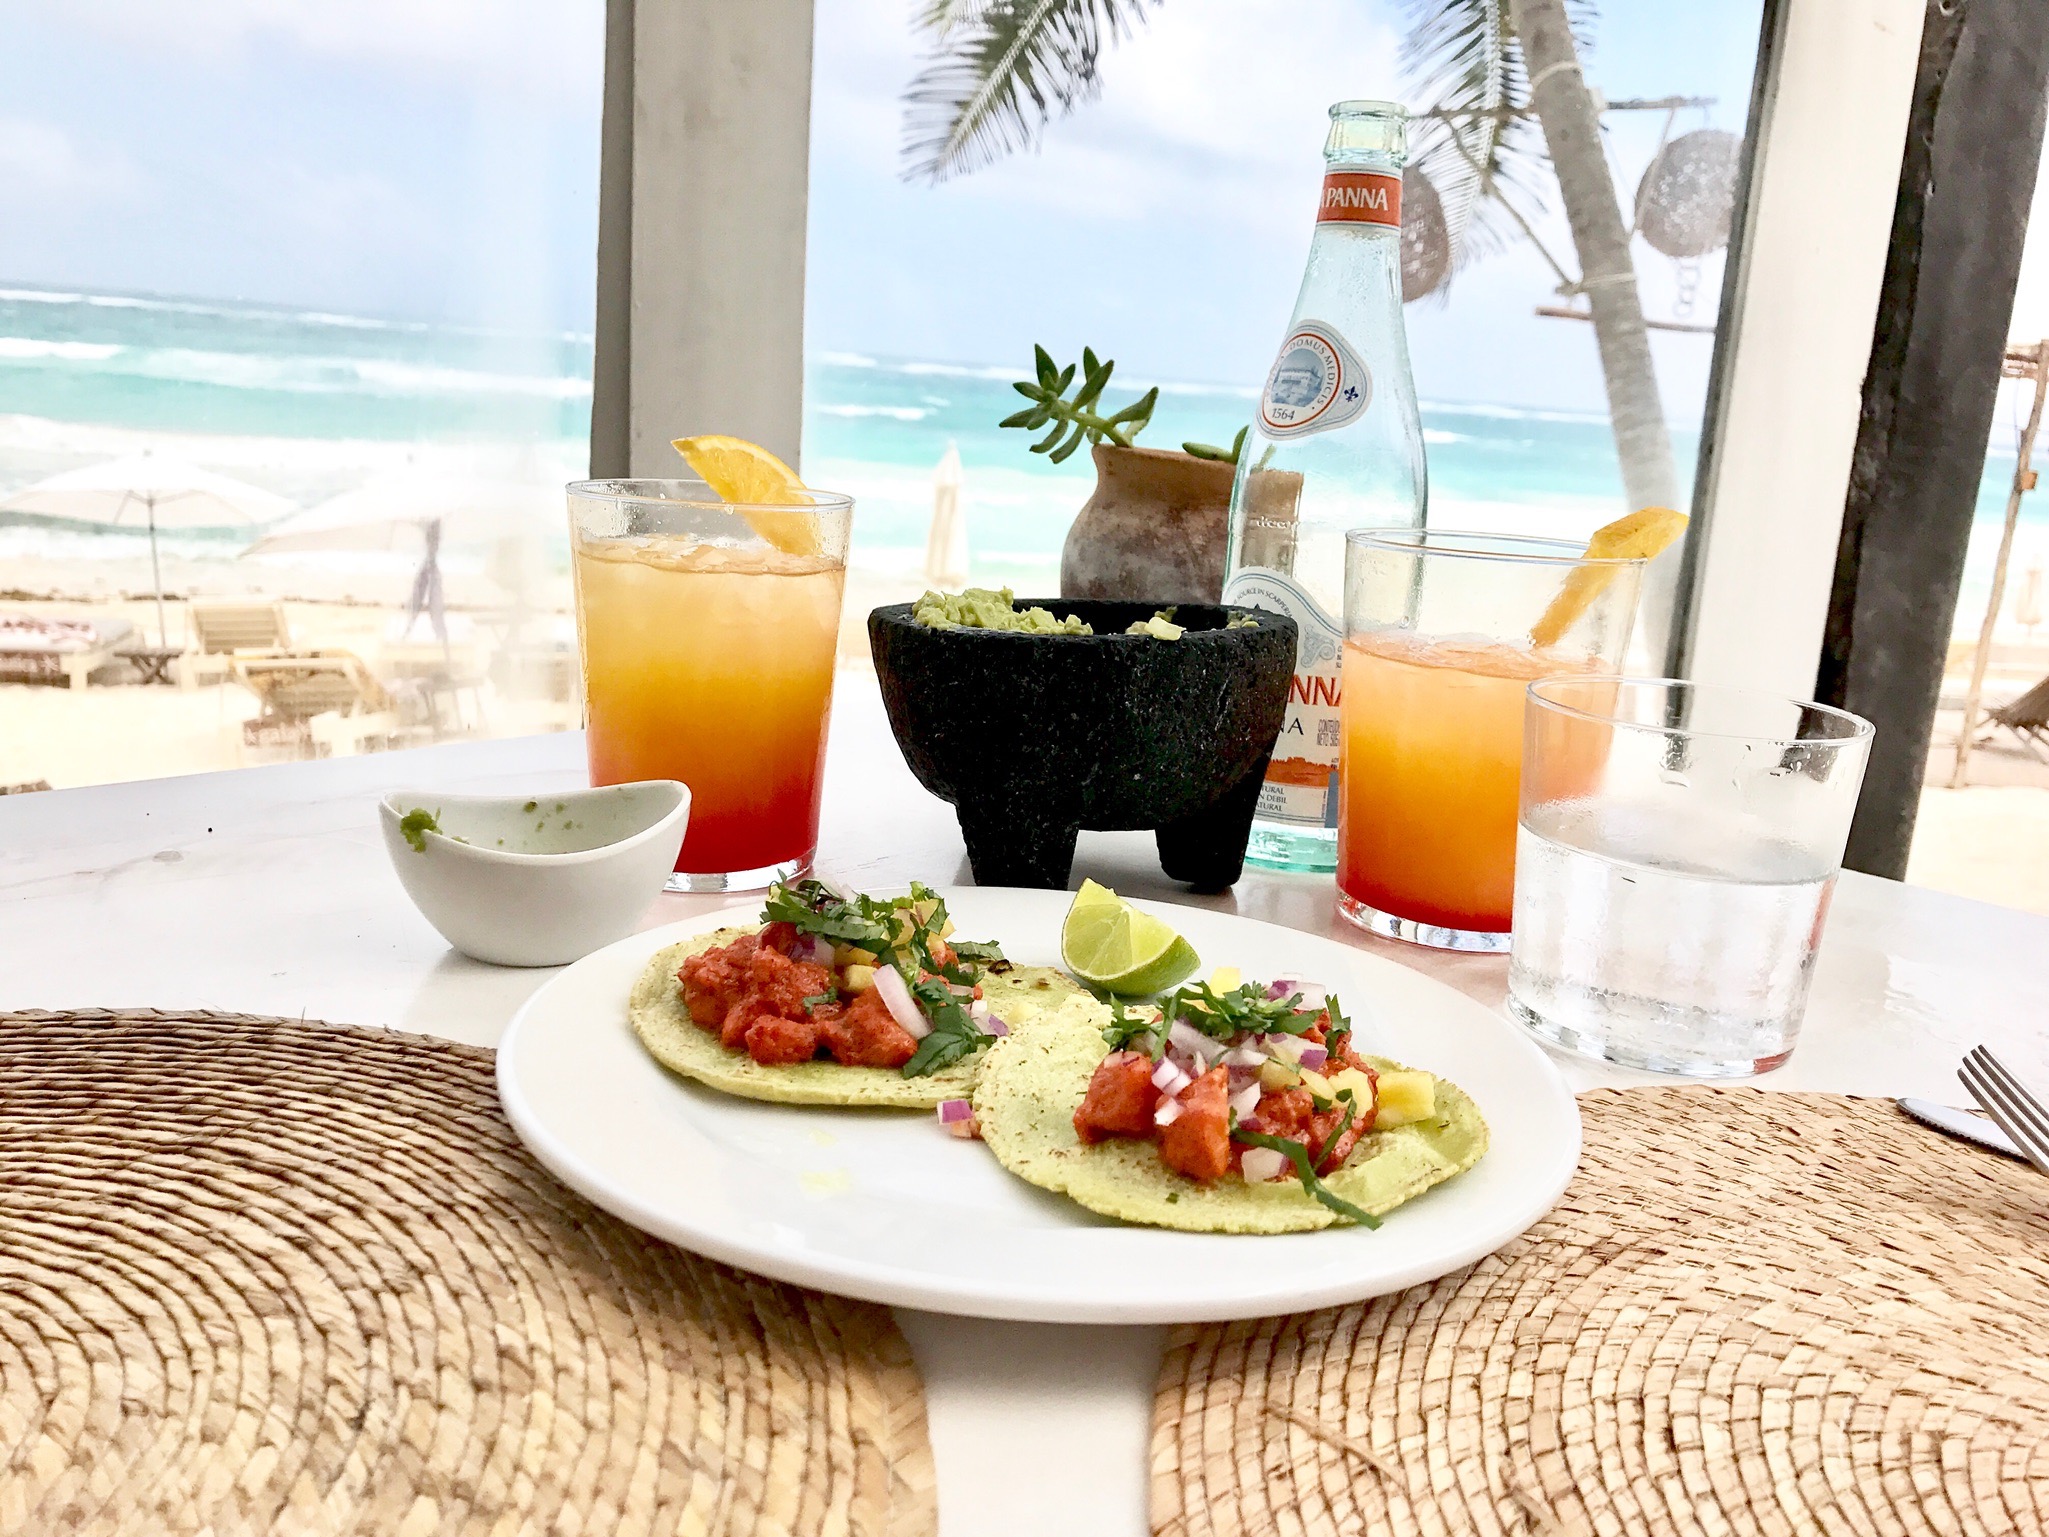
AHAU TULUM
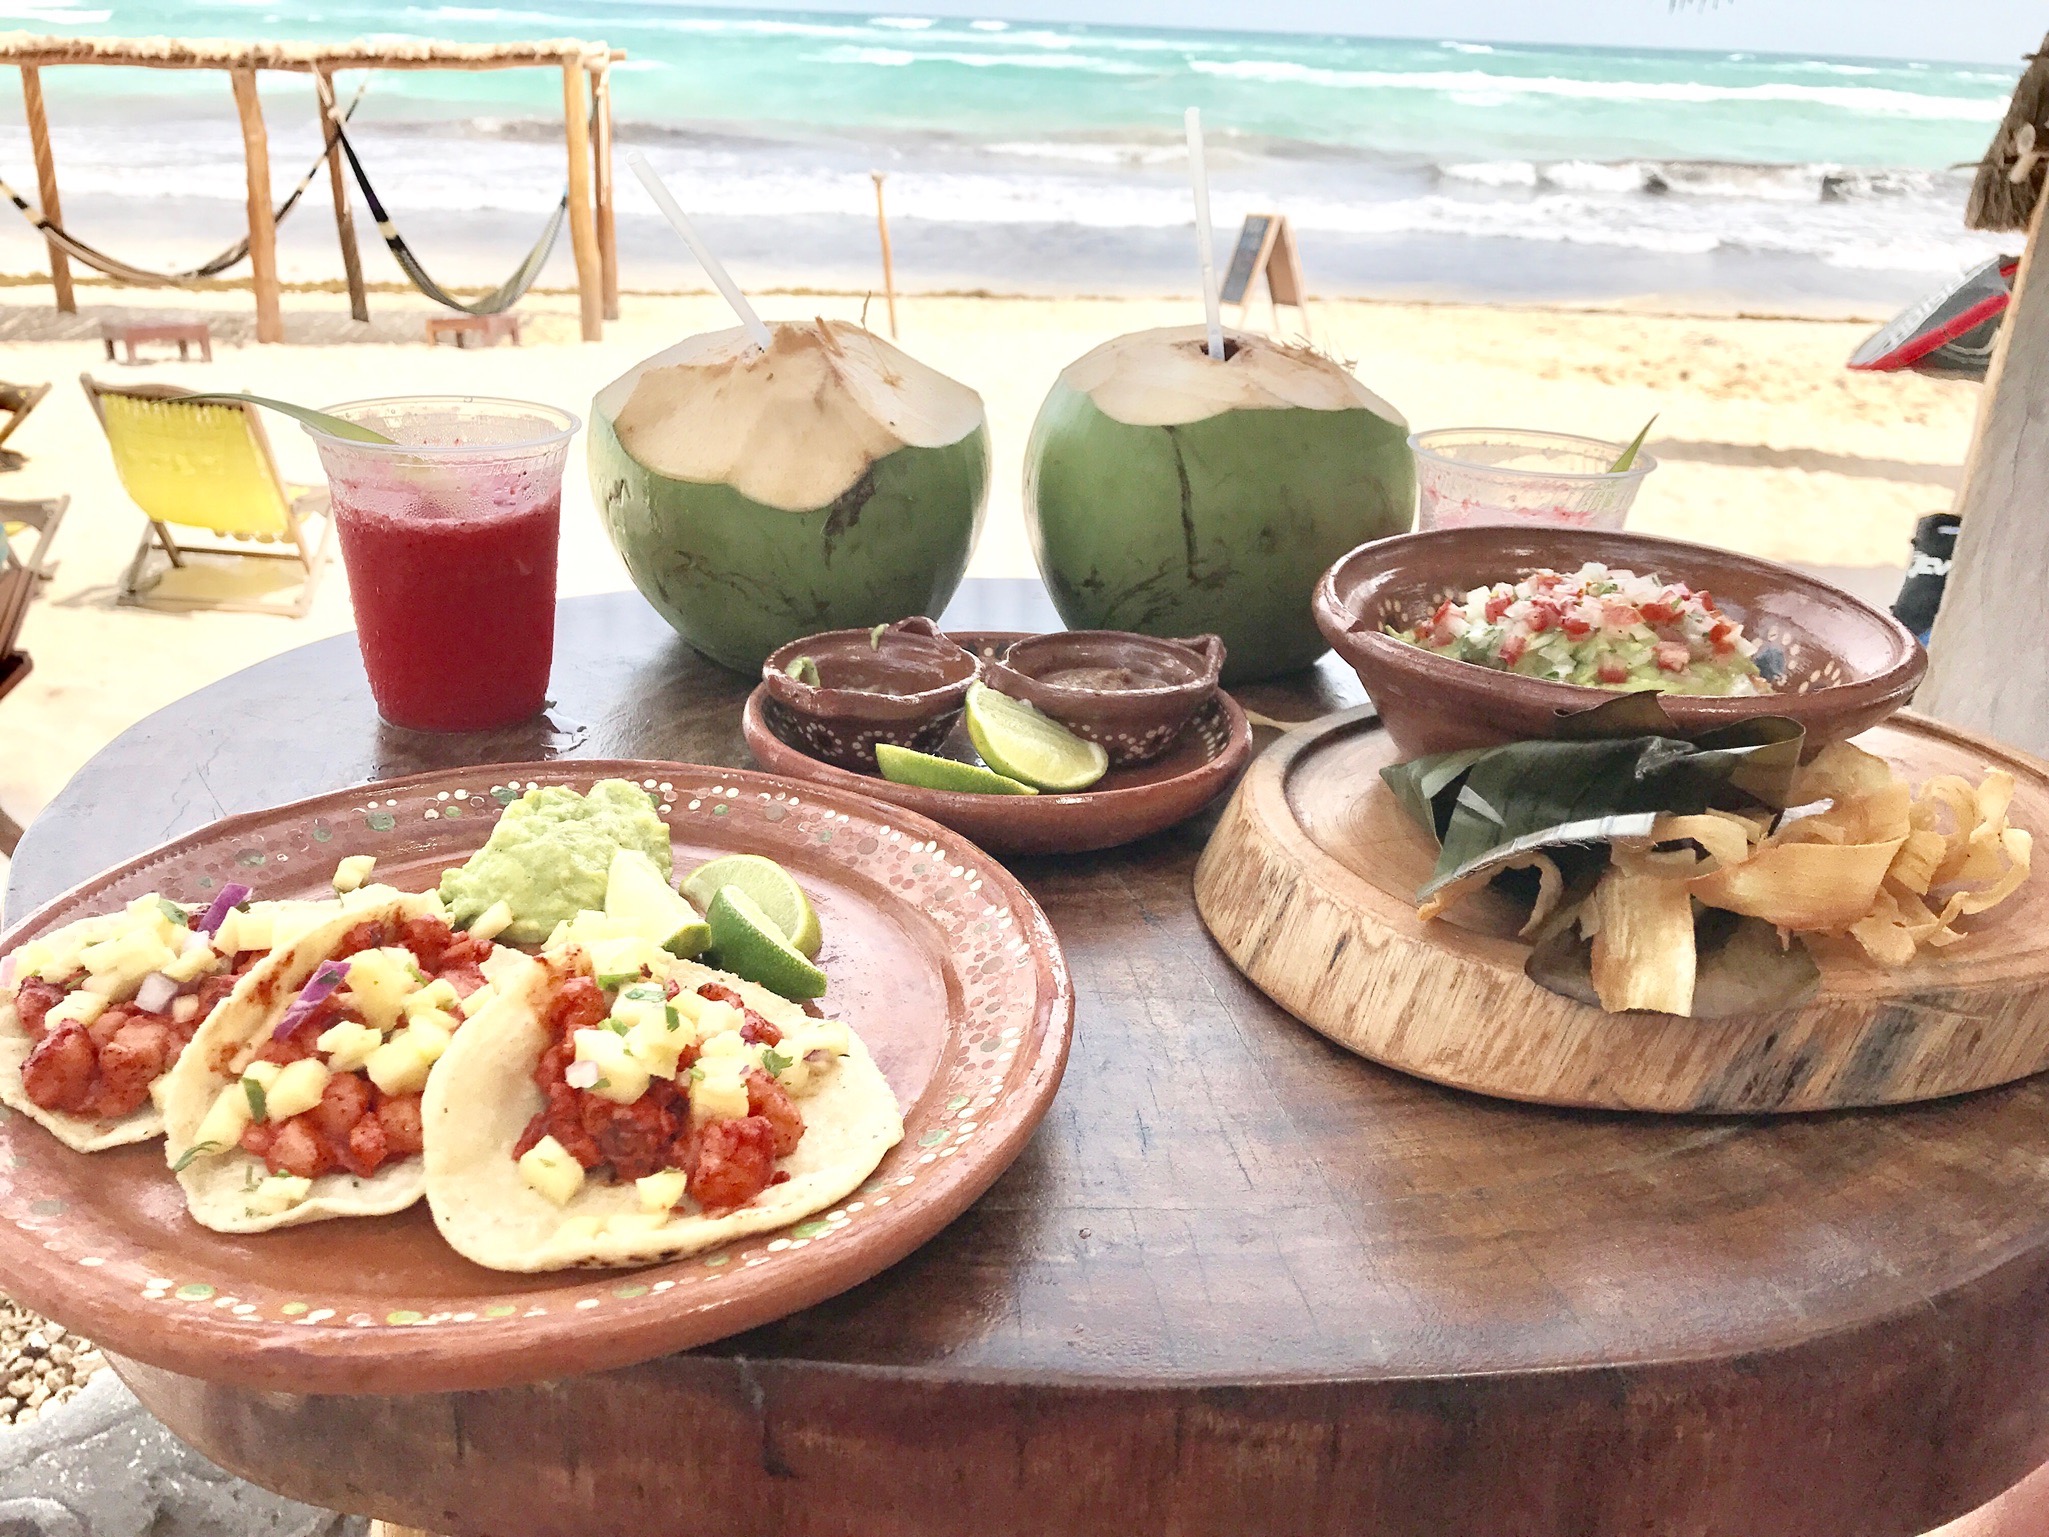
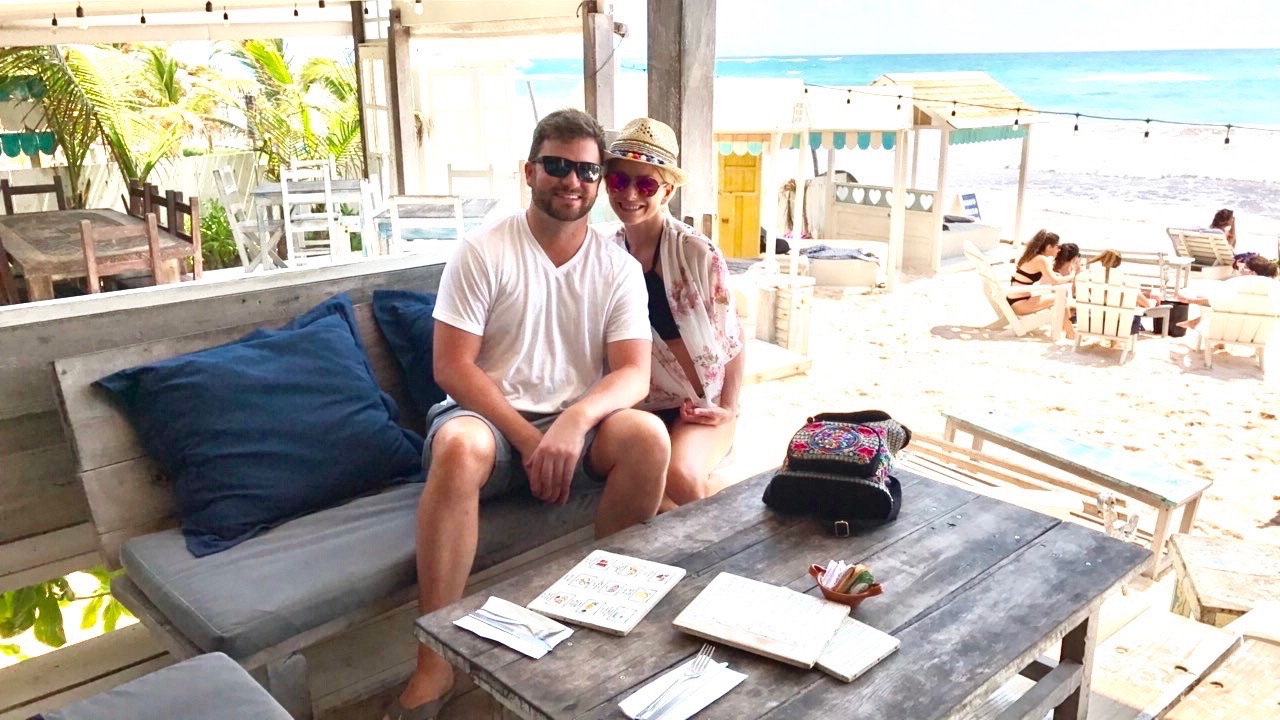
We went here a couple times for lunch as well! They have great drinks, and awesome tacos!
POSADA MARGHERITA
Brunch was great! Never made it for dinner, but it is a popular spot for dinner as well.


CASA BANANA
Get here a little early for dinner, around 6-7. We couldn't get in after 7:00 while we were there, and they don't take reservations!
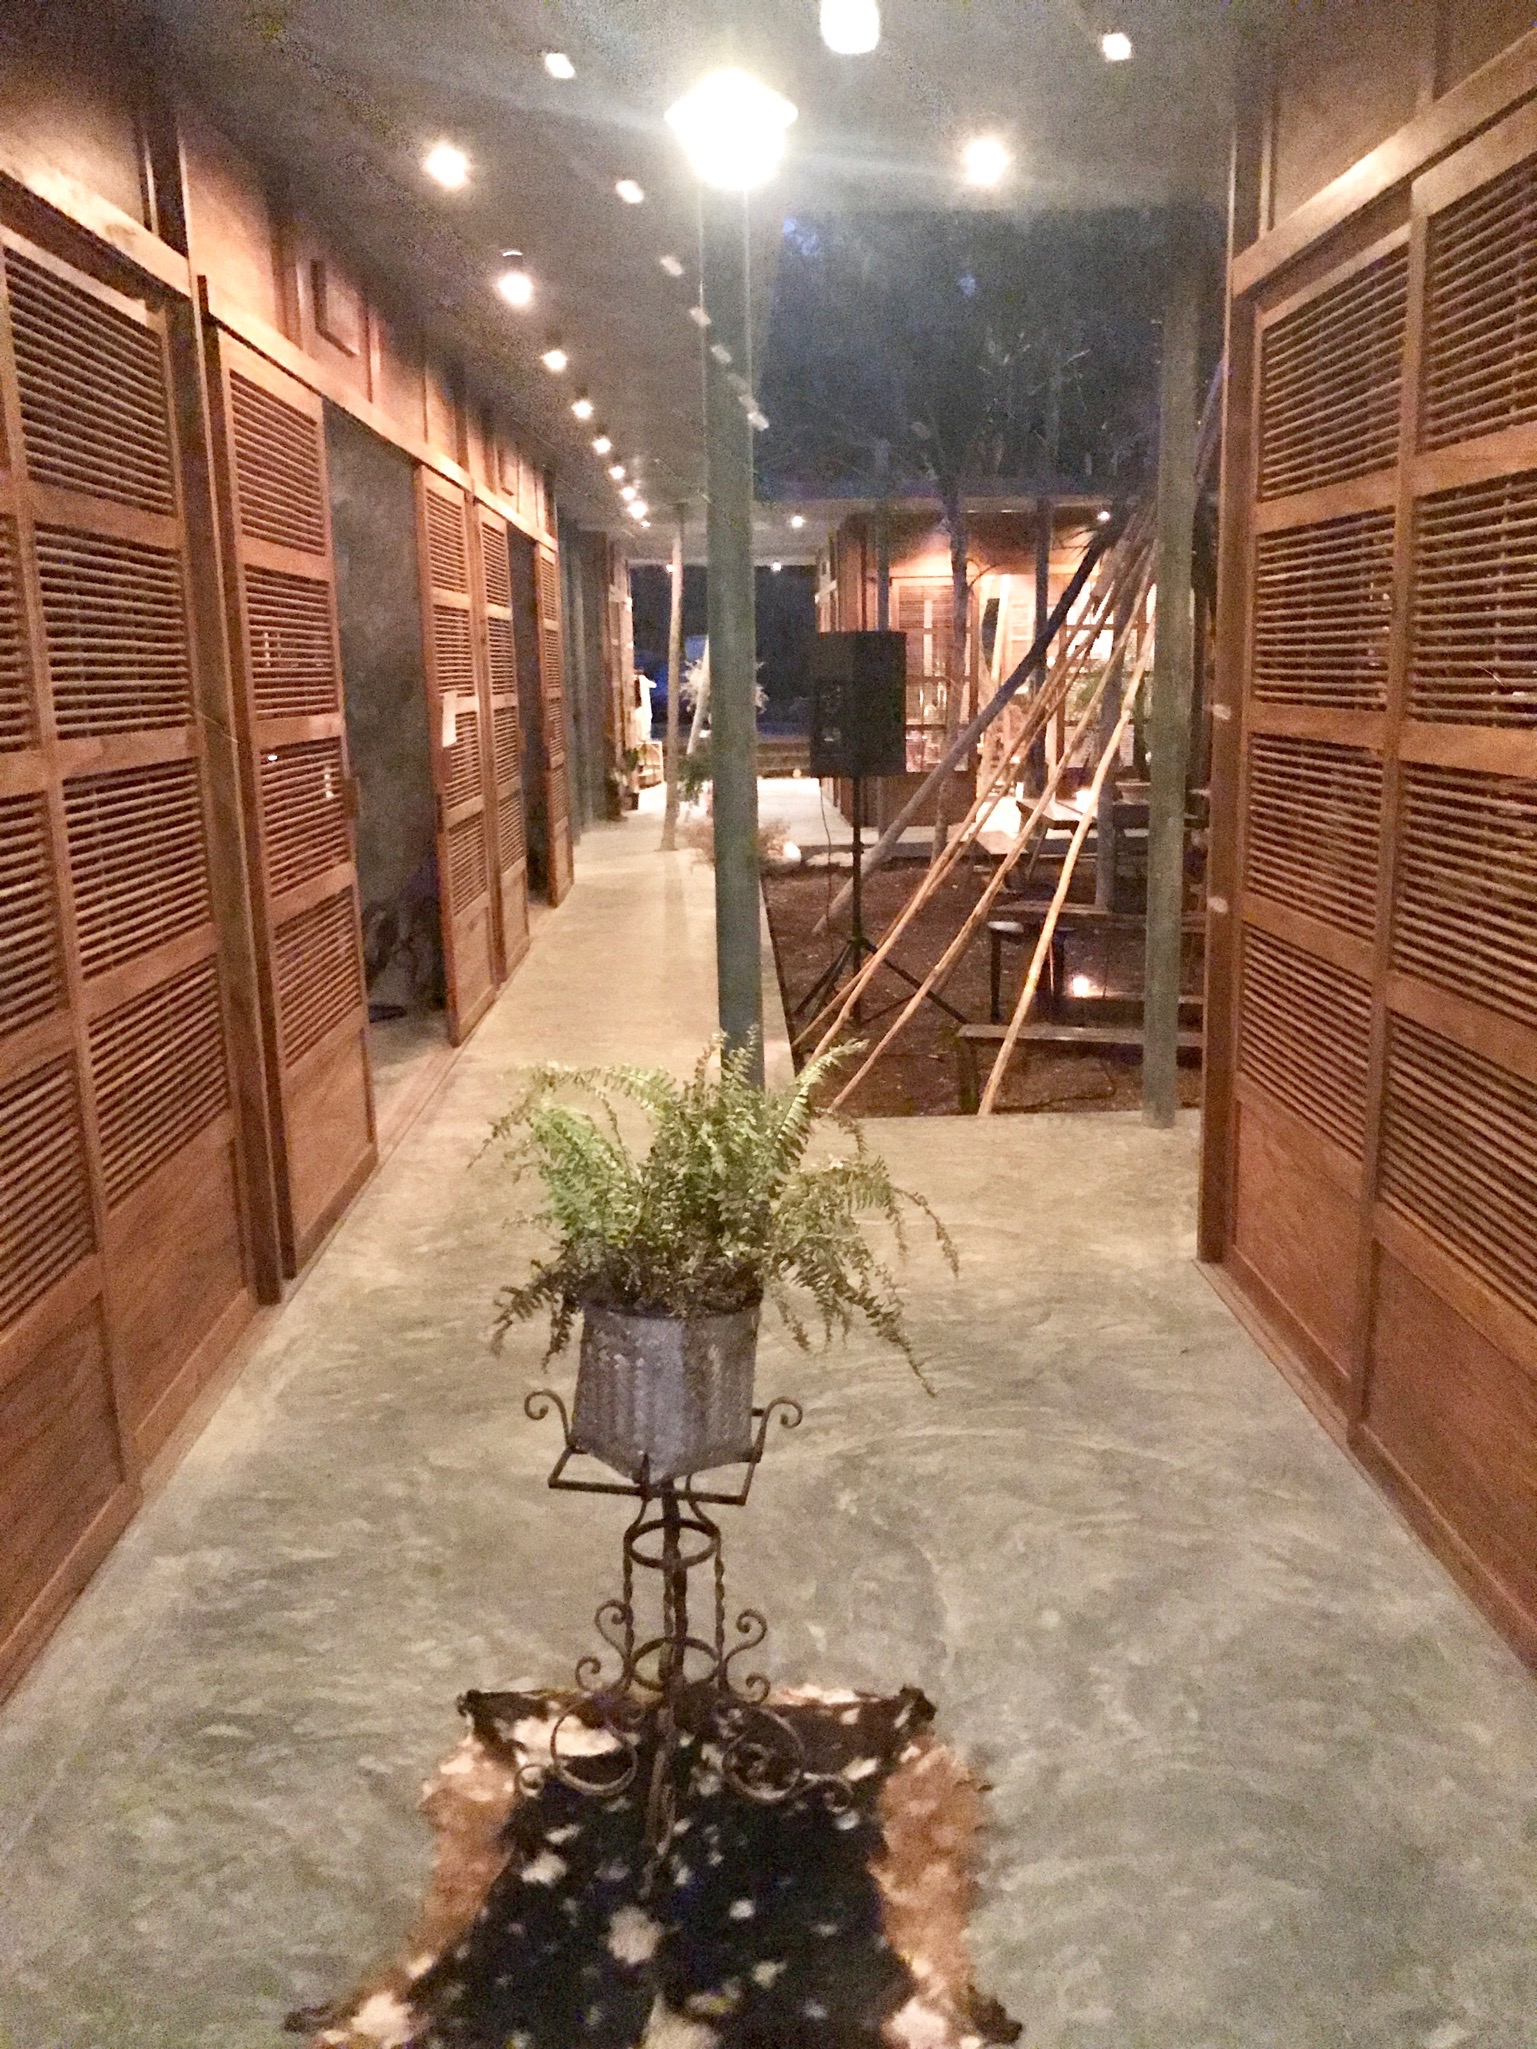
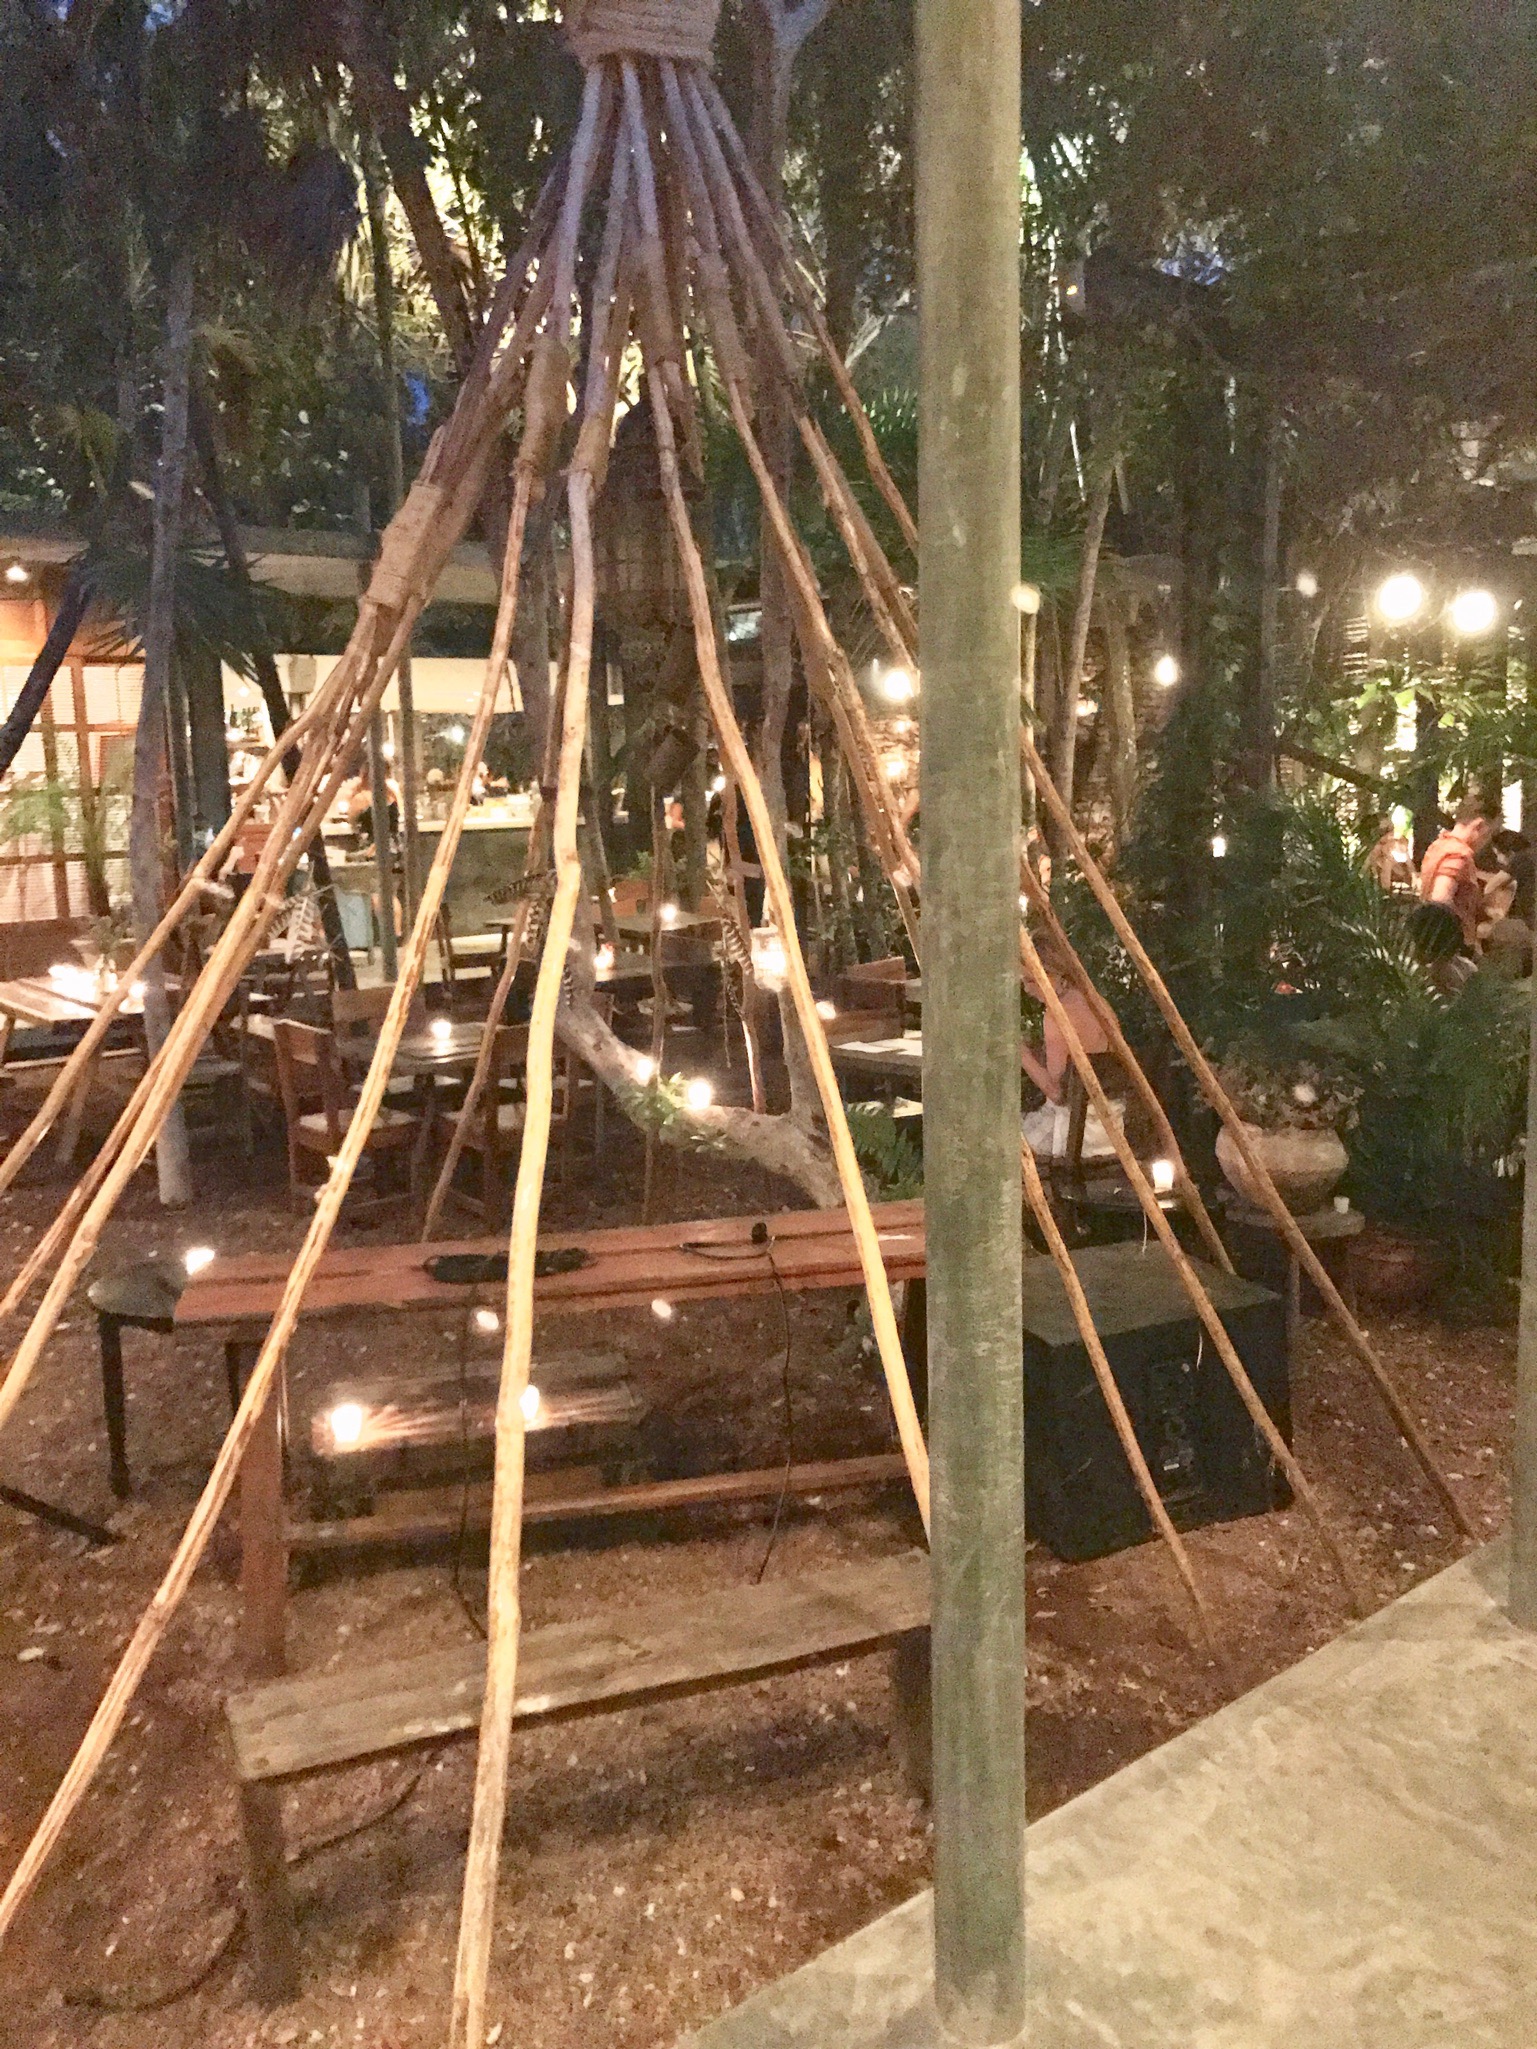
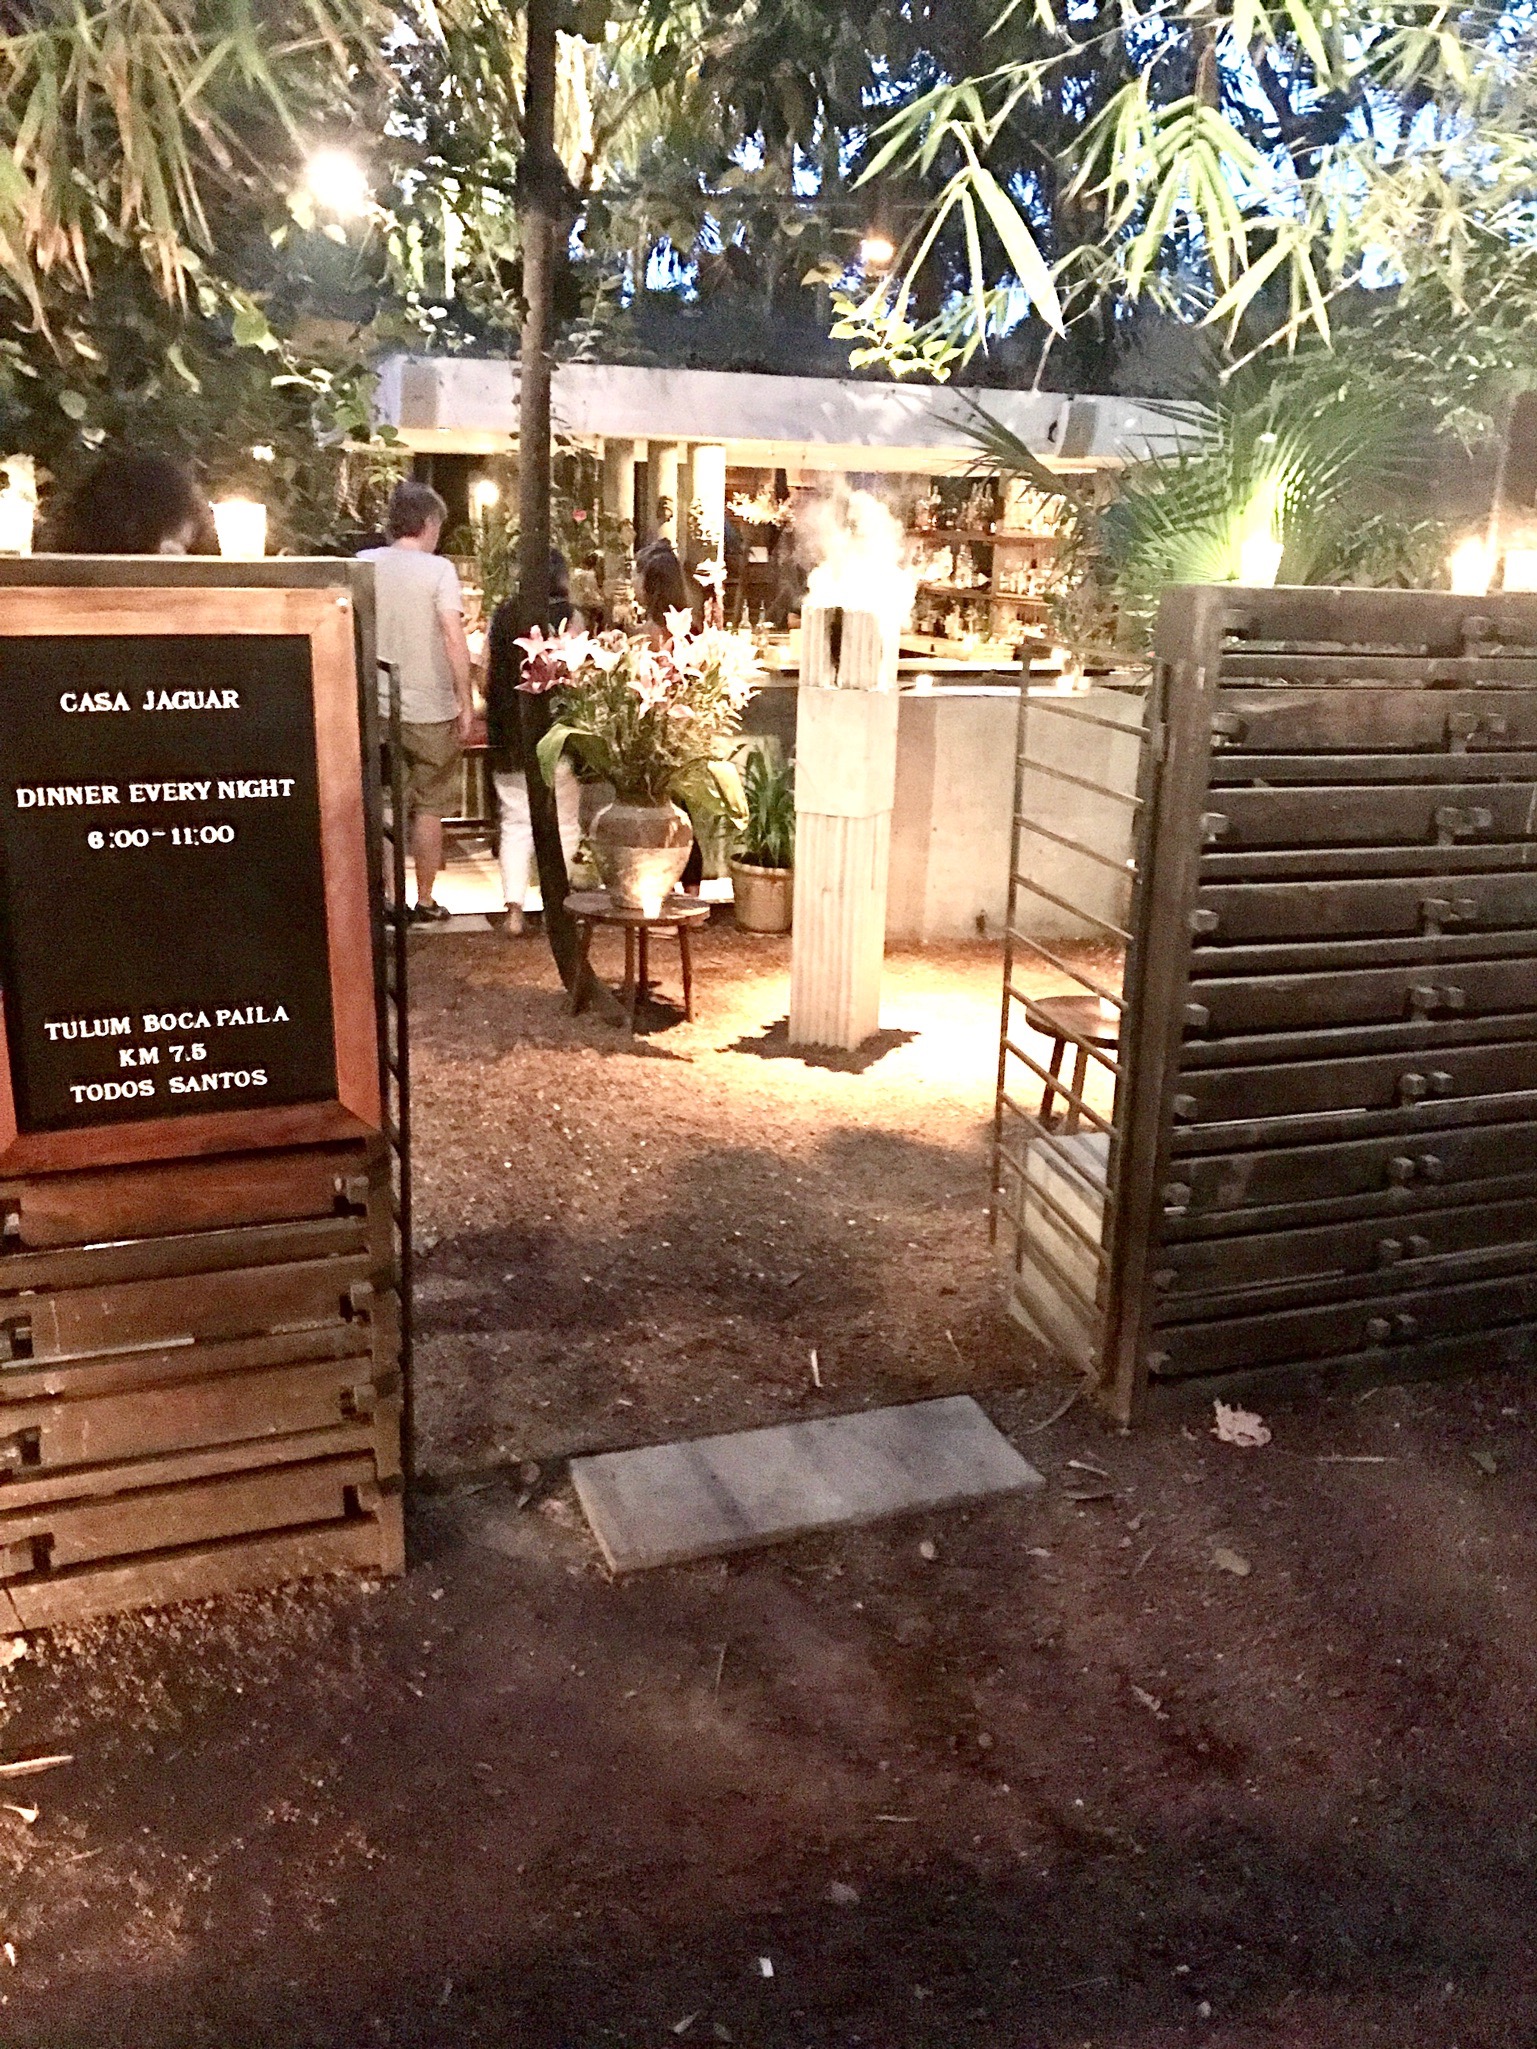
CASA JAGUAR
Feels like you are eating in the middle of the jungle! An awesome environment but we chose to just get a couple drinks and enjoy the scenery


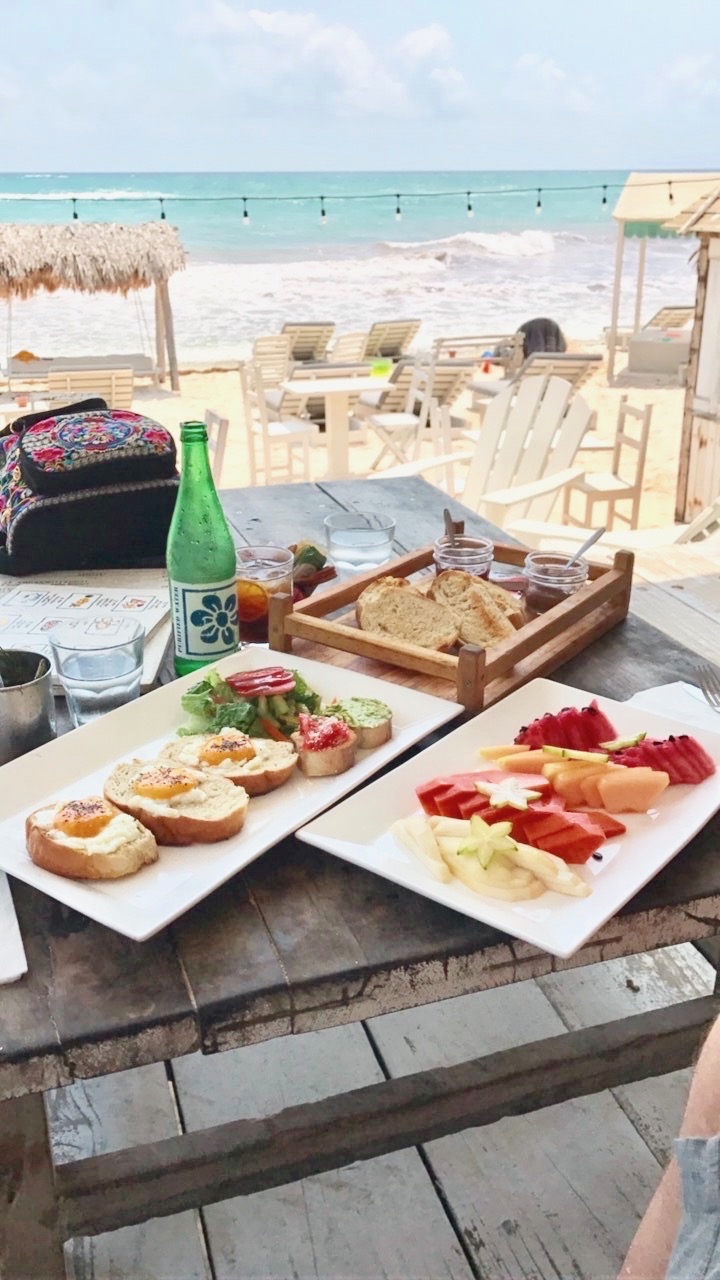
CASA VIOLETA
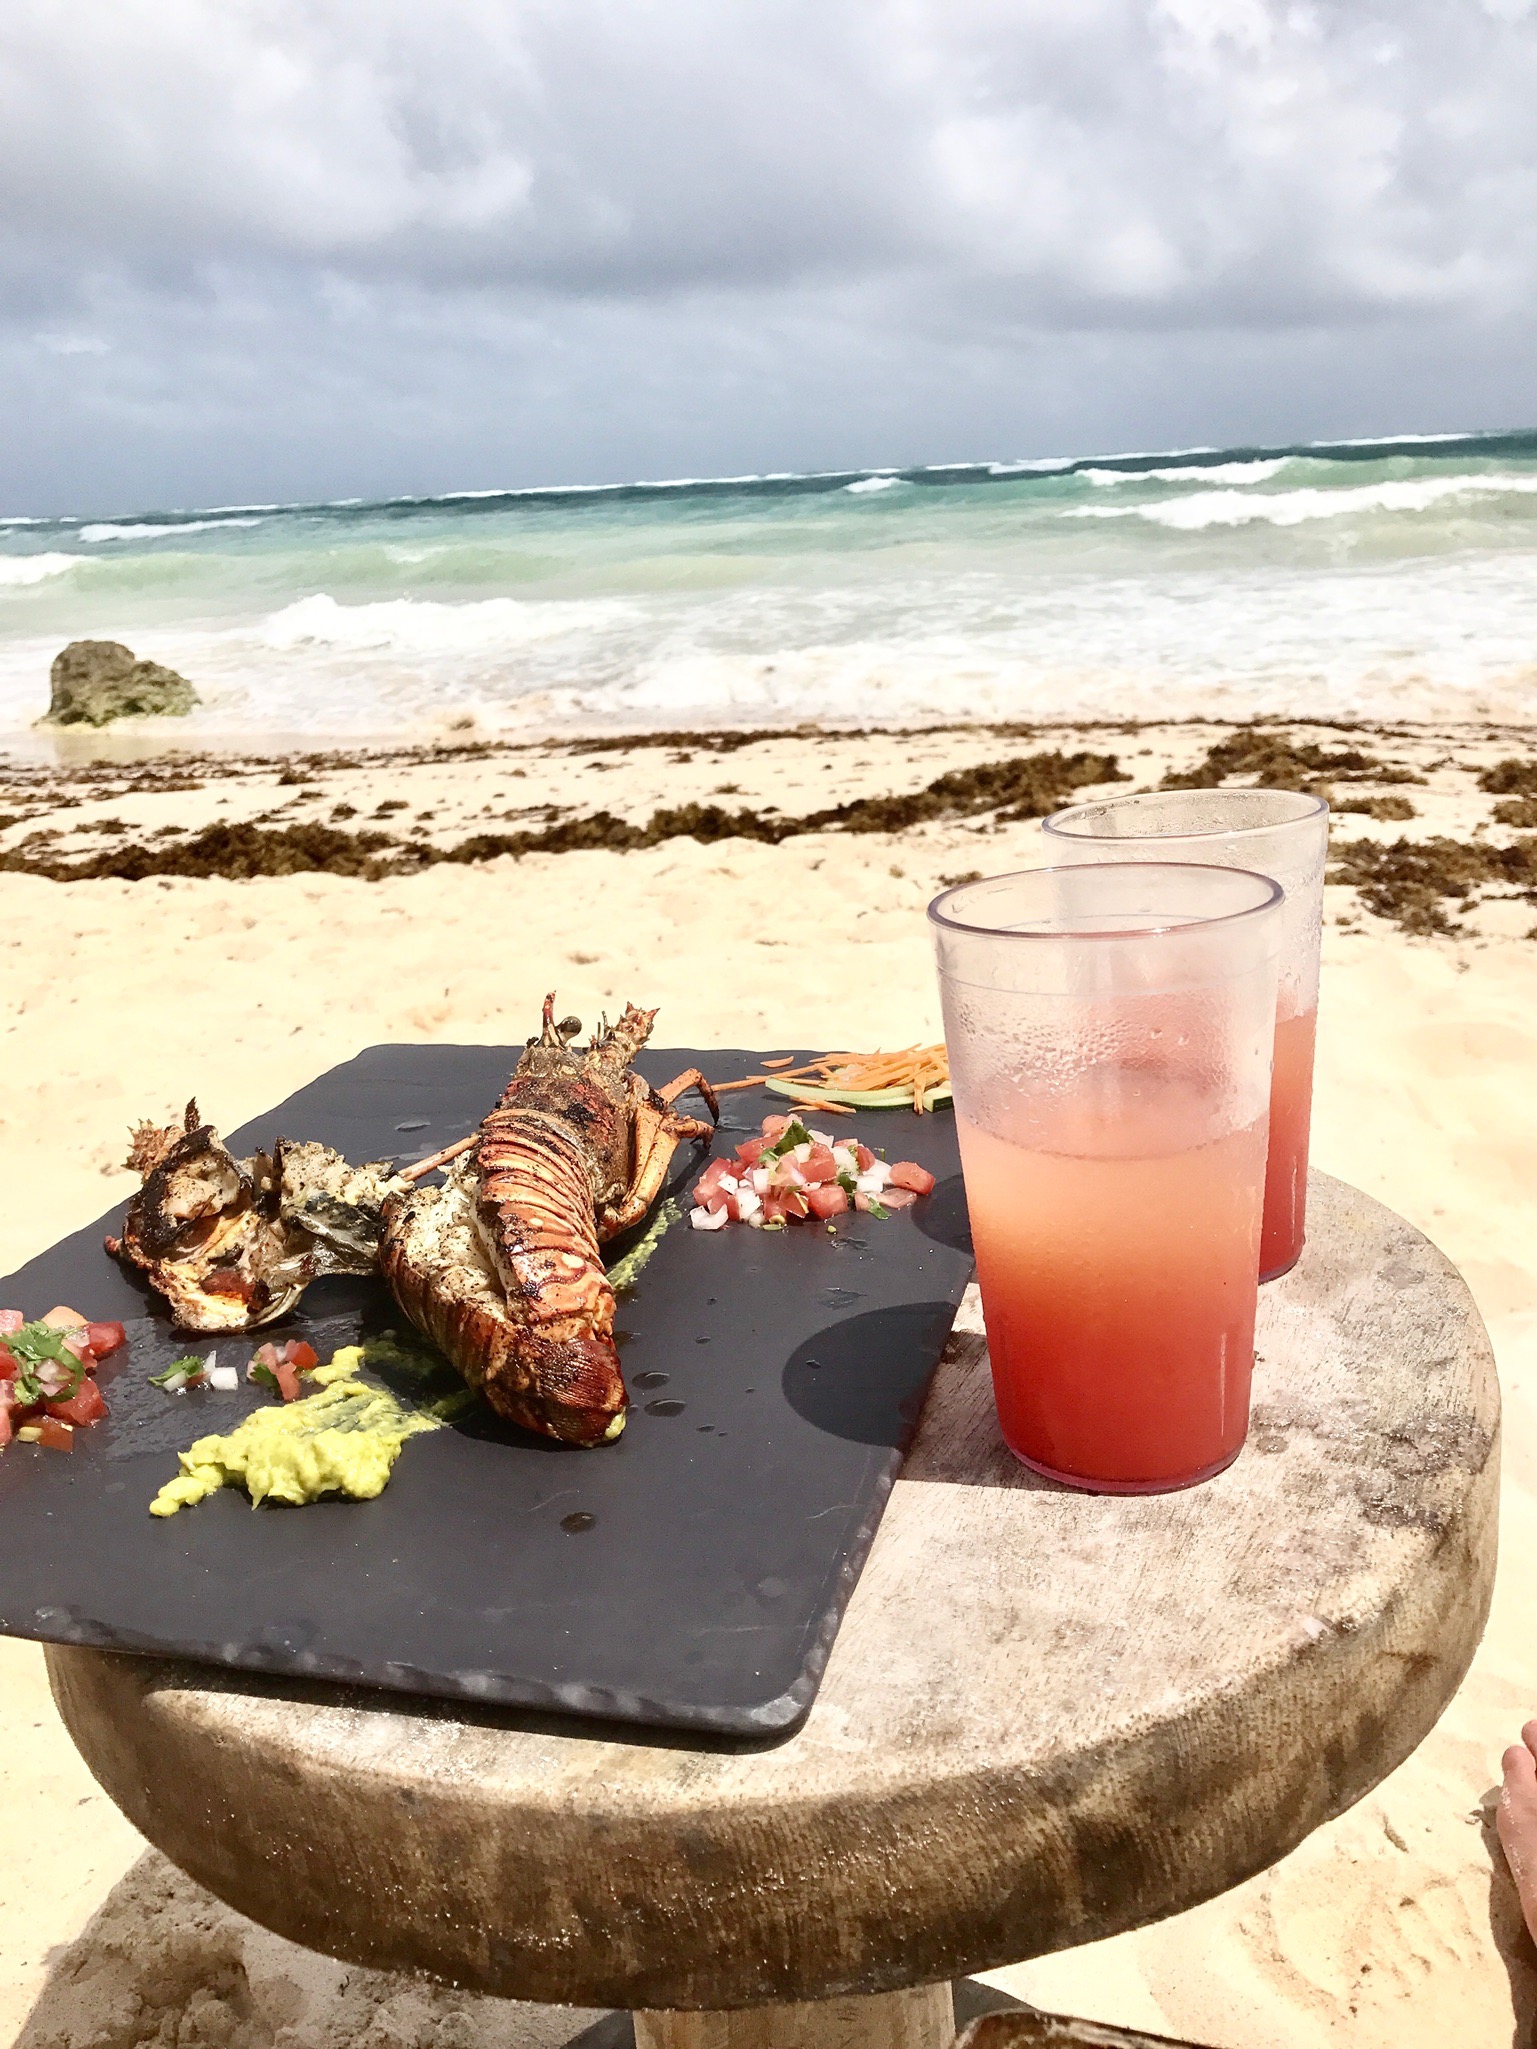
Best place we went for Brunch and also the BEST fish tacos I've ever had!
WHAT TO DO IN TULUM
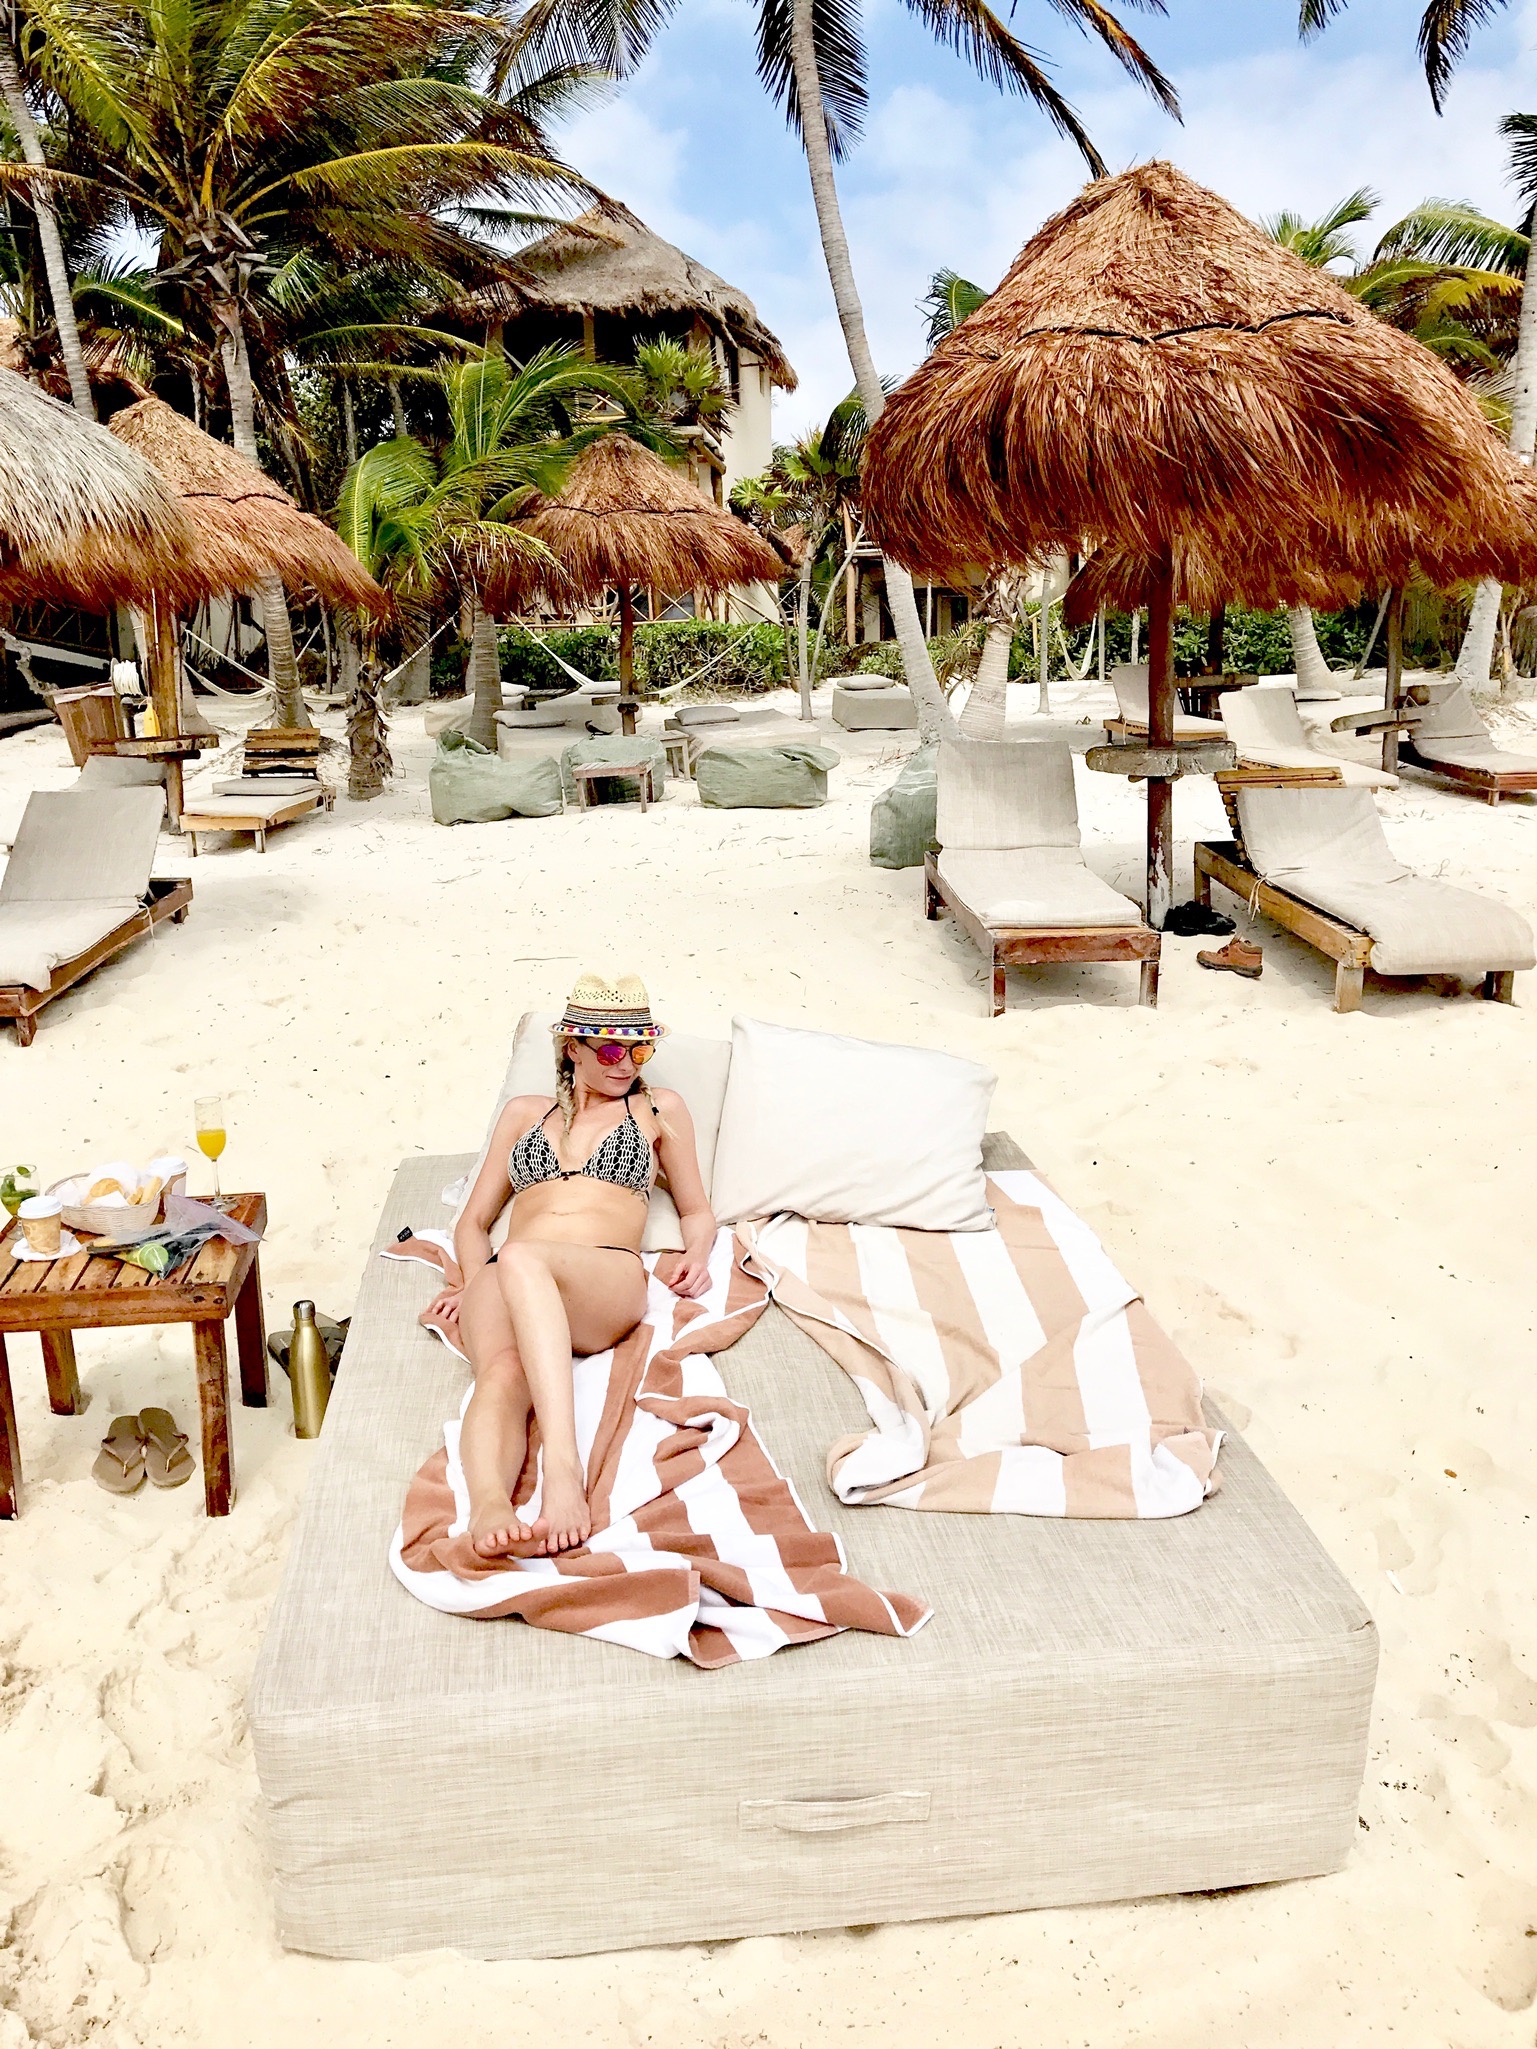
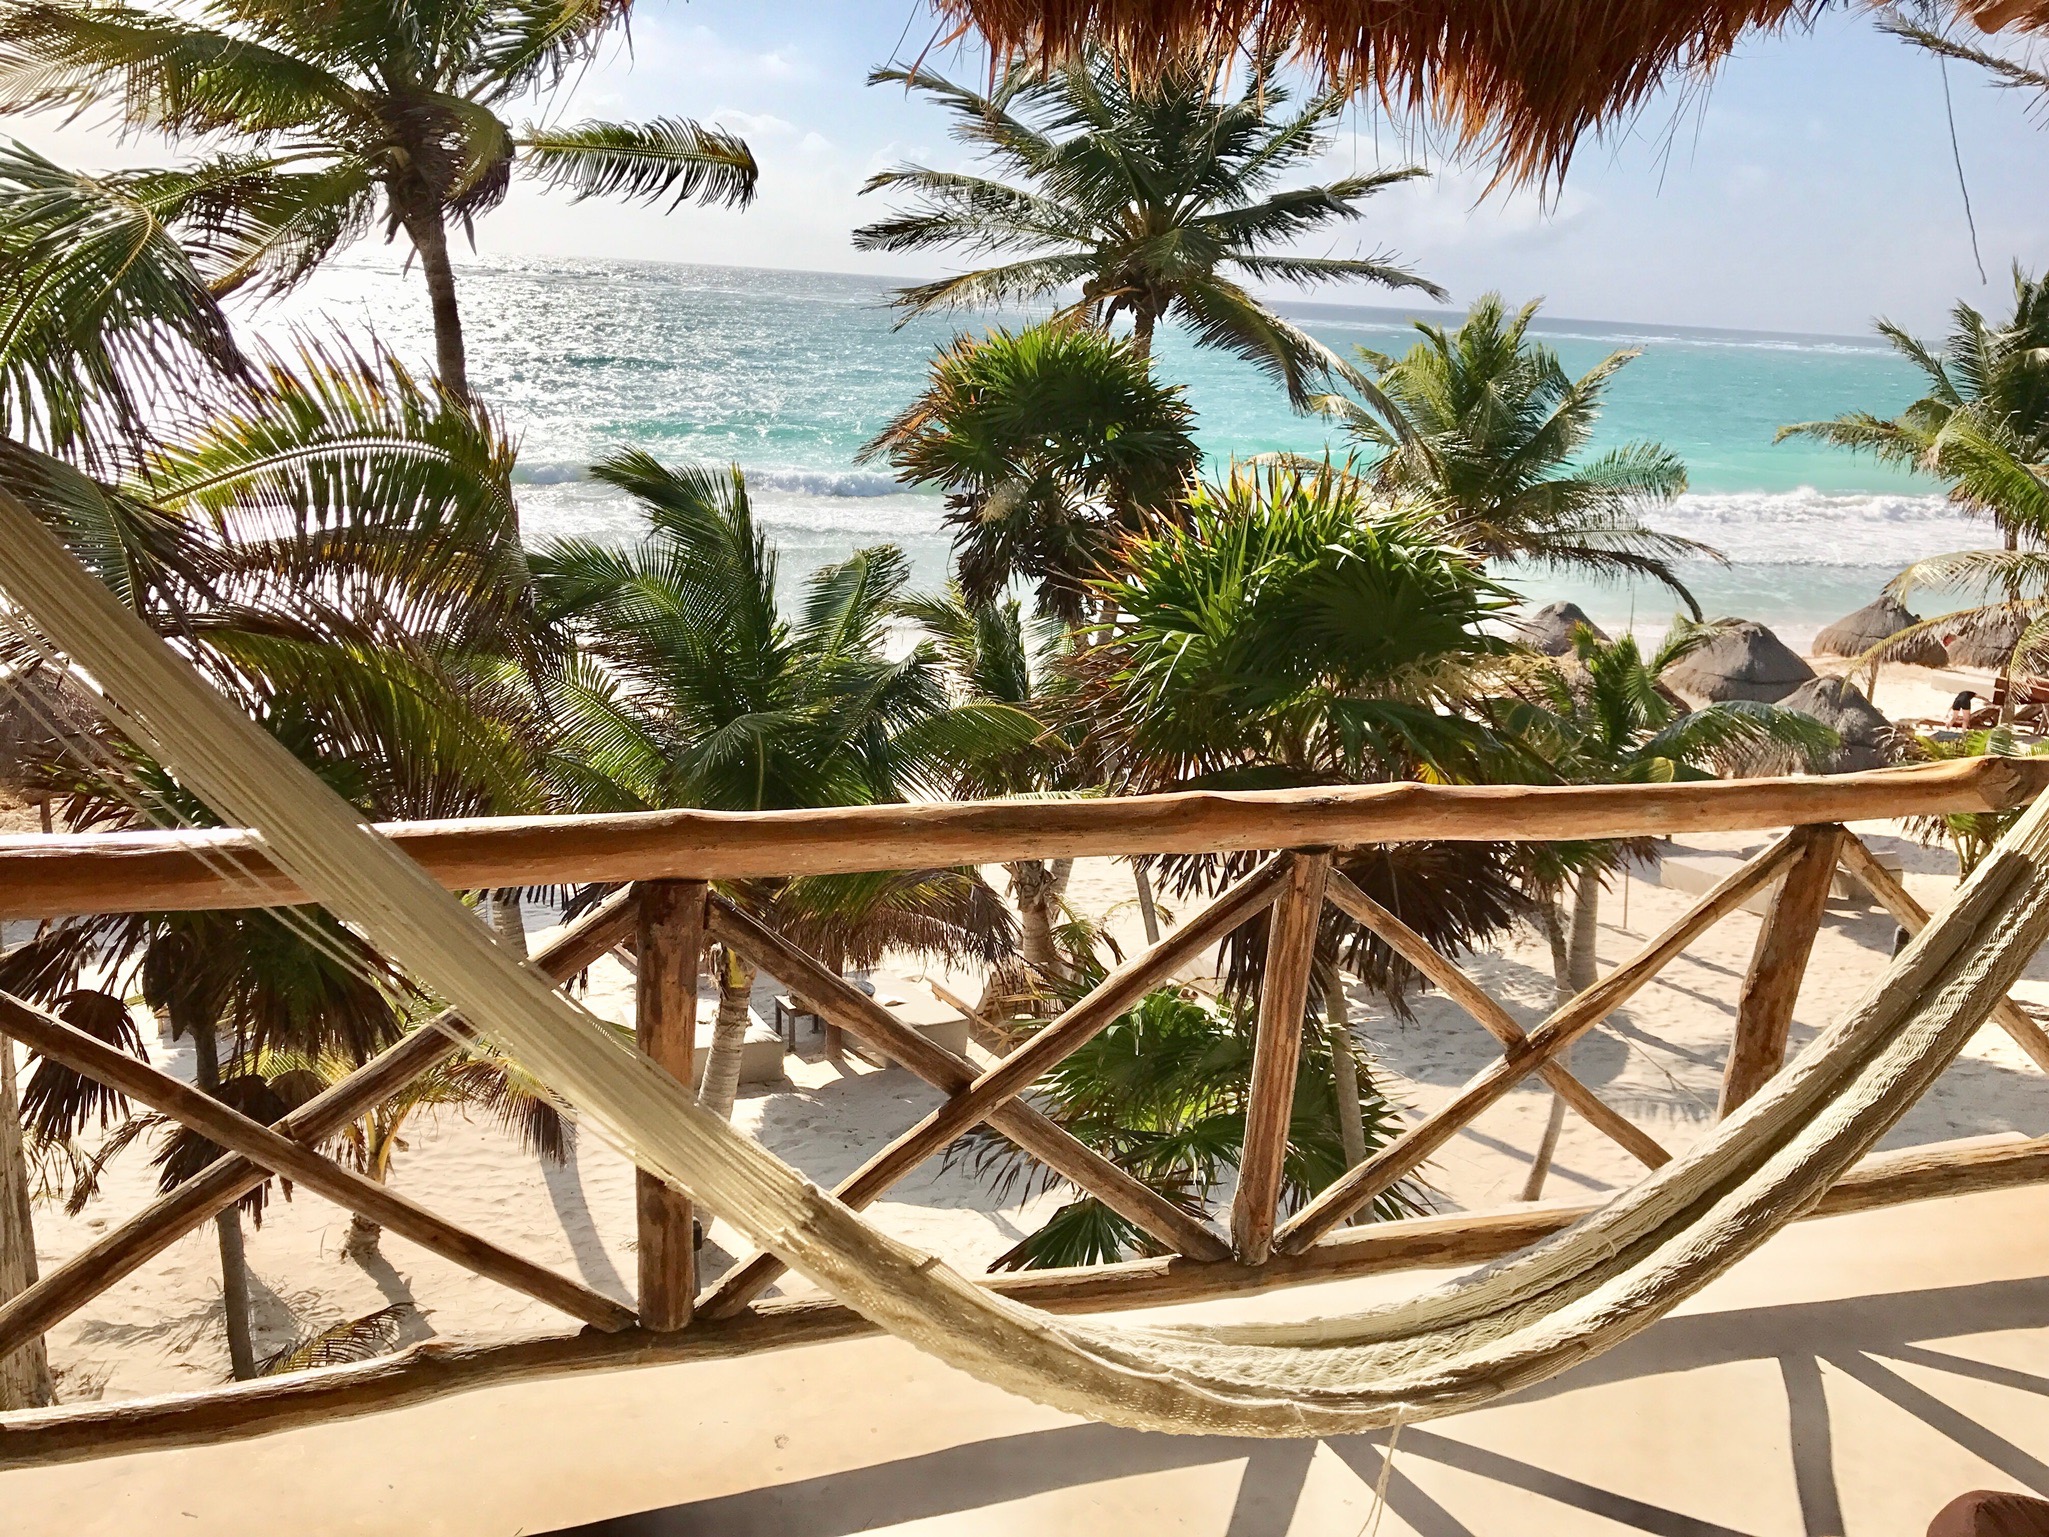
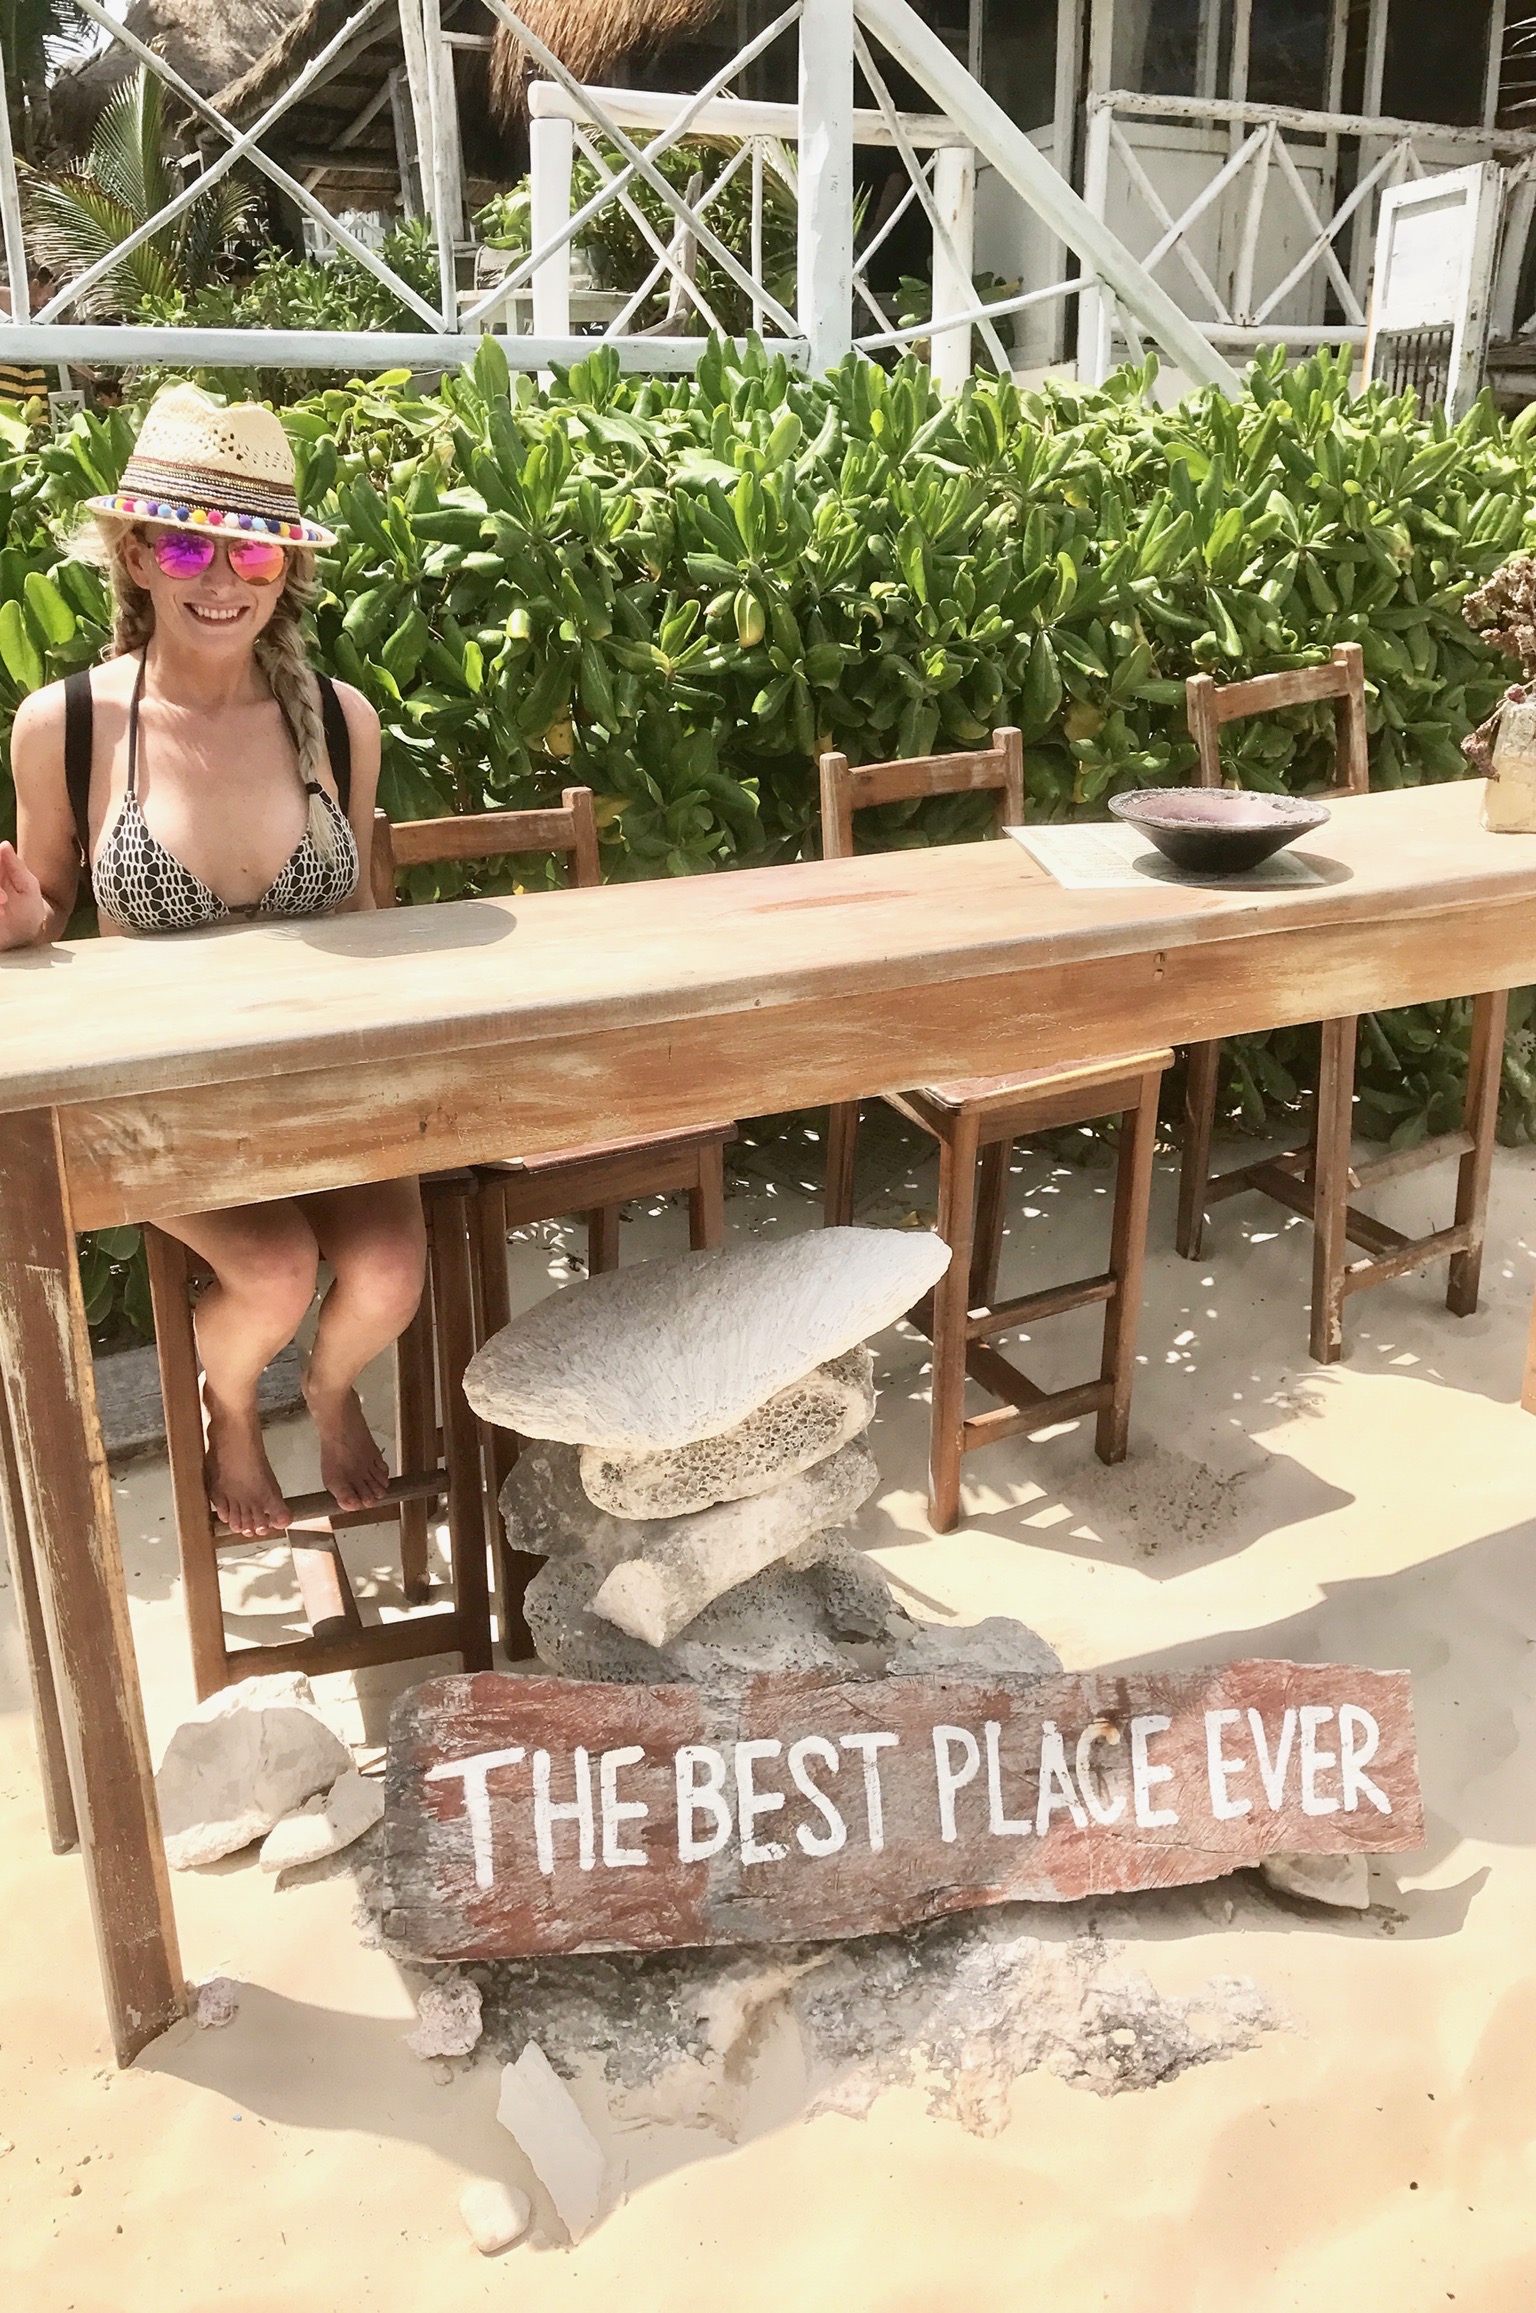
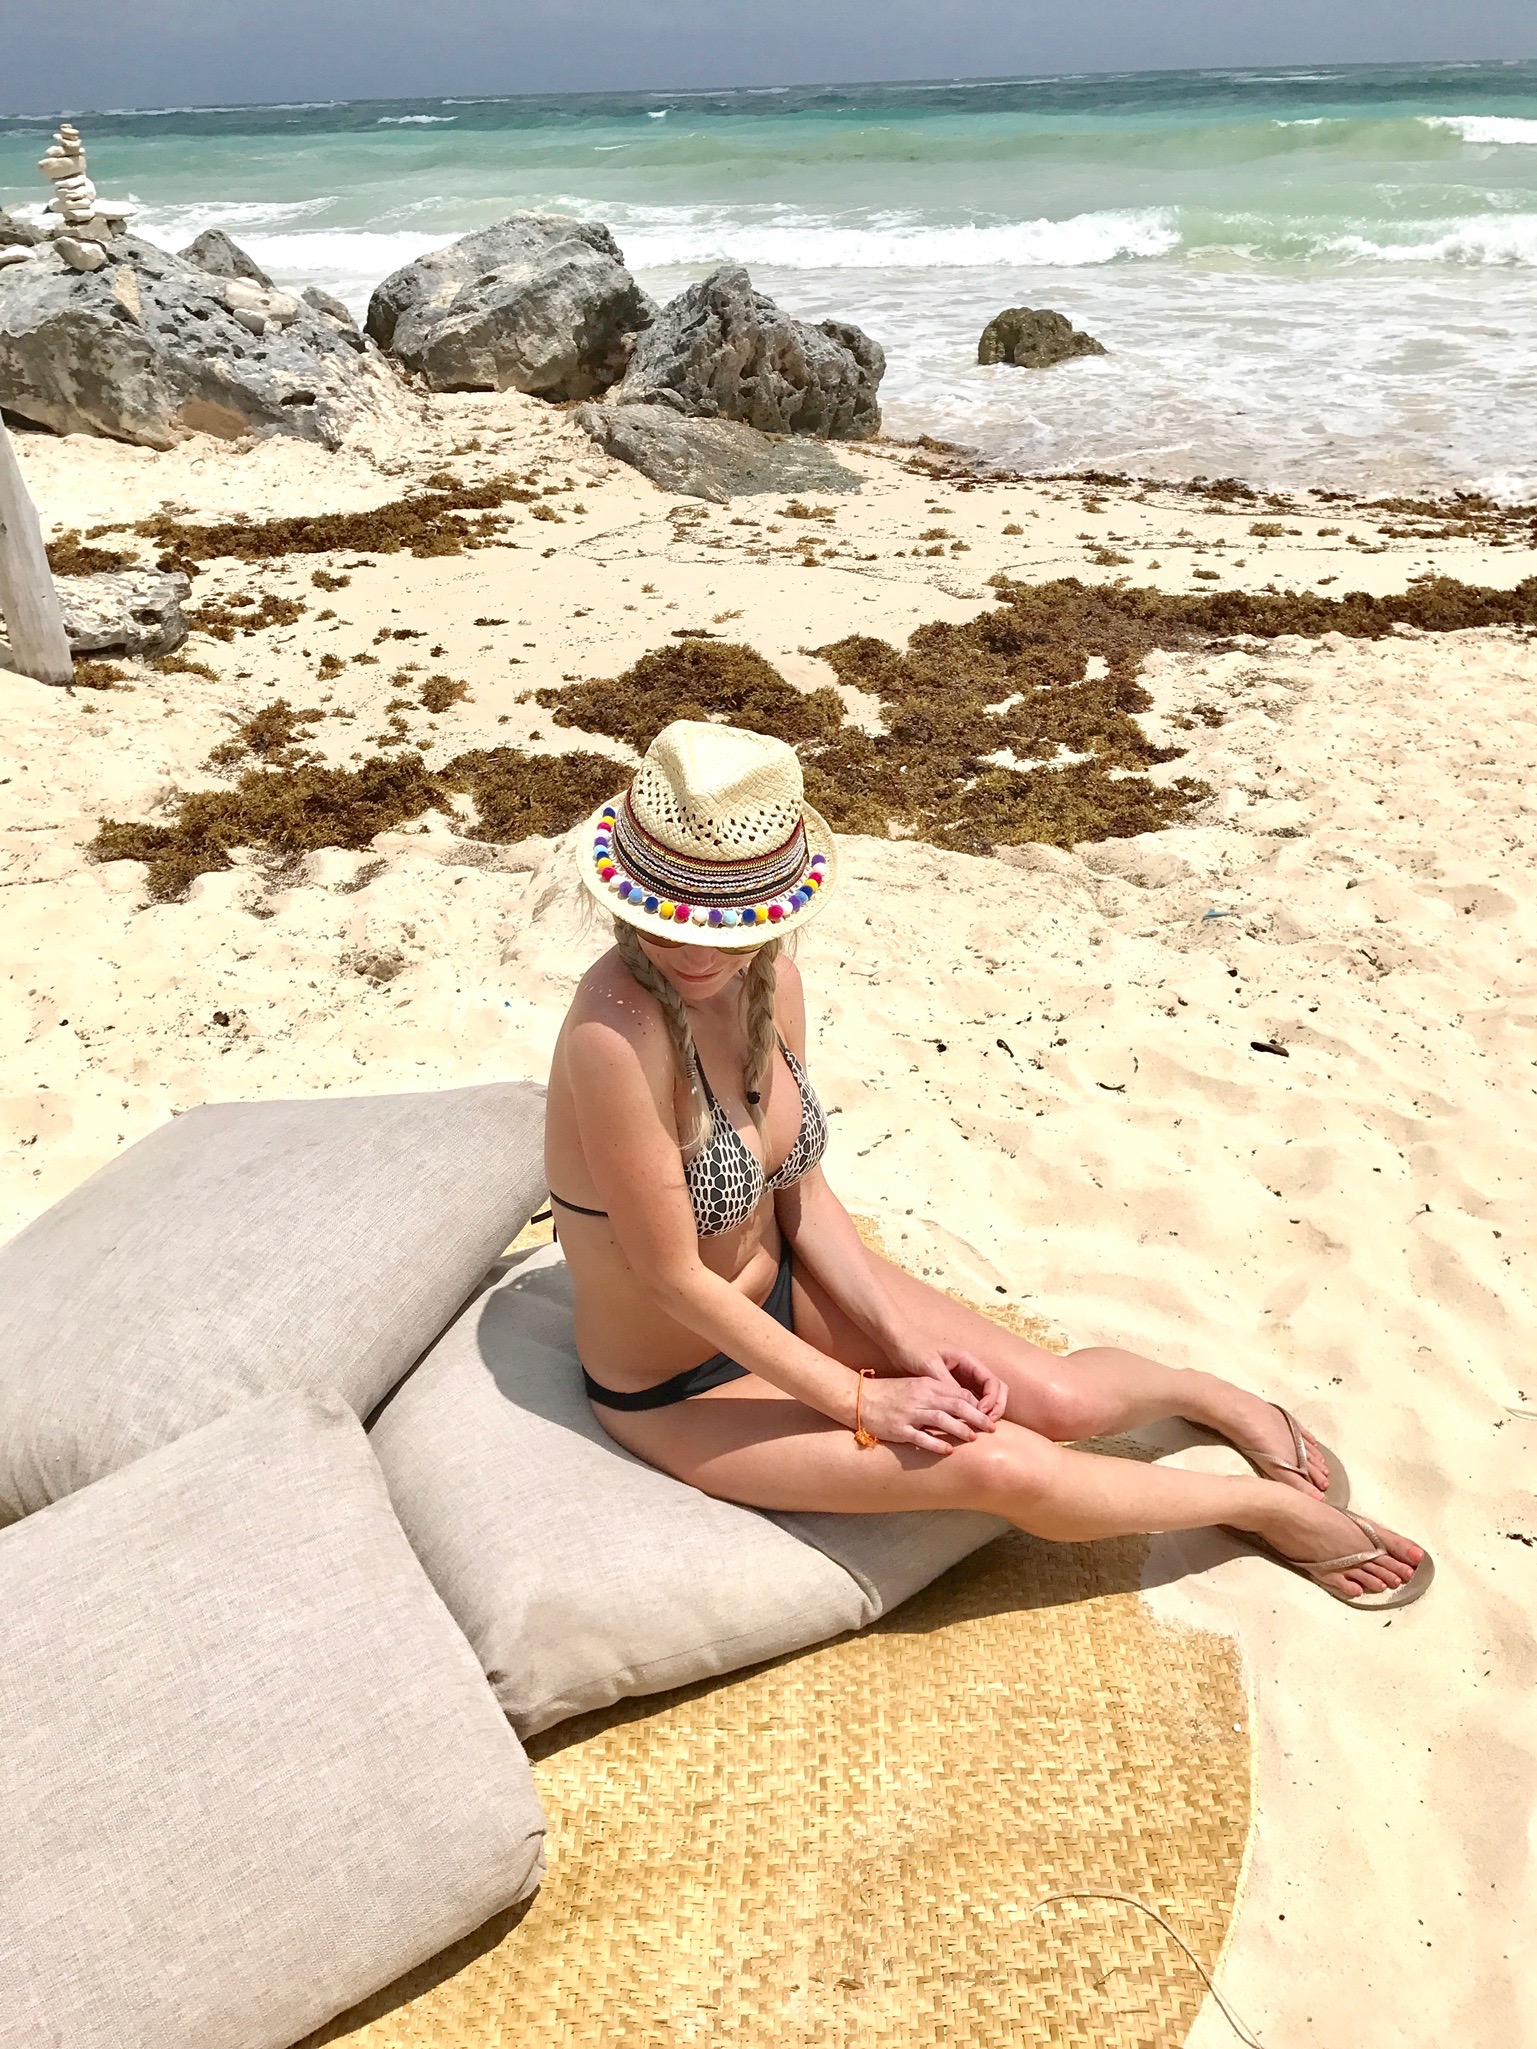
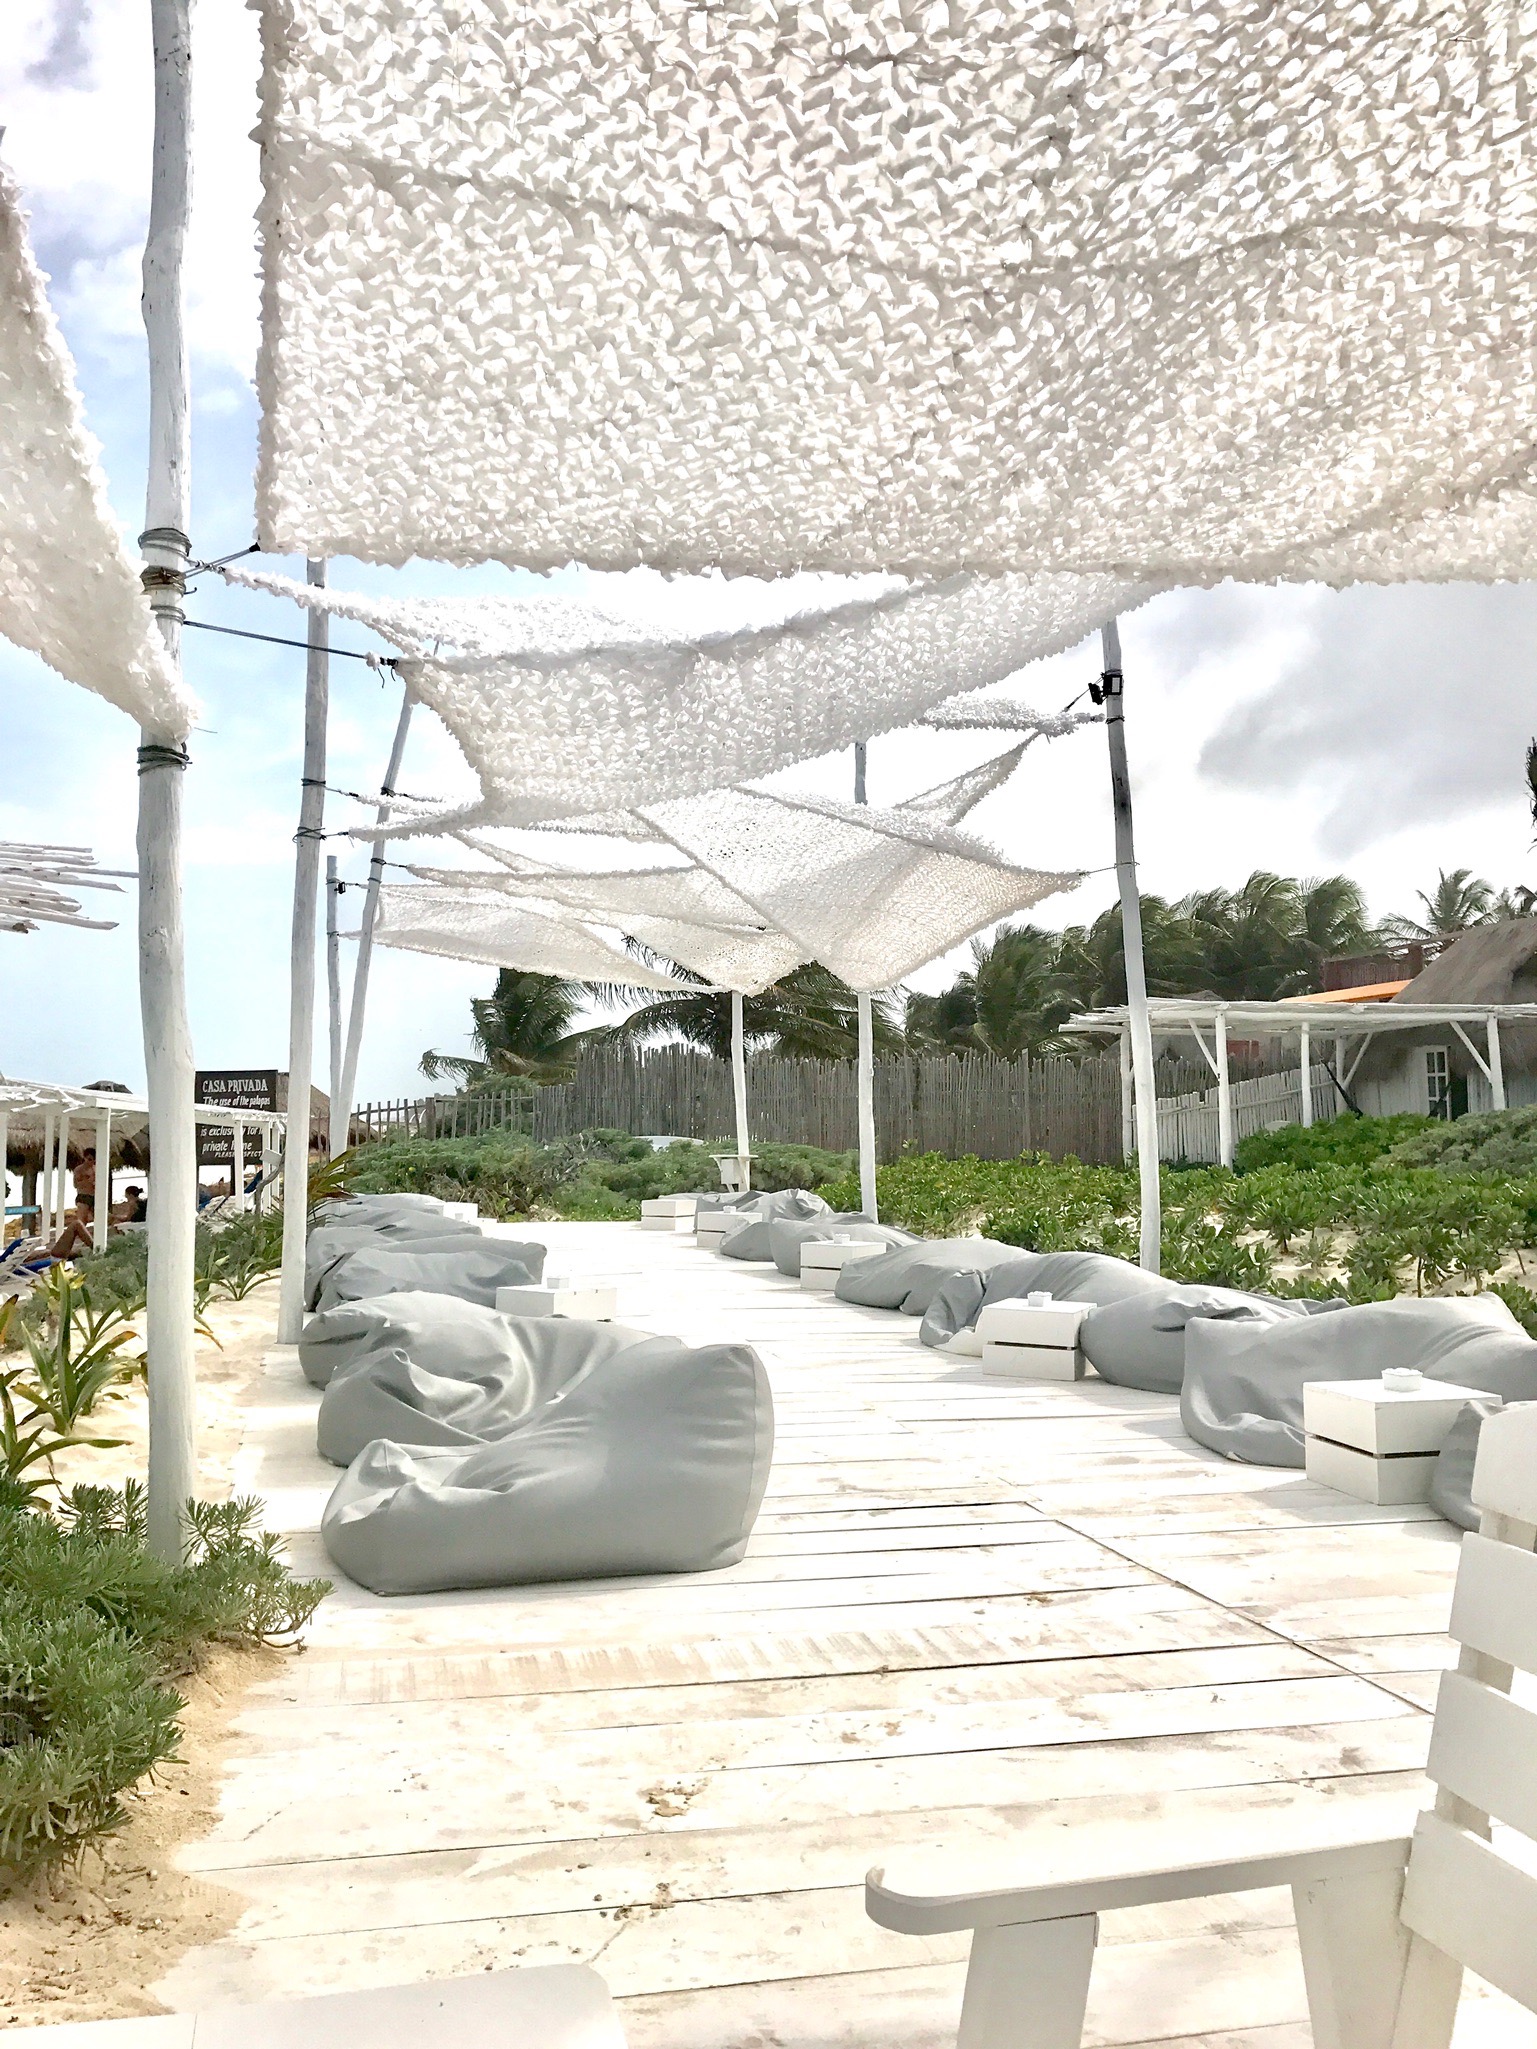
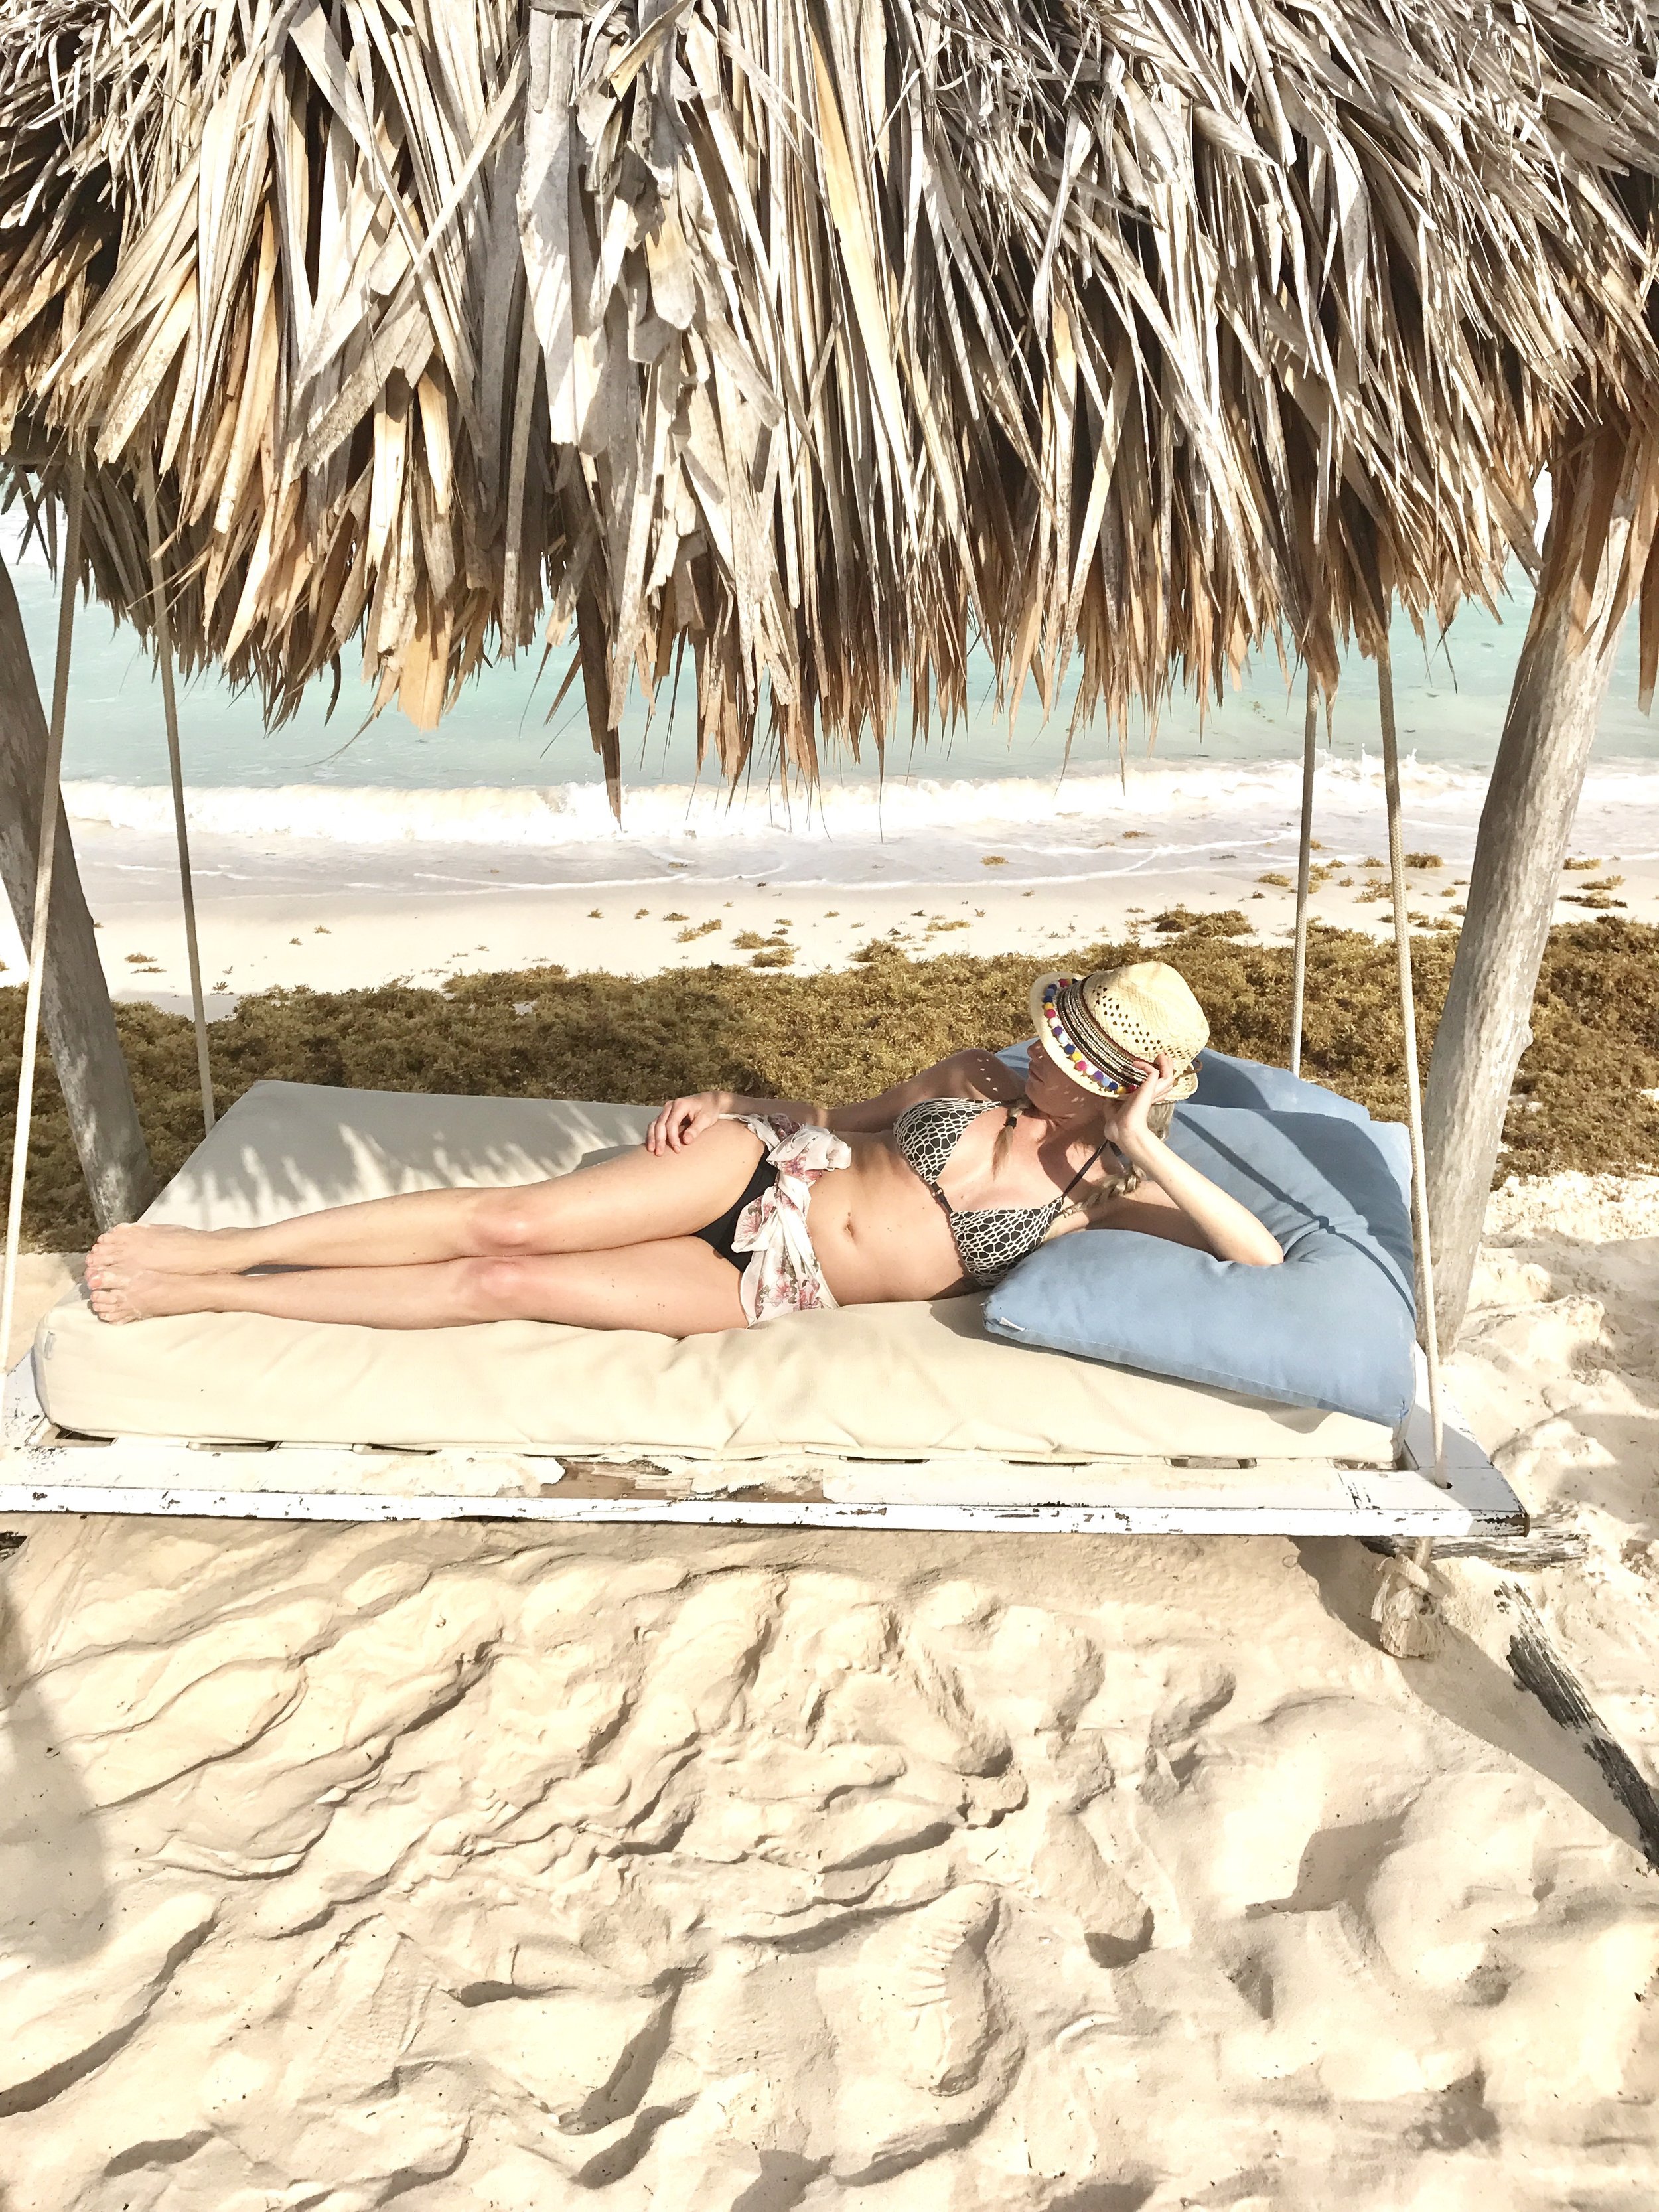
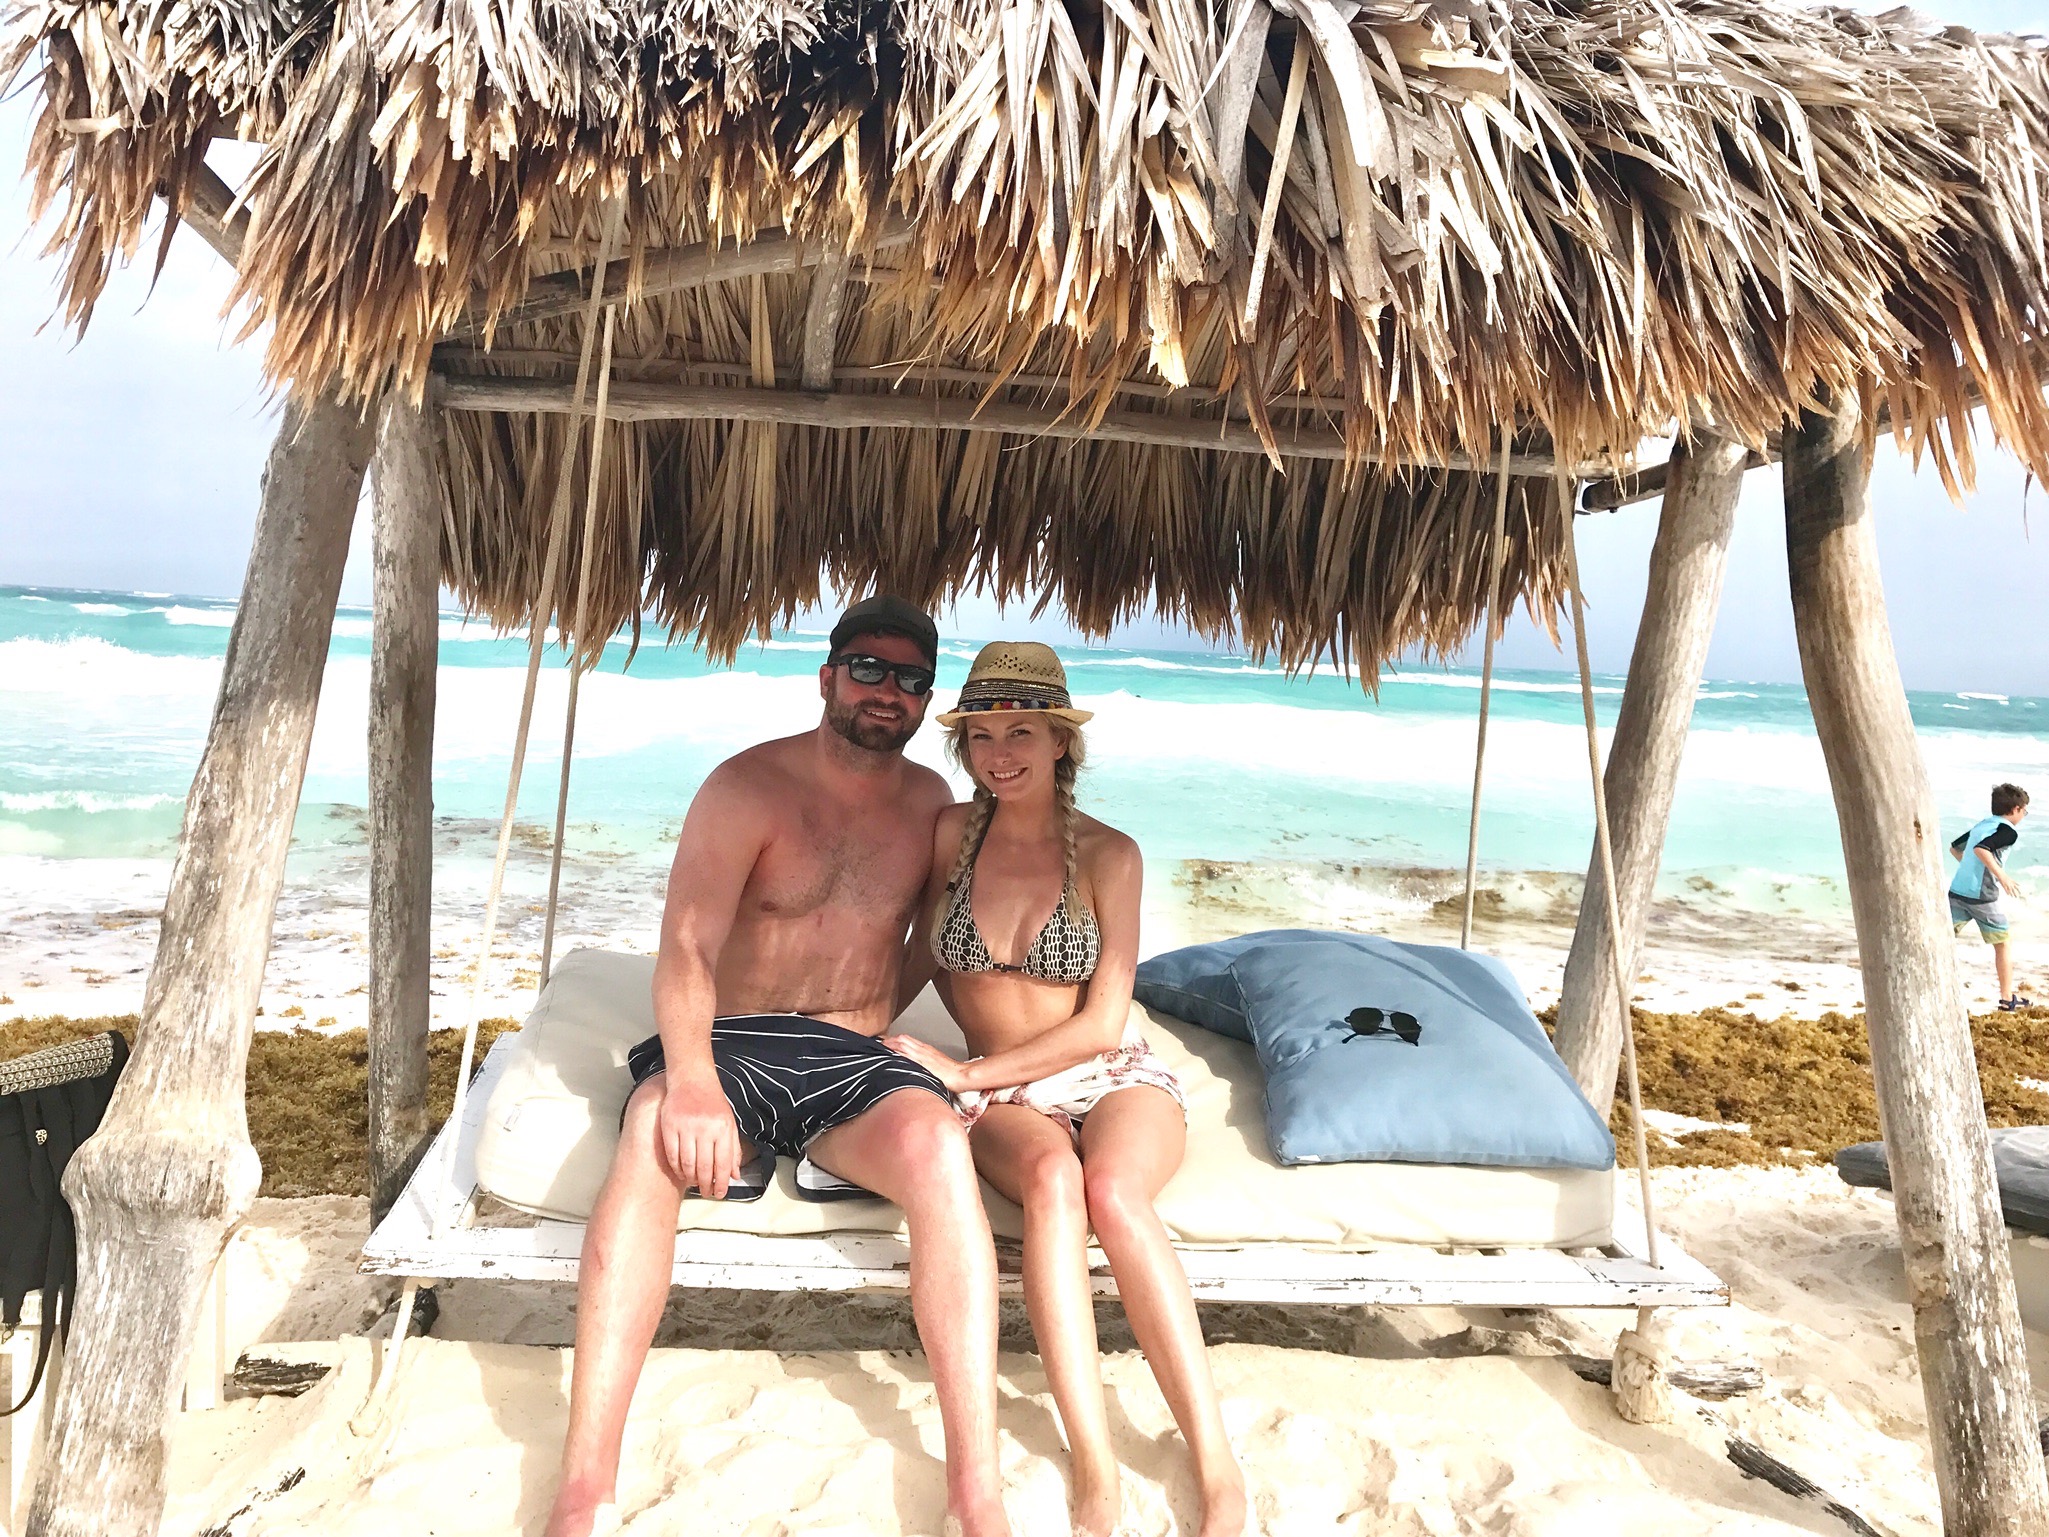
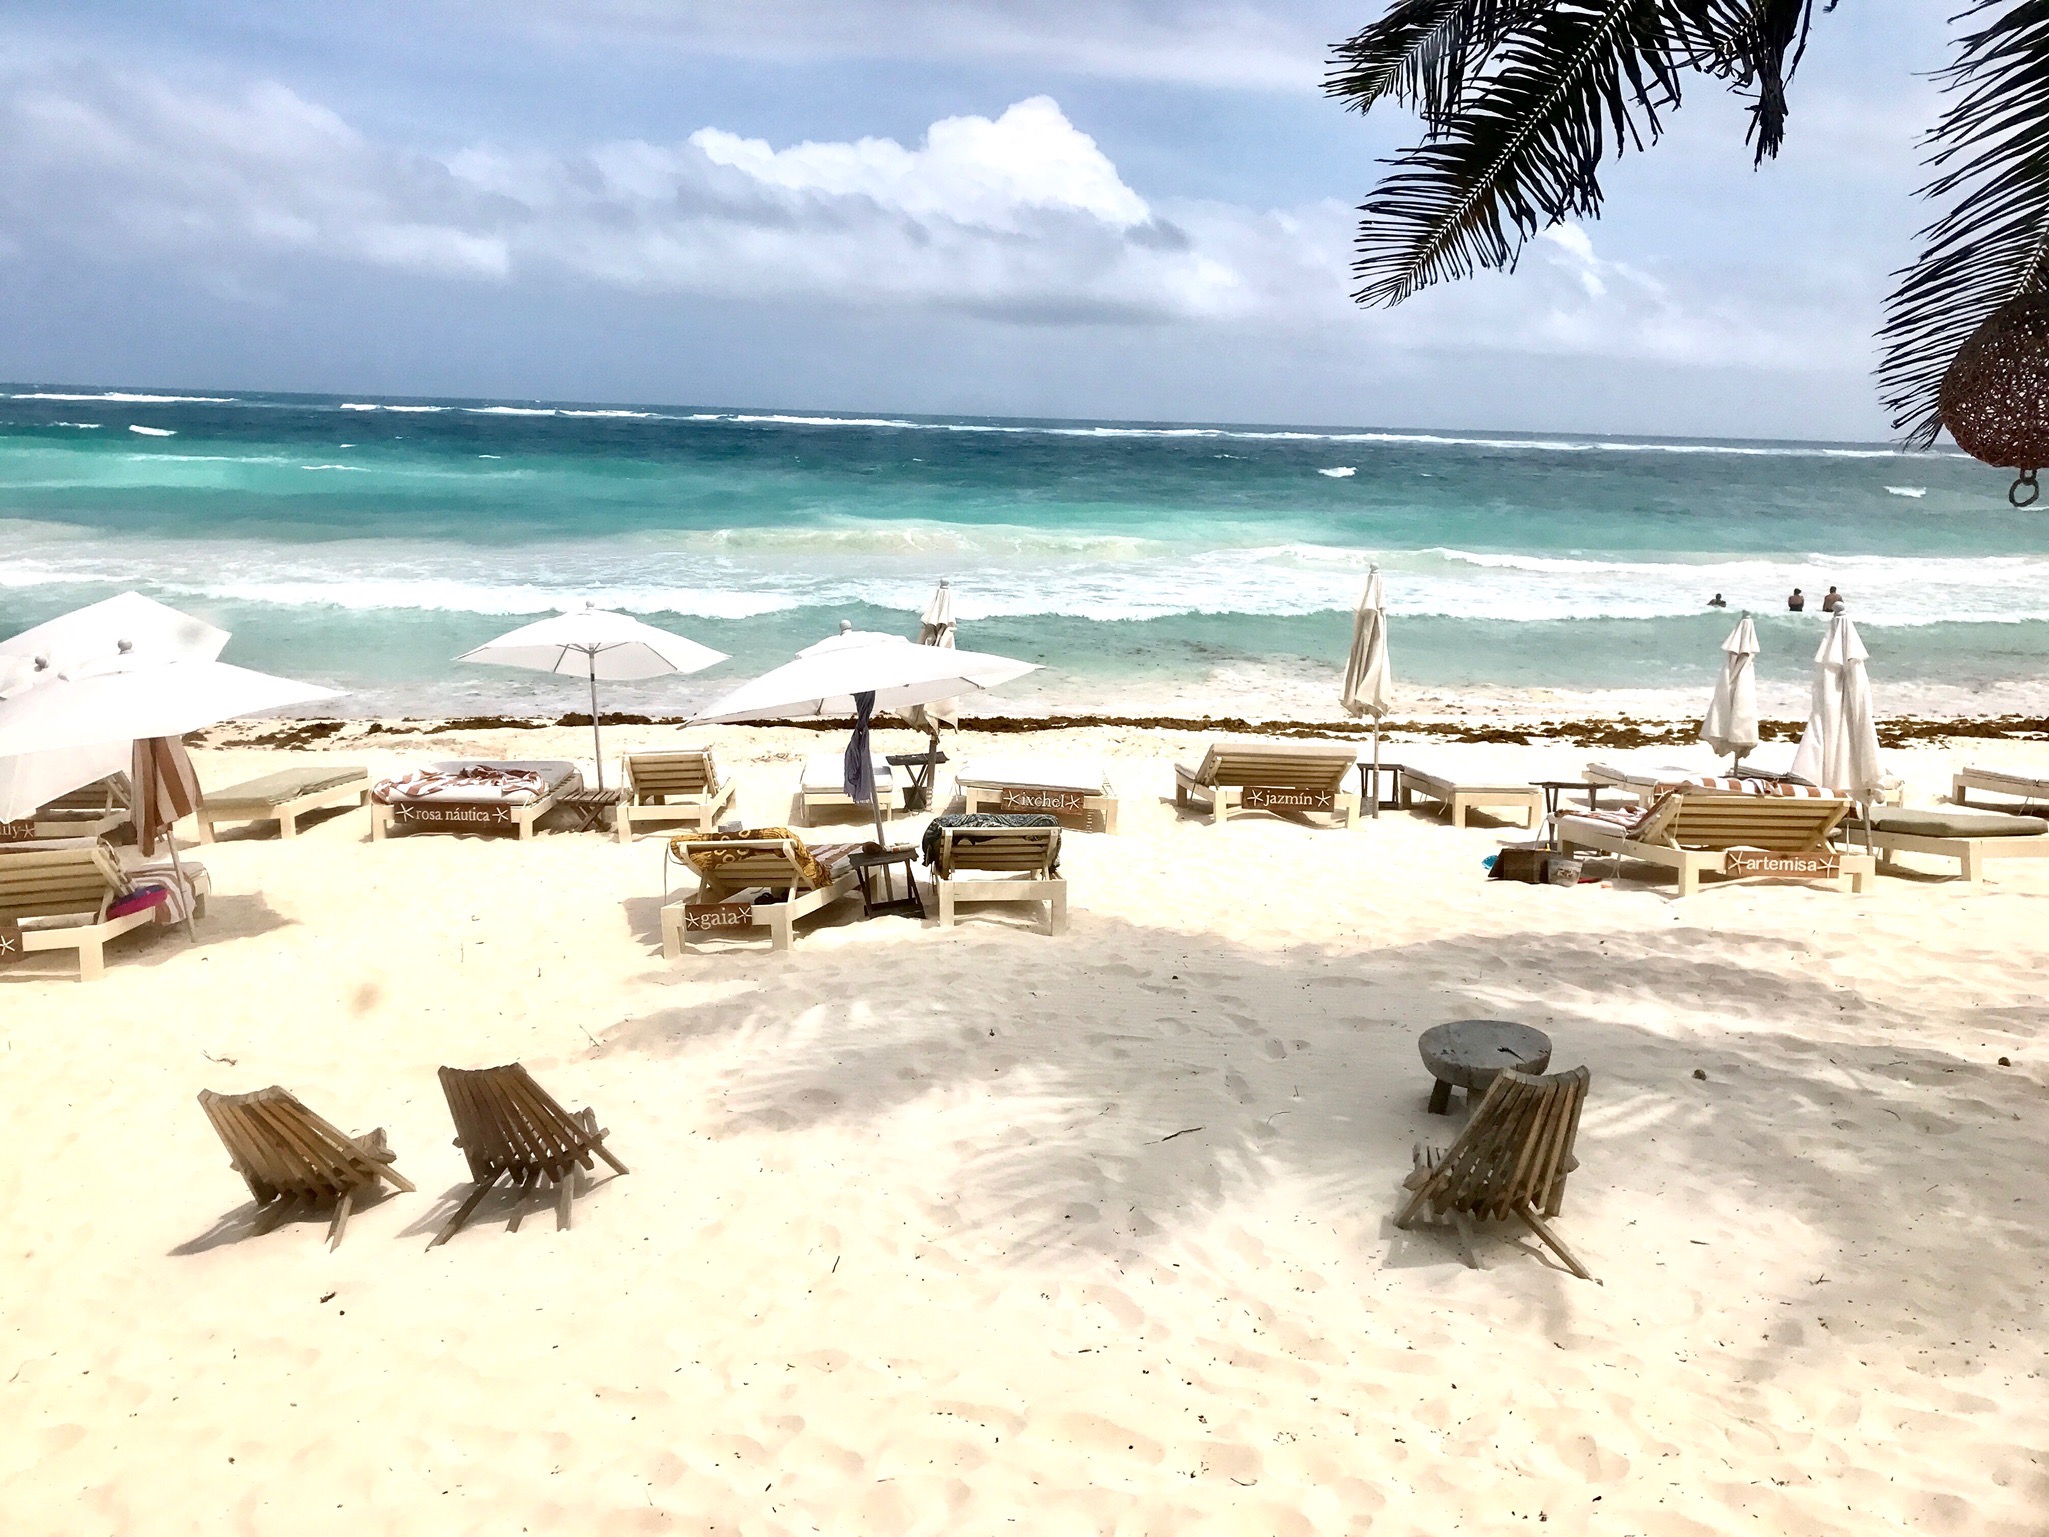
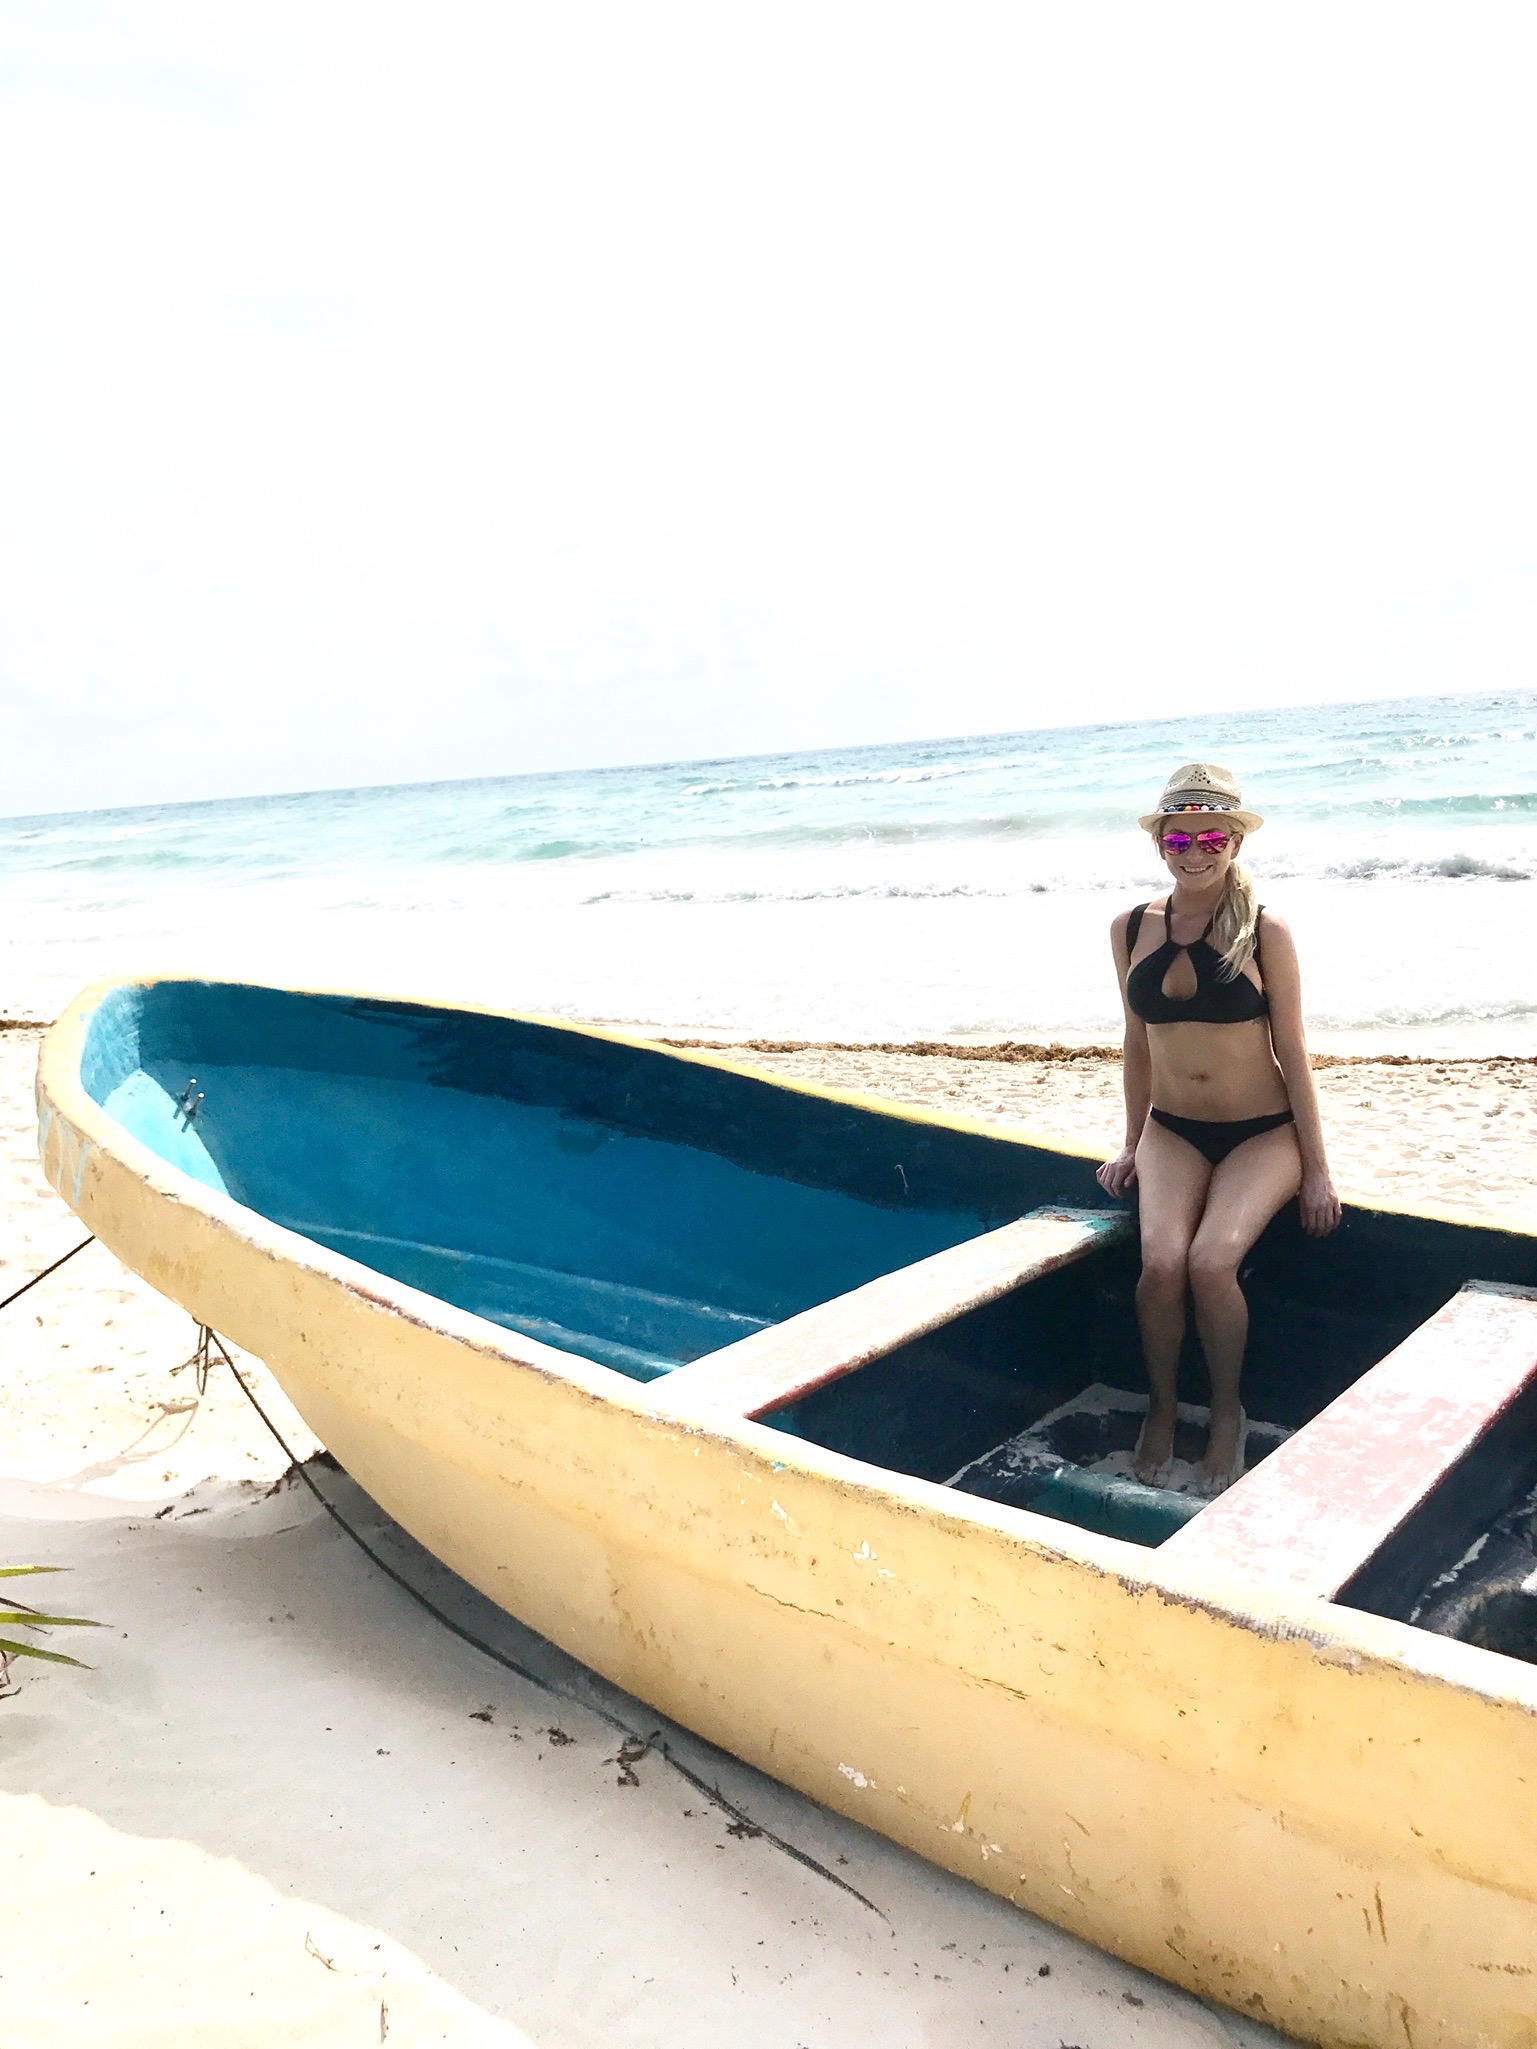
R-E-L-A-X
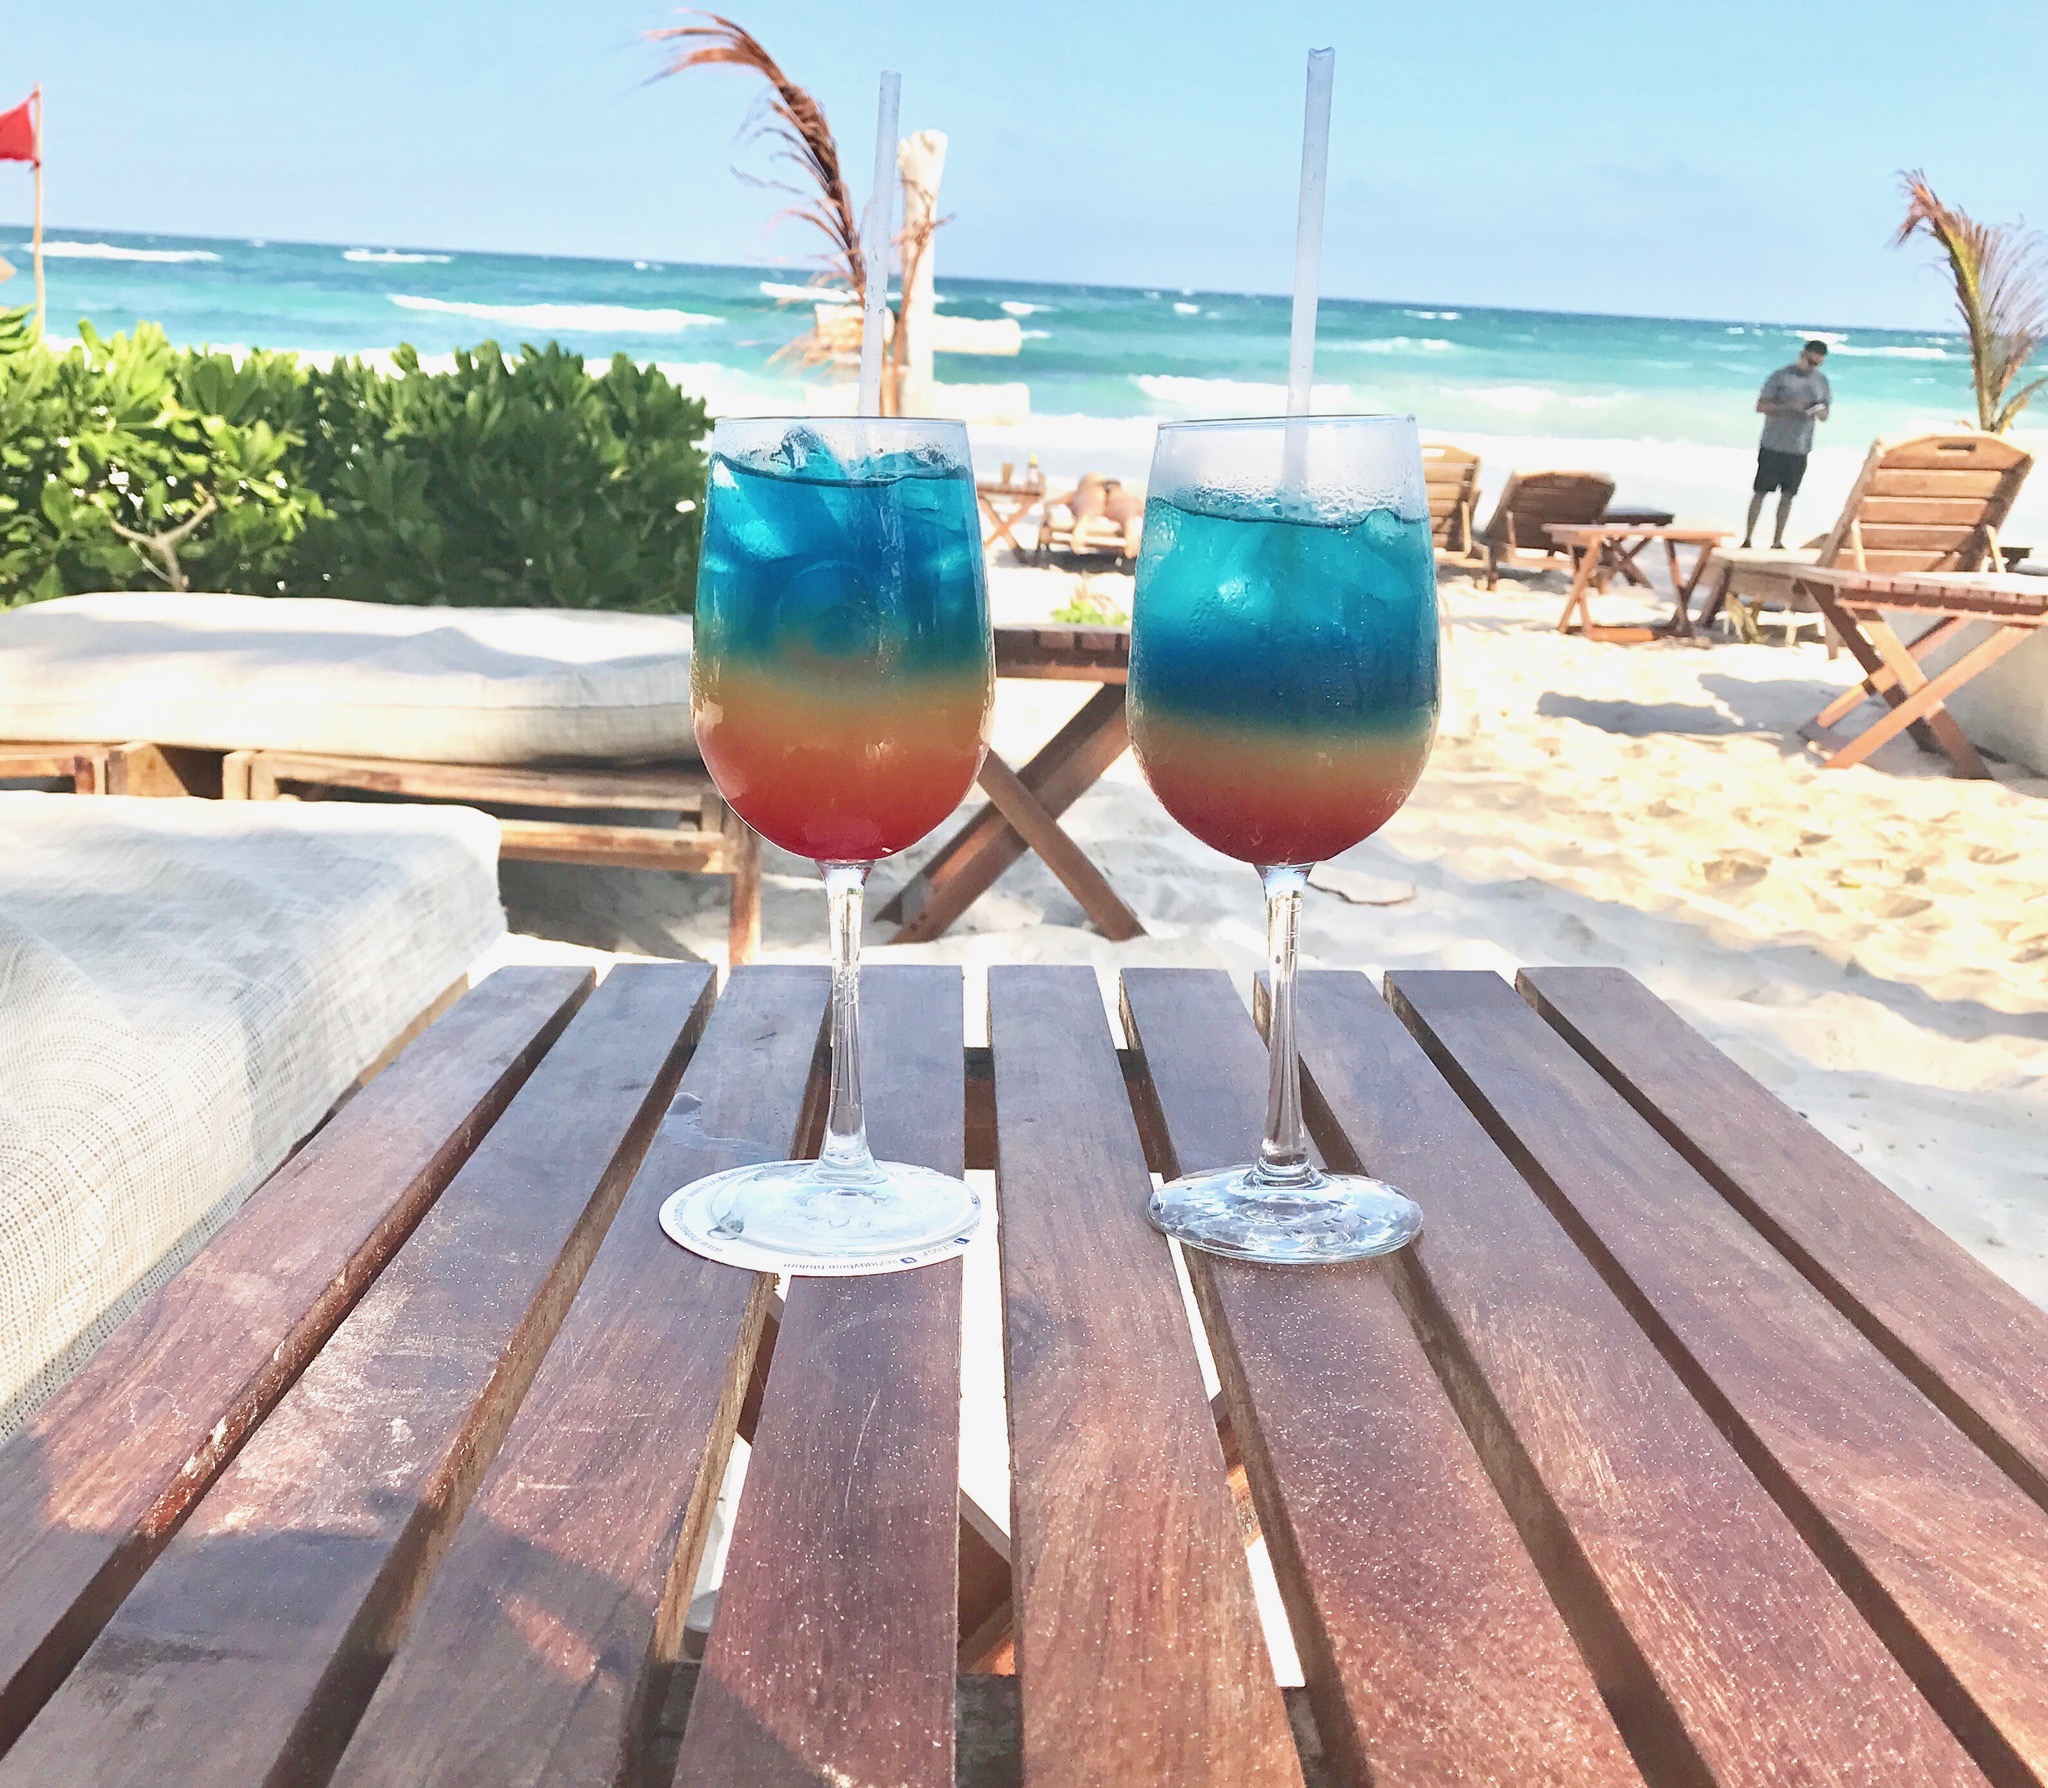
Literally just lay on the beach during the day, in a hammock, on a beach bed, or in a big beach pillow. The best thing about Tulum is how quiet and relaxing it is. So just find some time to lay out by the ocean waves and unwind.

Explore the beach clubs during the day and explore the jungle restaurants and shops at night!
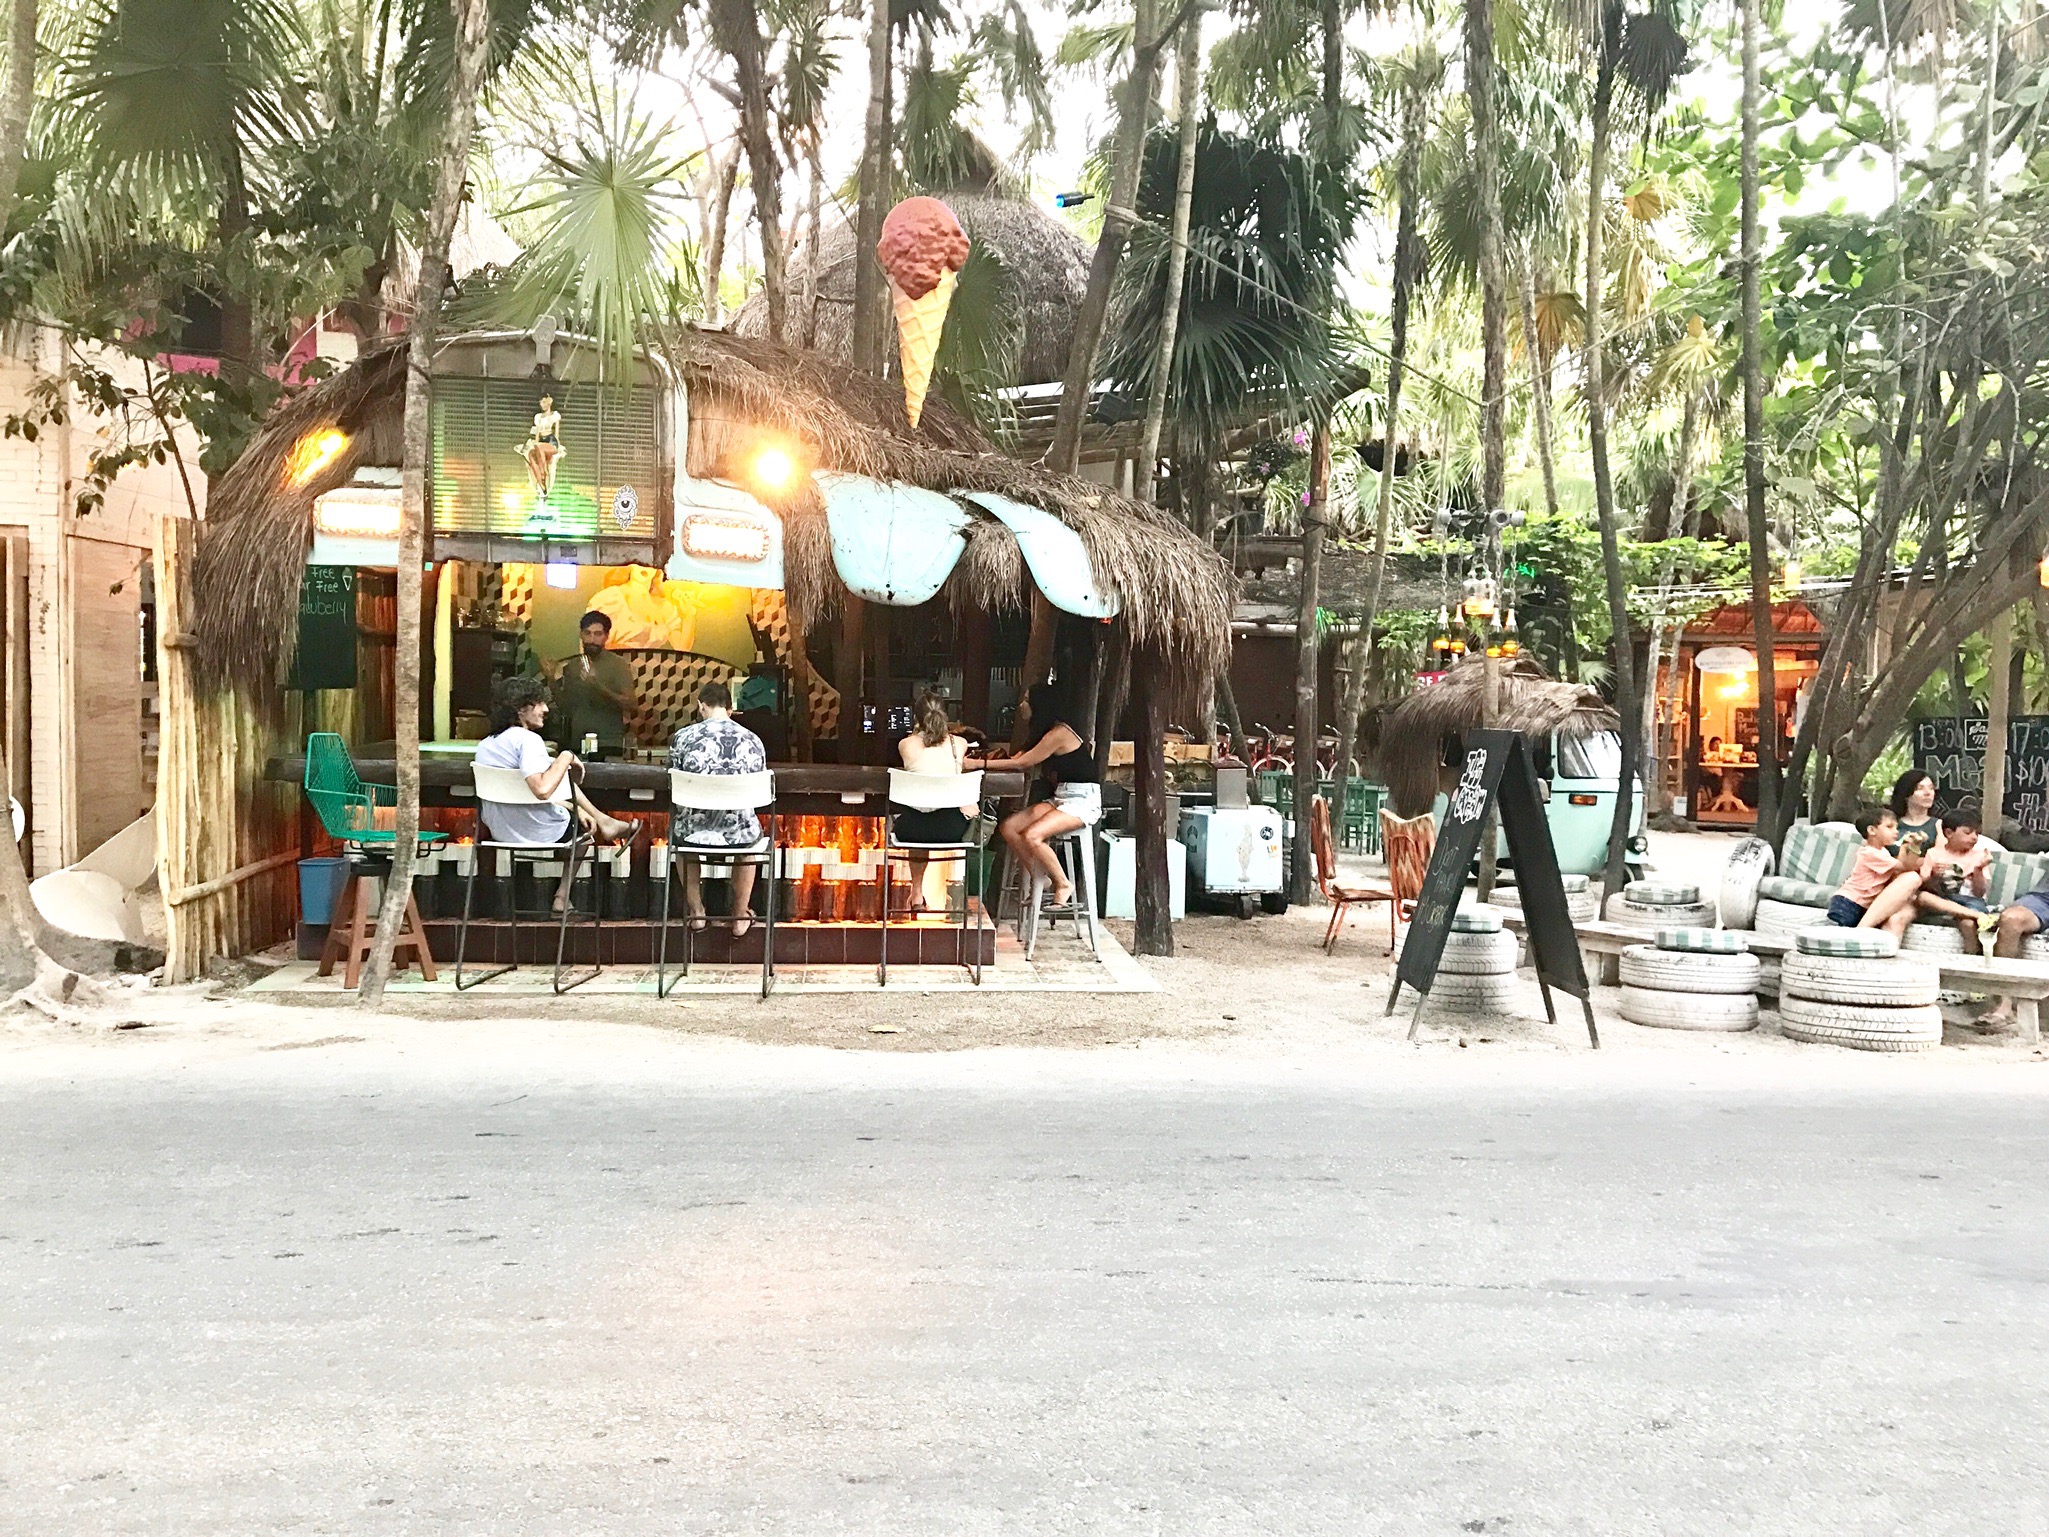

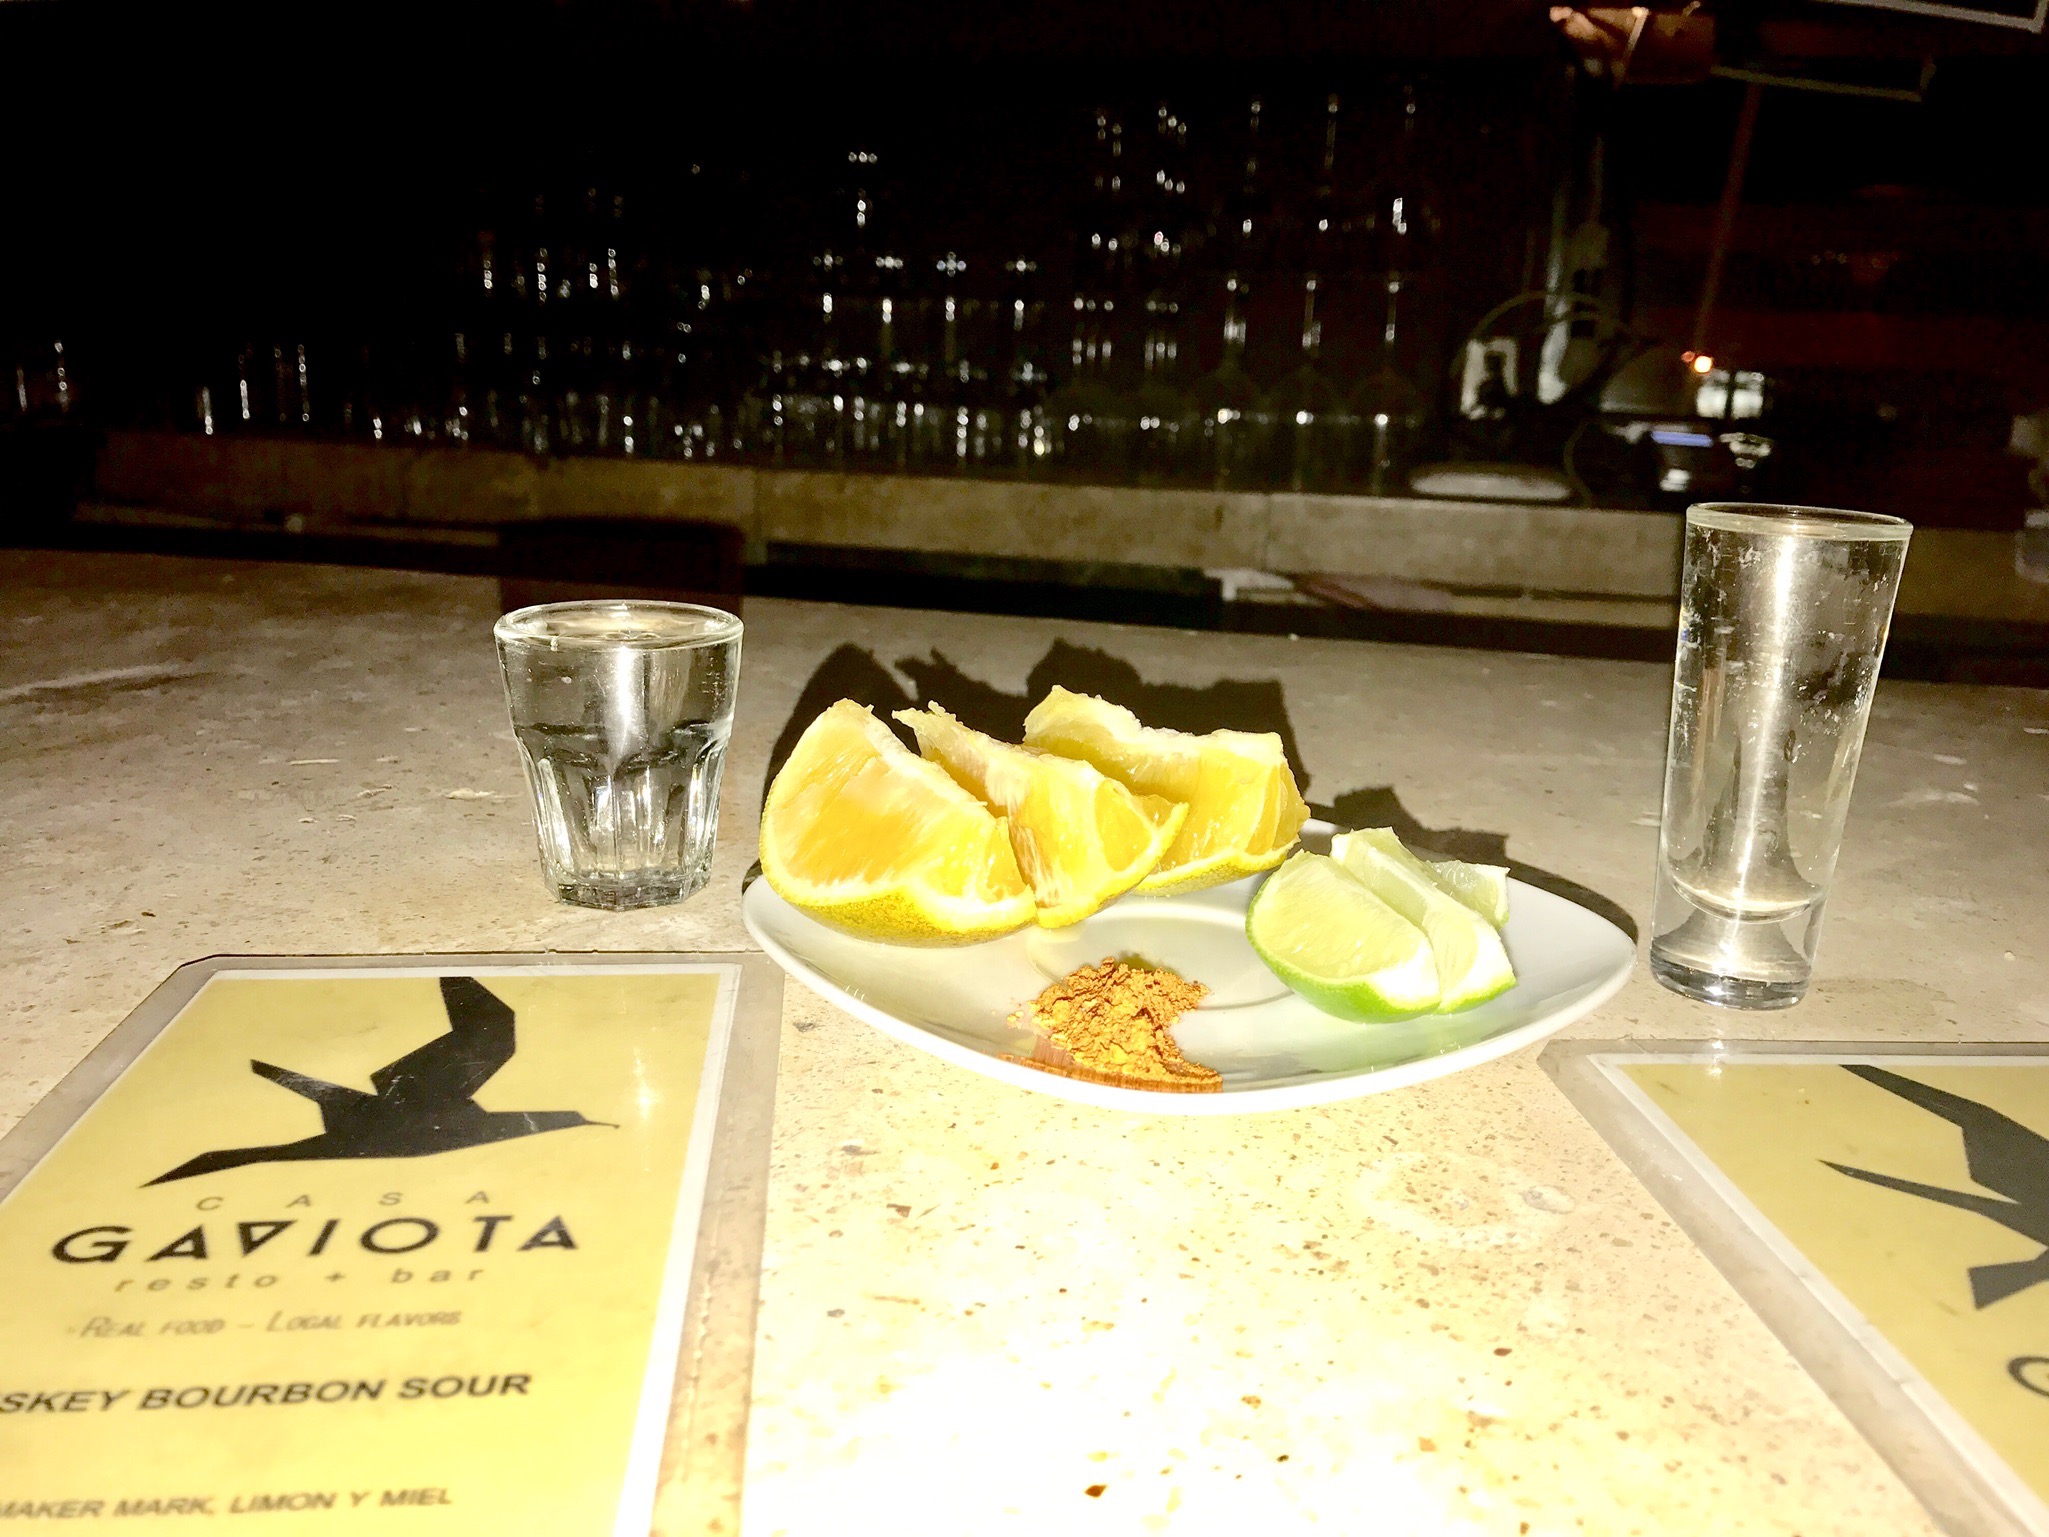
Feel like a local and take some Mezcal shots with Erik at GAVIOTA


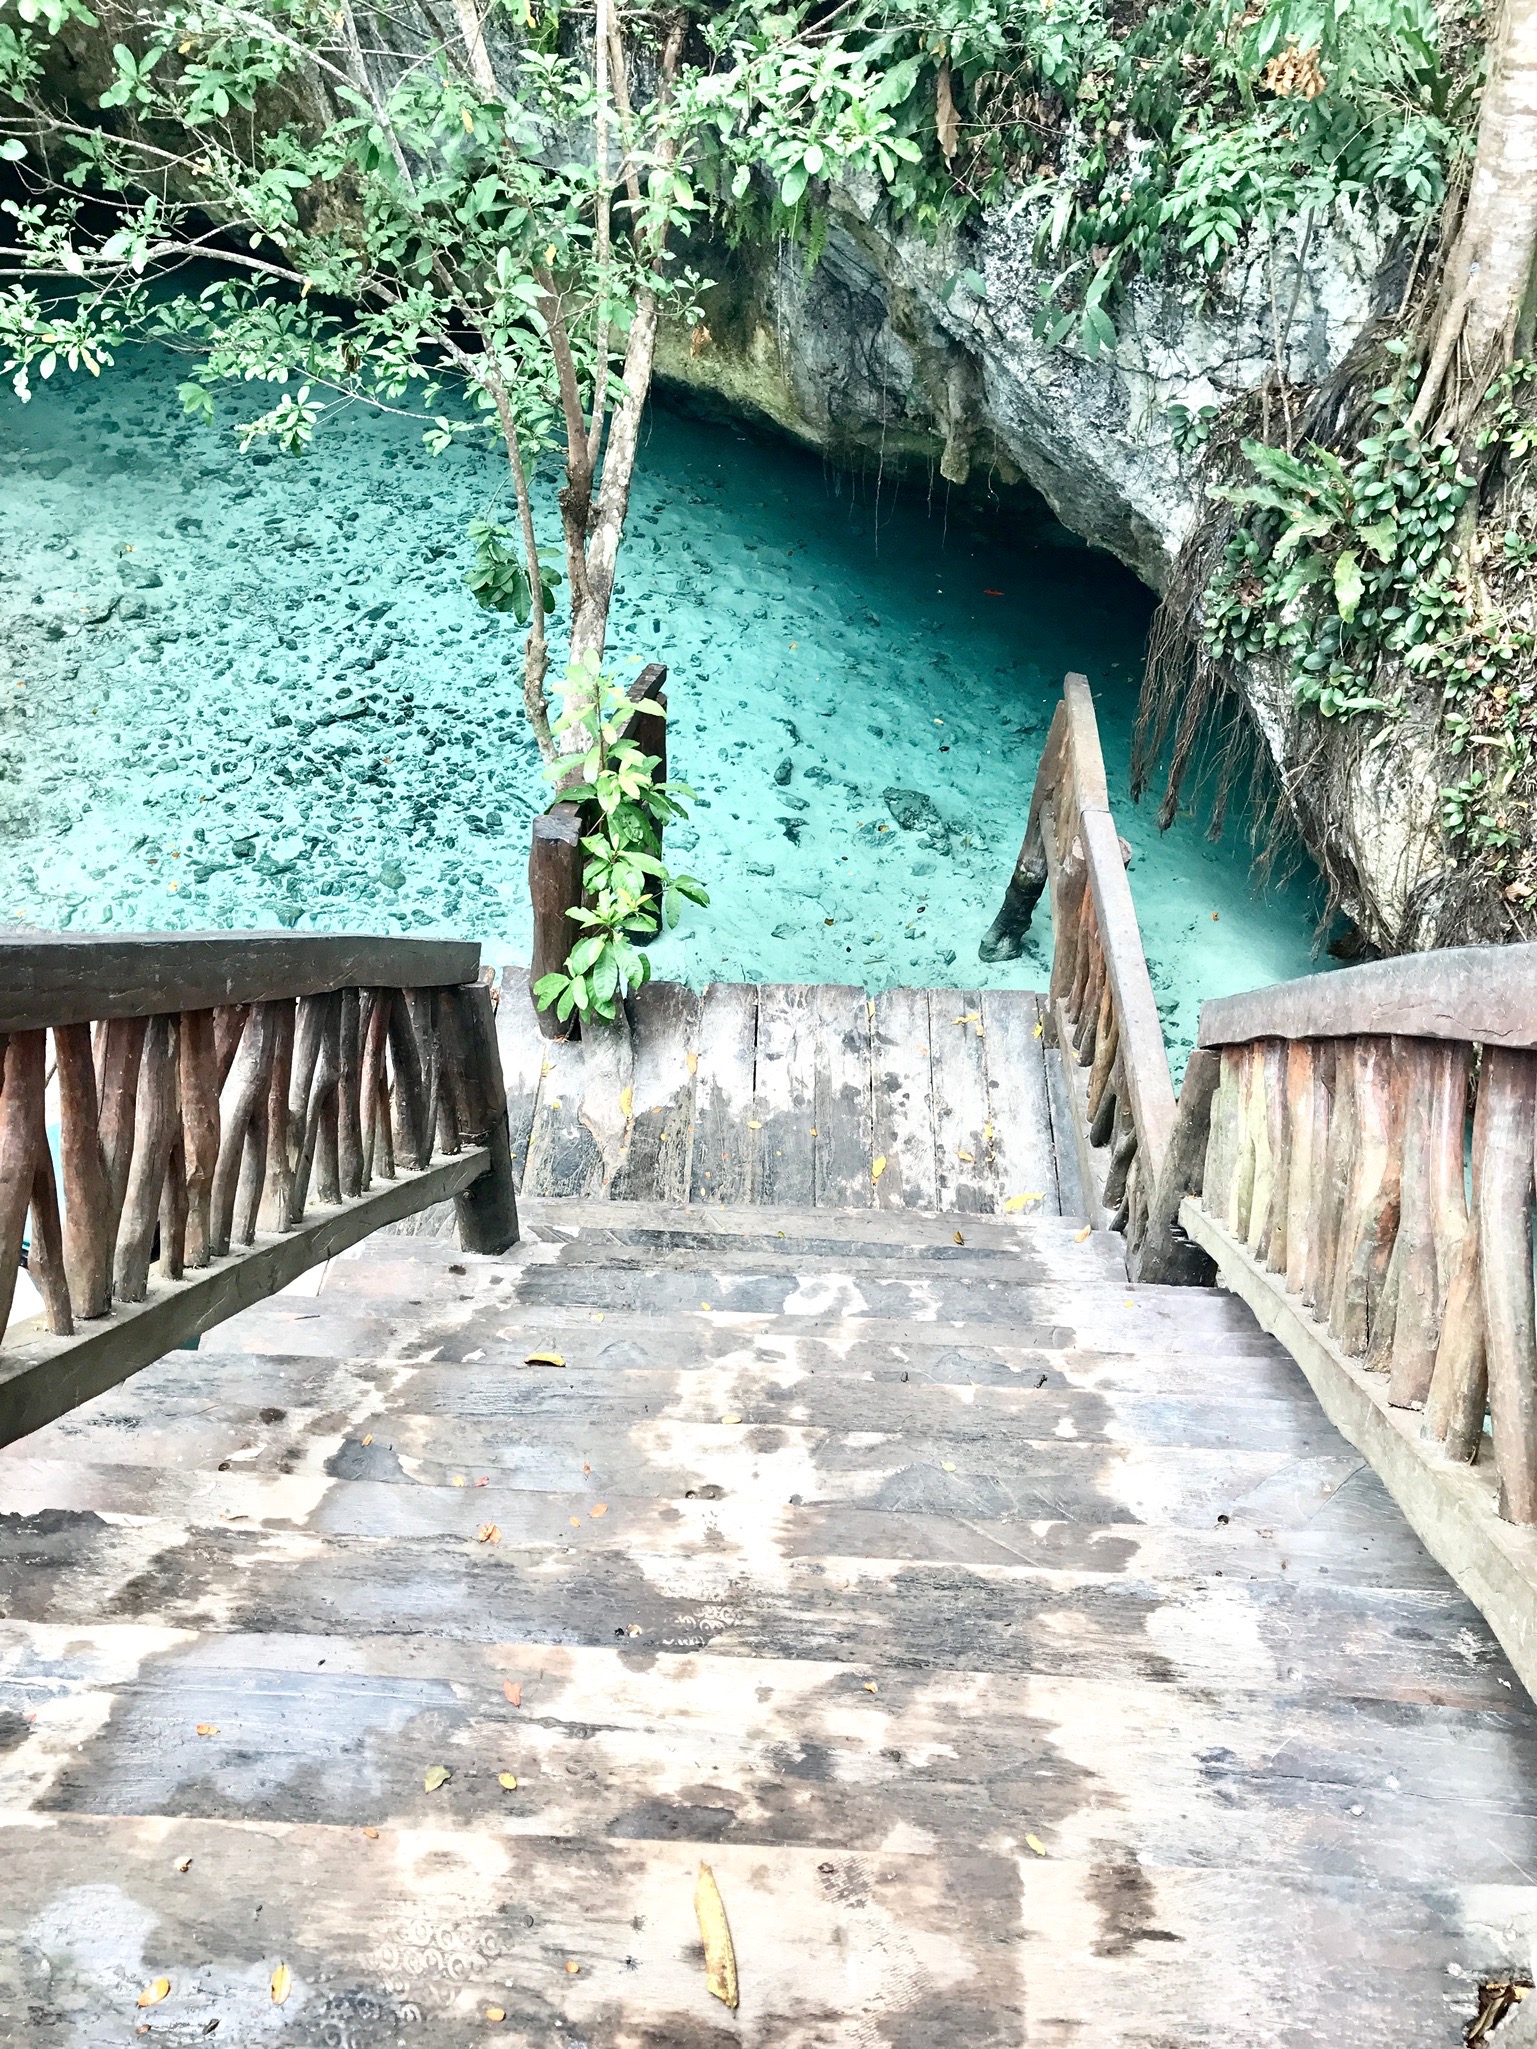
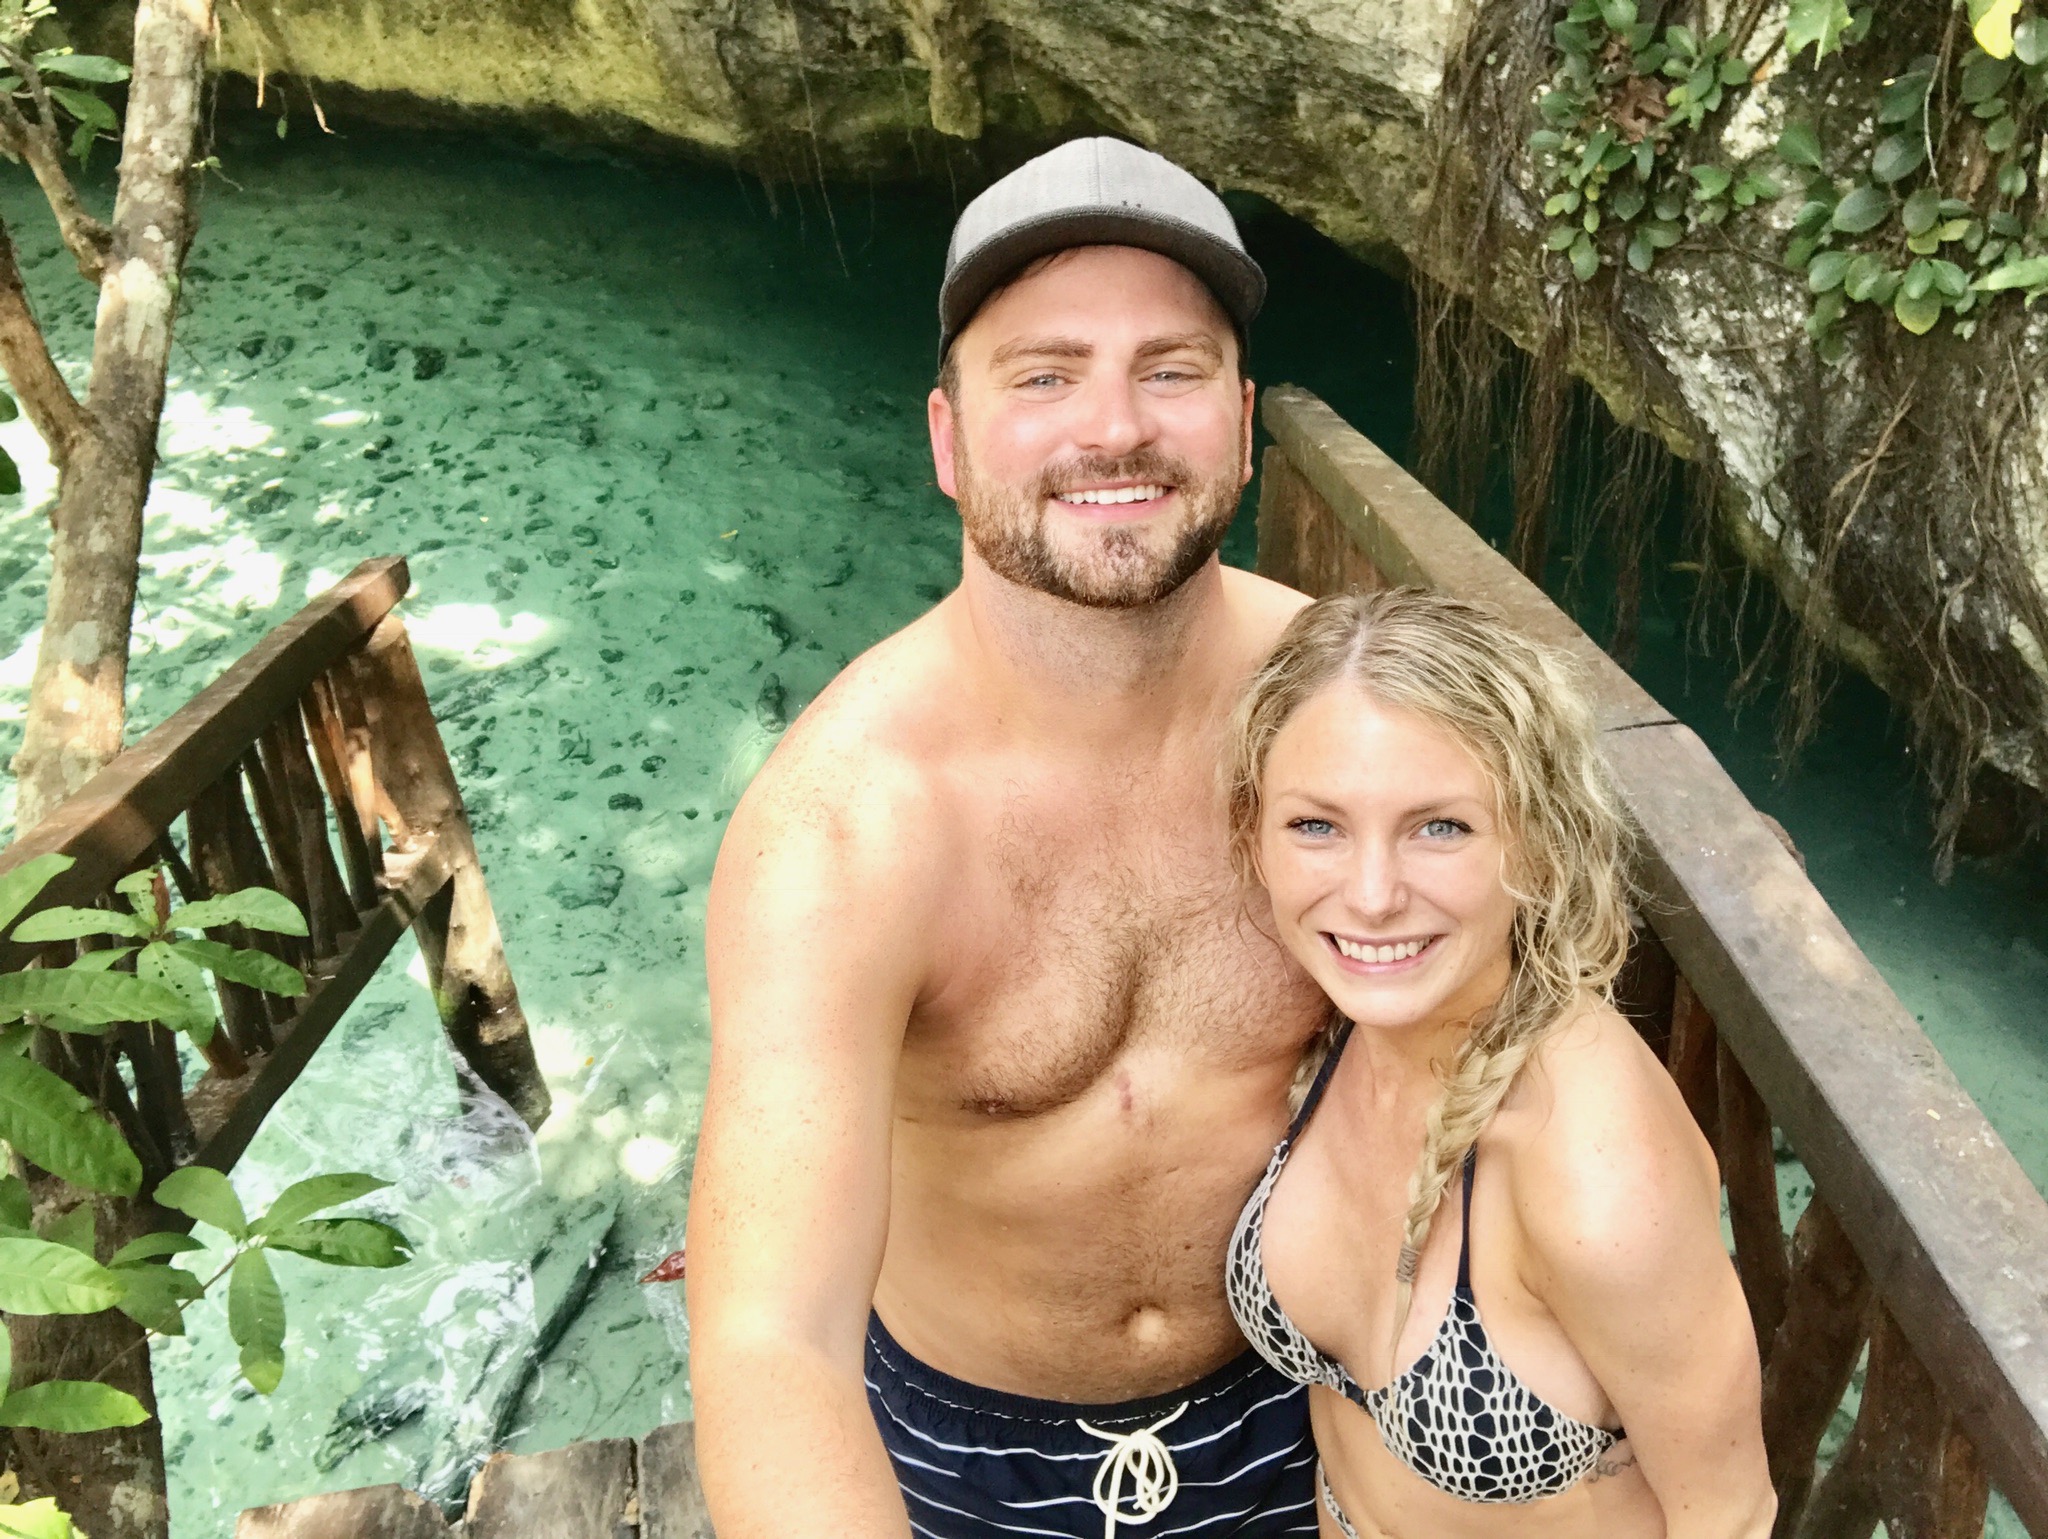
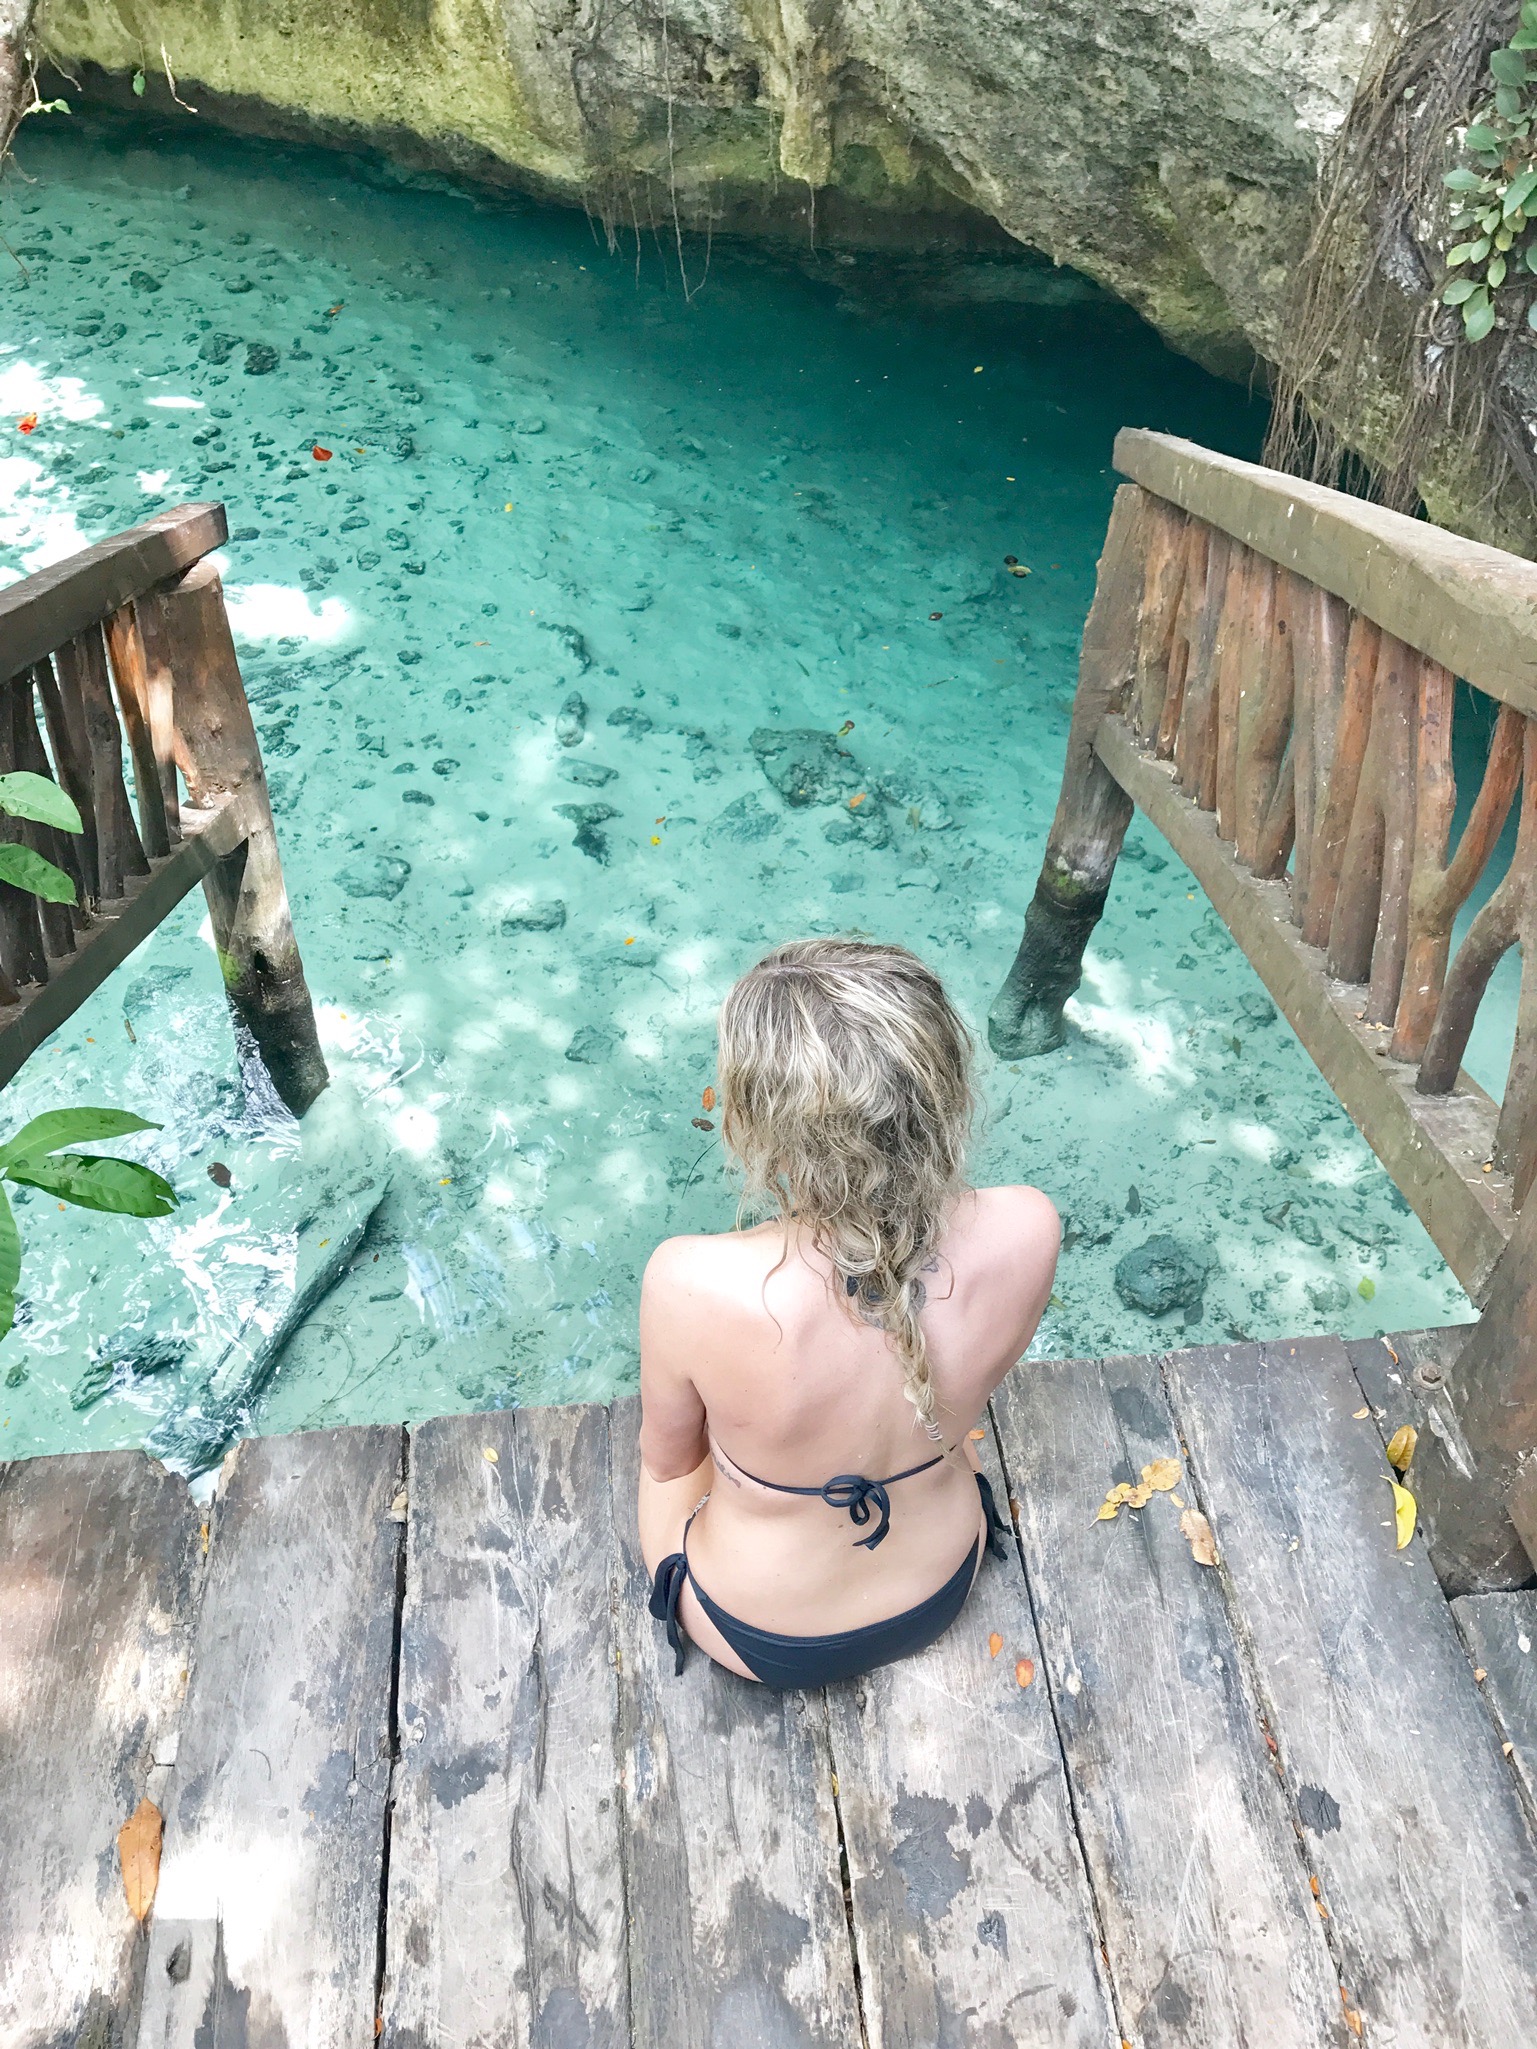
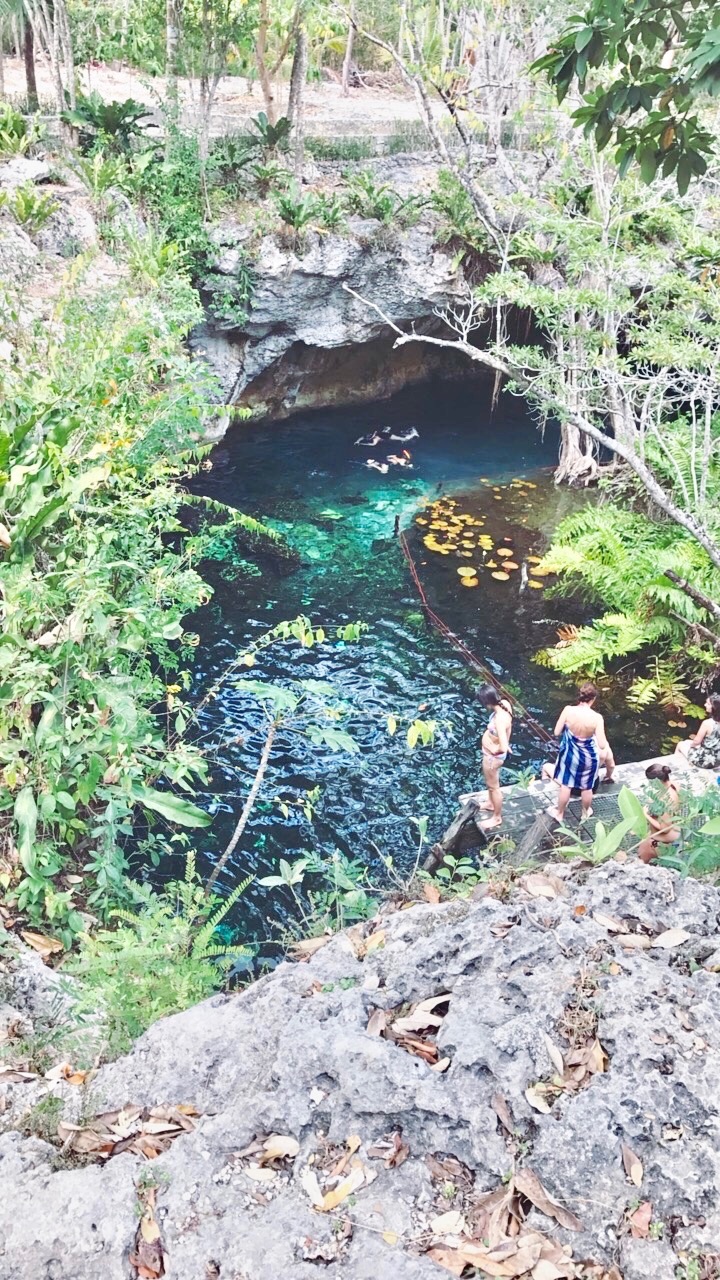
Go to a Cenote
We went to Grand Cenote which is probably the most popular Cenote in Tulum, it was a really cool experience! We had planned on going to a couple Cenotes while we were there, but seeing one was enough for us. Also...the water is FREEZING! Wear a one piece if you can :)

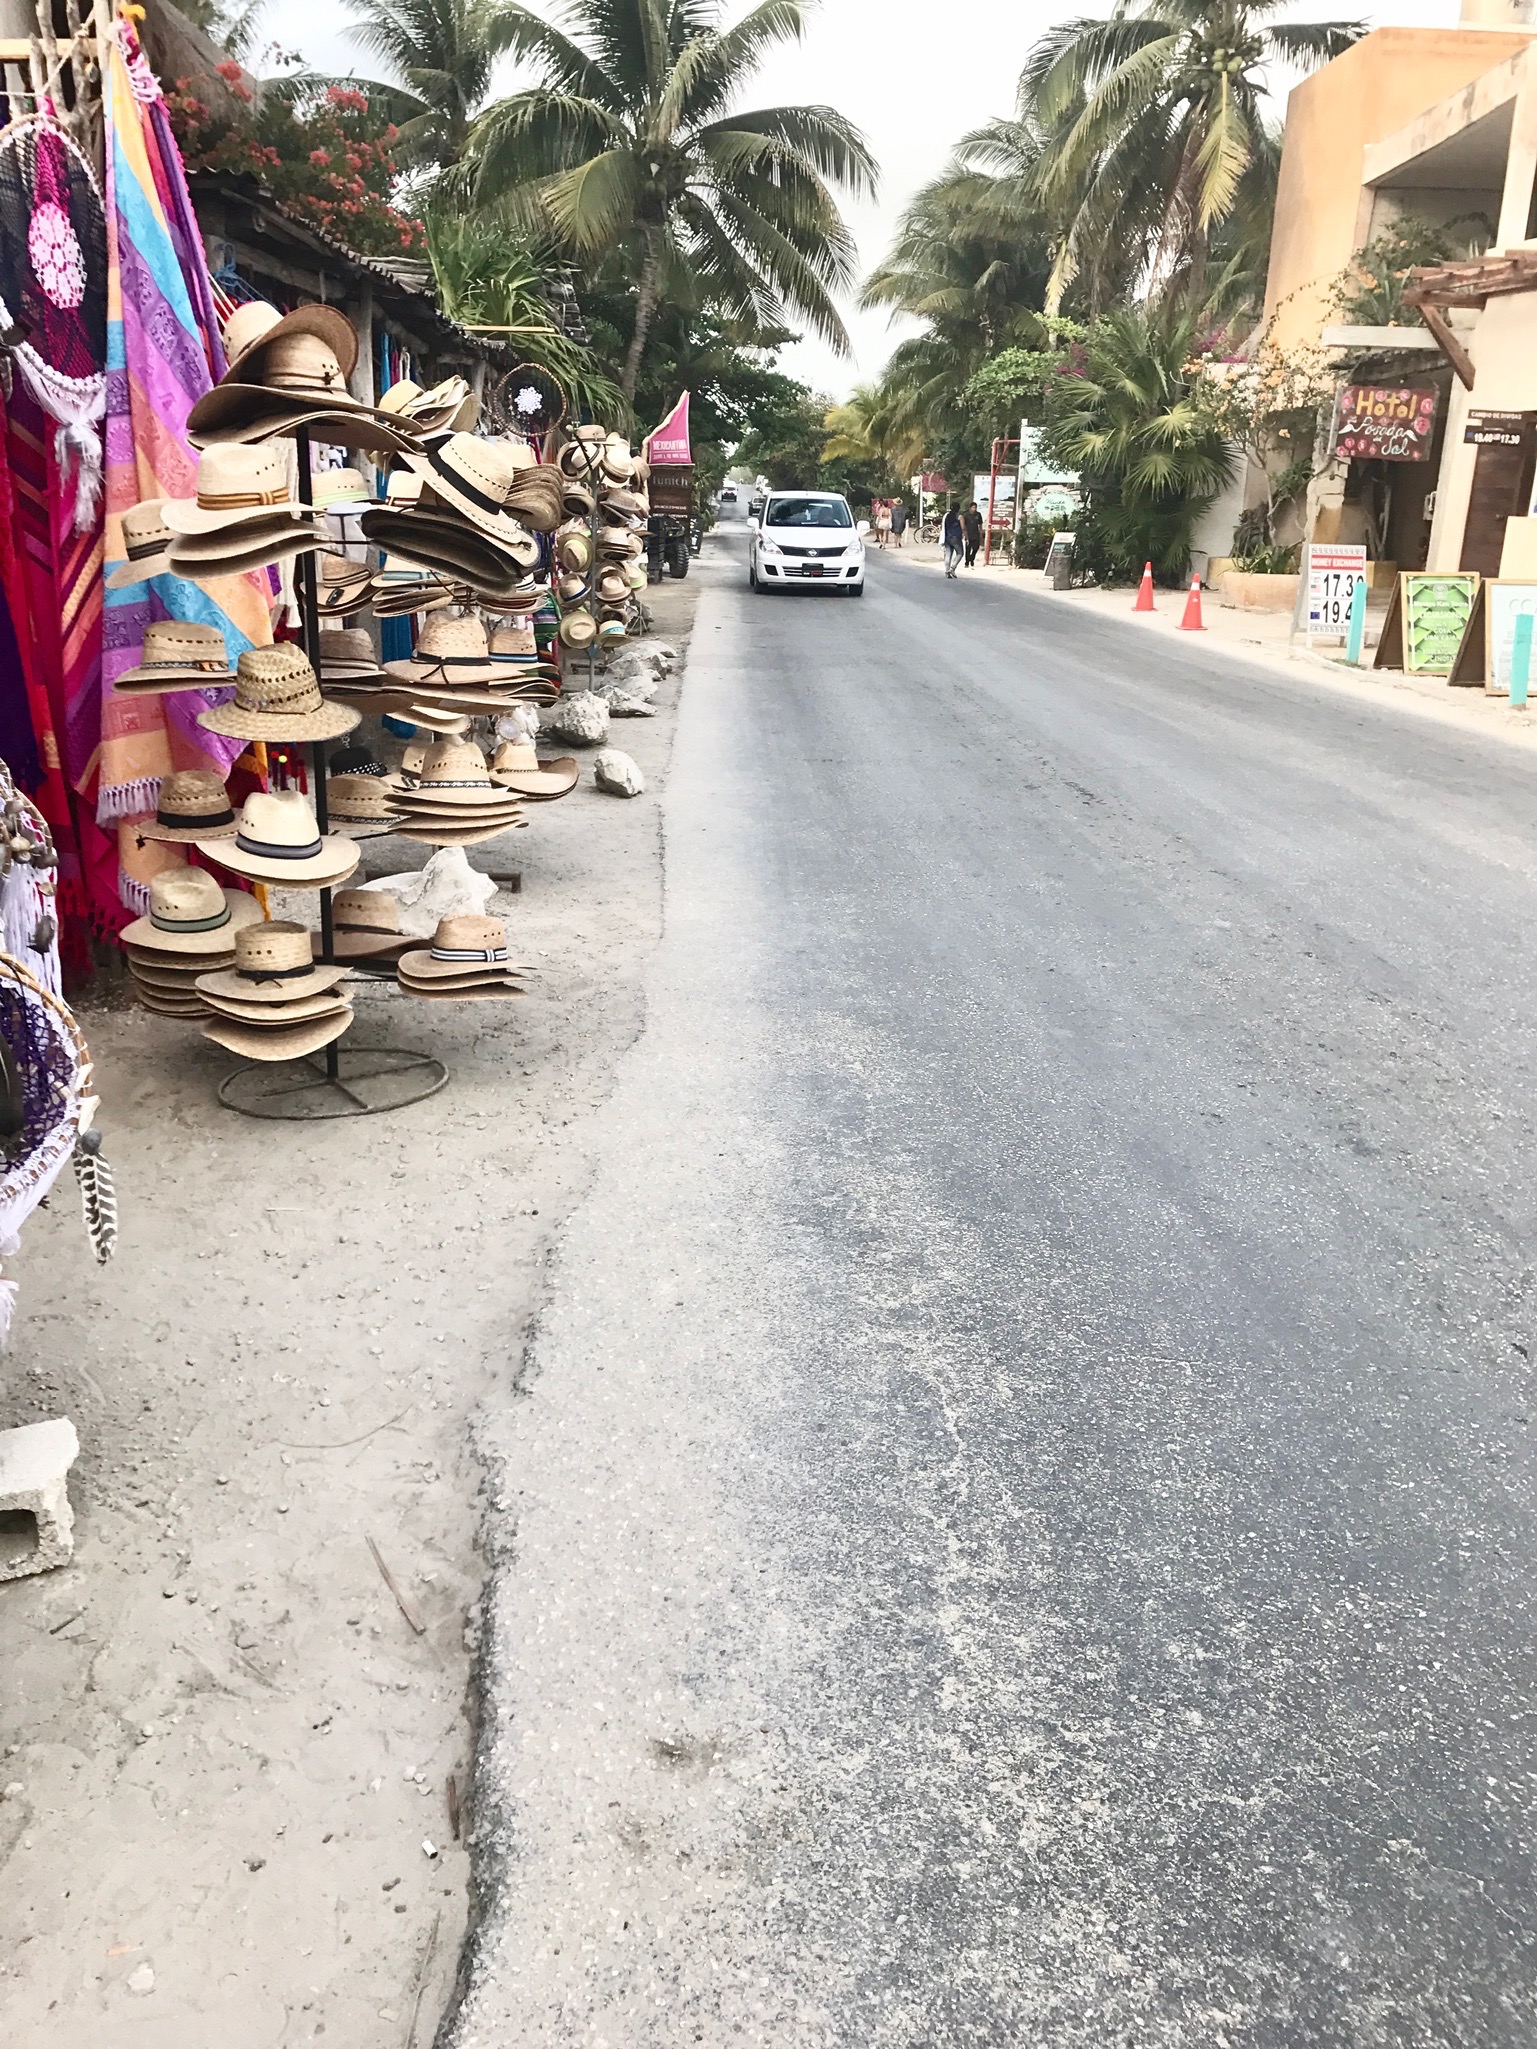
Check out the City of Tulum
We like to explore, so we drove our moped to the downtown part of Tulum on the way to Grand Cenote, it was fun to see the authentic shops and very authentic restaurants away from the hotel zone. We didn't eat anywhere, but there are a few very authentic hidden gems here. I would ask your hotel concierge for recommendations.

Go to the Ruins
We didn't do this on this trip, lots of crowds and it would be an all day event but if thats your thing. its definitely worth checking out!
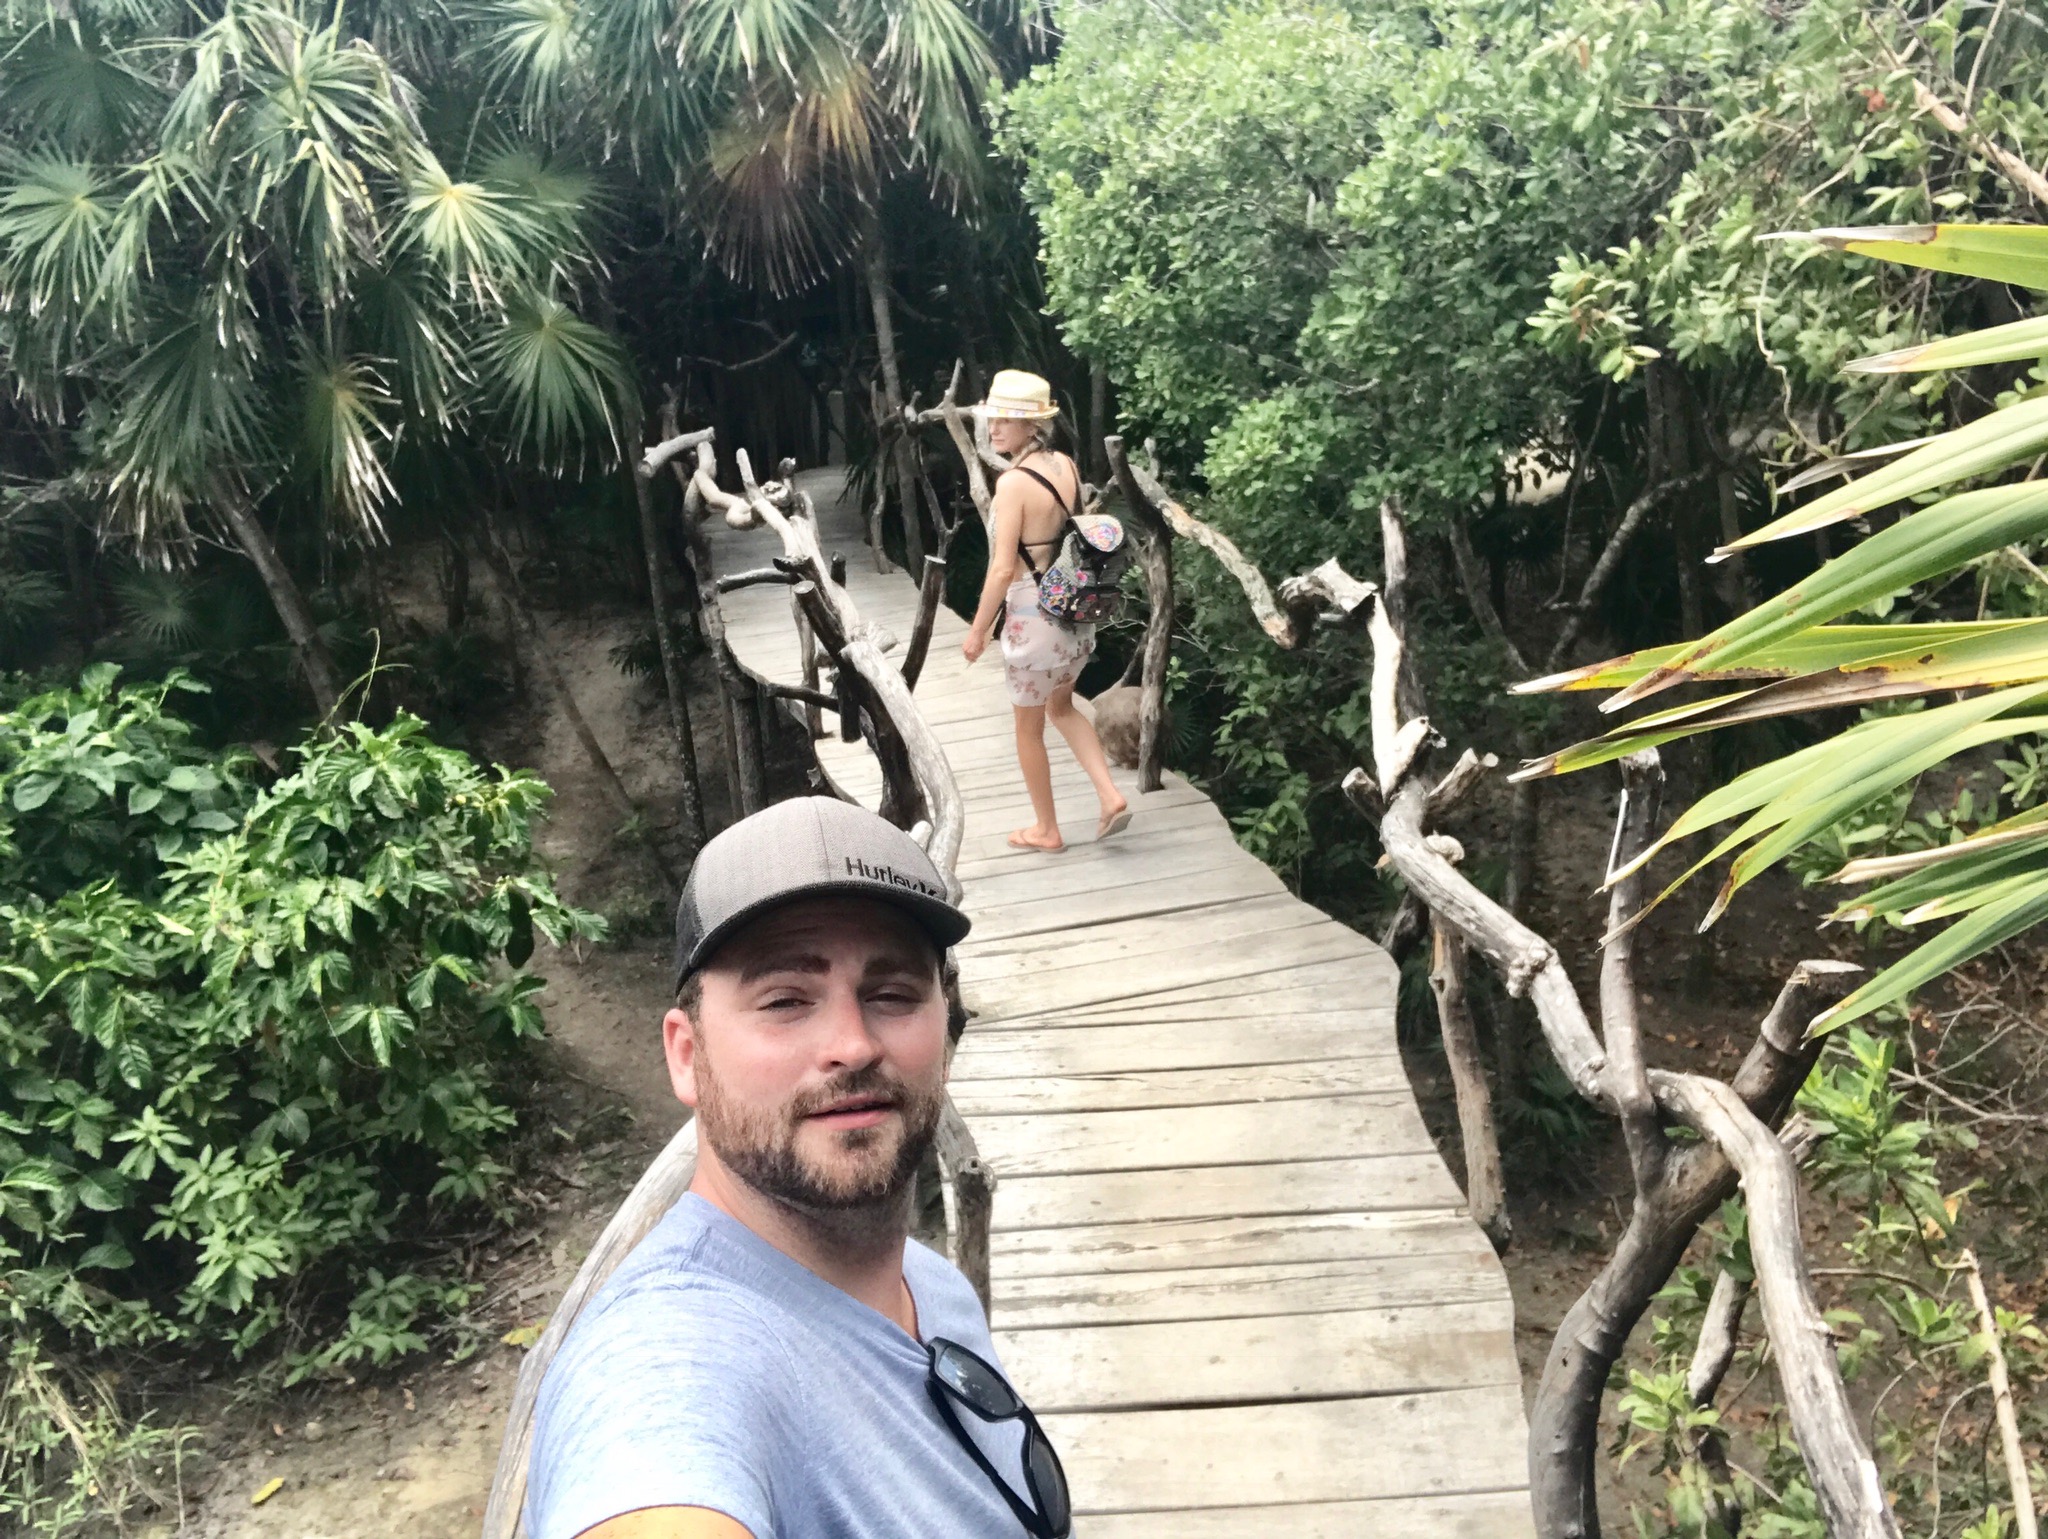
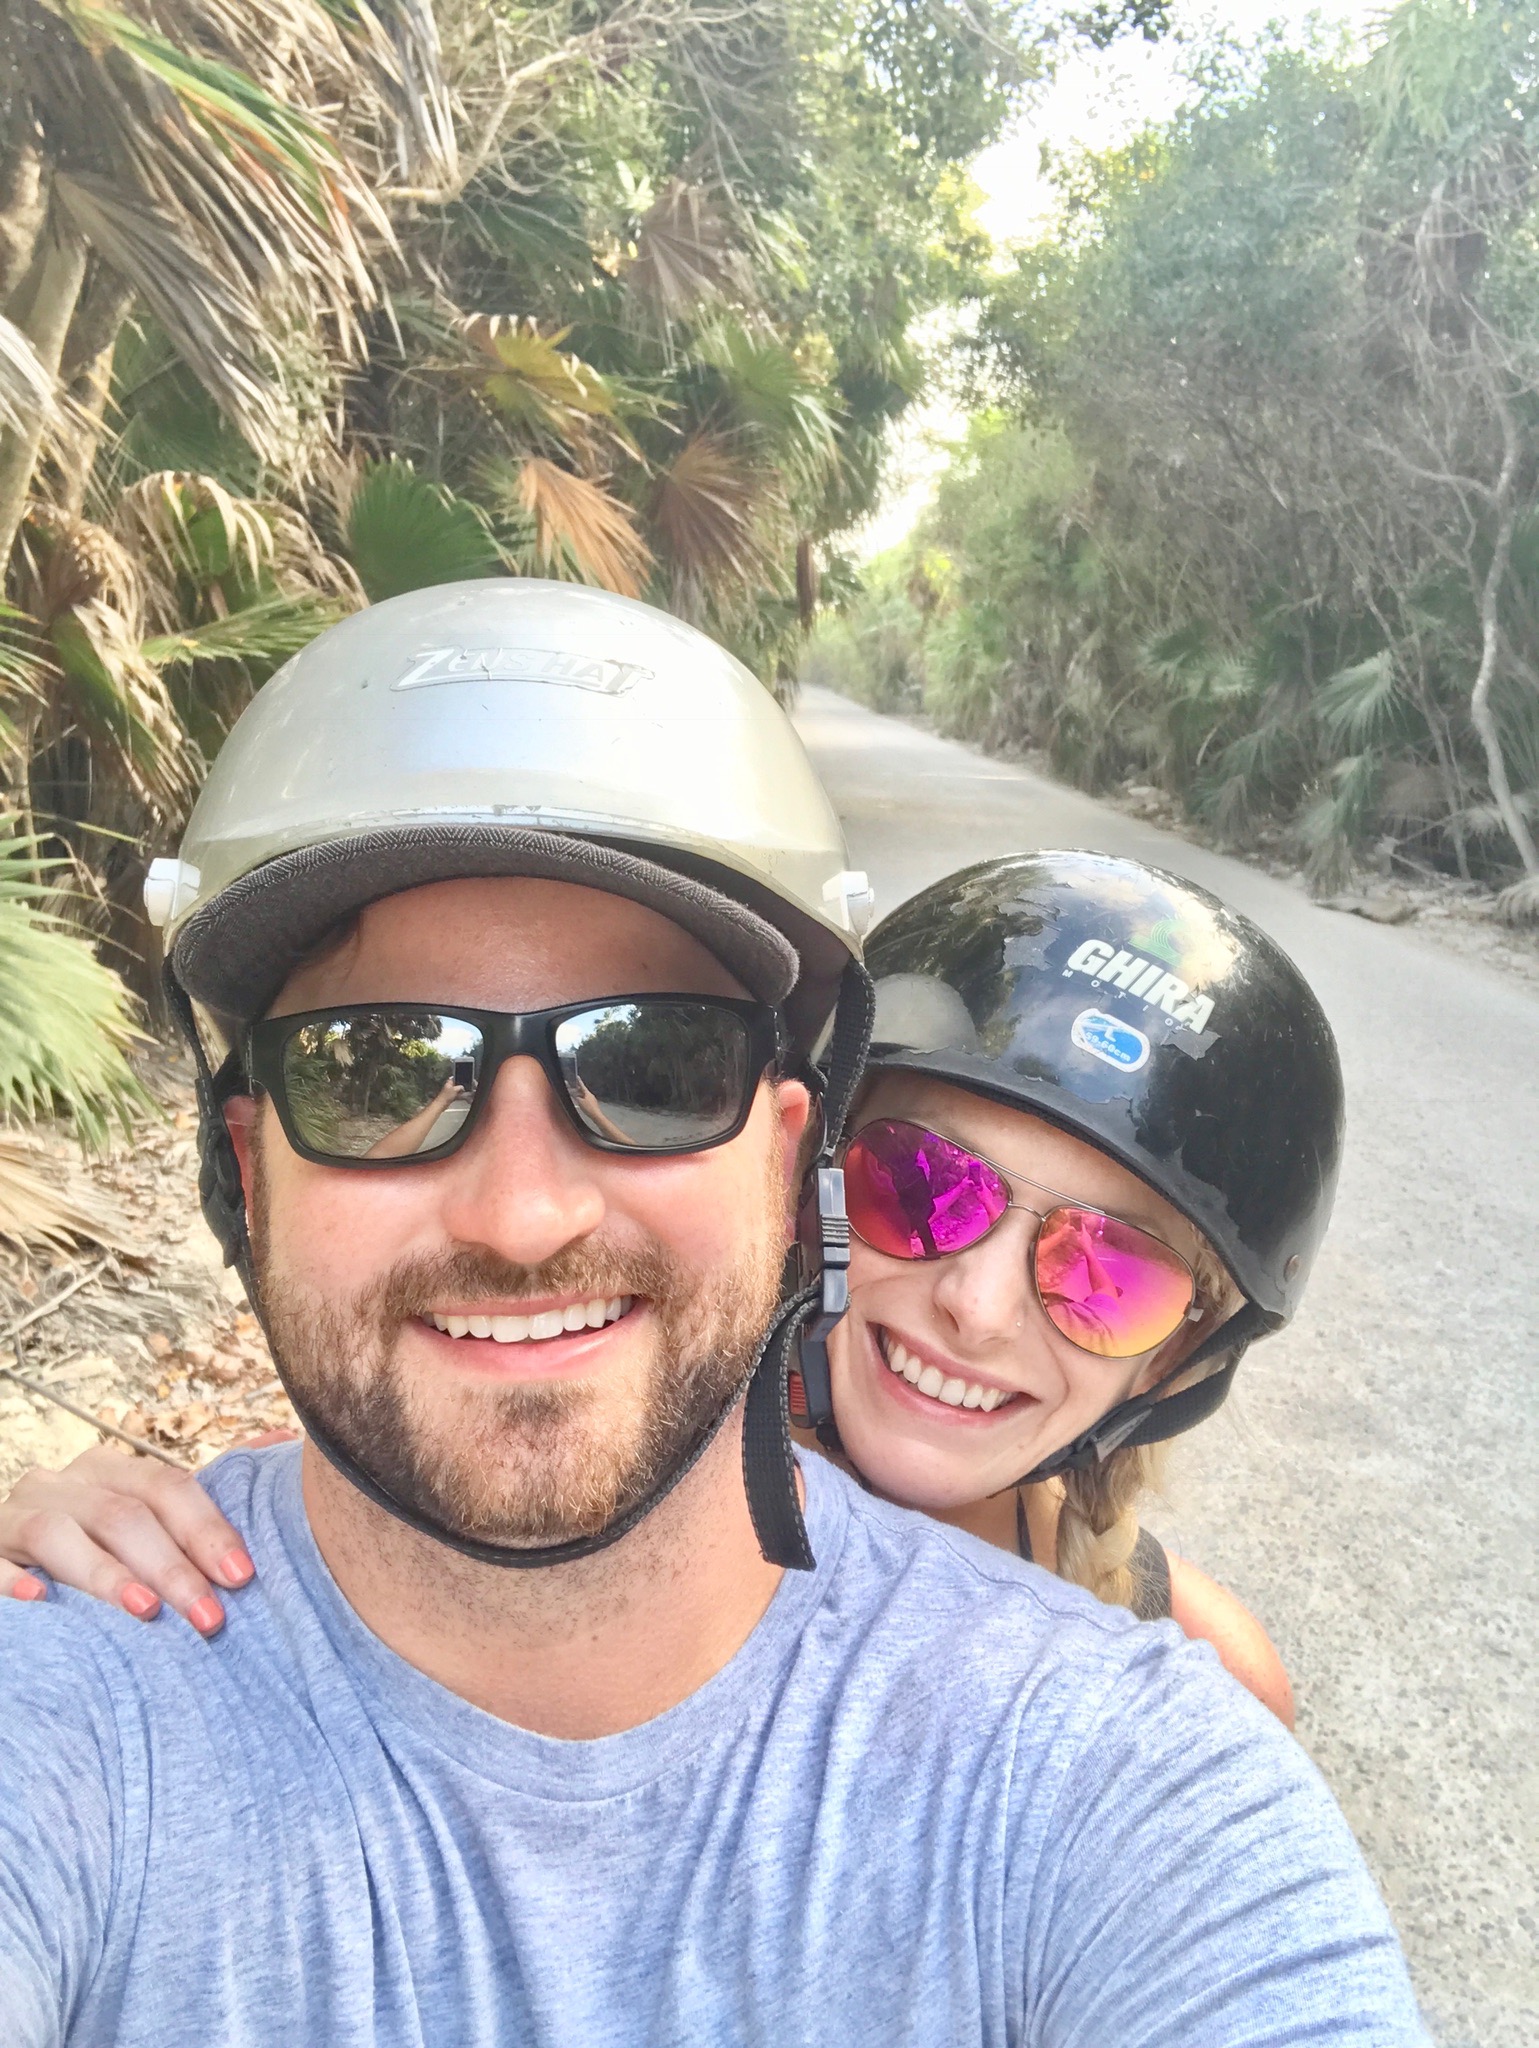
Drive a moped down the jungle road or go on a jungle tour!

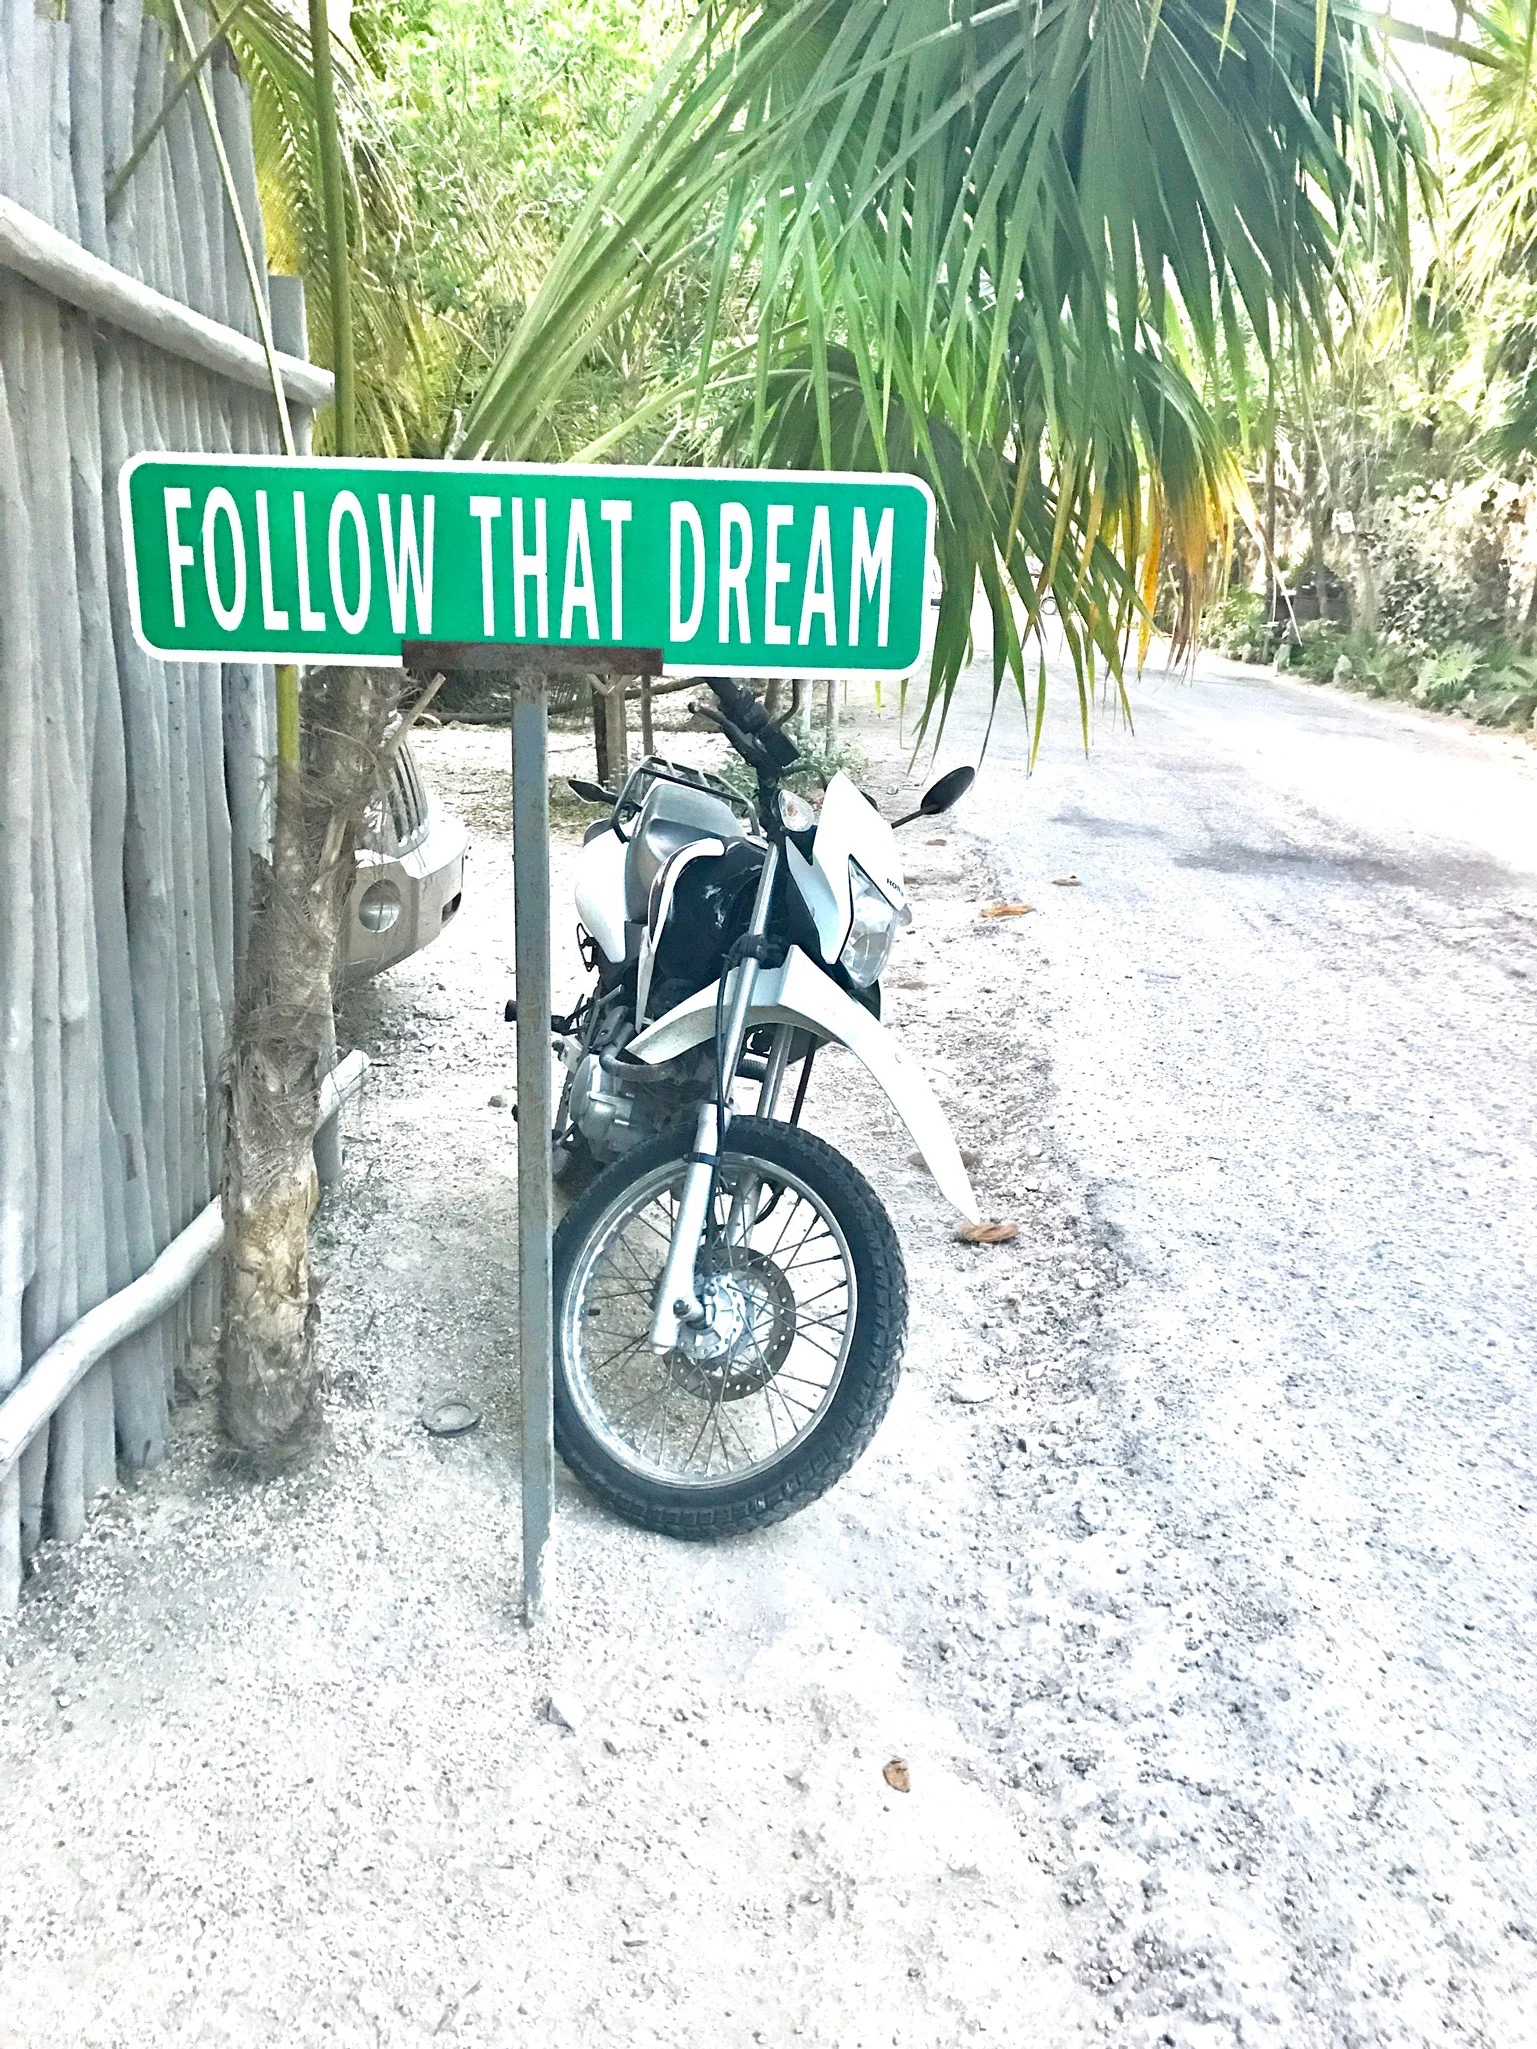
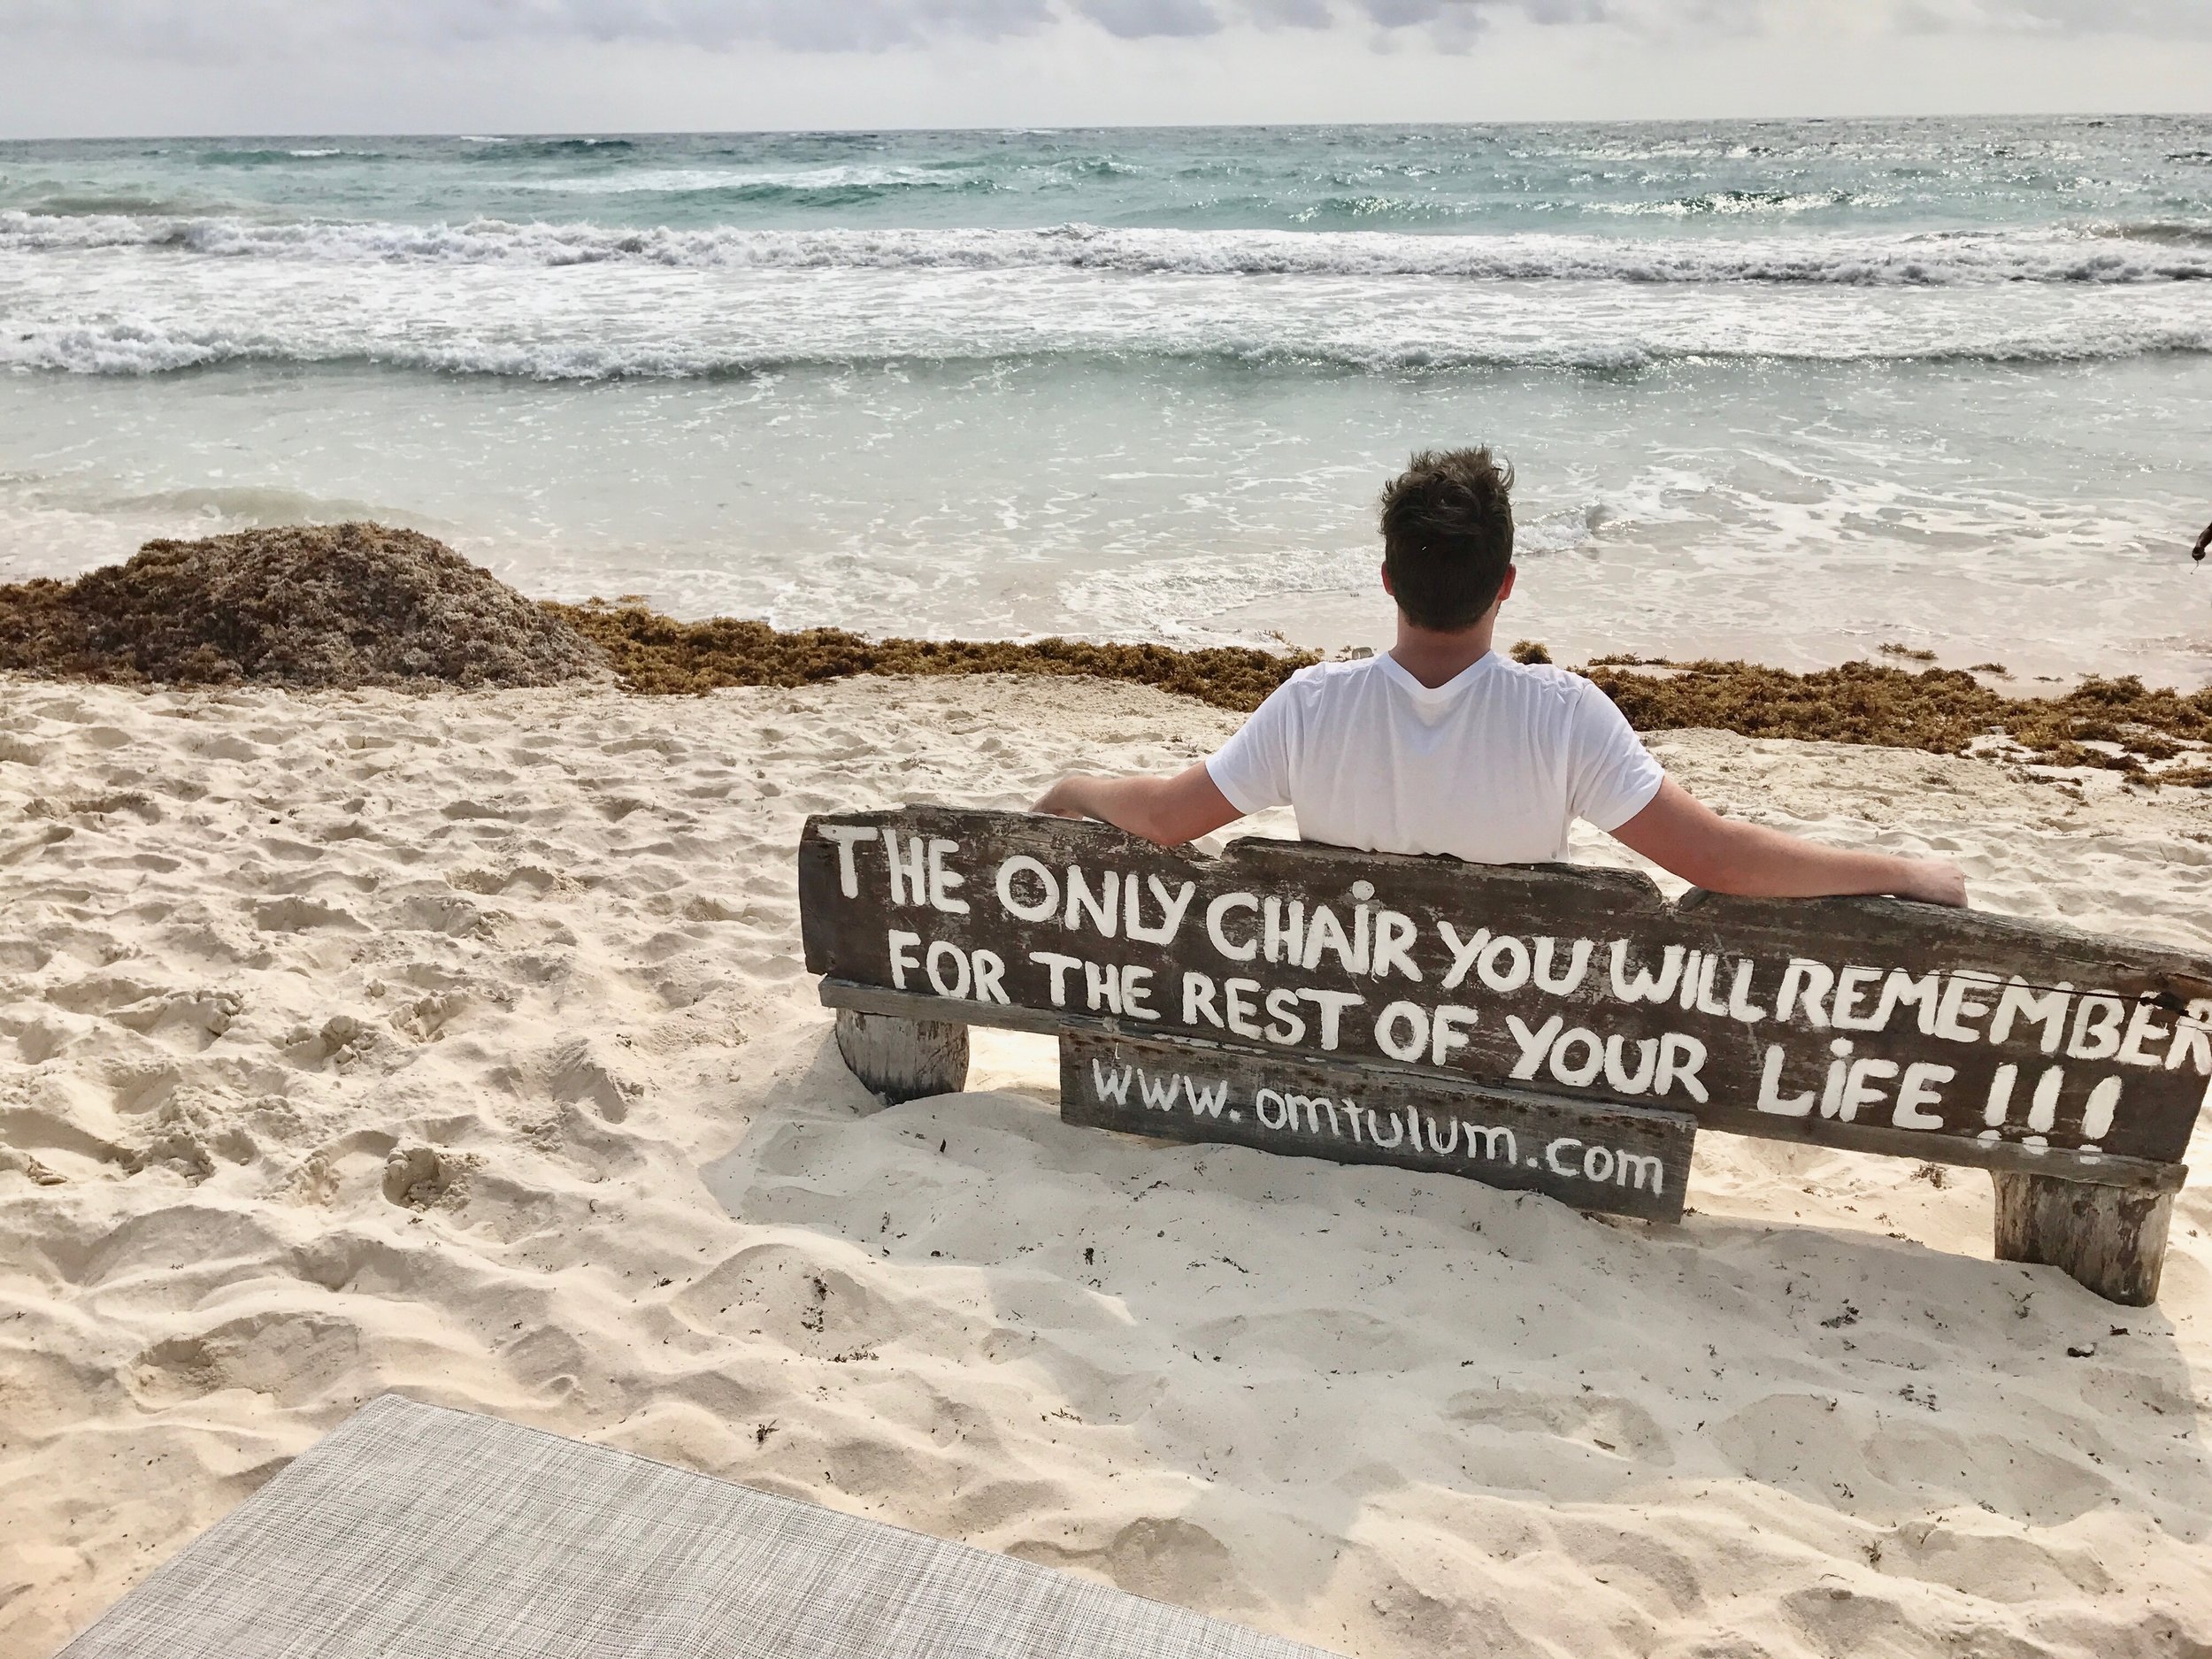
And last but not least...the most important thing I learned in Tulum

I hope you guys enjoyed this in depth guide to Tulum! If you have anymore questions feel free to leave a comment below and to see more of my adventures follow me on instagram @hairbyallyfeezel!