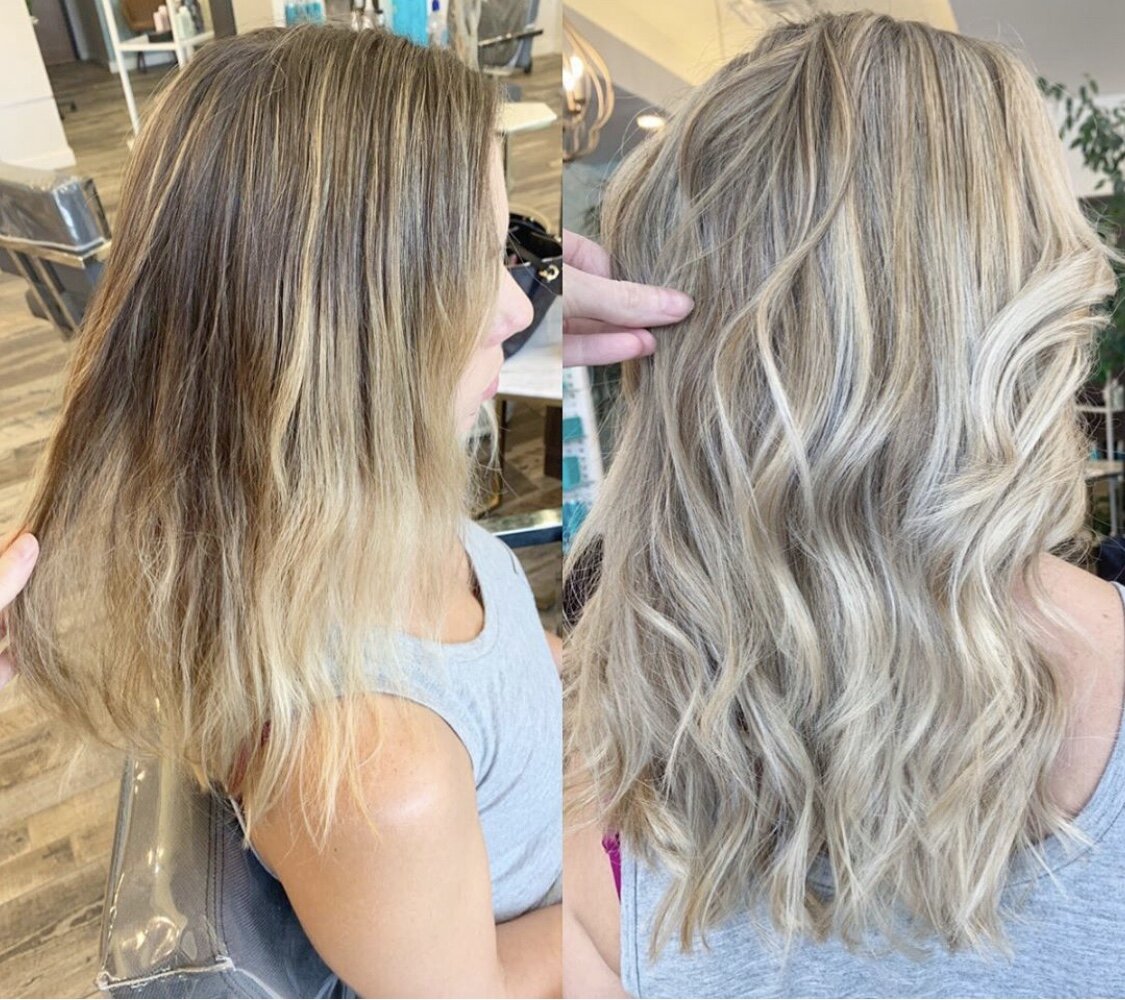
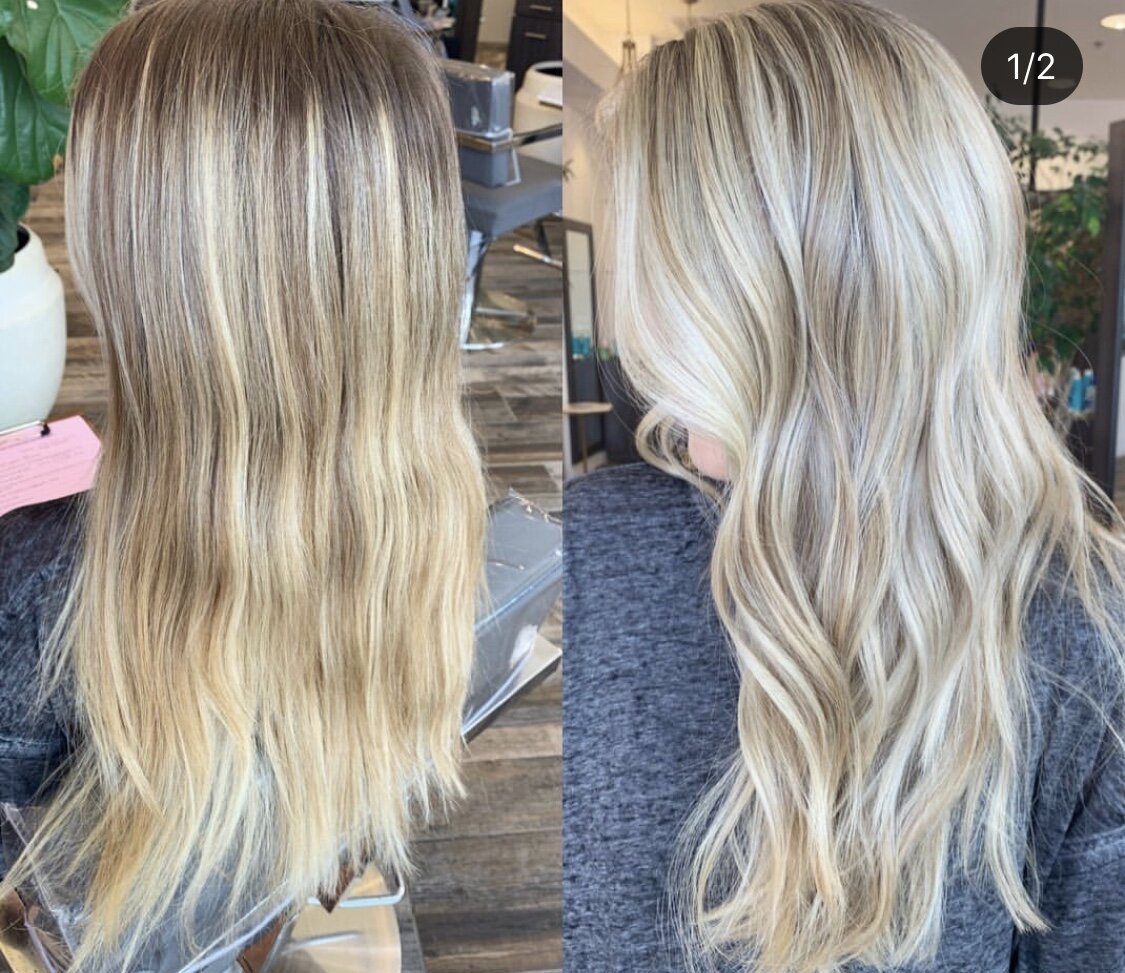
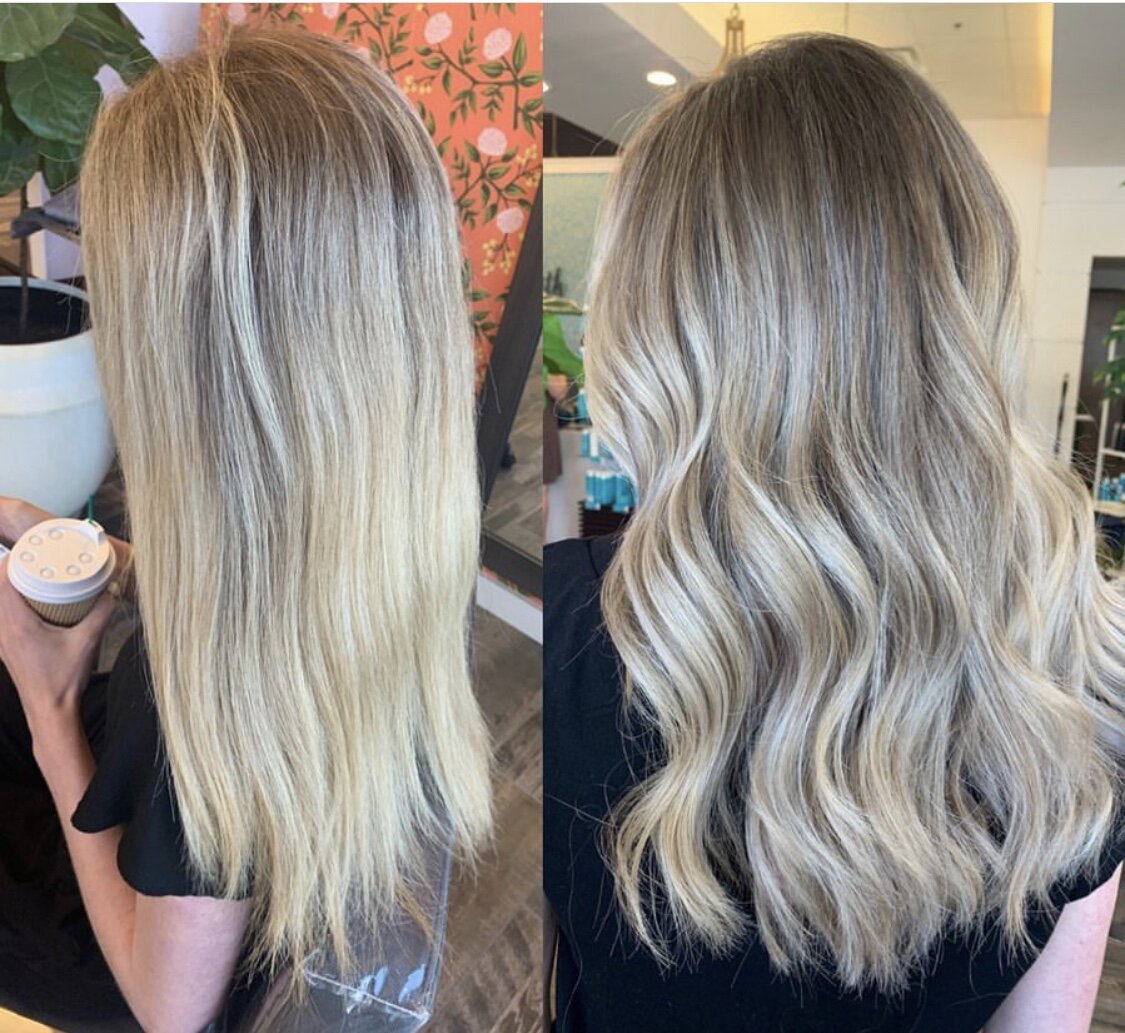
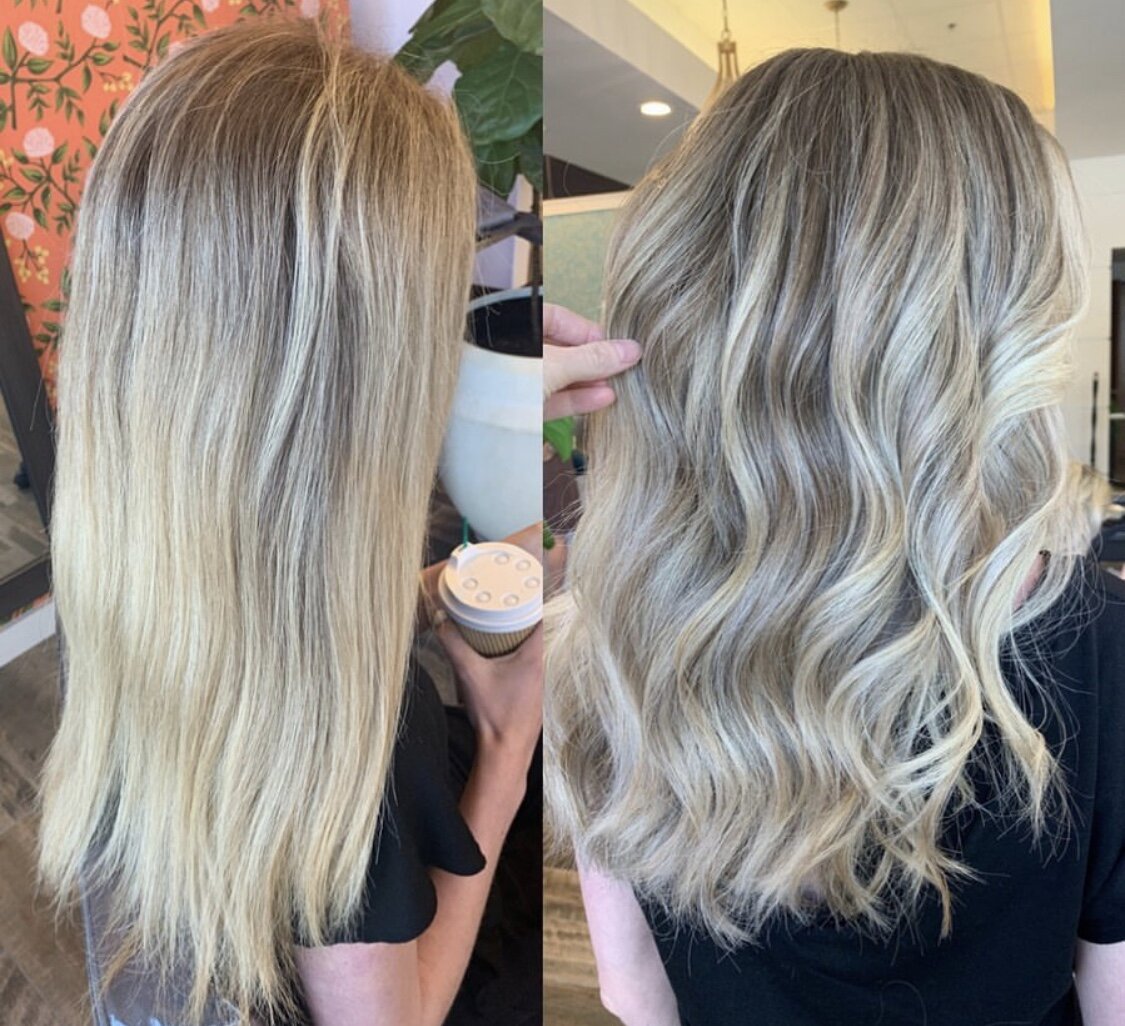
How to have the best hair when coming out of Quarantine!

Tips for having the BEST hair when coming out of Quarantine!.png
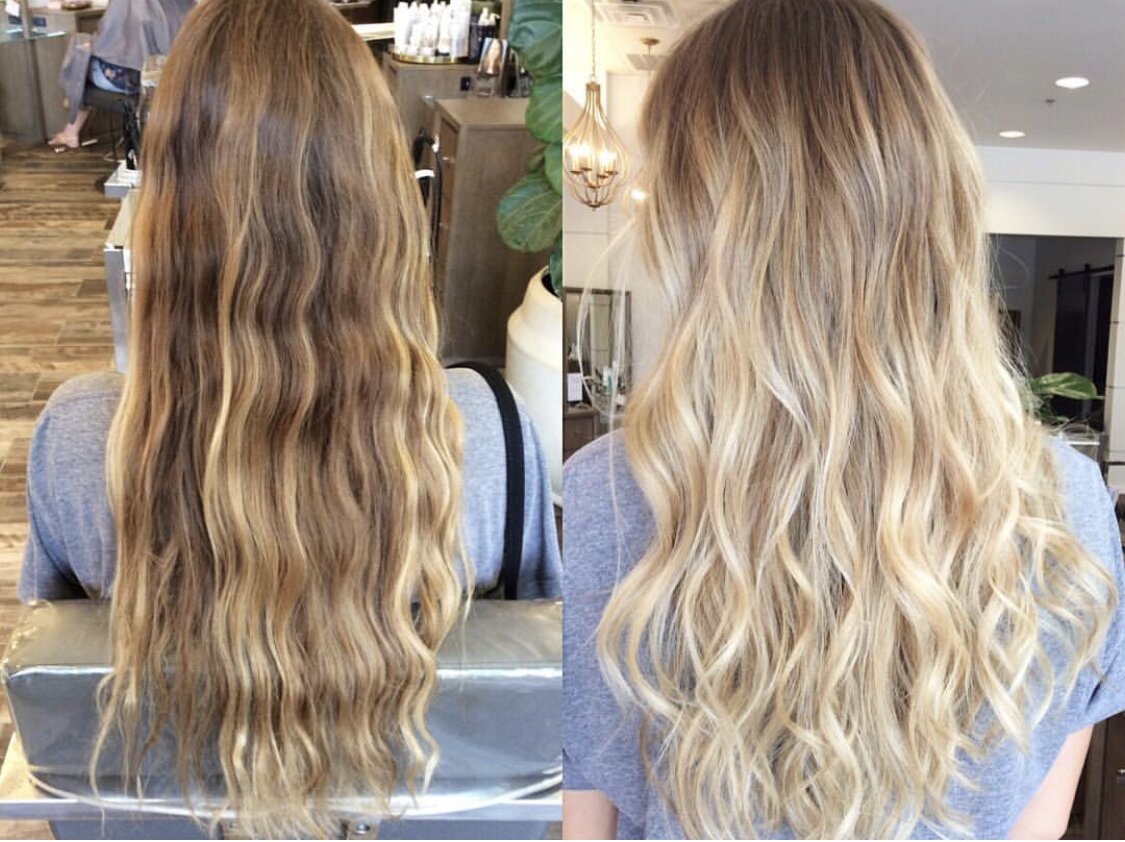
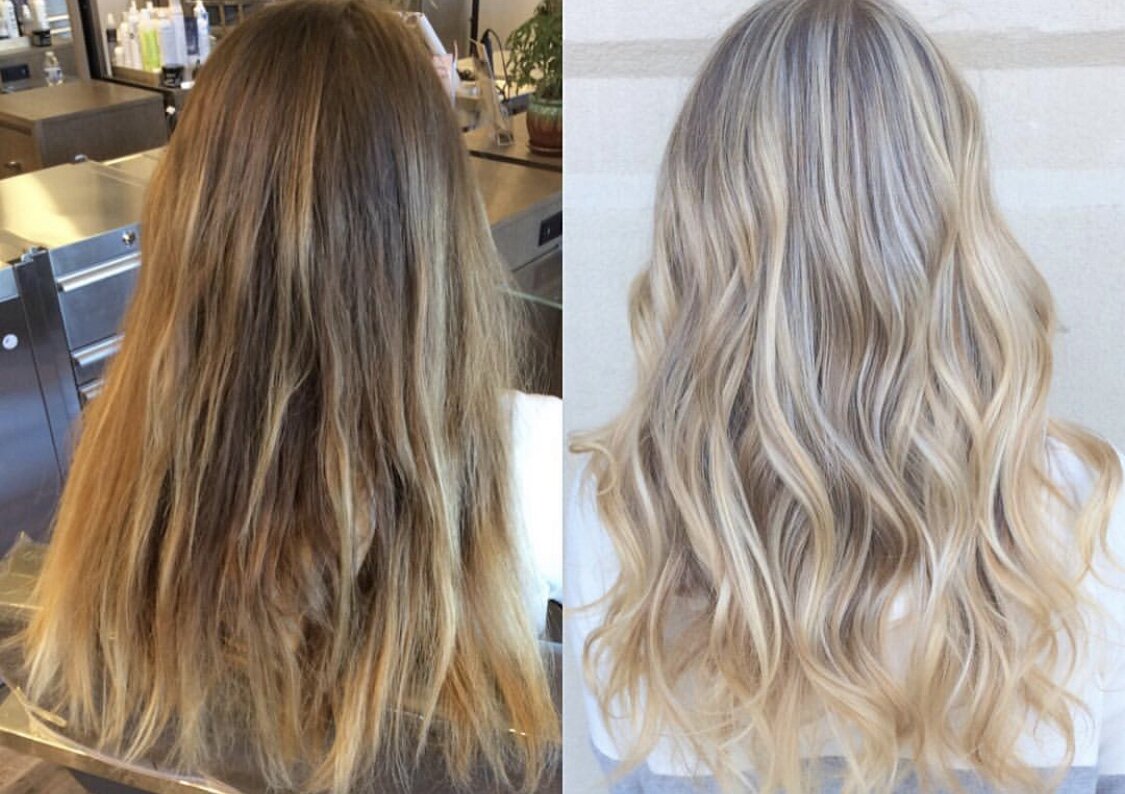
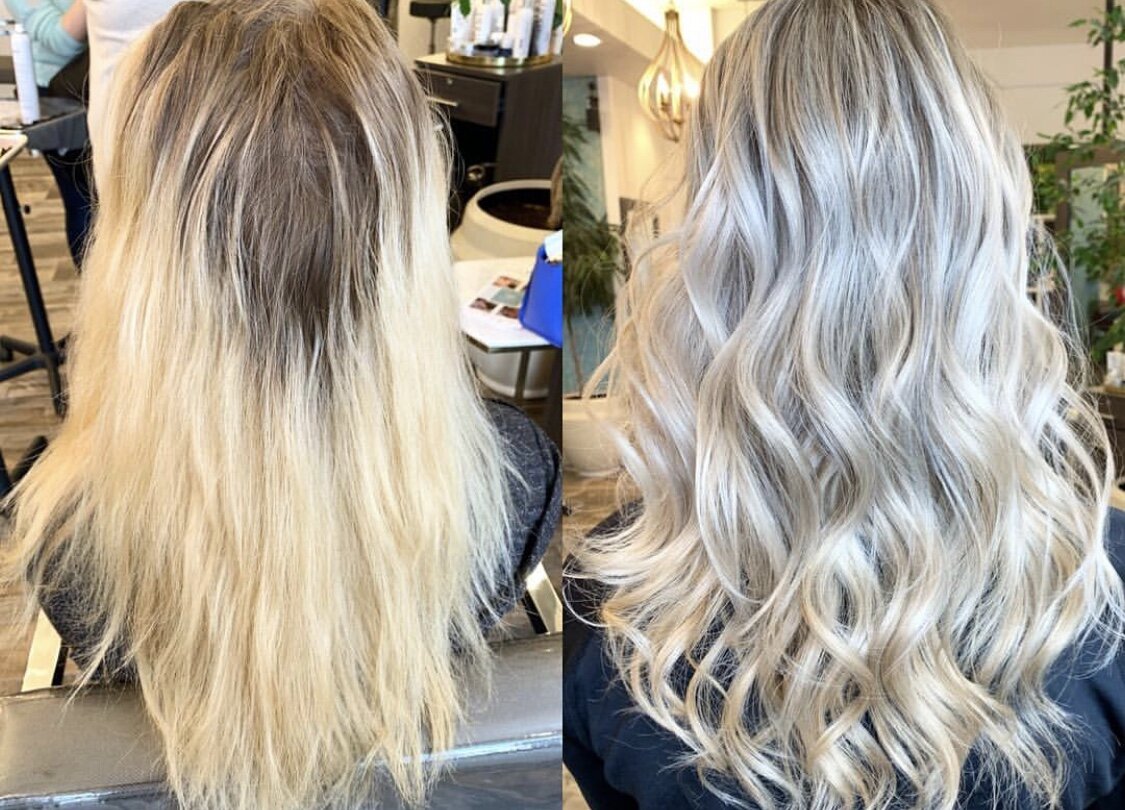
  • Deep Condition your hair like CRAZY! Here’s the BEST way to do it!

  • Shampoo your hair like normal

  • Get out of the shower and towel dry as much as possible, wrap your hair in a towel and let it dry like this for about 10 minutes

  • Take your hair out of the towel and squeeze out all excess moisture. You want your hair to be as towel dried as possible so the product really soaks in and so its not soaking wet while you’re letting it sit!

  • Put your deep conditioner on your hair and wear it up for as long as you’d like! Repeat this the next time you wash!

Here are my favorite shampoos and deep conditioners (now is a great time to purchase directly from your salon to help support small businesses)

  • Living Proof Restore Shampoo & Milbon Shampoo

  • Moroccan Oil Deep Conditioner & Restore Living Proof Mask

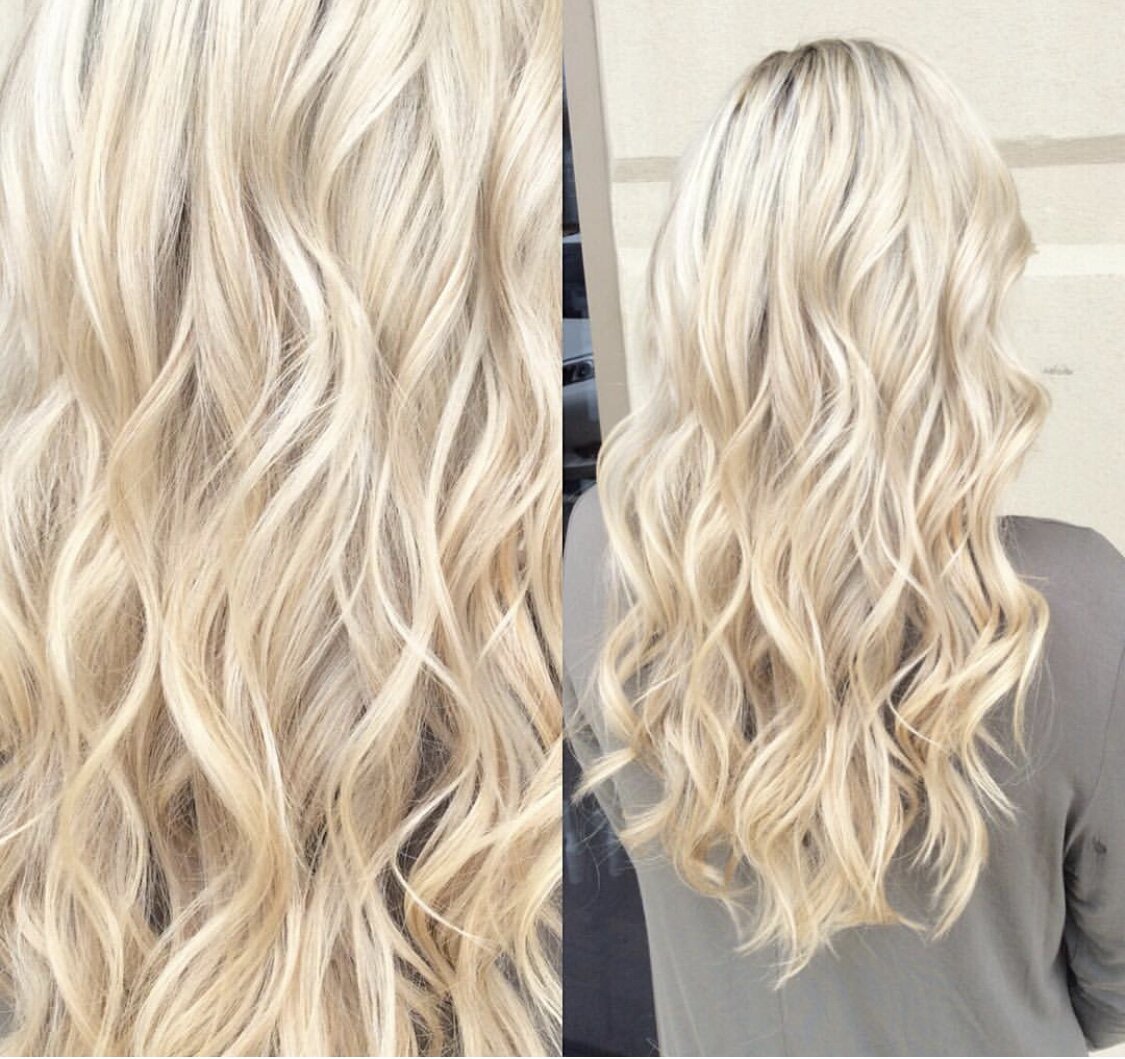
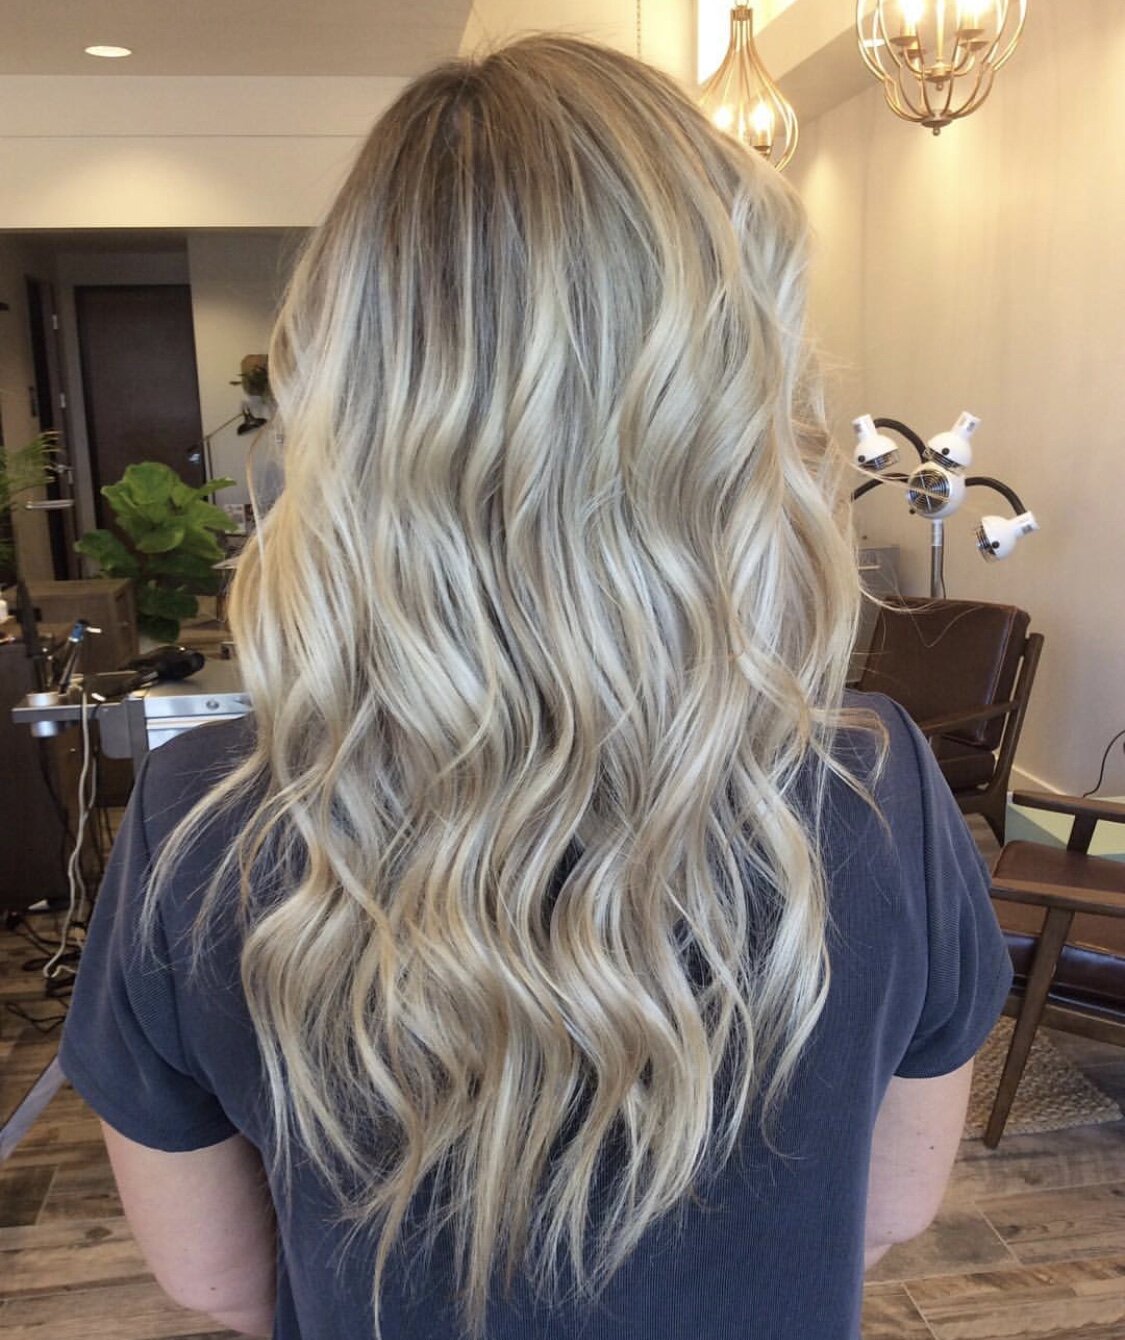
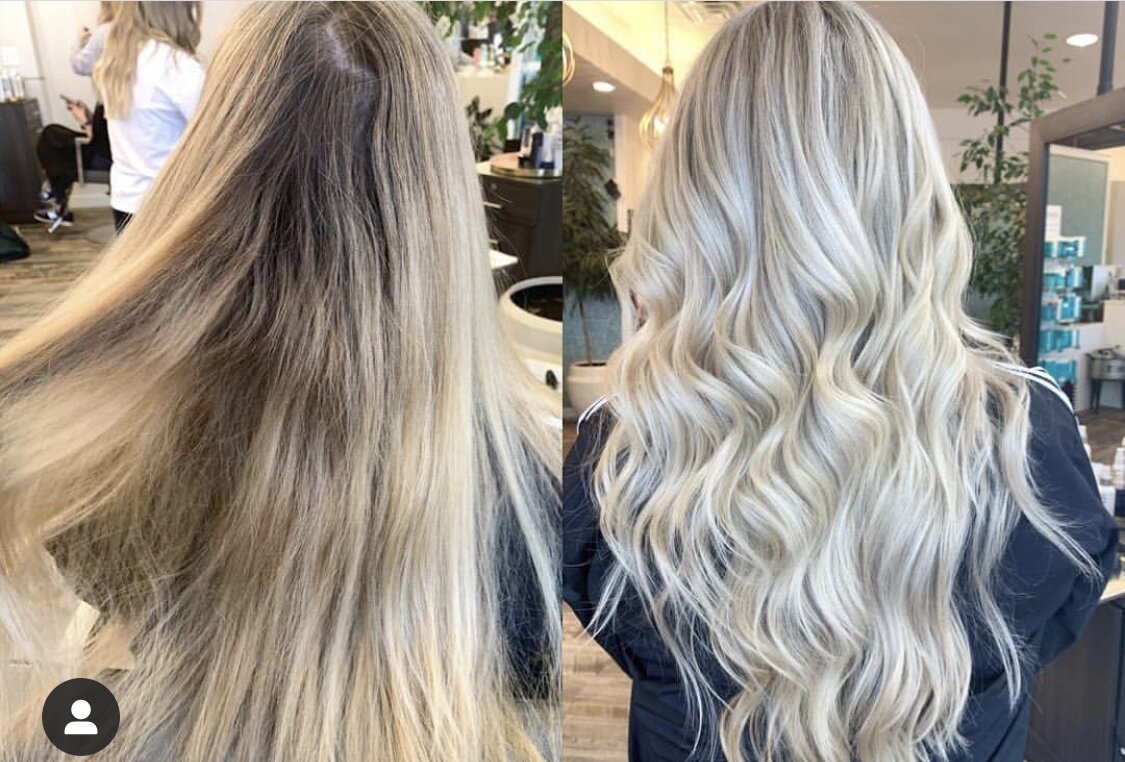
  • Don't use heat on your hair AT ALL -whats the point right now?!

Just lay off the heat in general! No need to blow dry, curl or straighten right now!

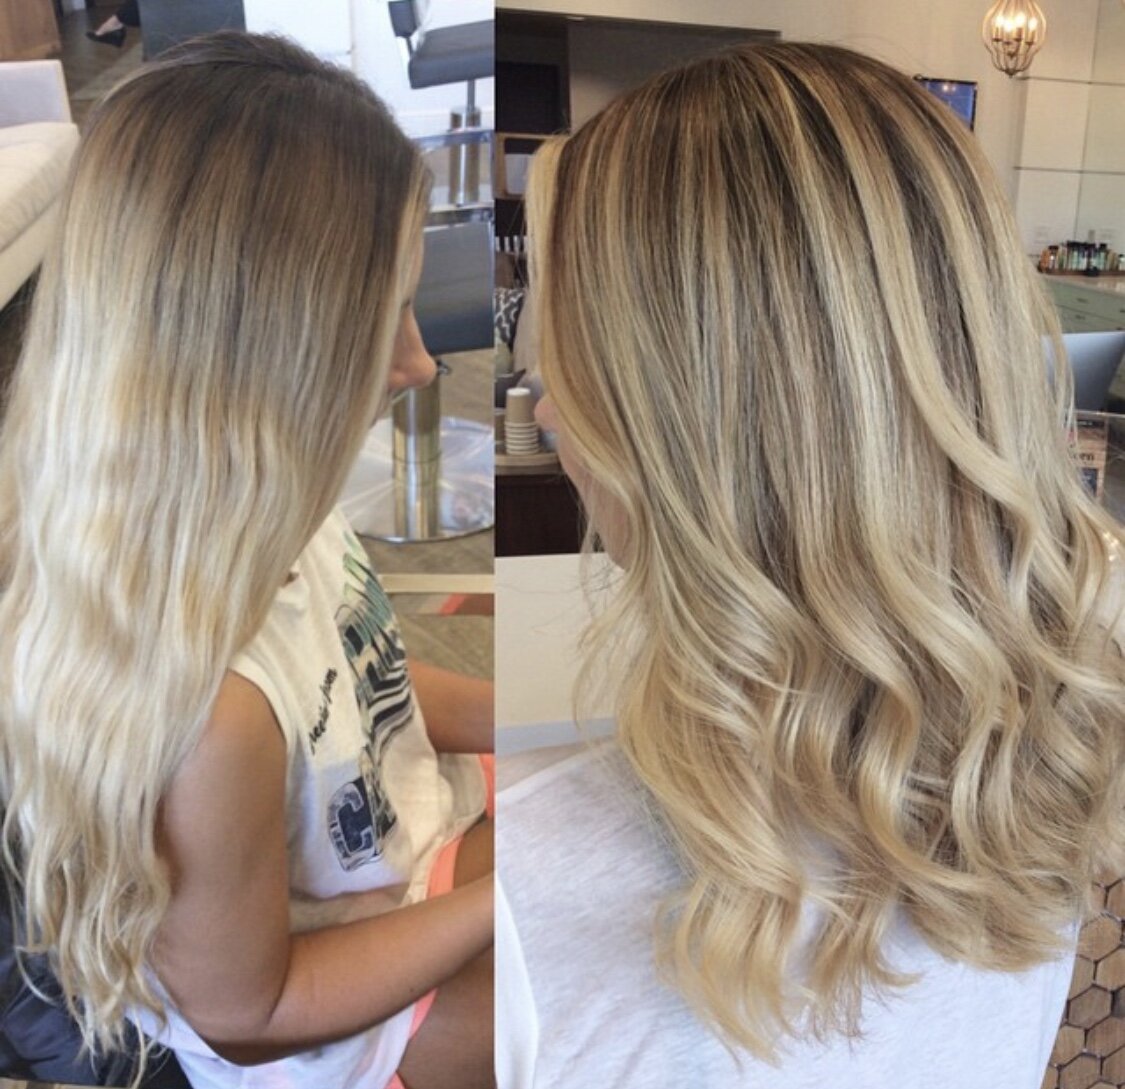
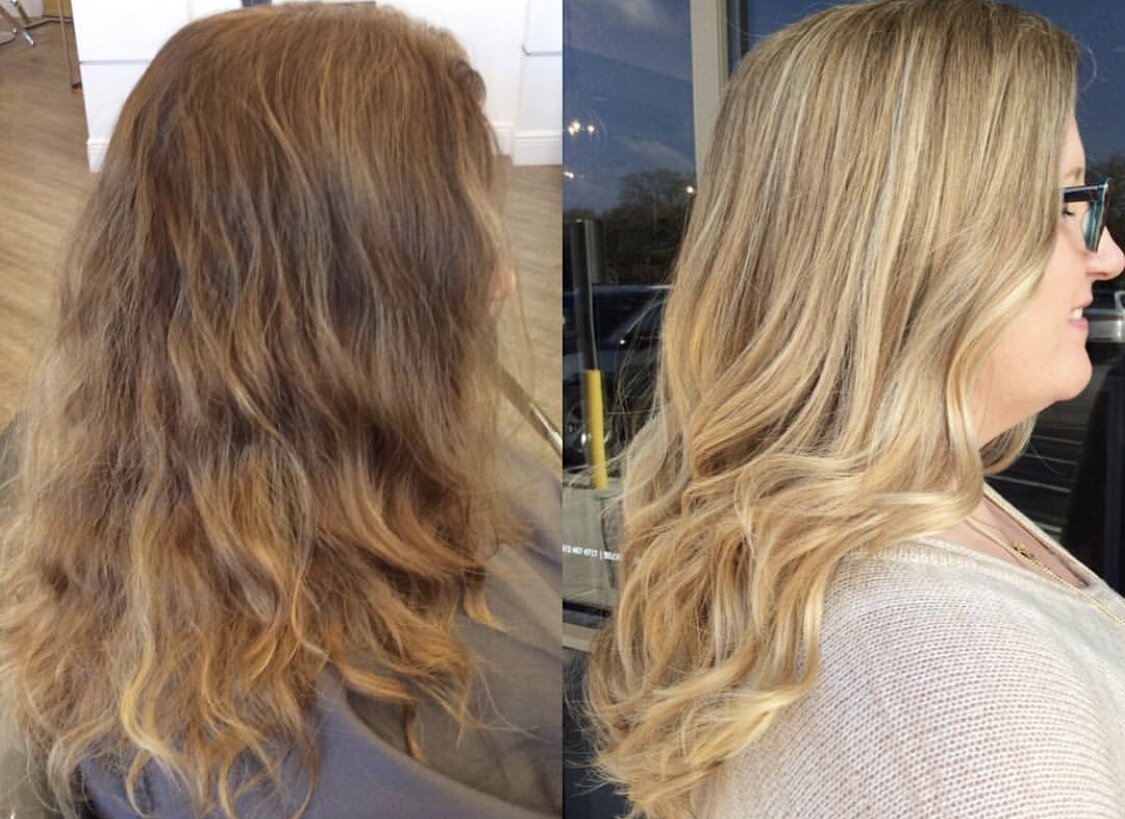
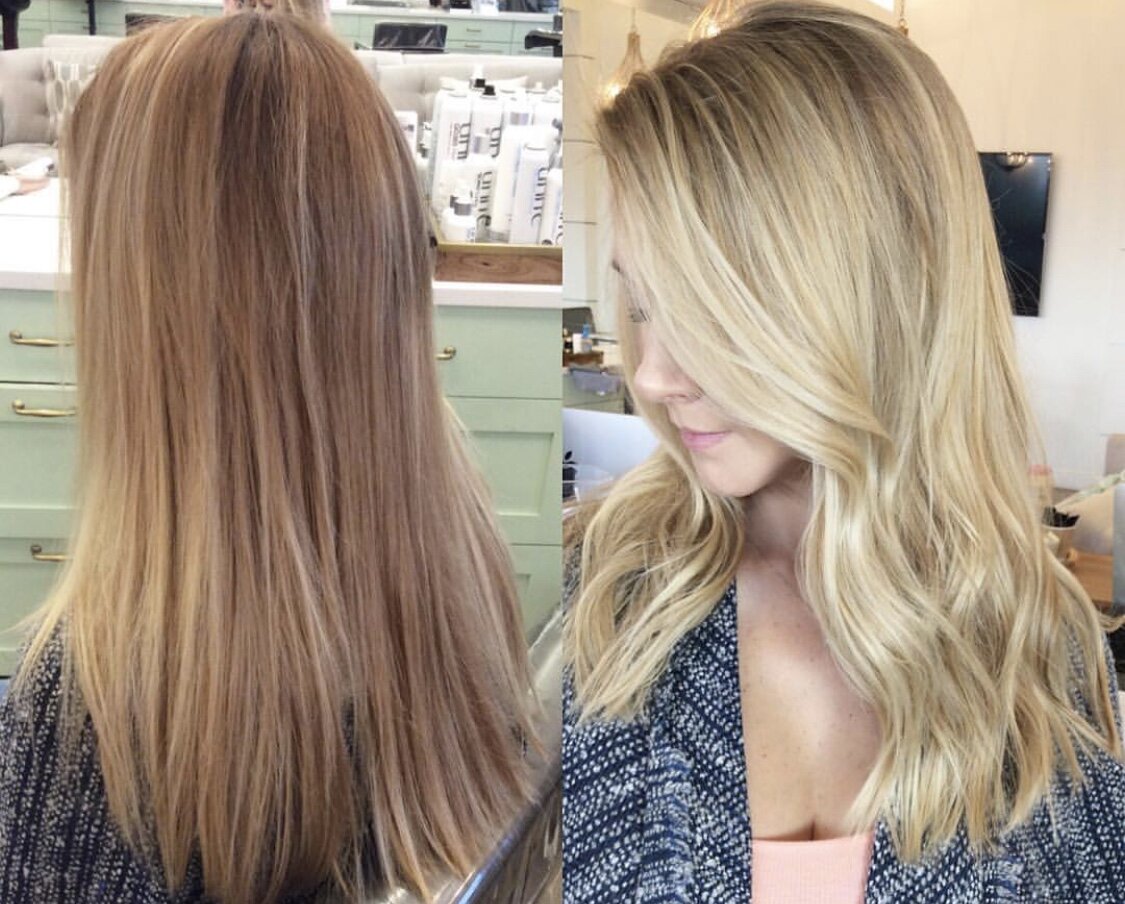
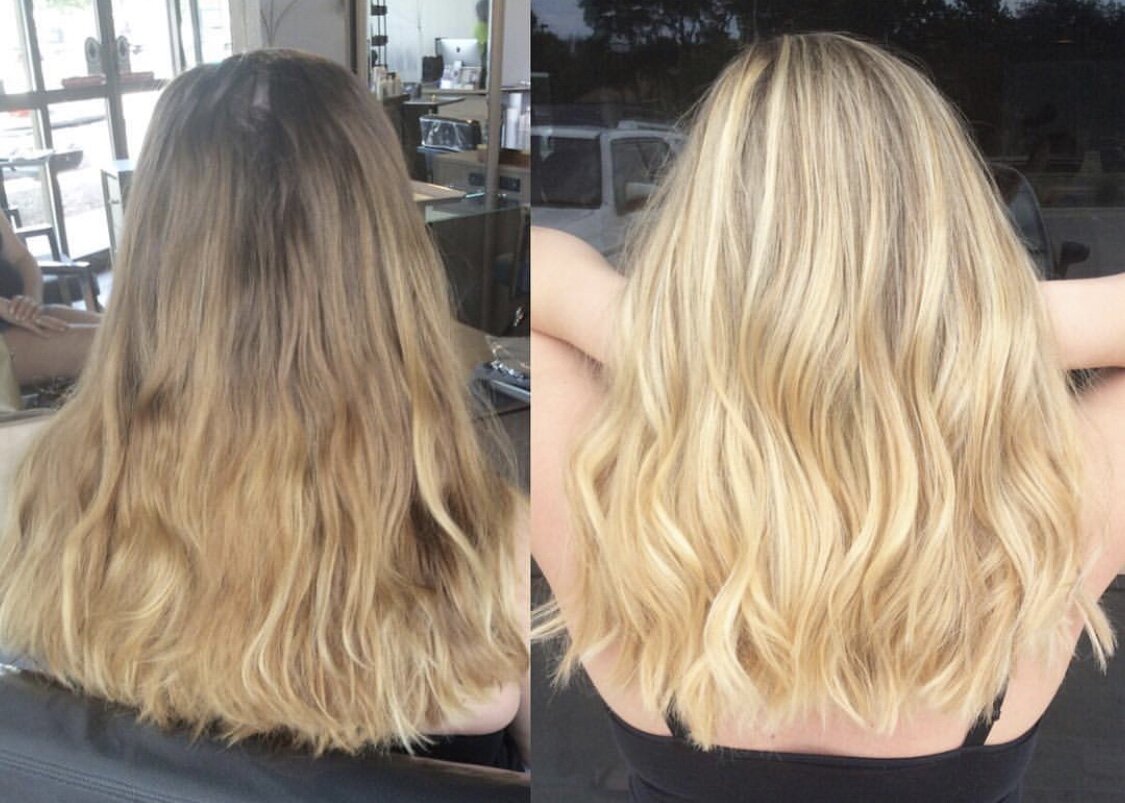
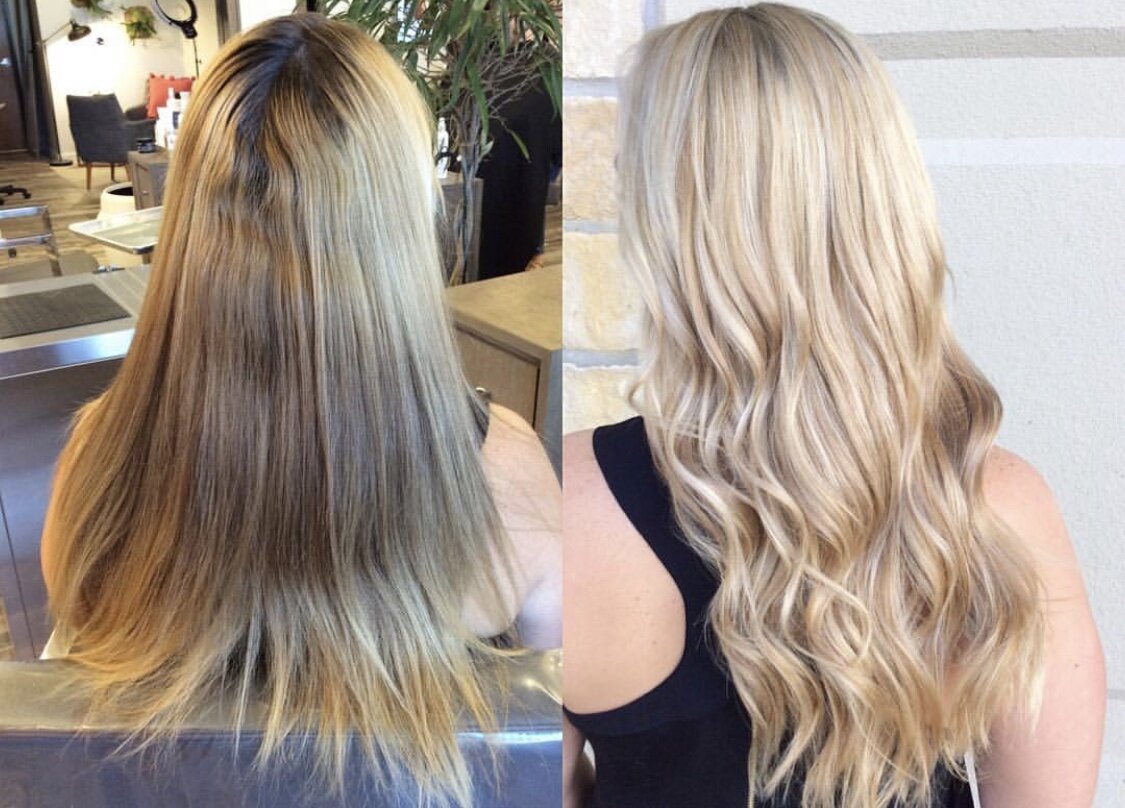
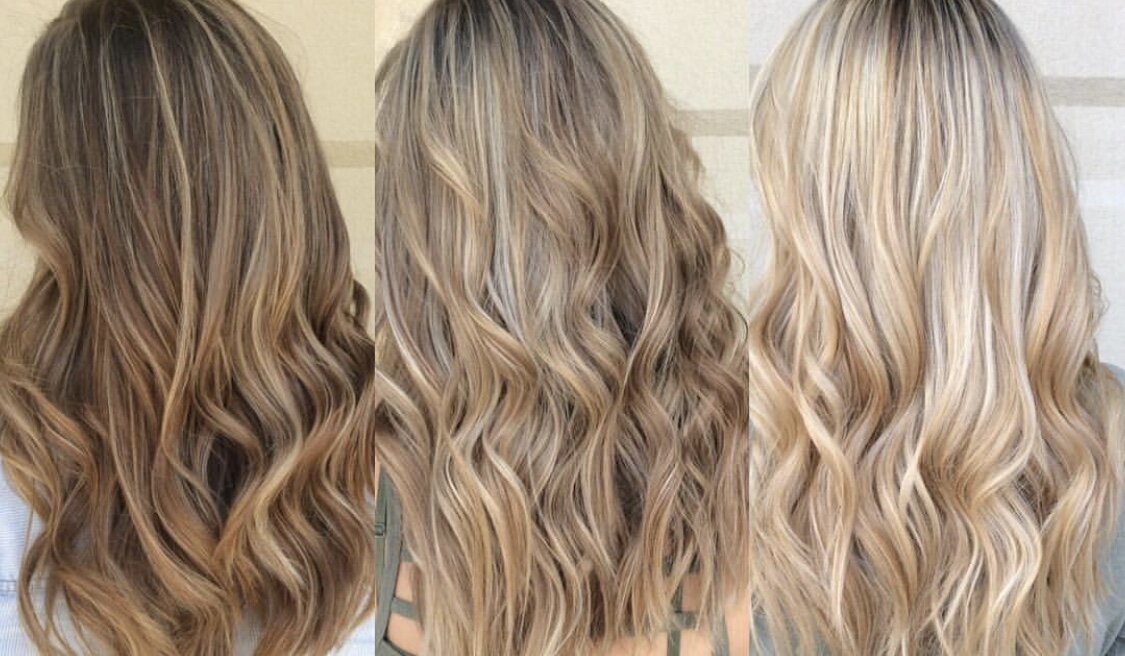
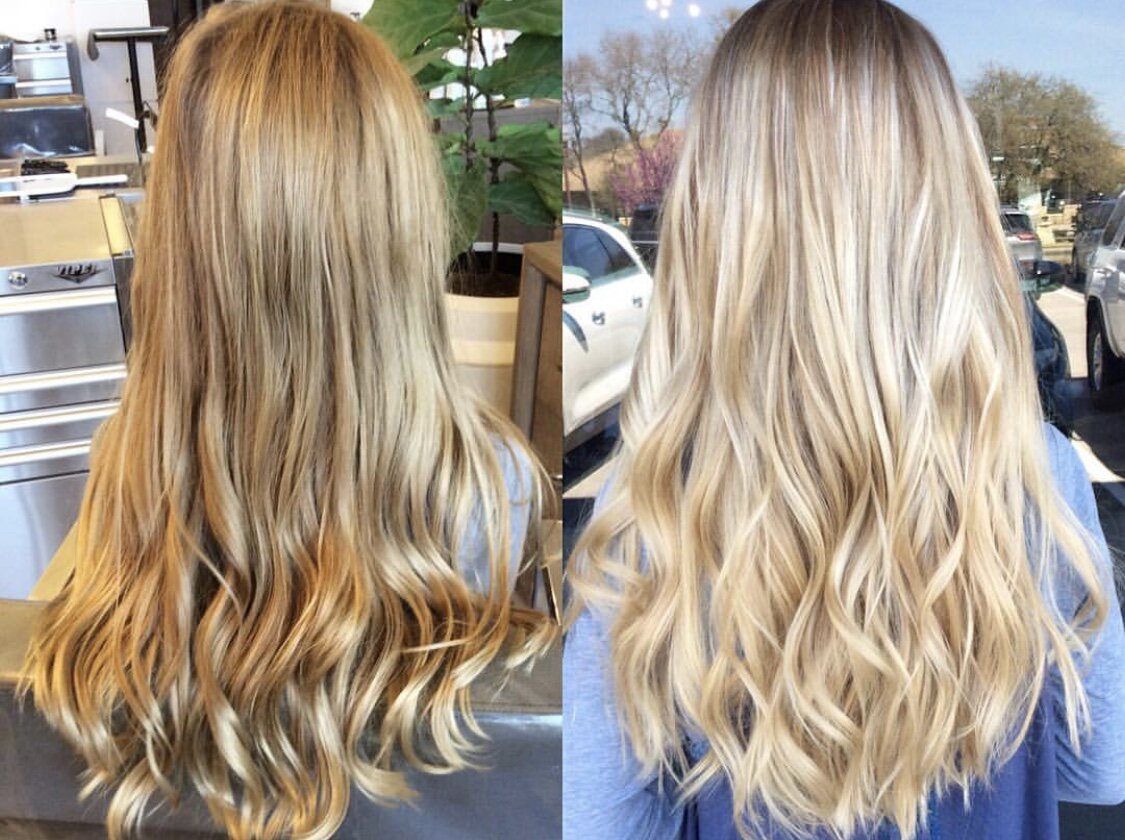
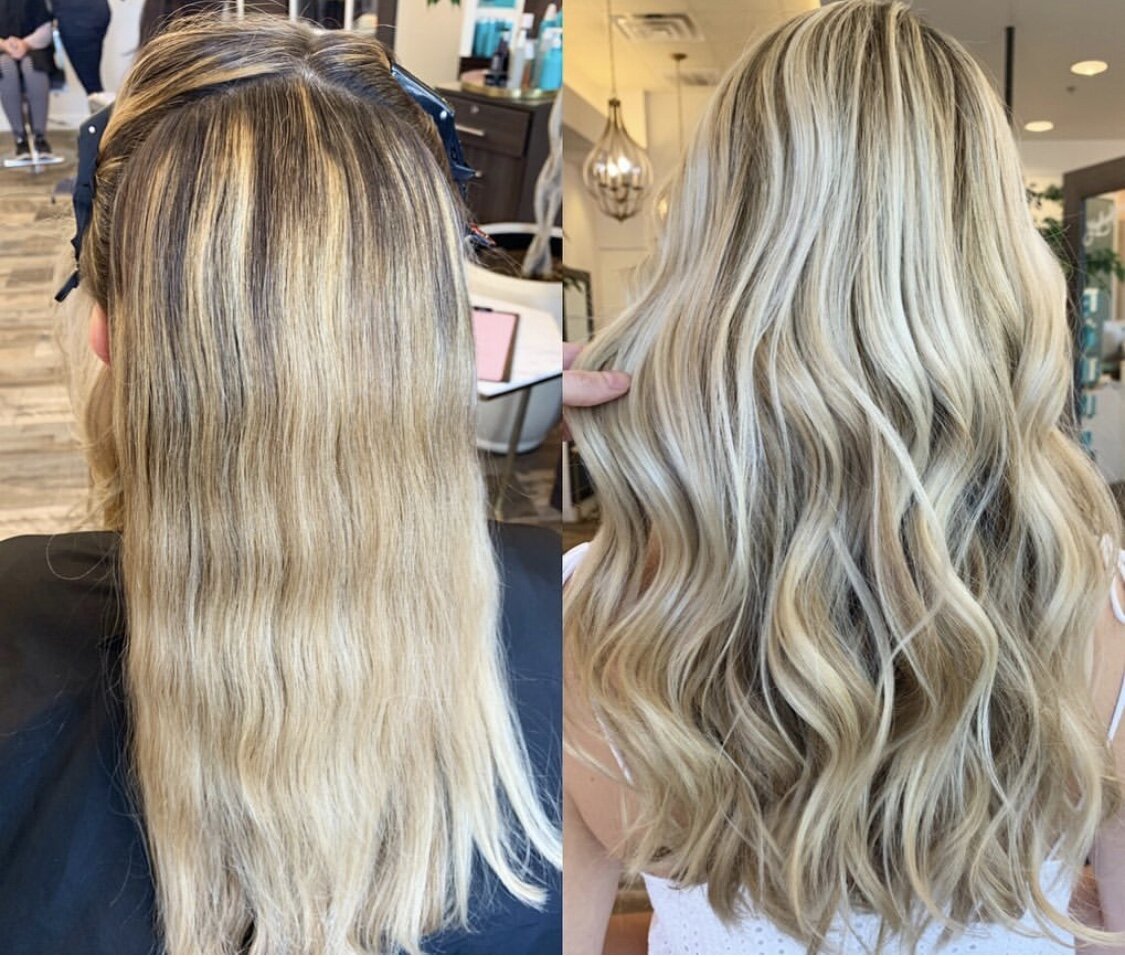
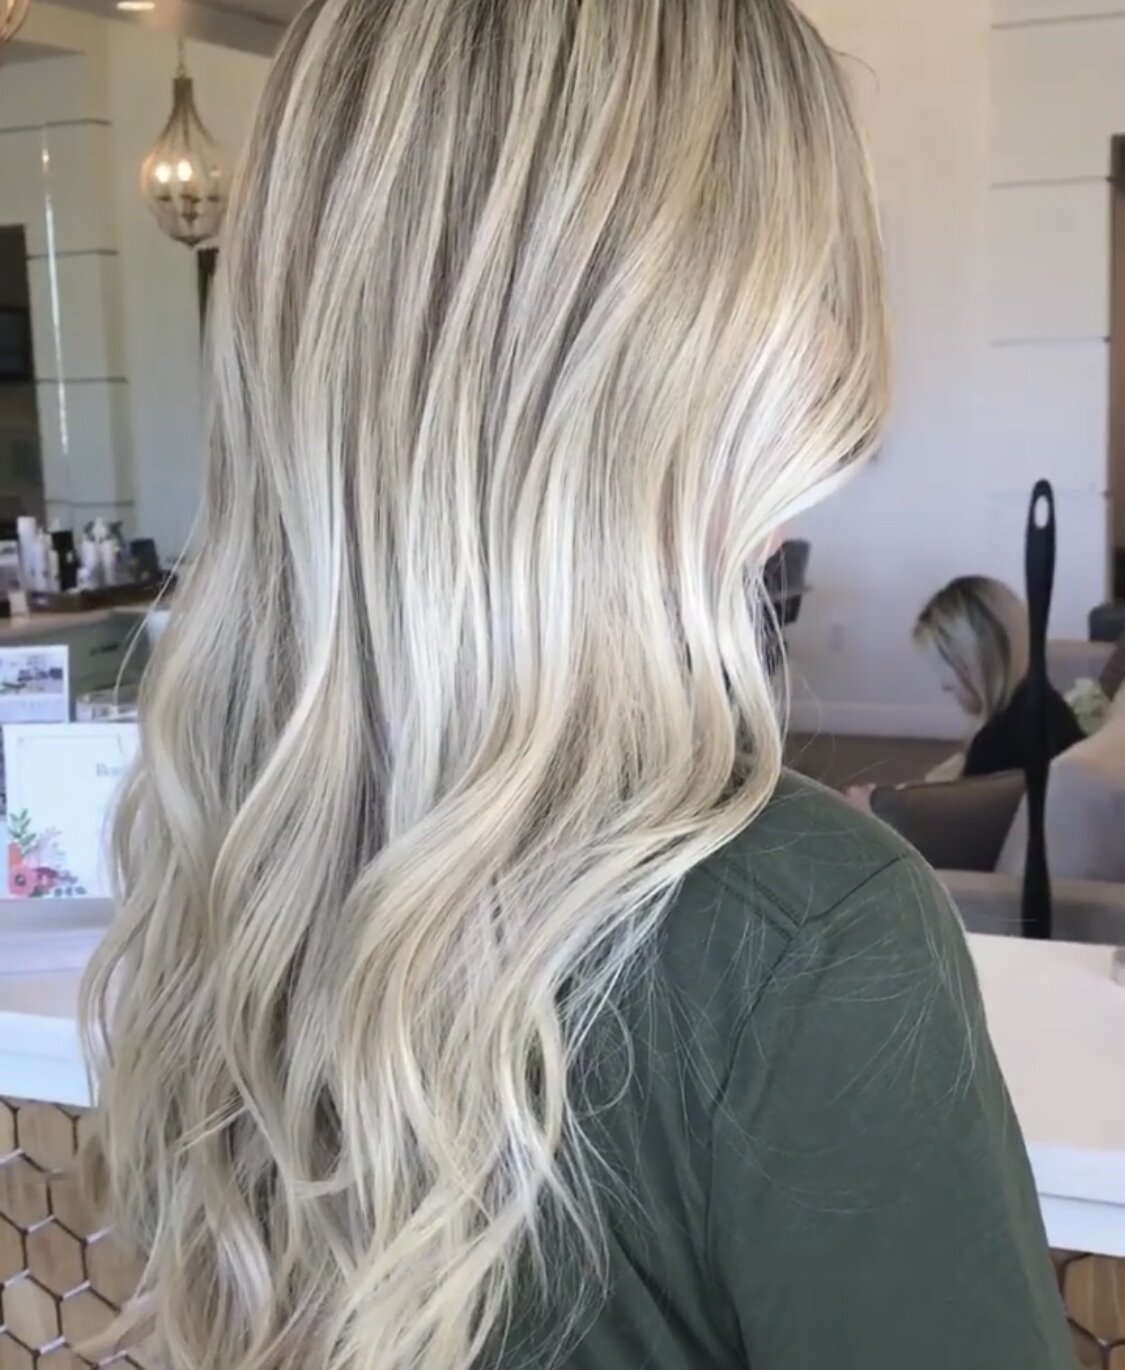
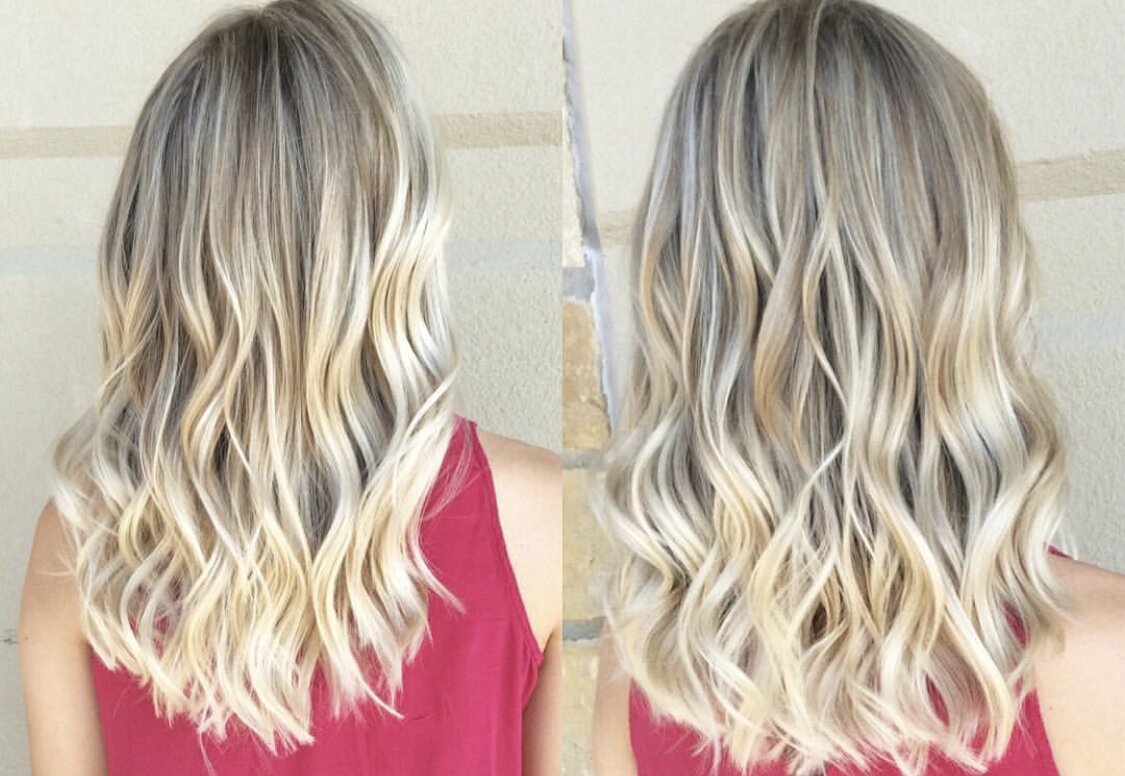
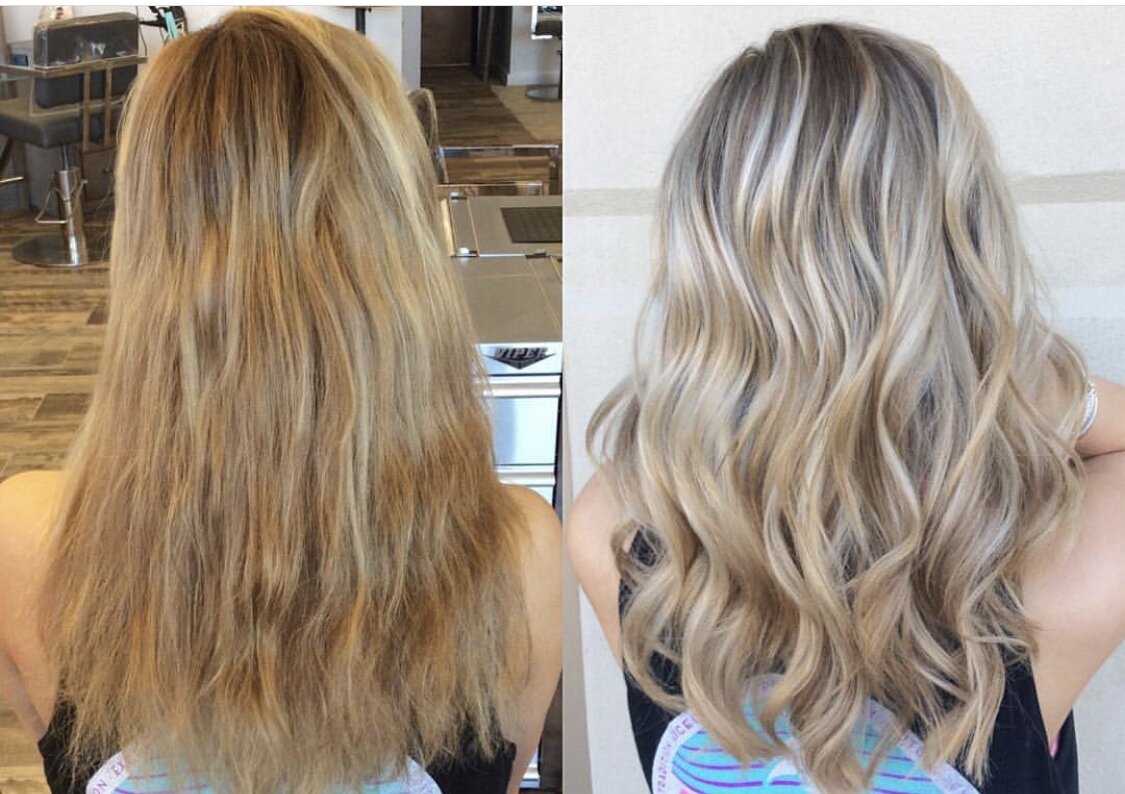
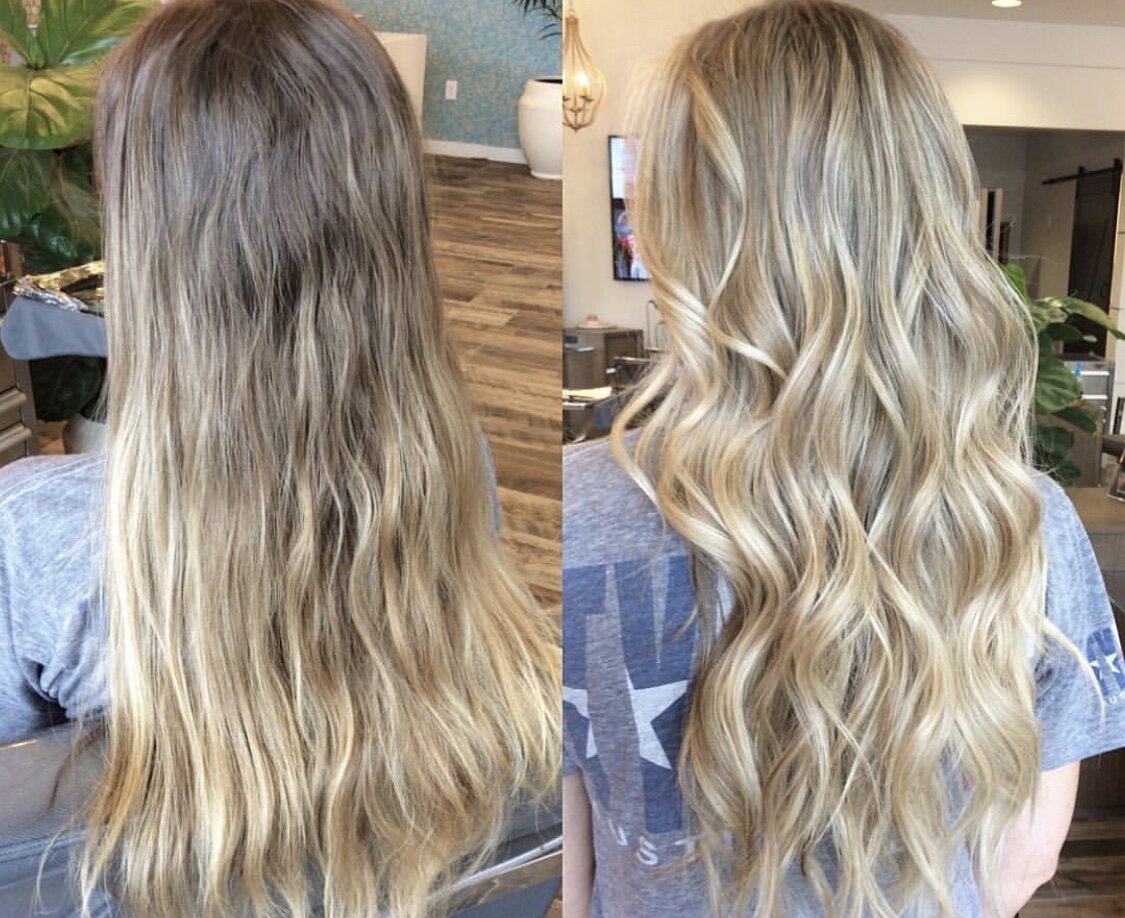
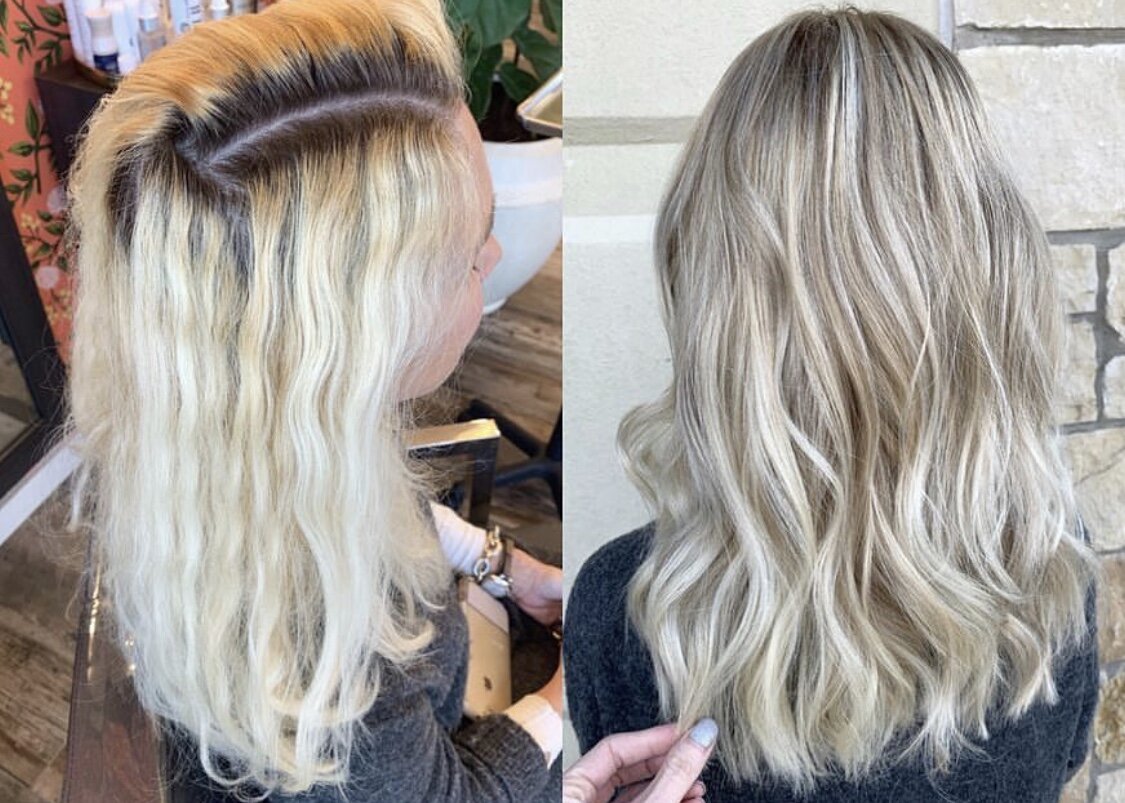
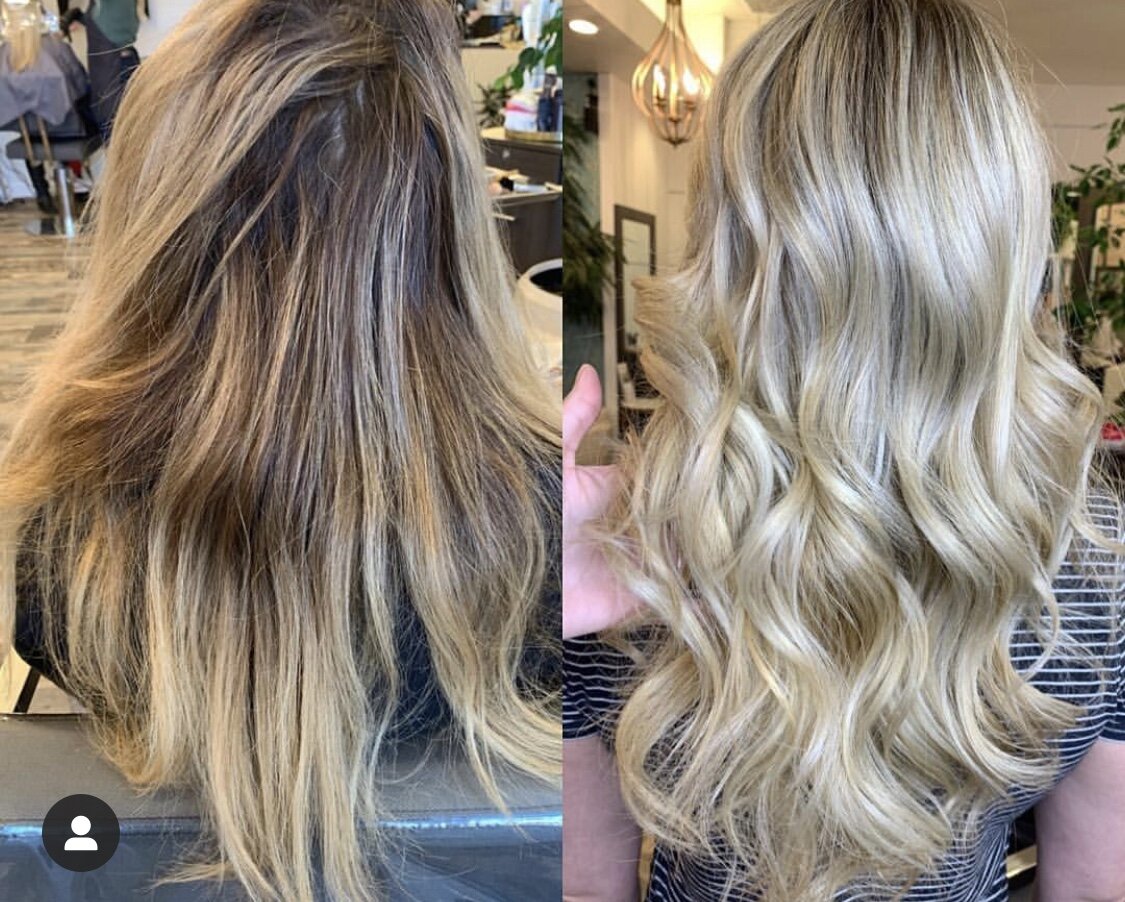
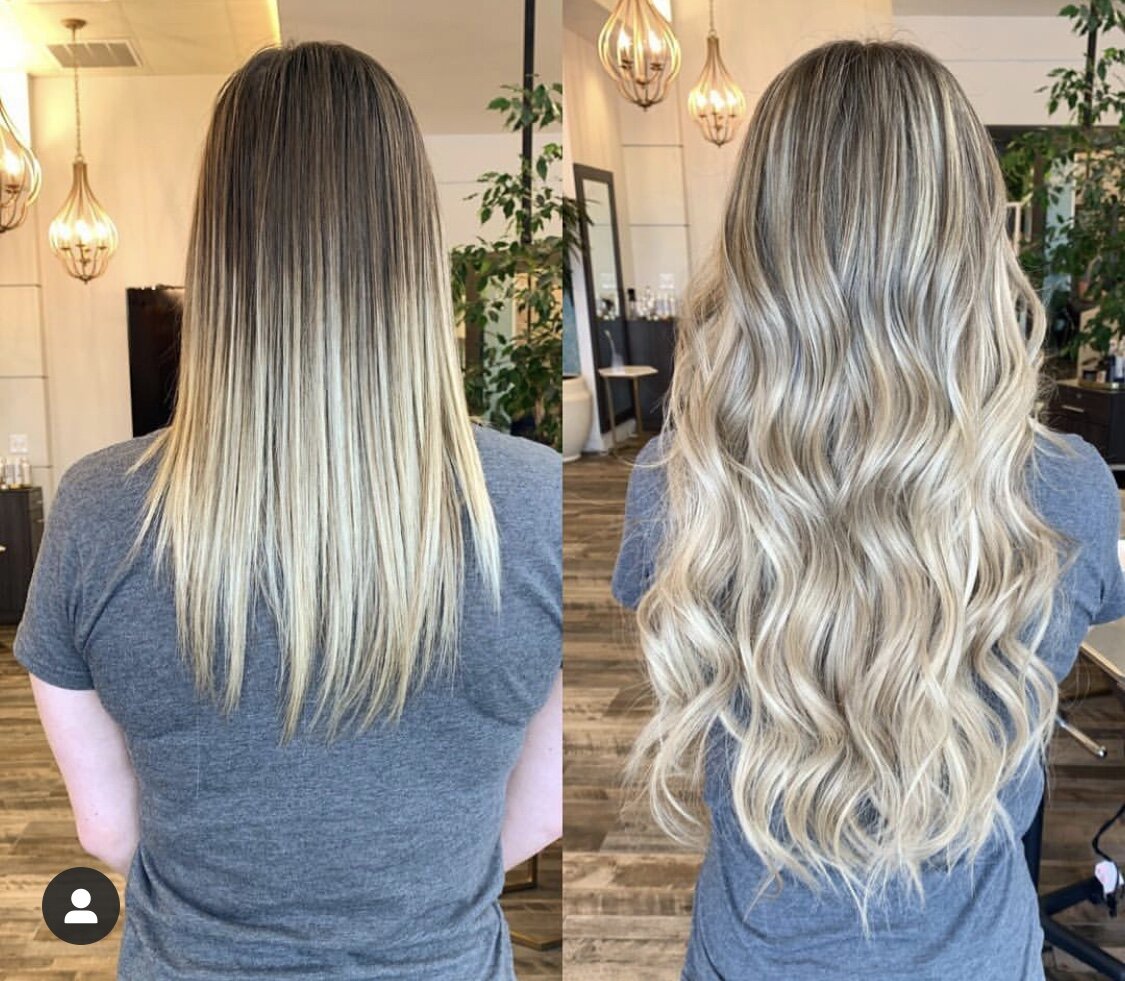
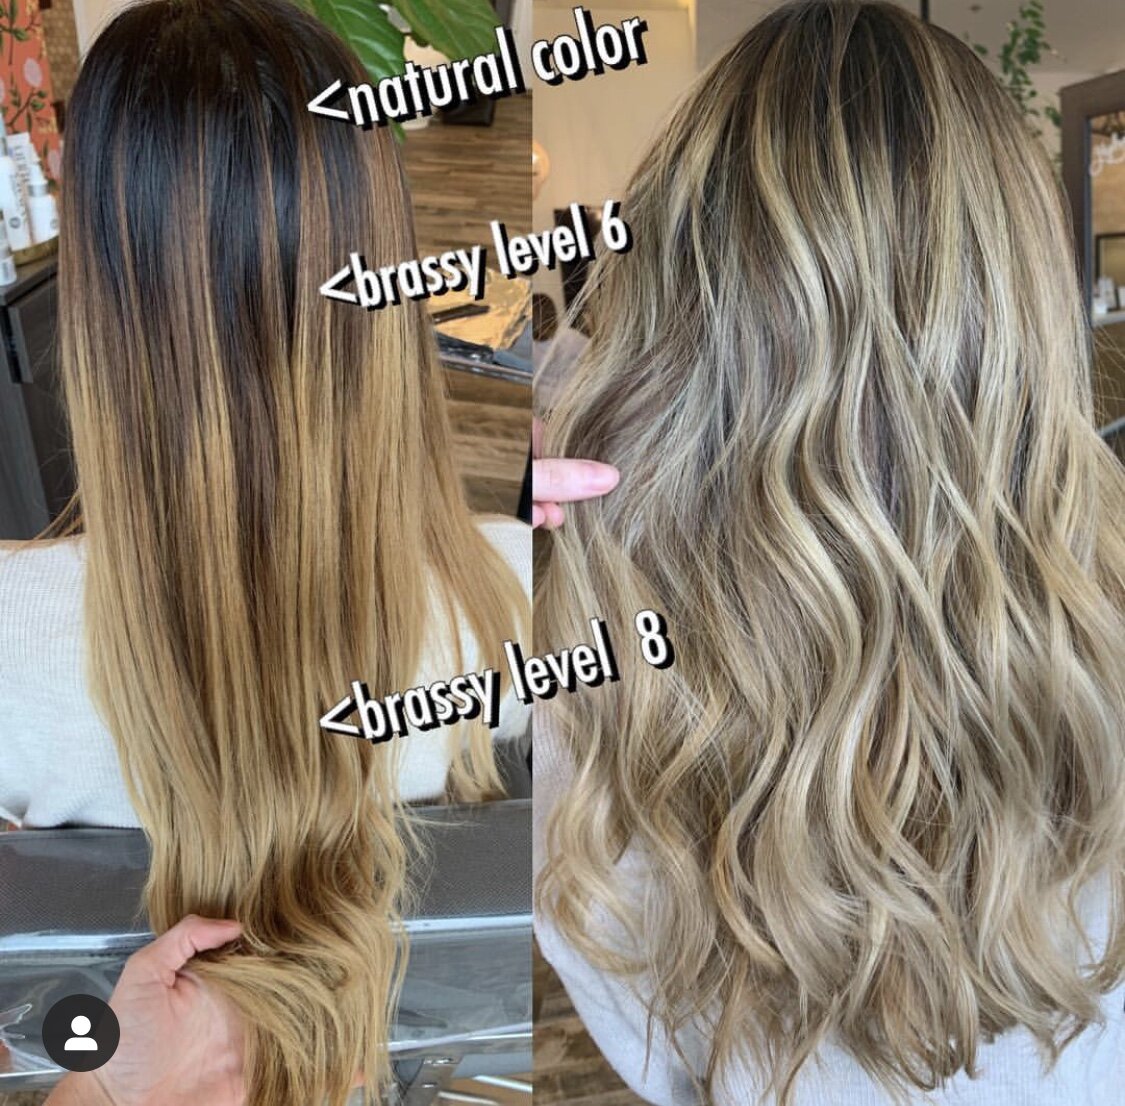
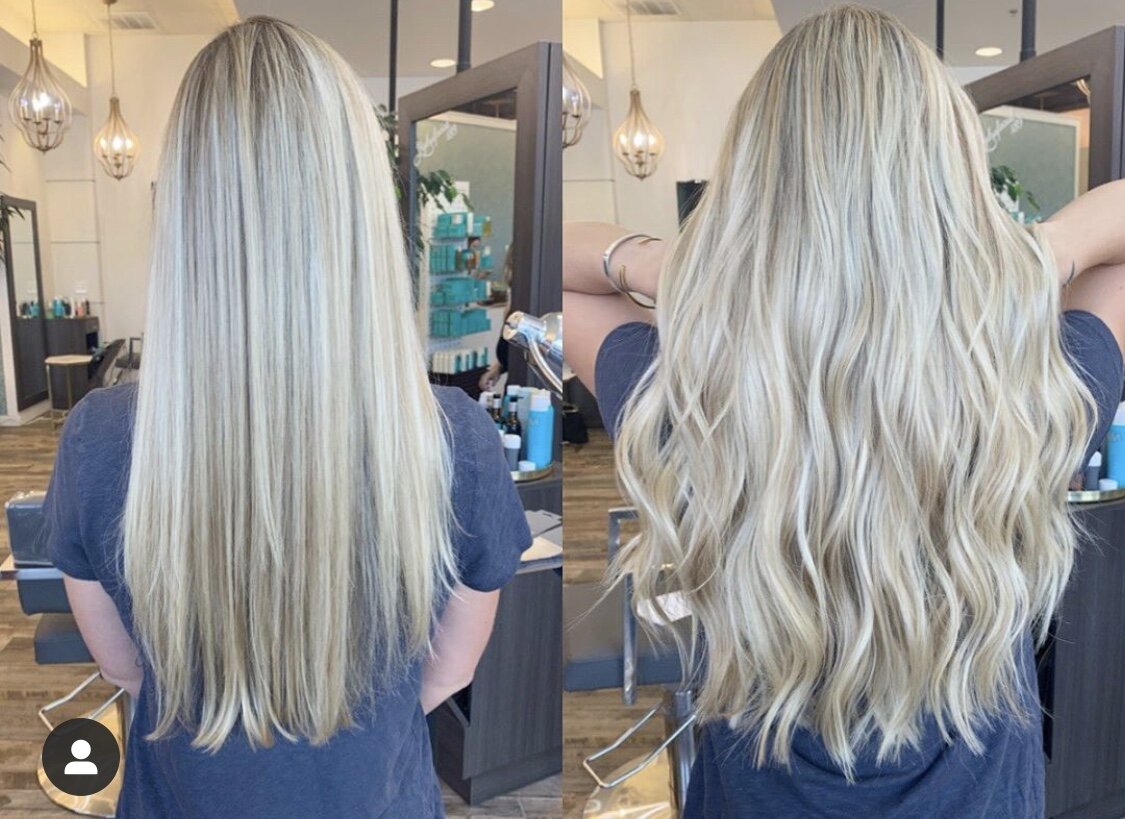
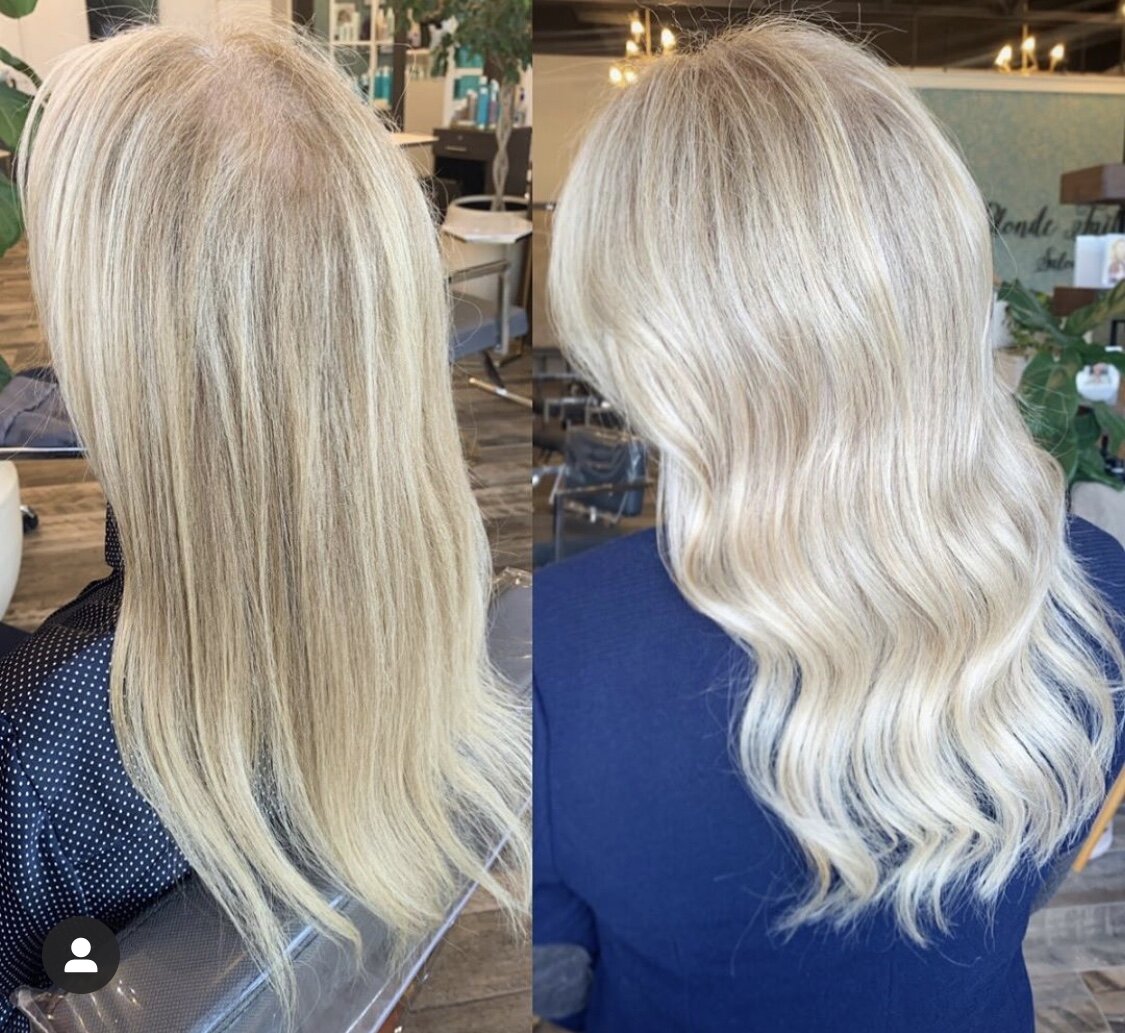
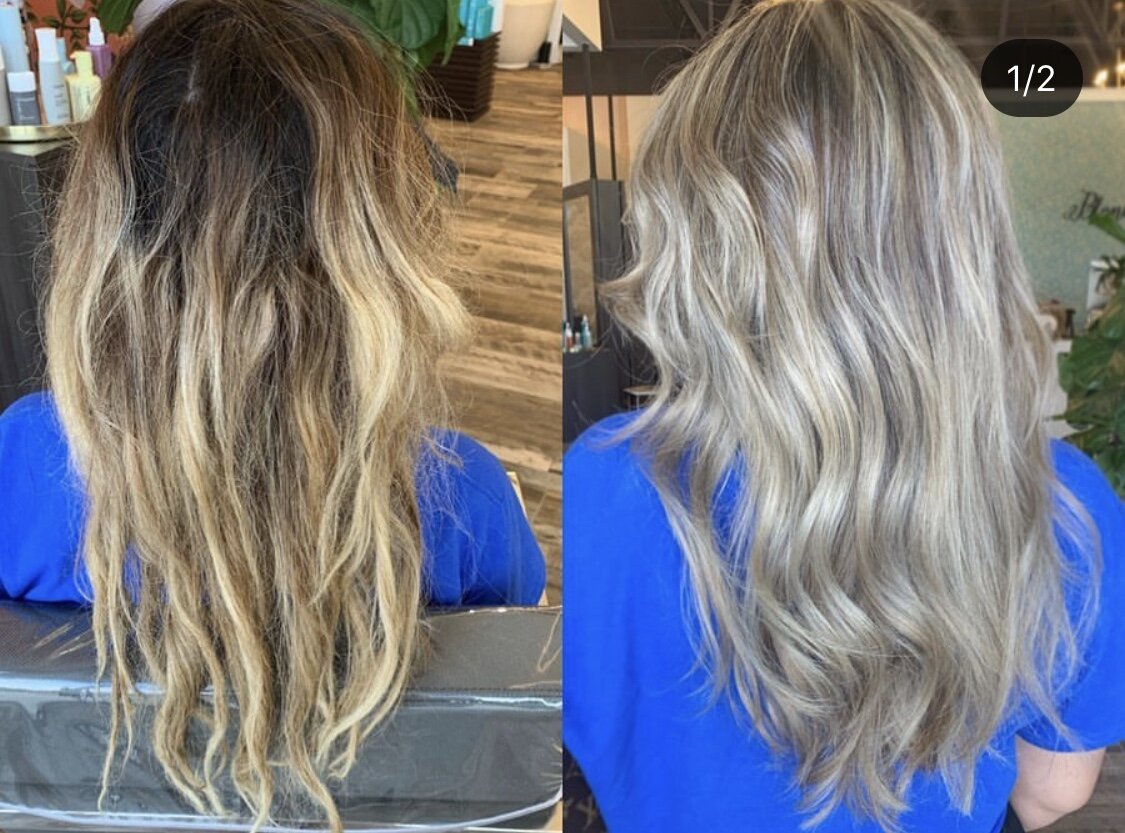
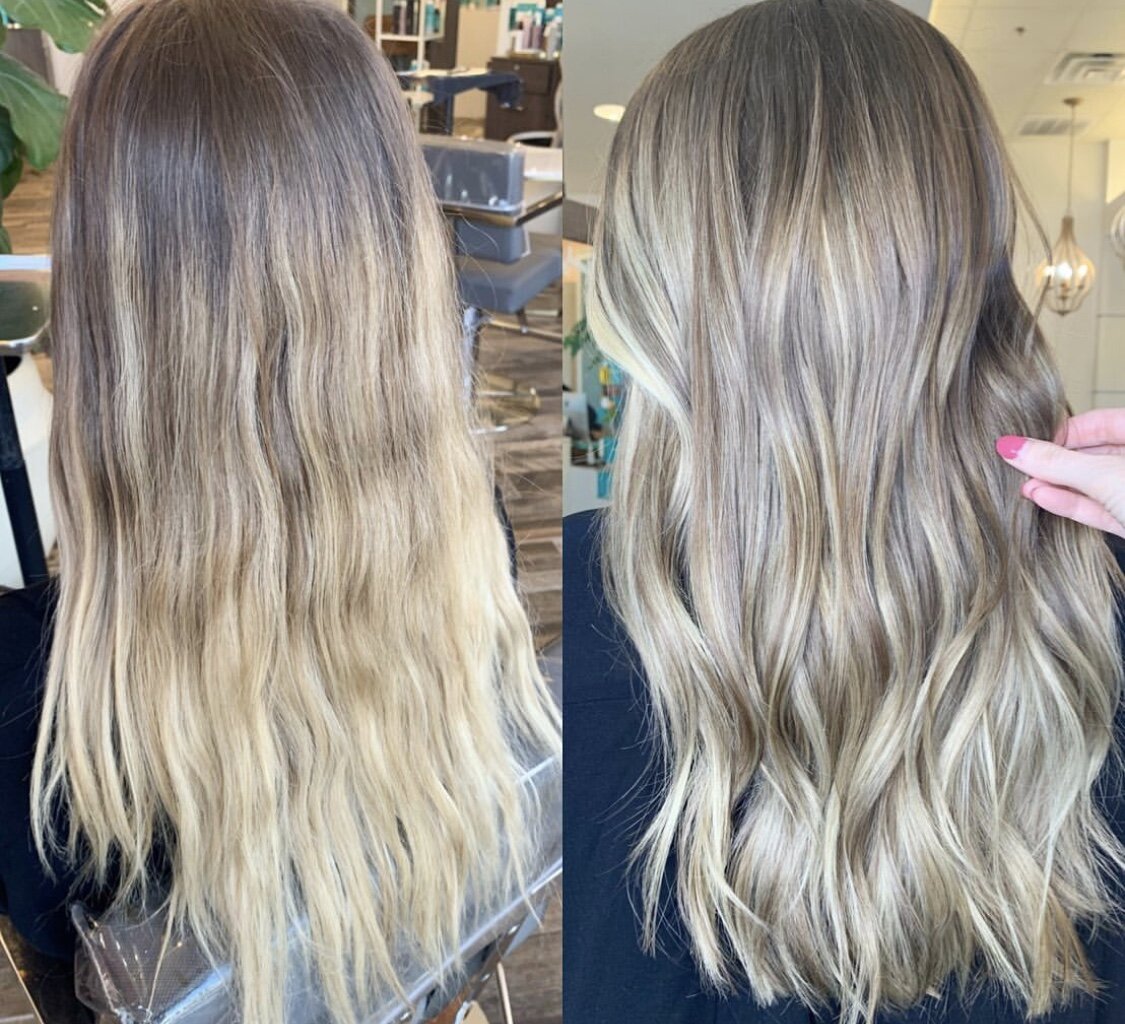
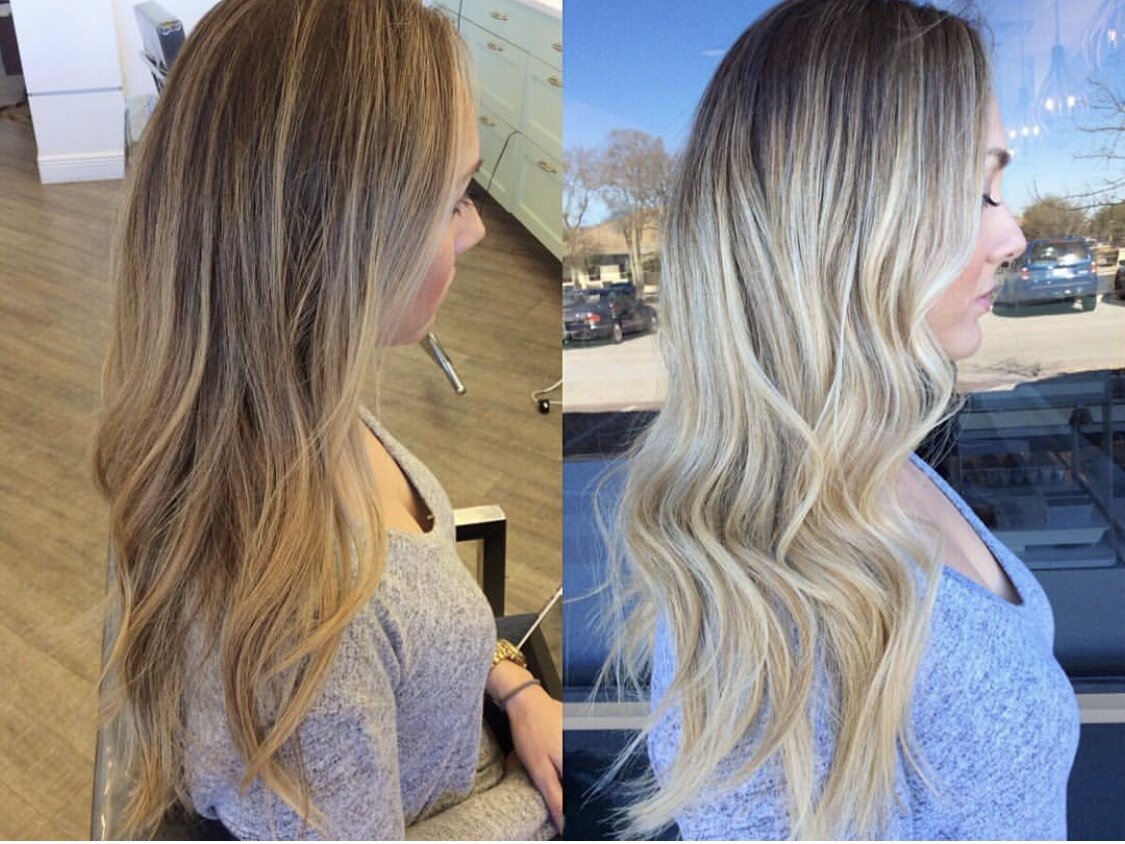
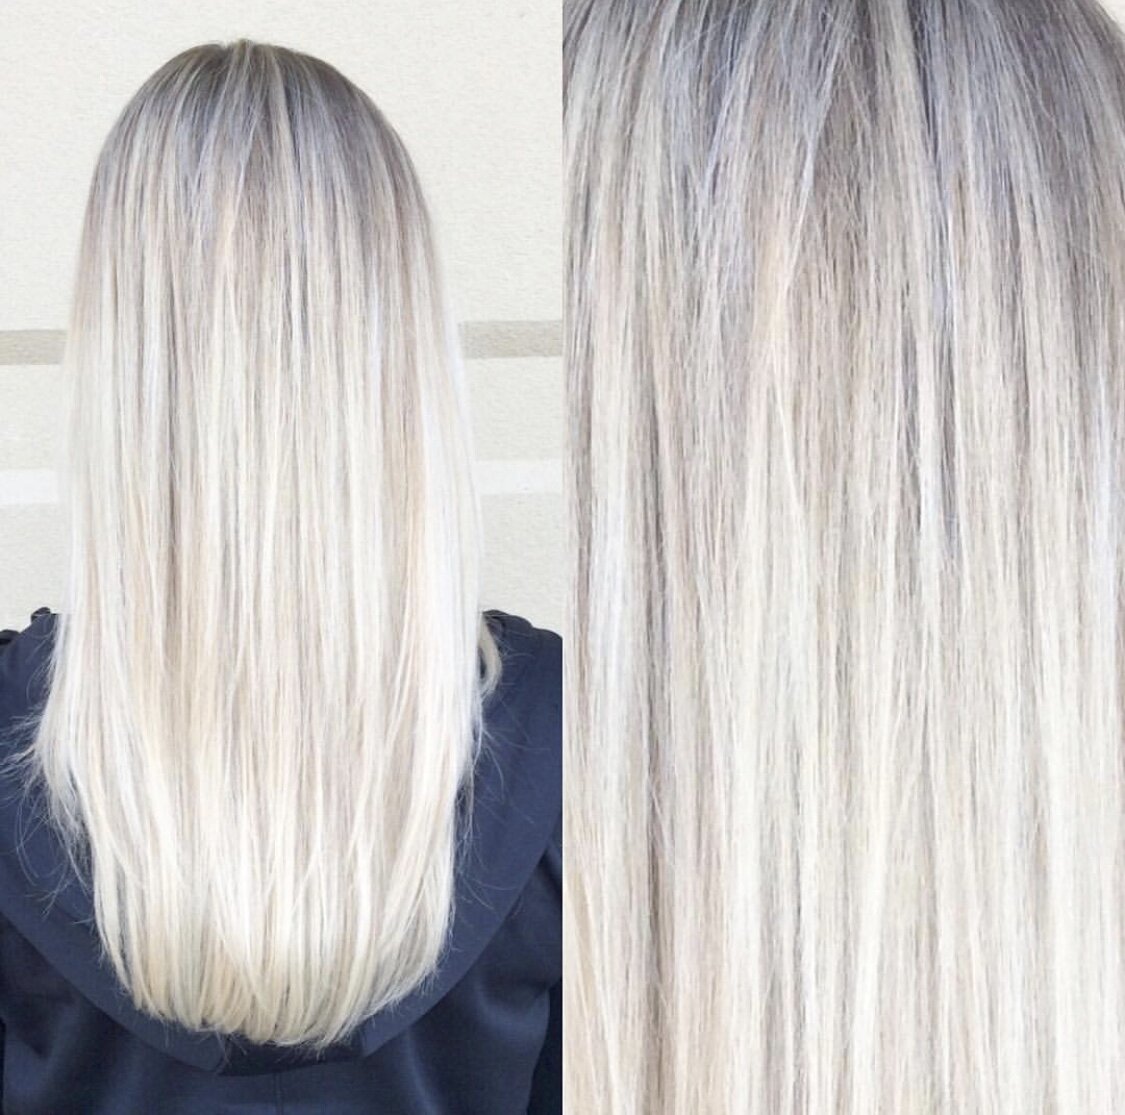
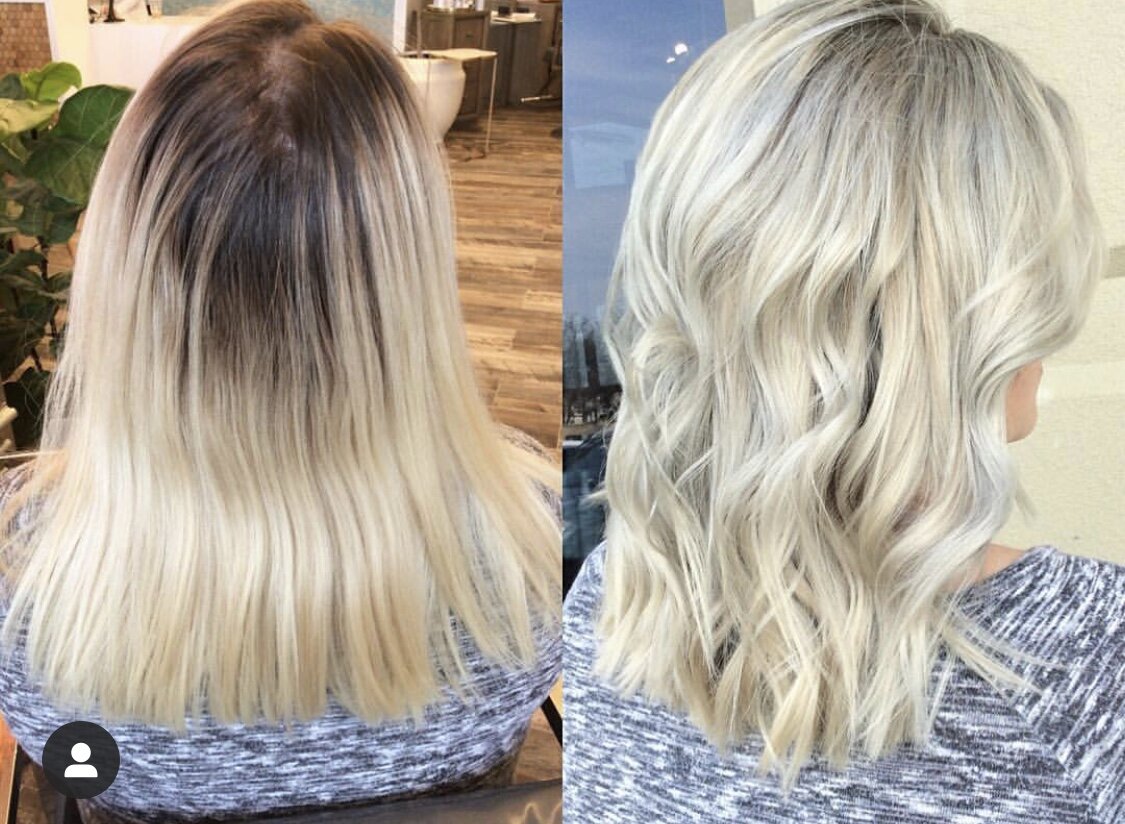
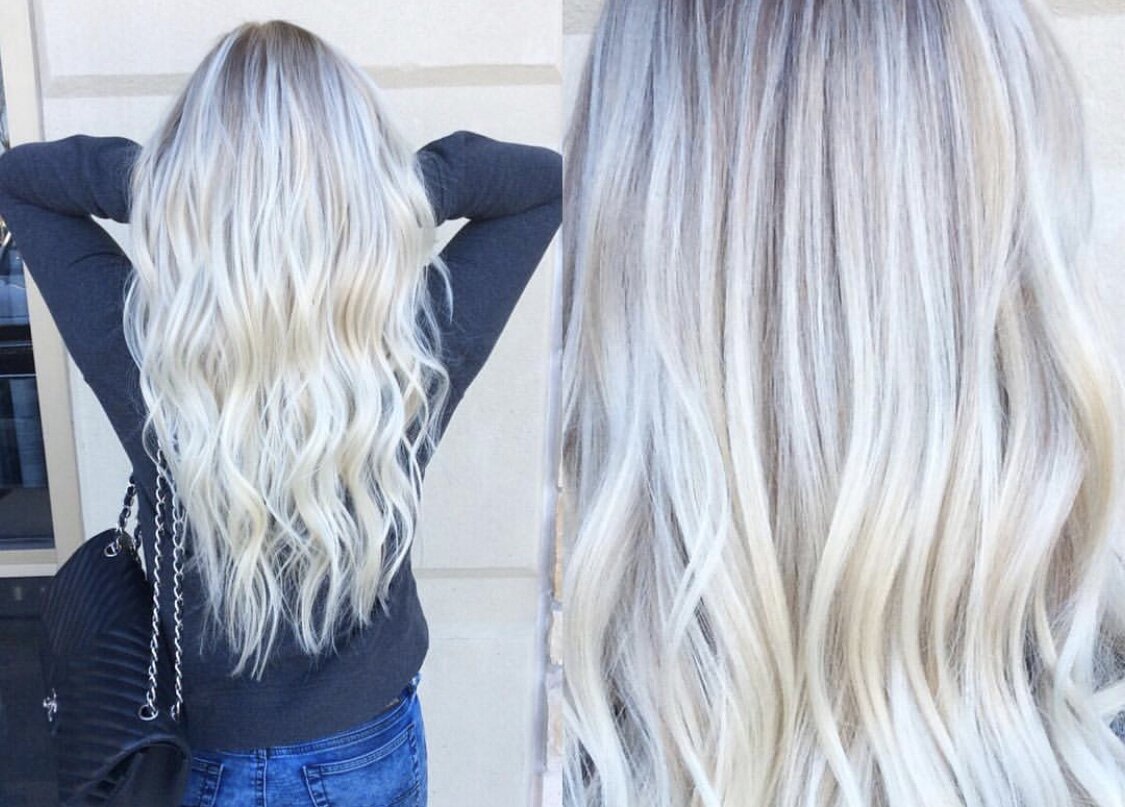
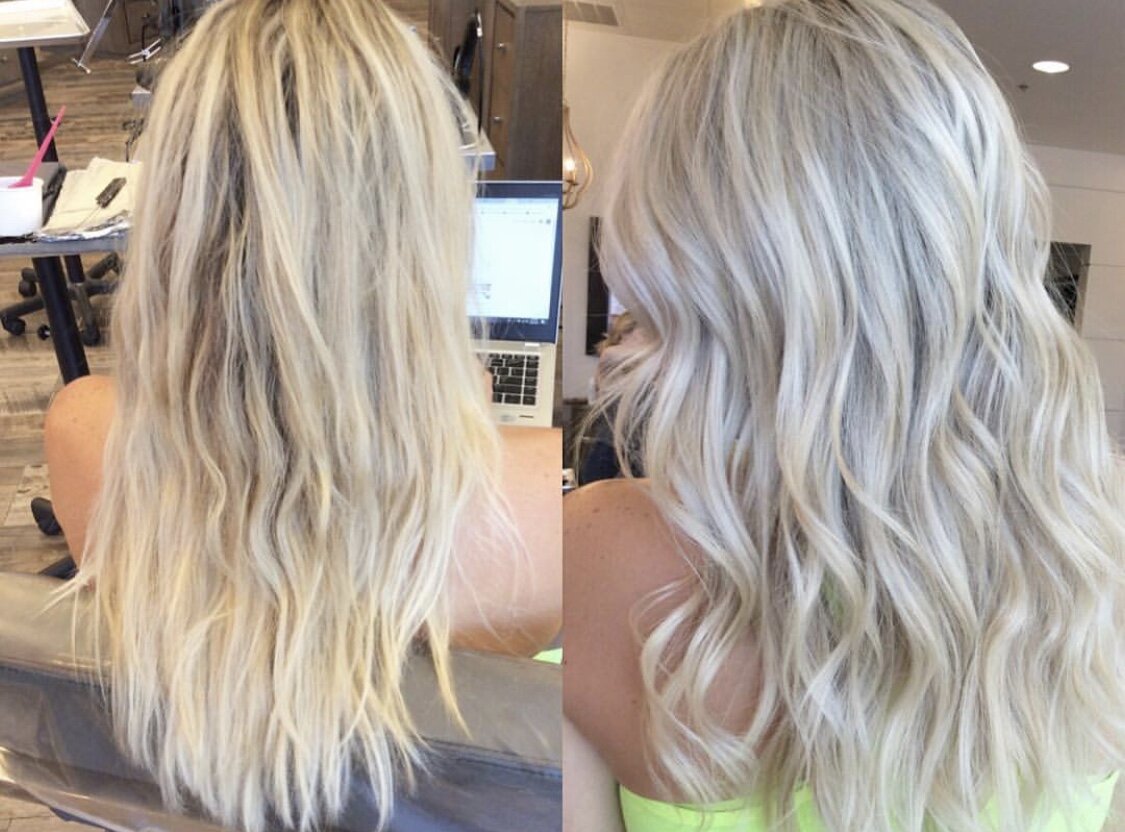
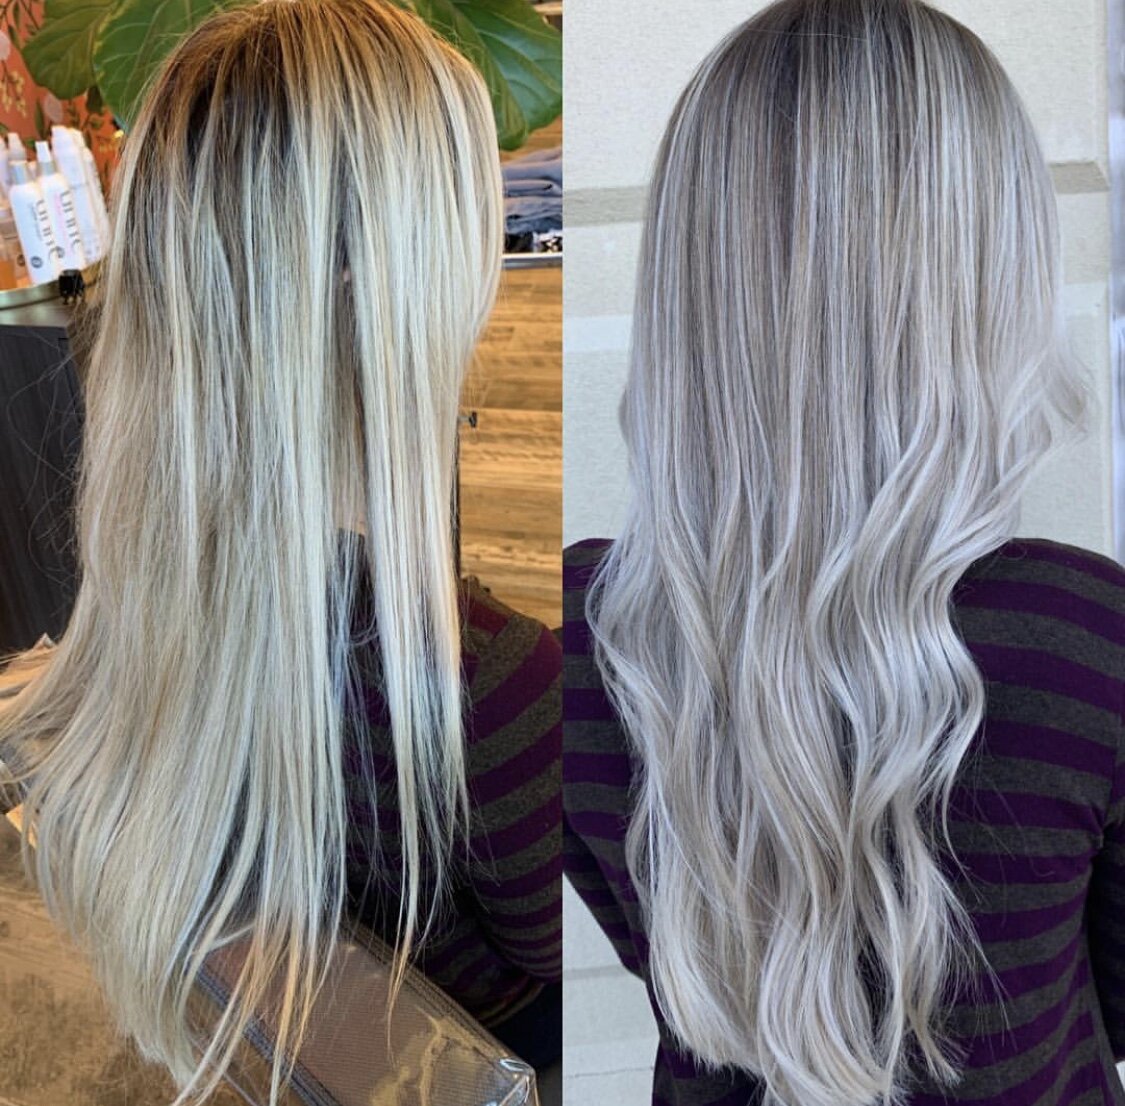
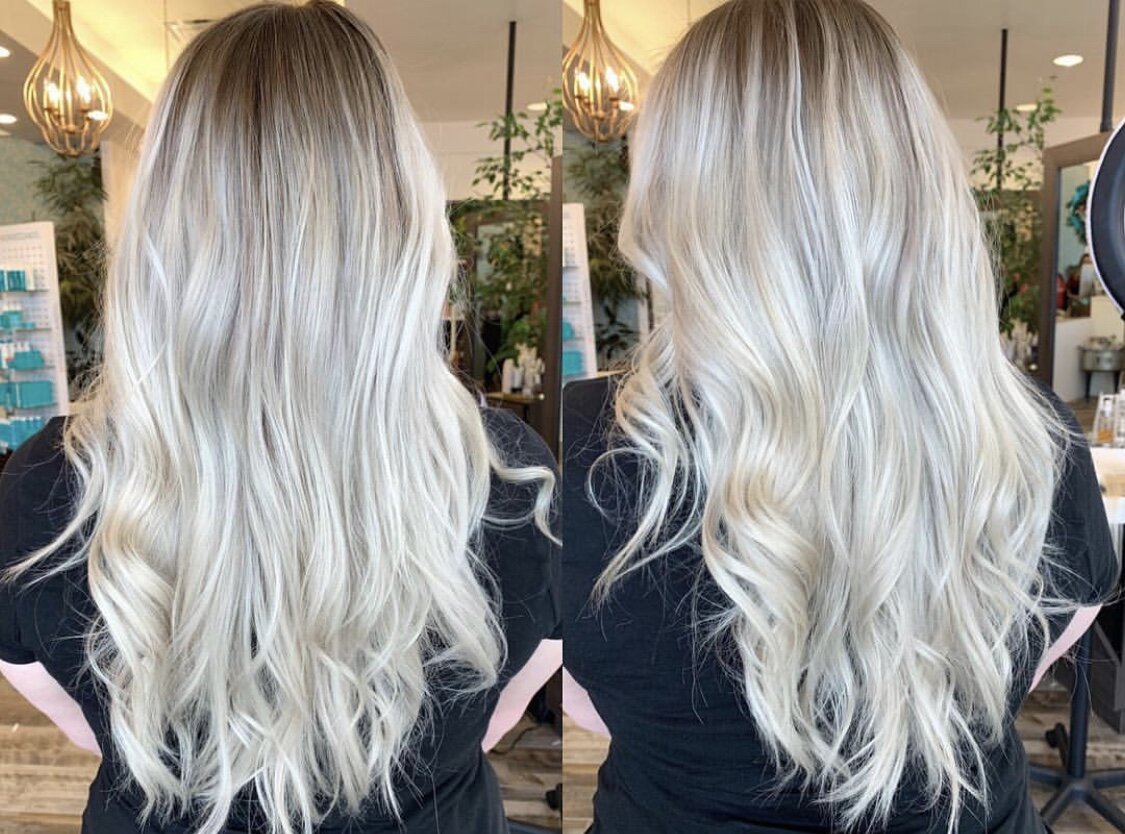
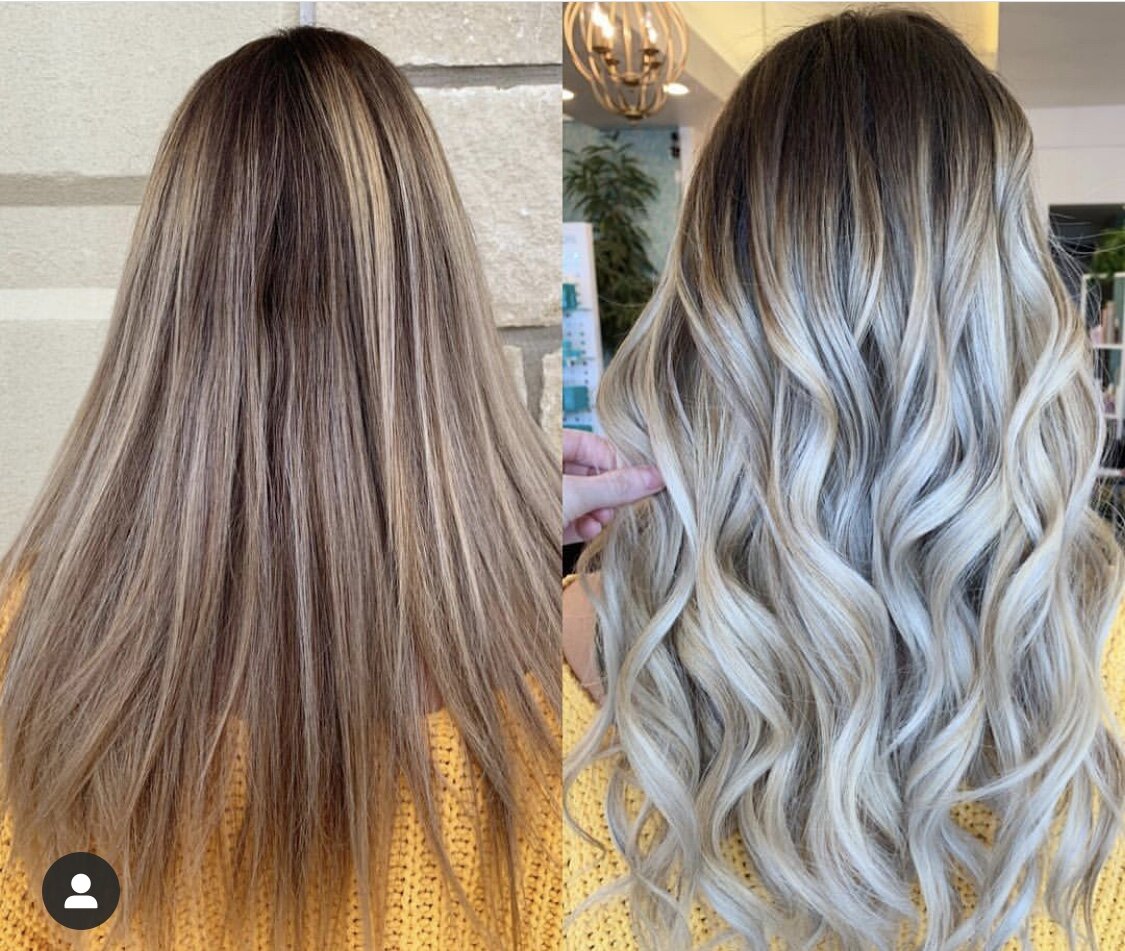
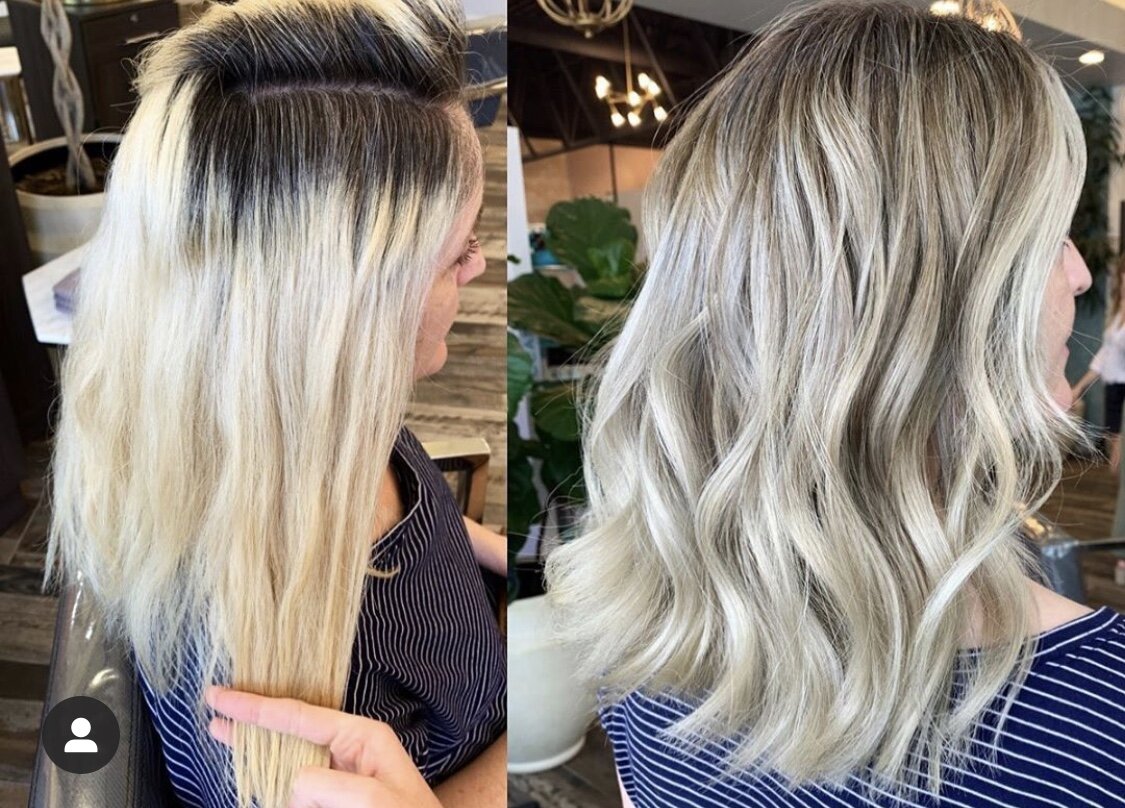
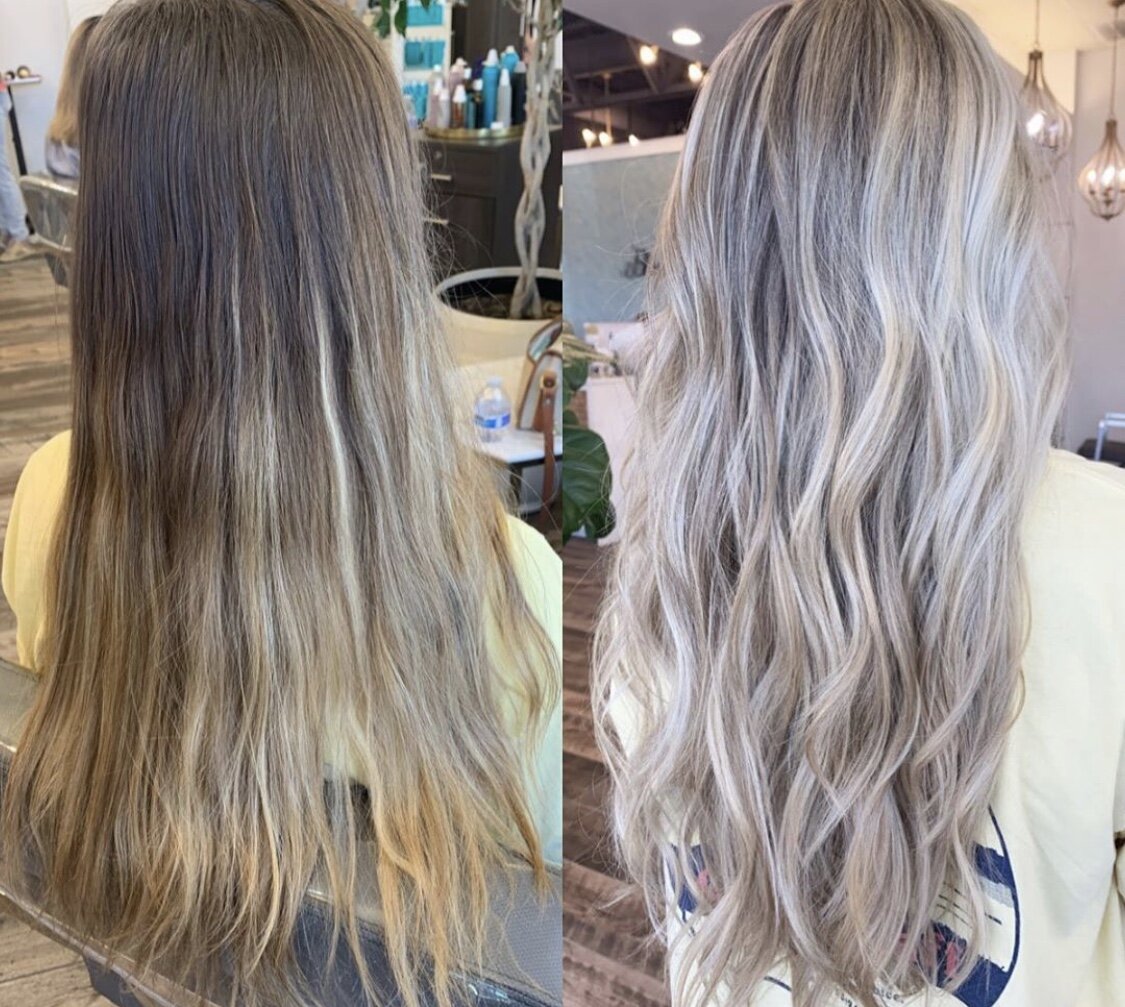
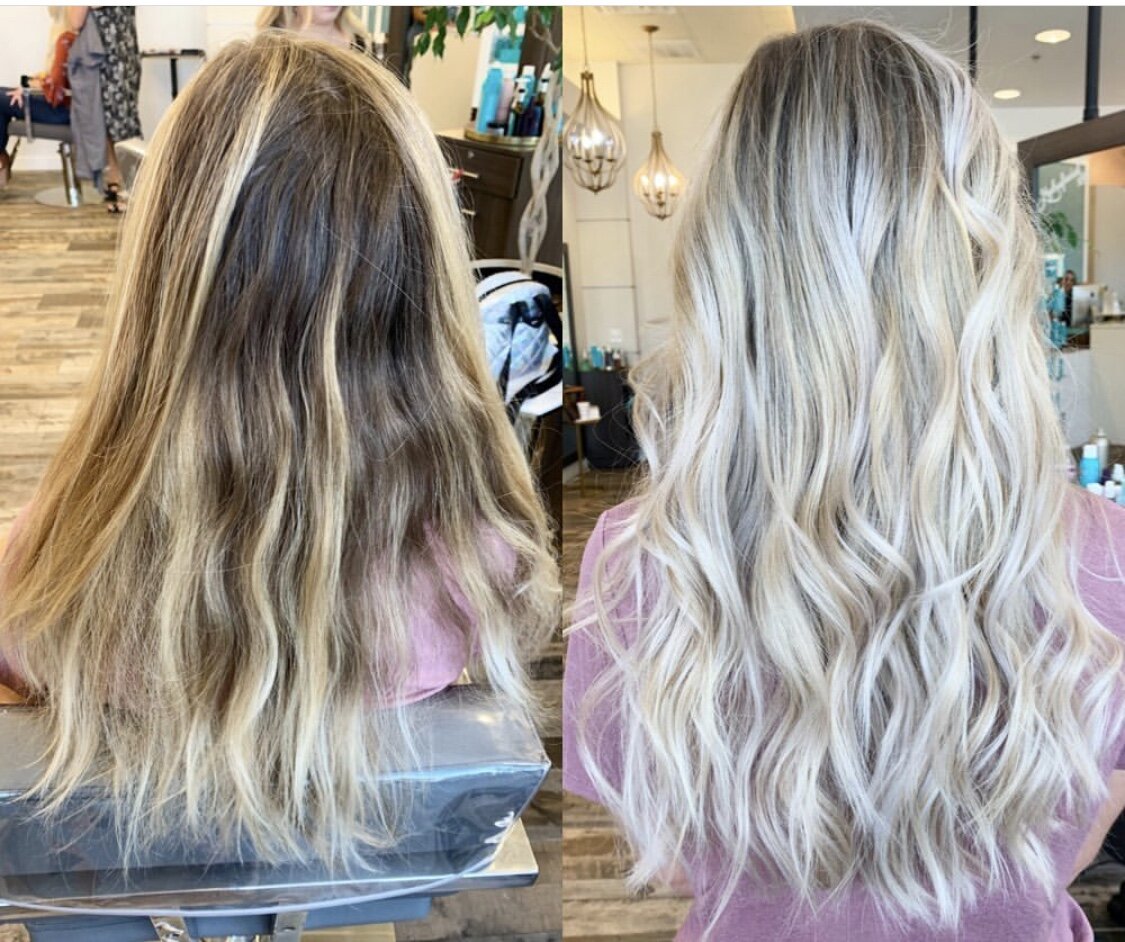
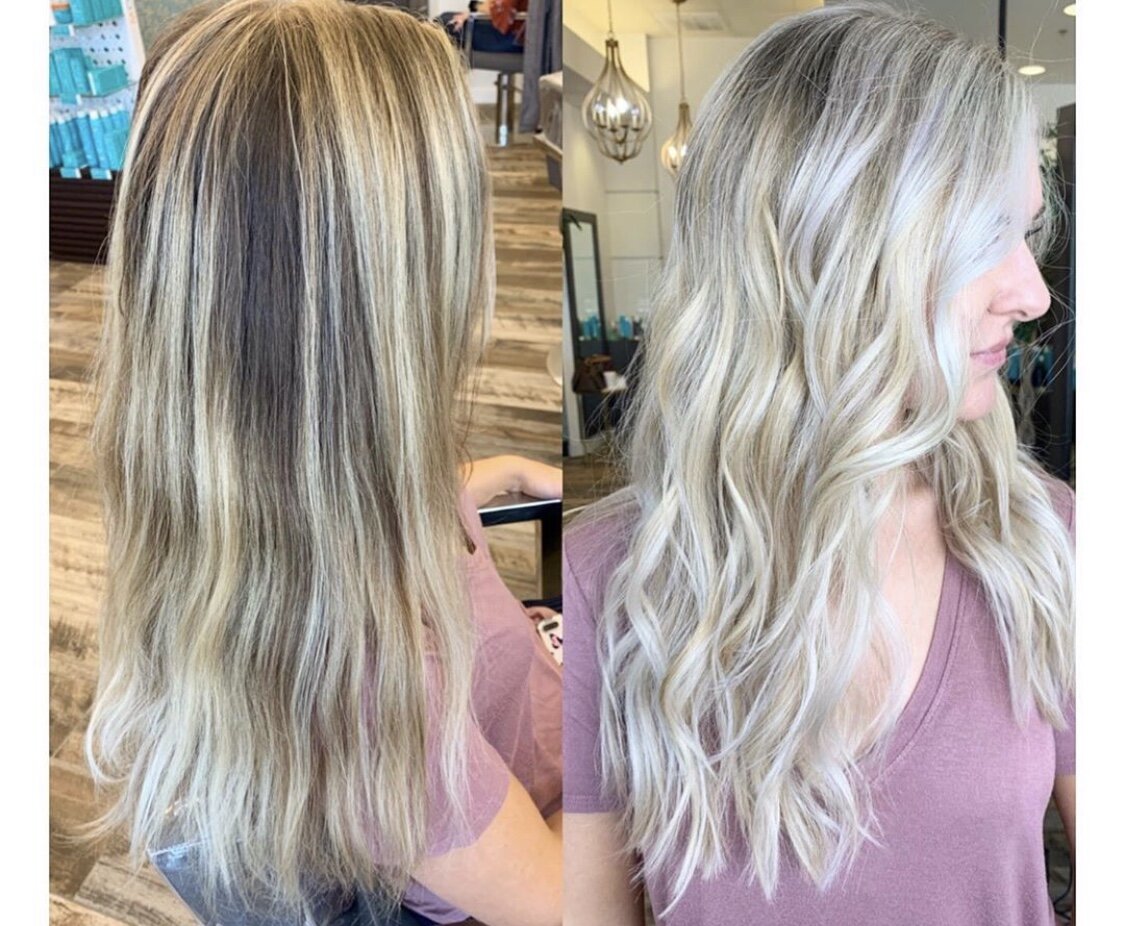
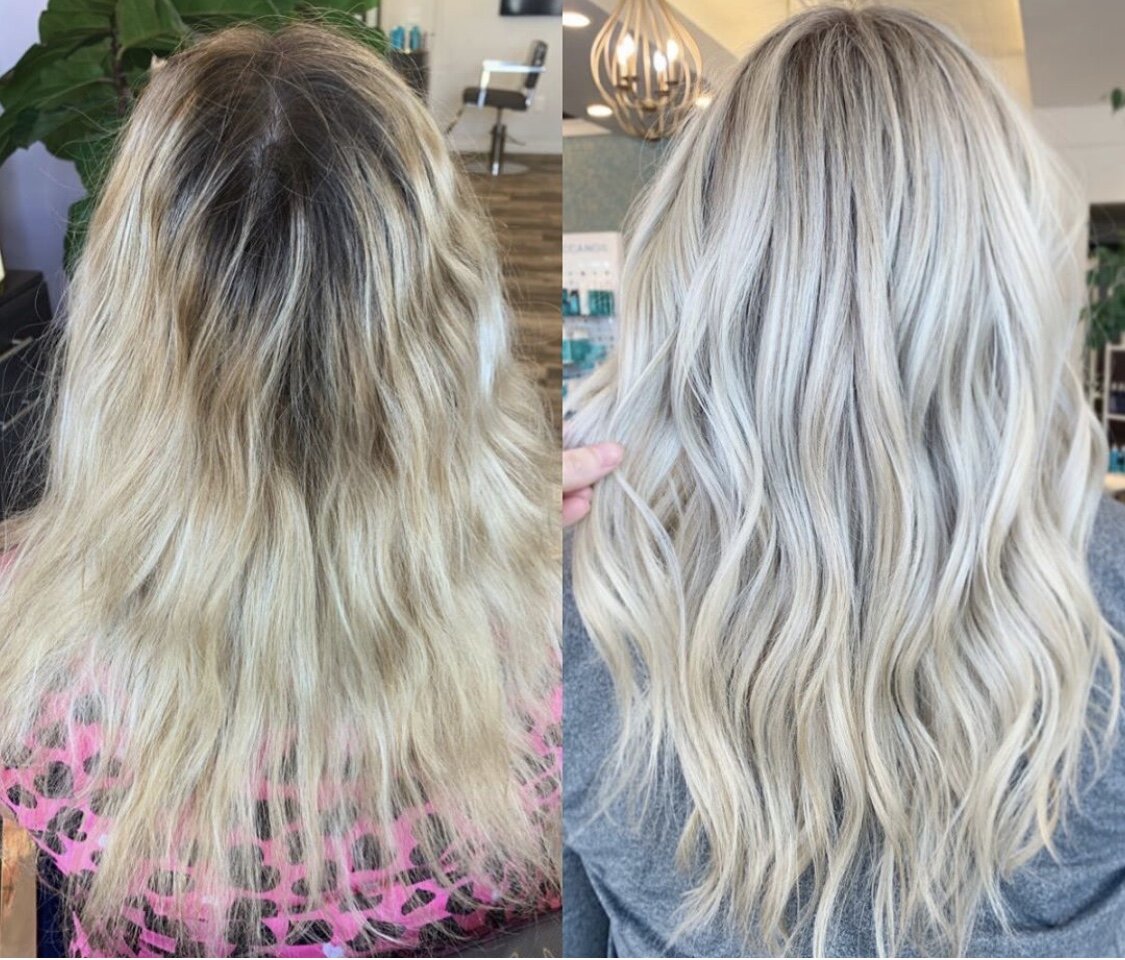
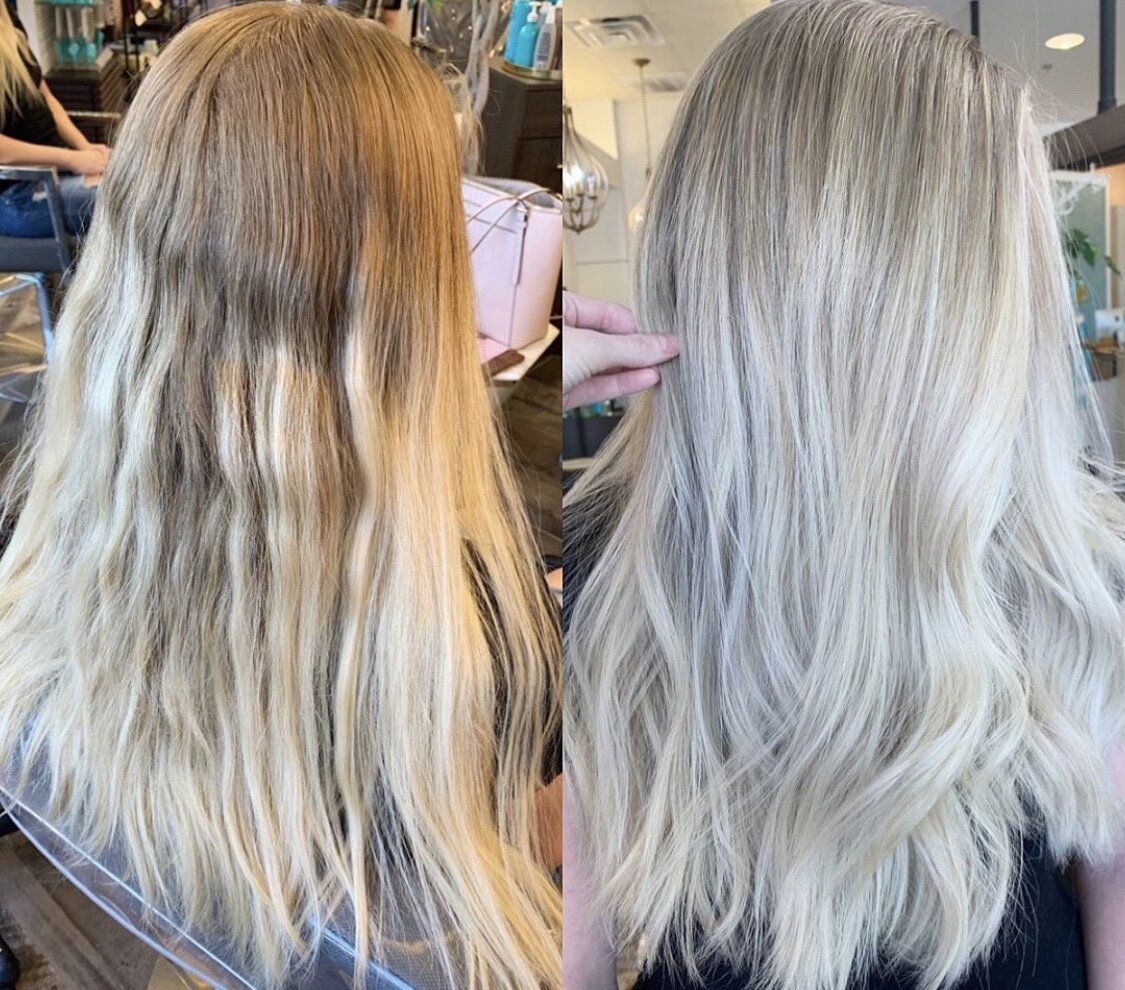
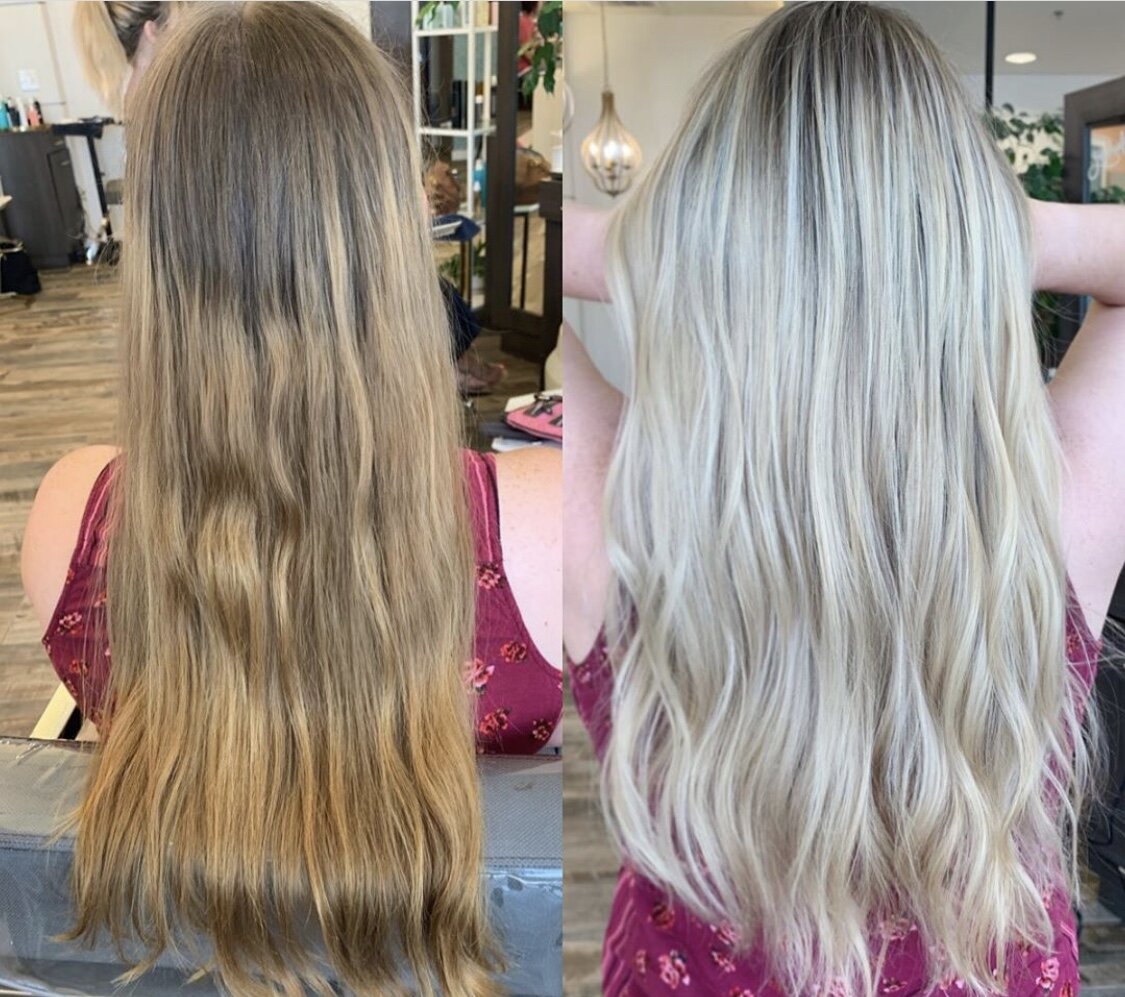
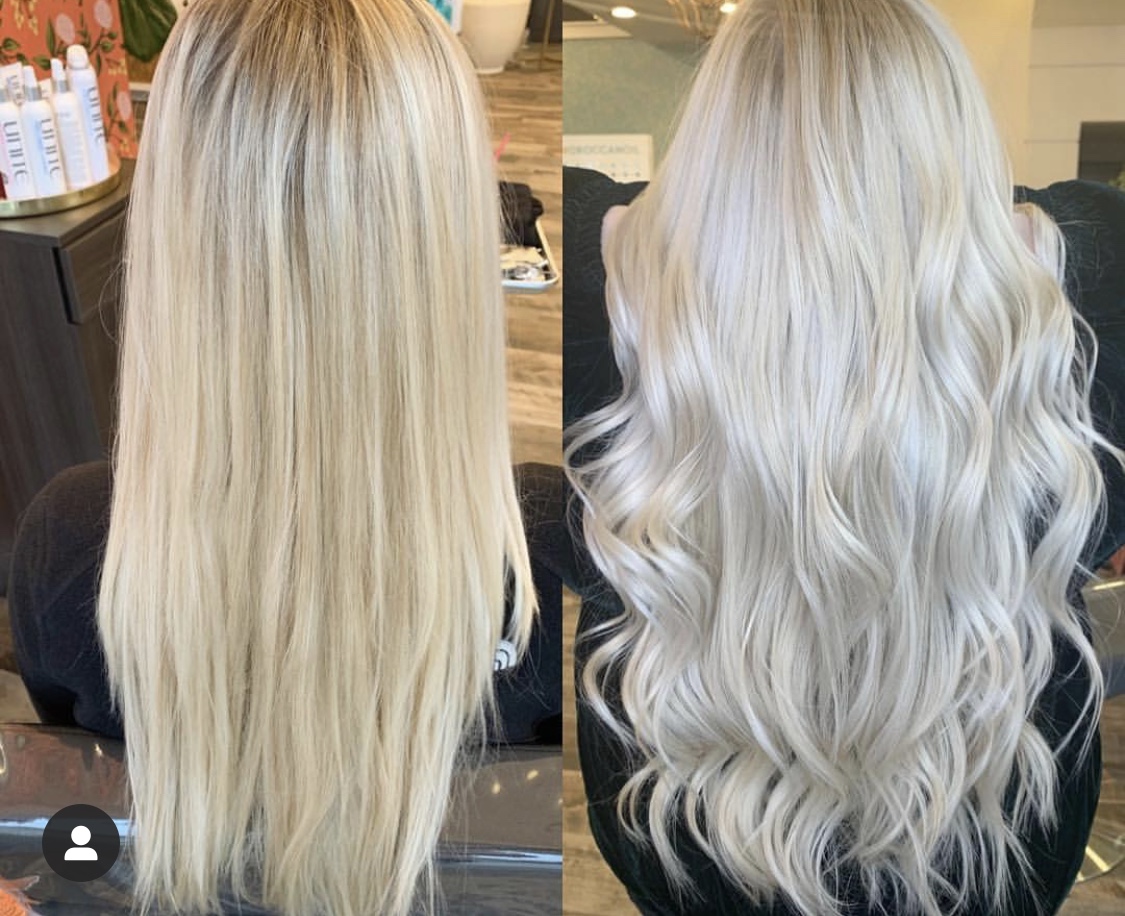
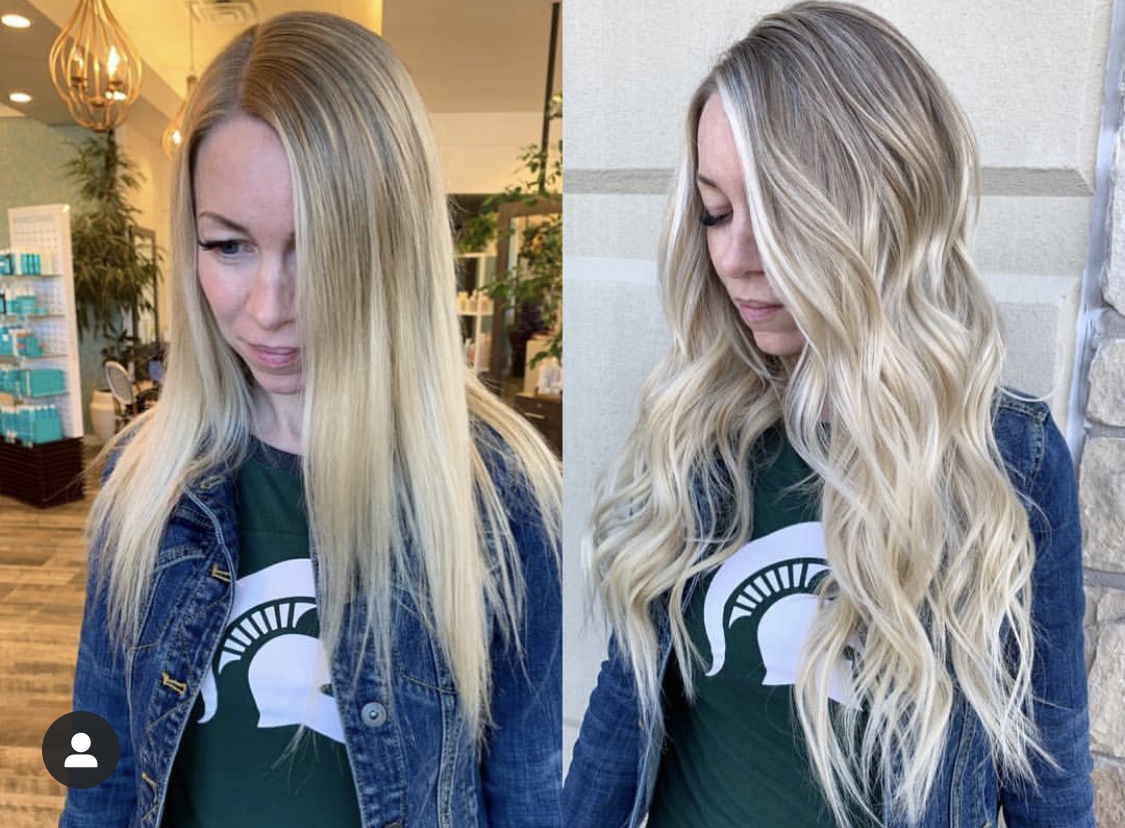
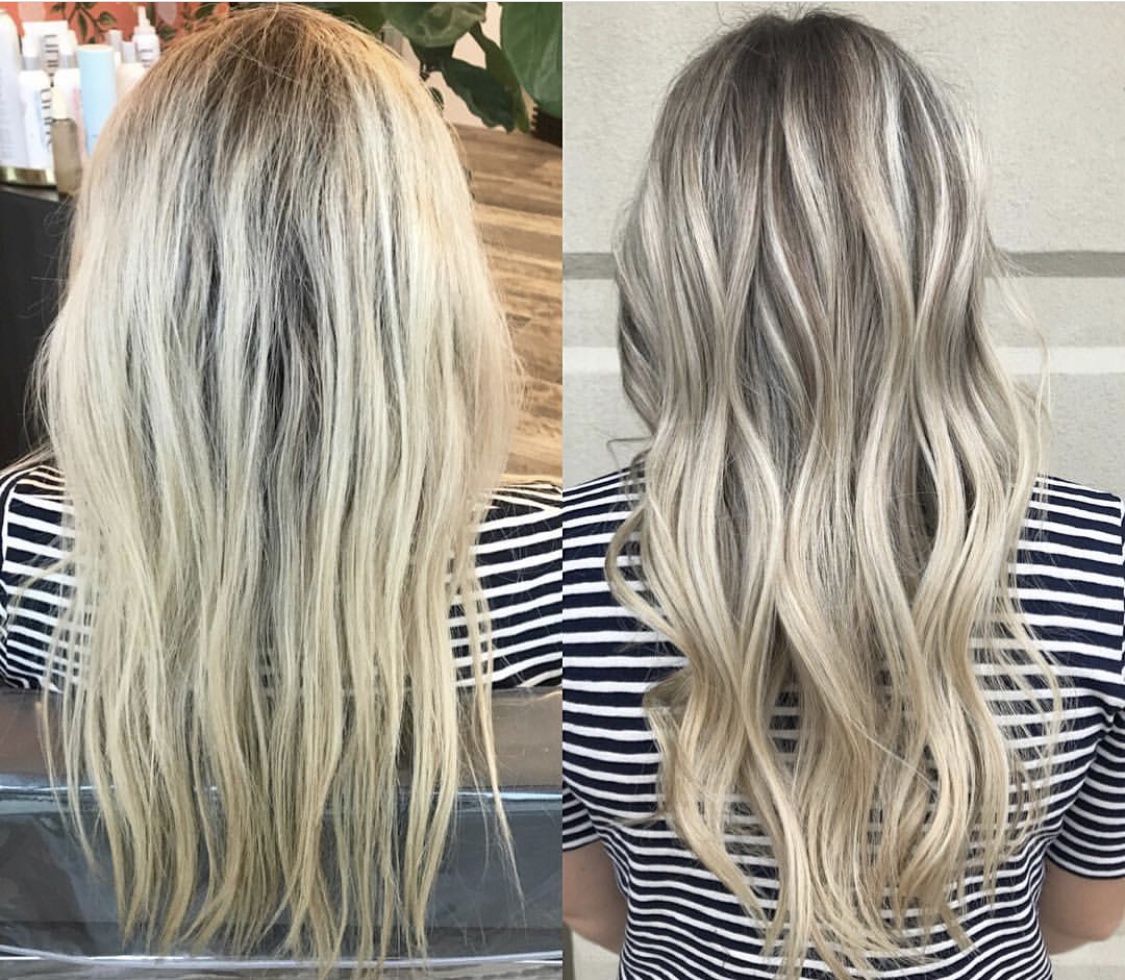
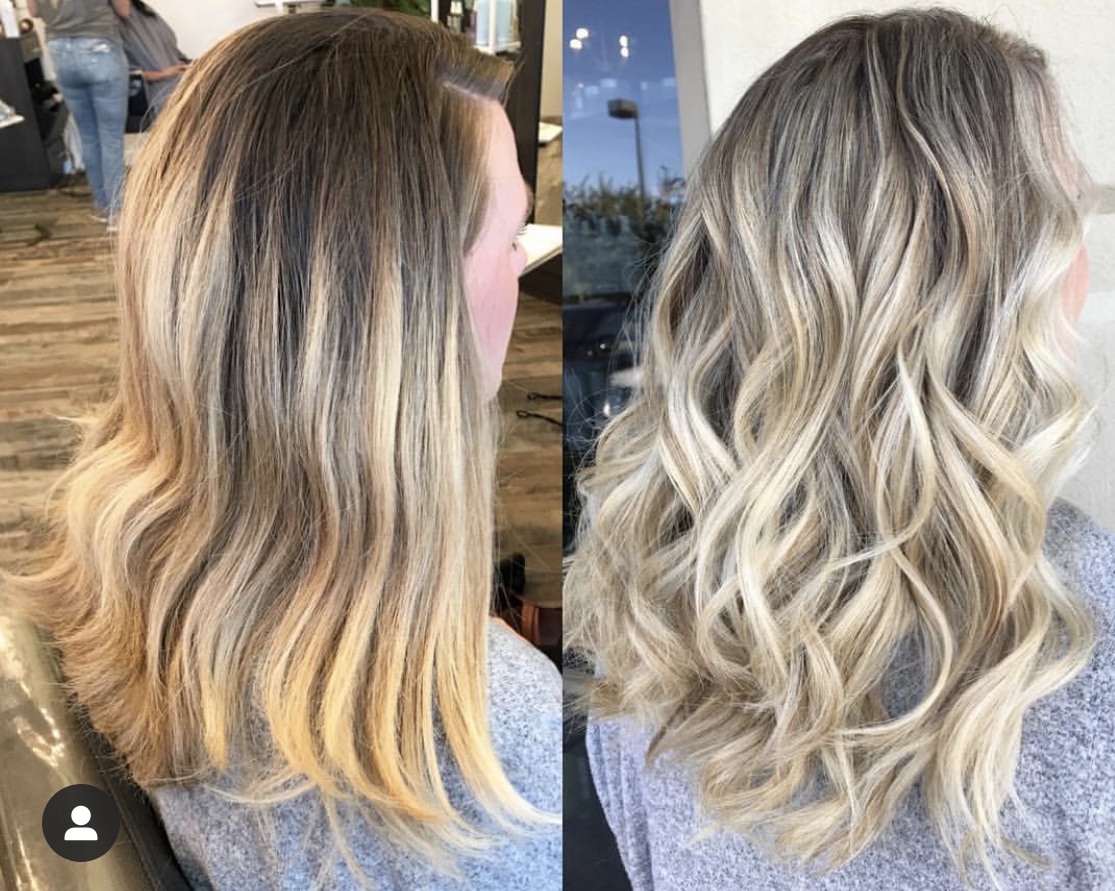
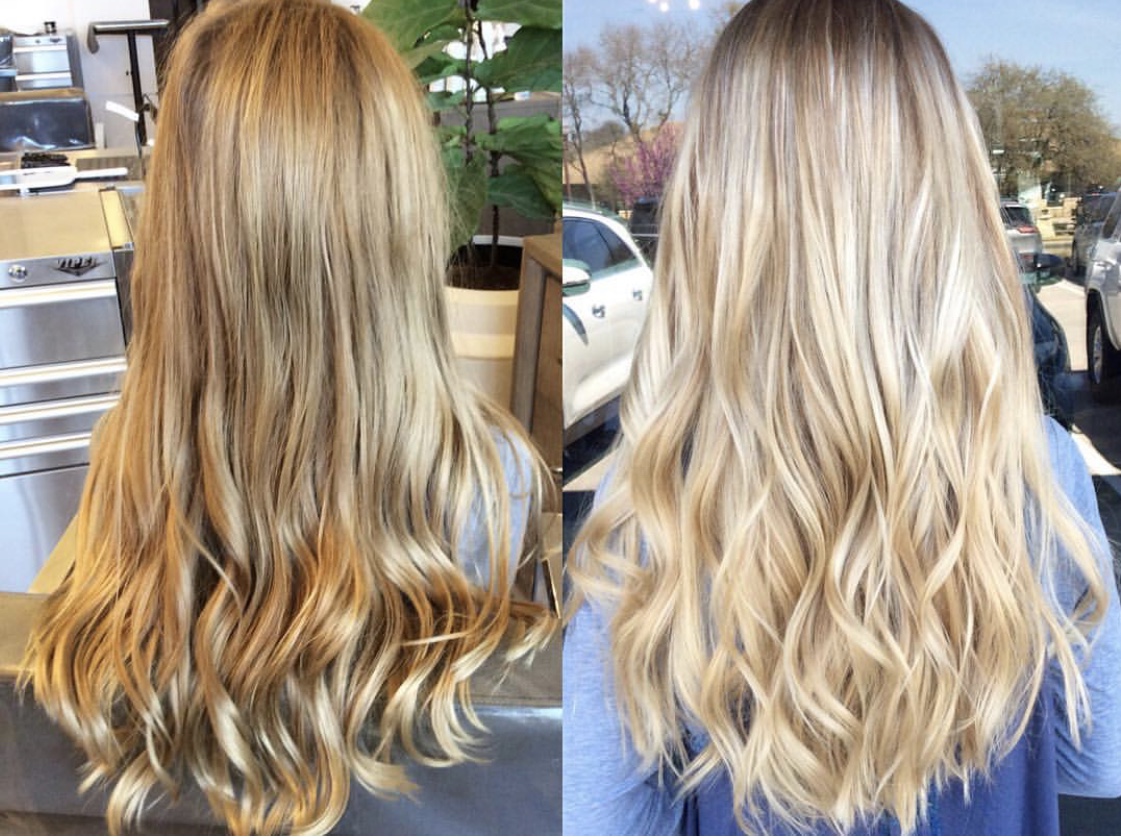
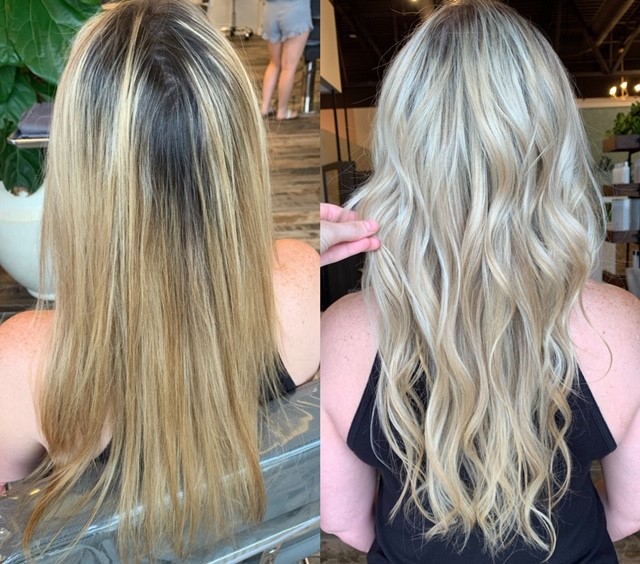
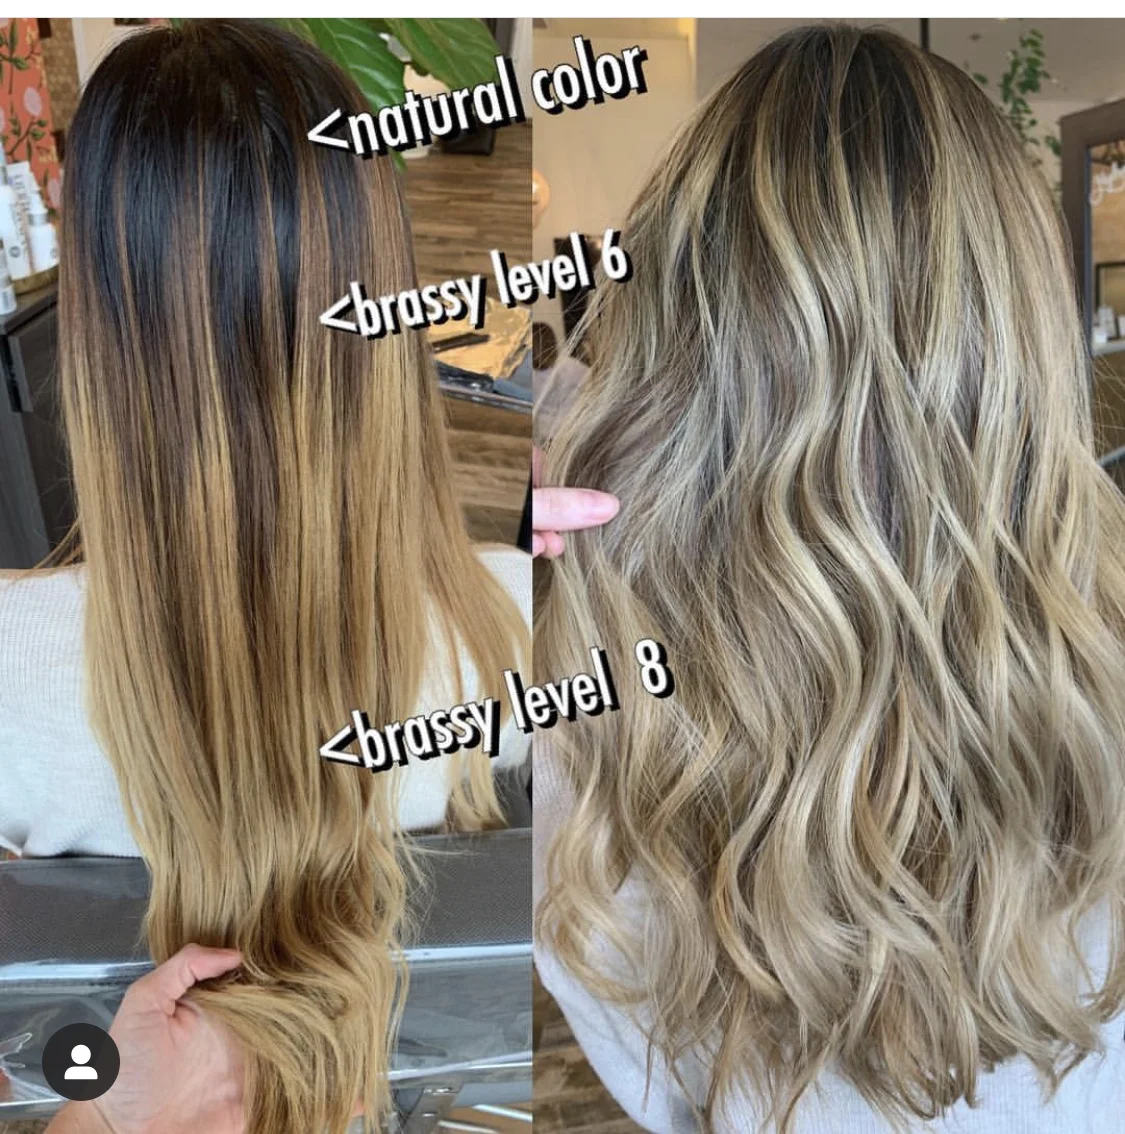
  • Think of how healthy your hair will feel since you're not coloring It for a while! ;)

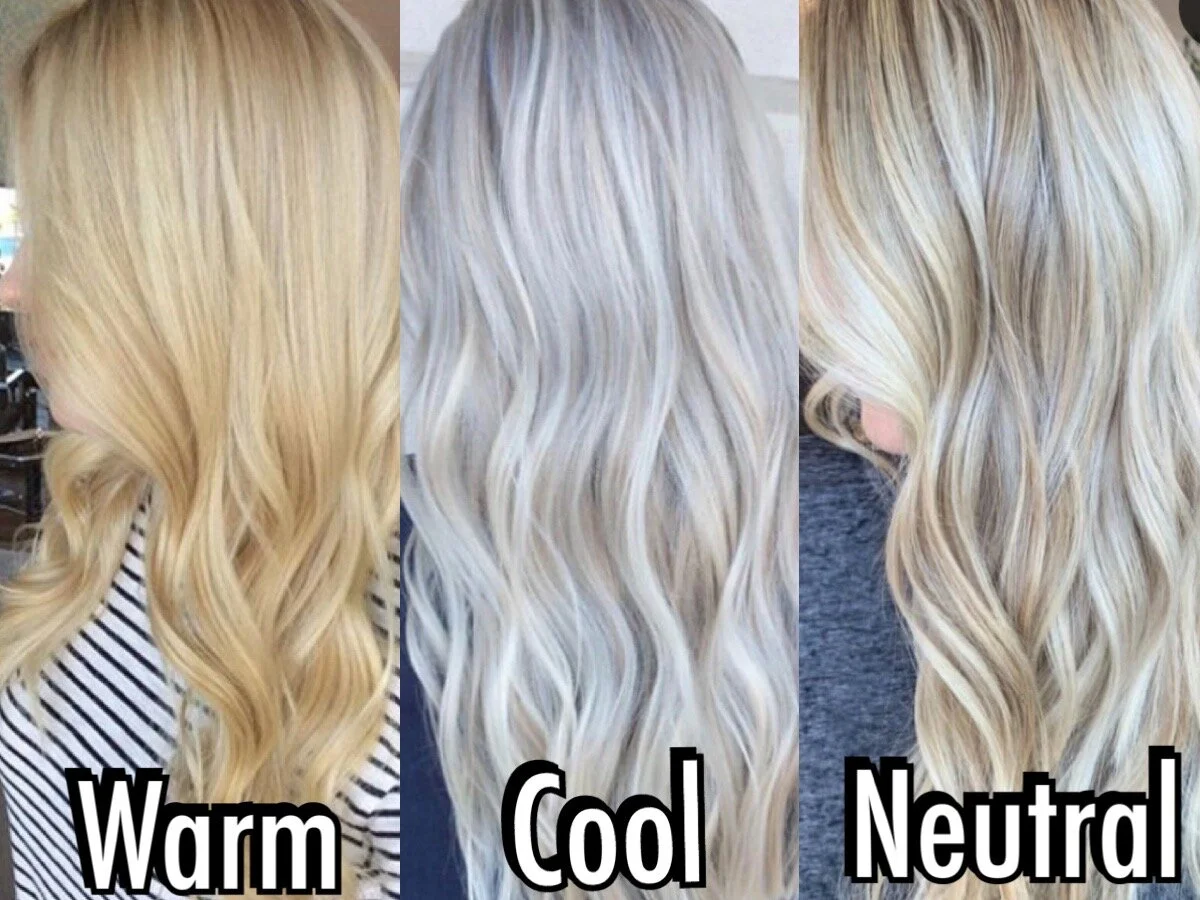
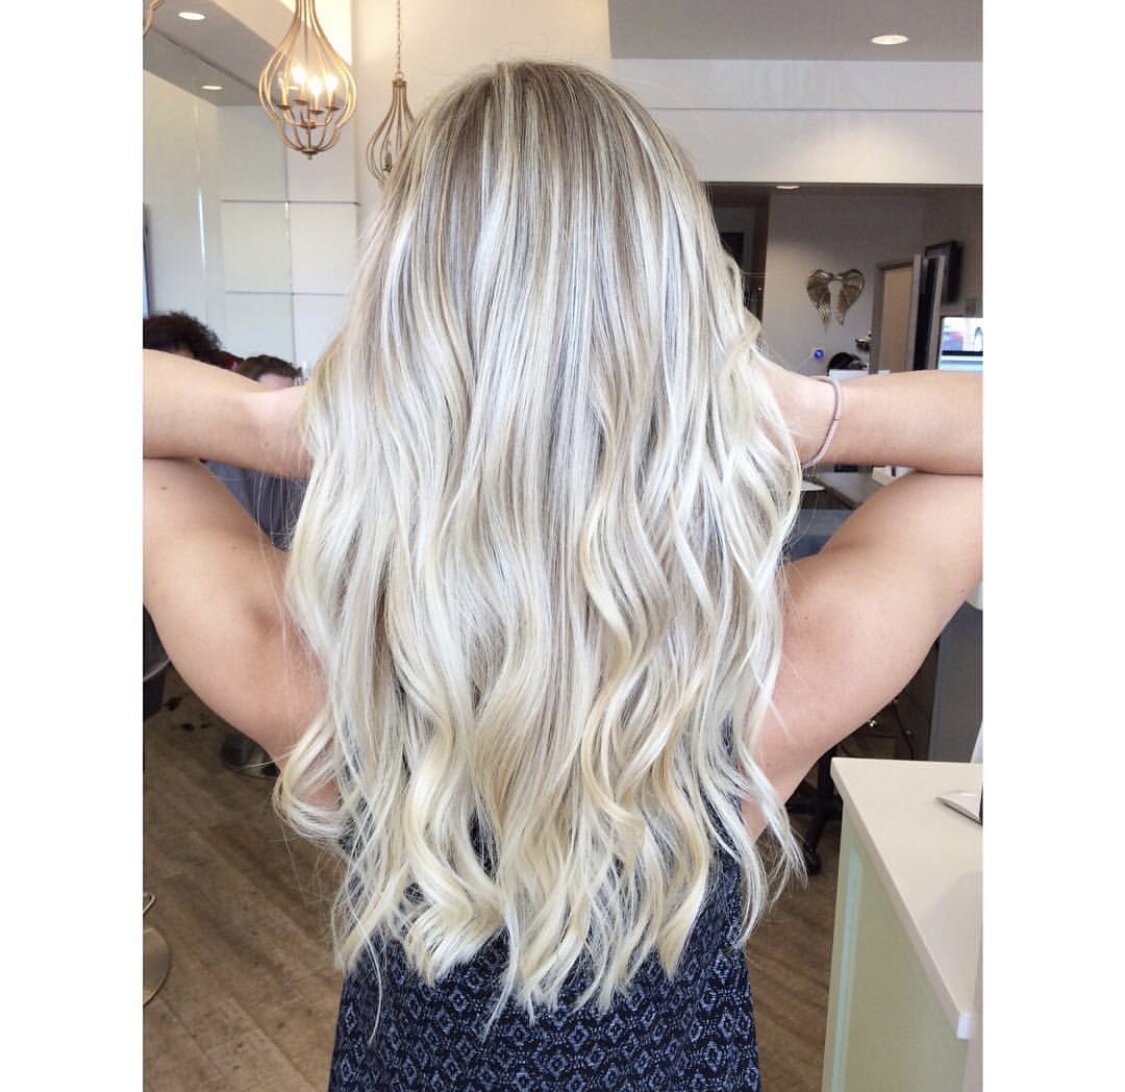
This is a great time for you to embrace the face that you won’t be getting highlights! I know you don’t want to have awful roots, but just think of how healthy your hair will feel by taking a break for a few weeks longer than normal! This won’t effect anything when it’s time to get it colored again..just a little more work on my end haha!

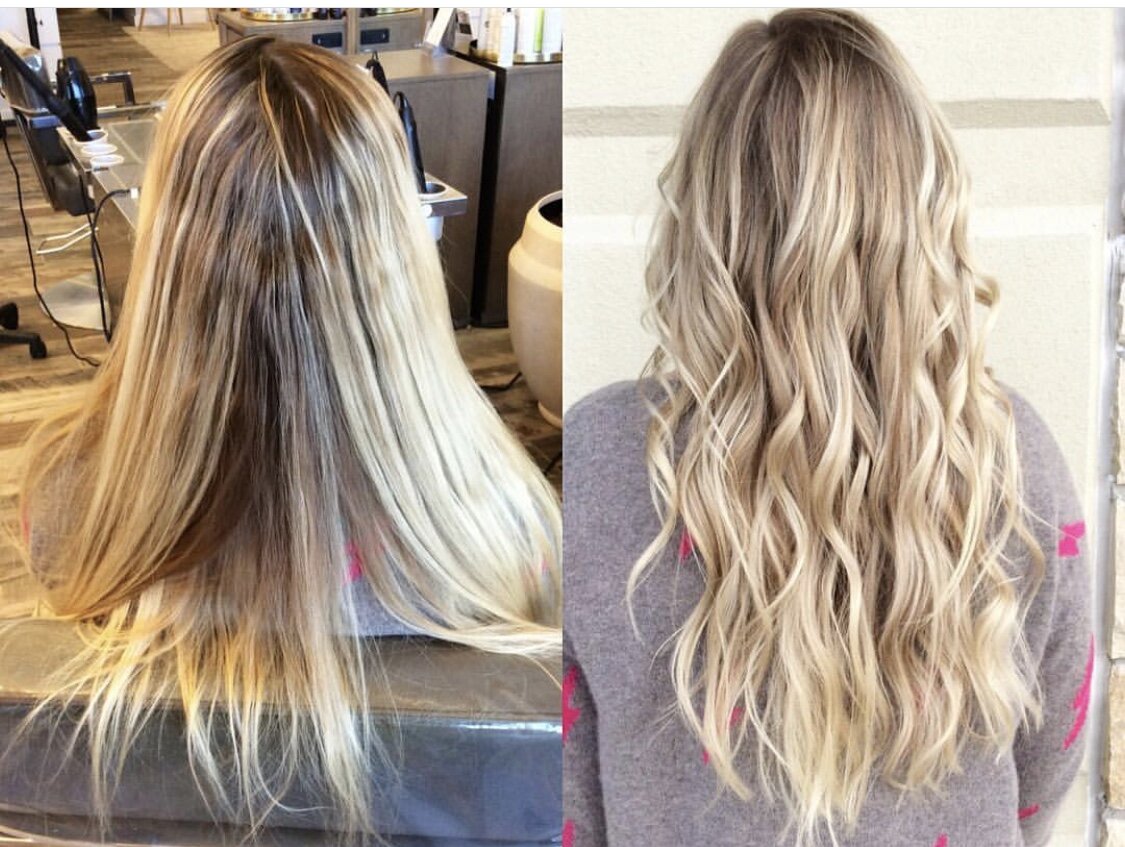
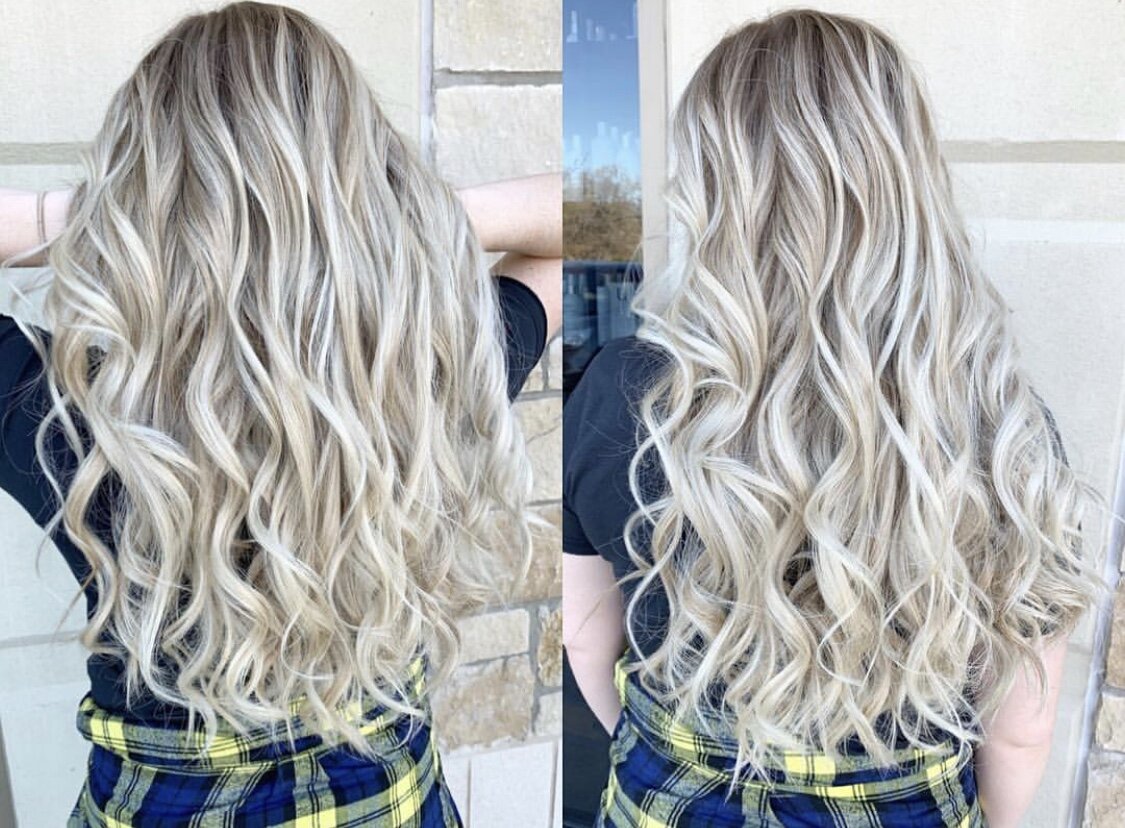
  • Try to wash it once a week to keep it healthy and avoid heat!

Prolonging washes will help your hair stay healthier (especially if that mask is sitting on often!) Theres no need to wash it often right now!

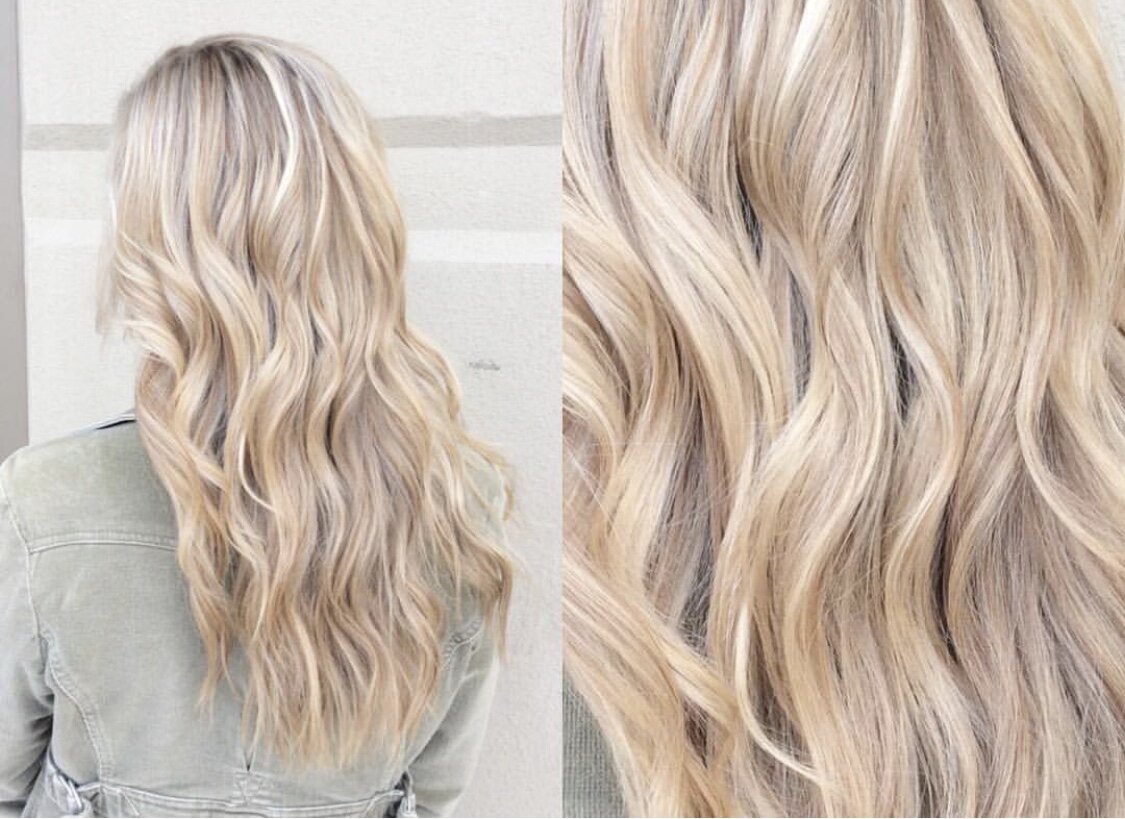
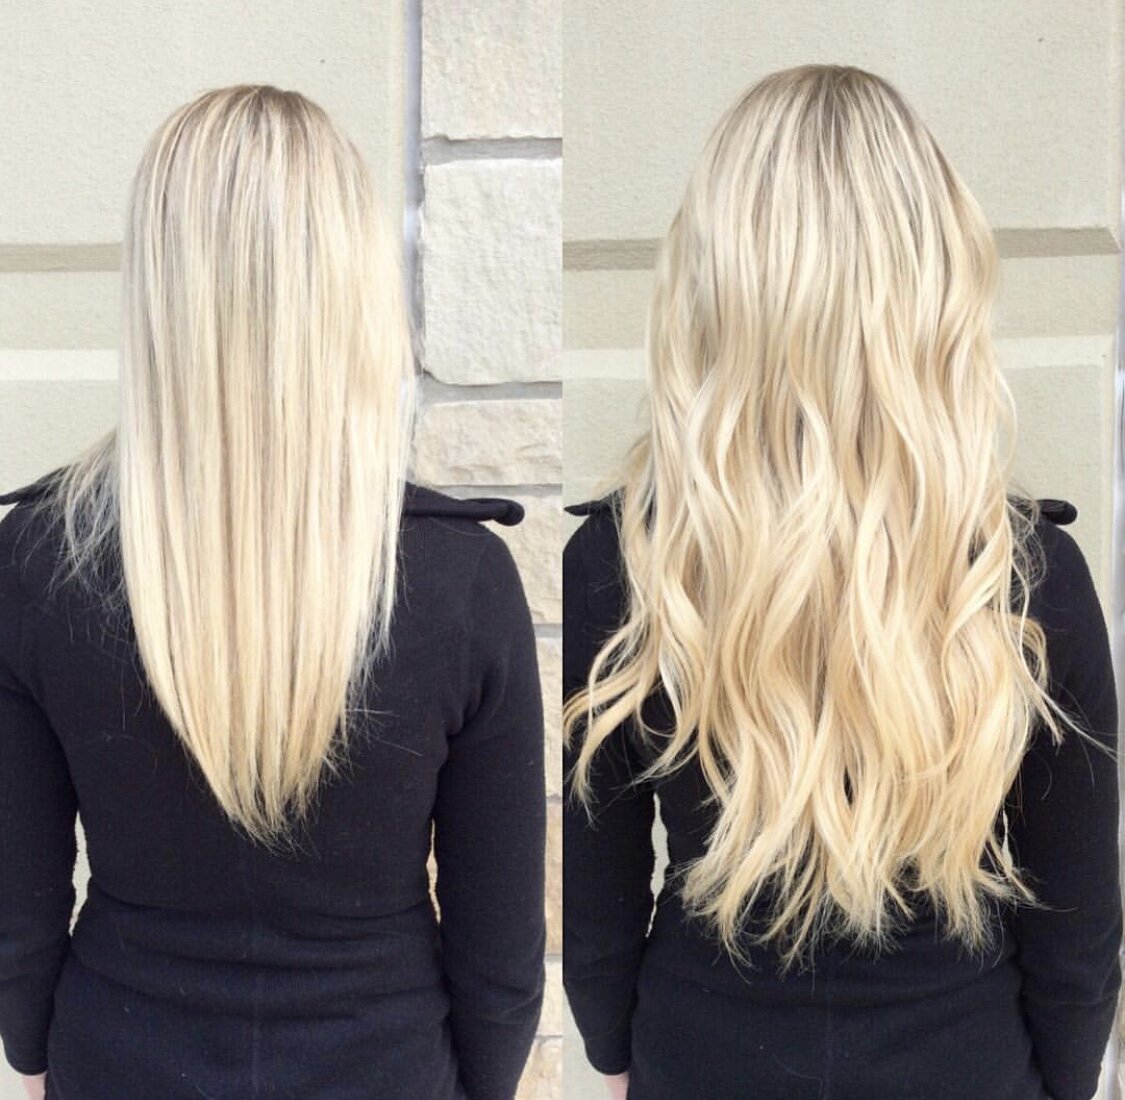
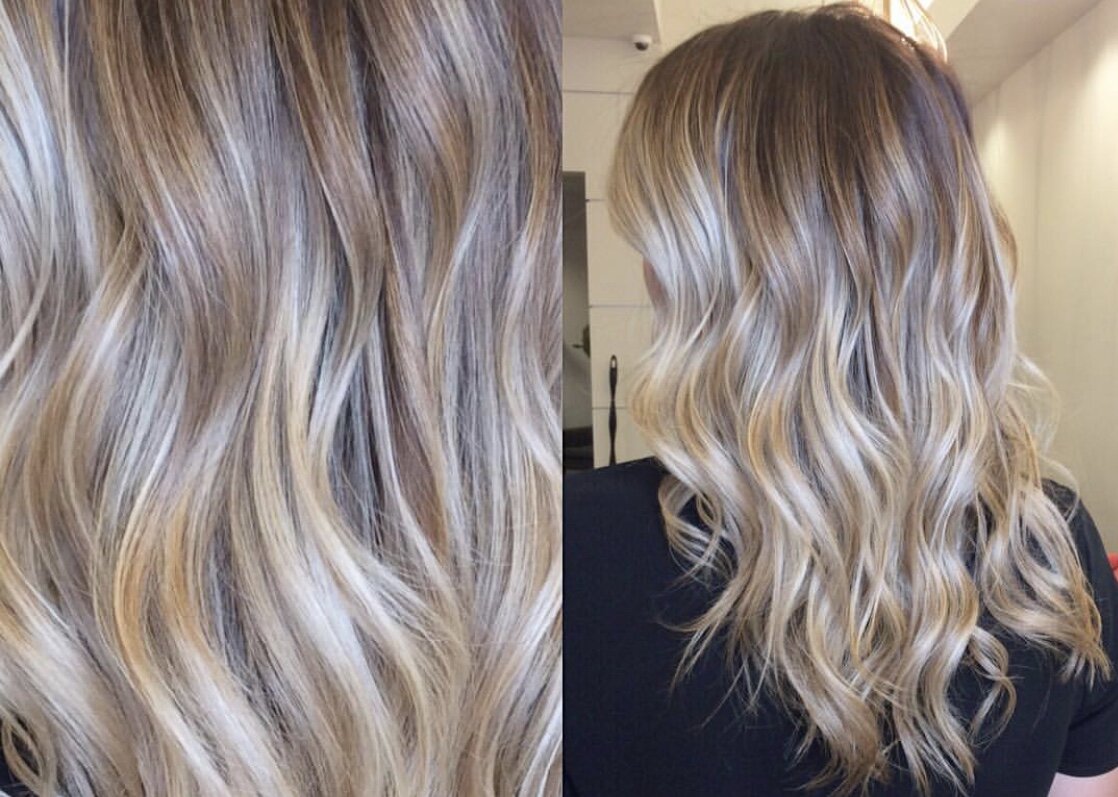
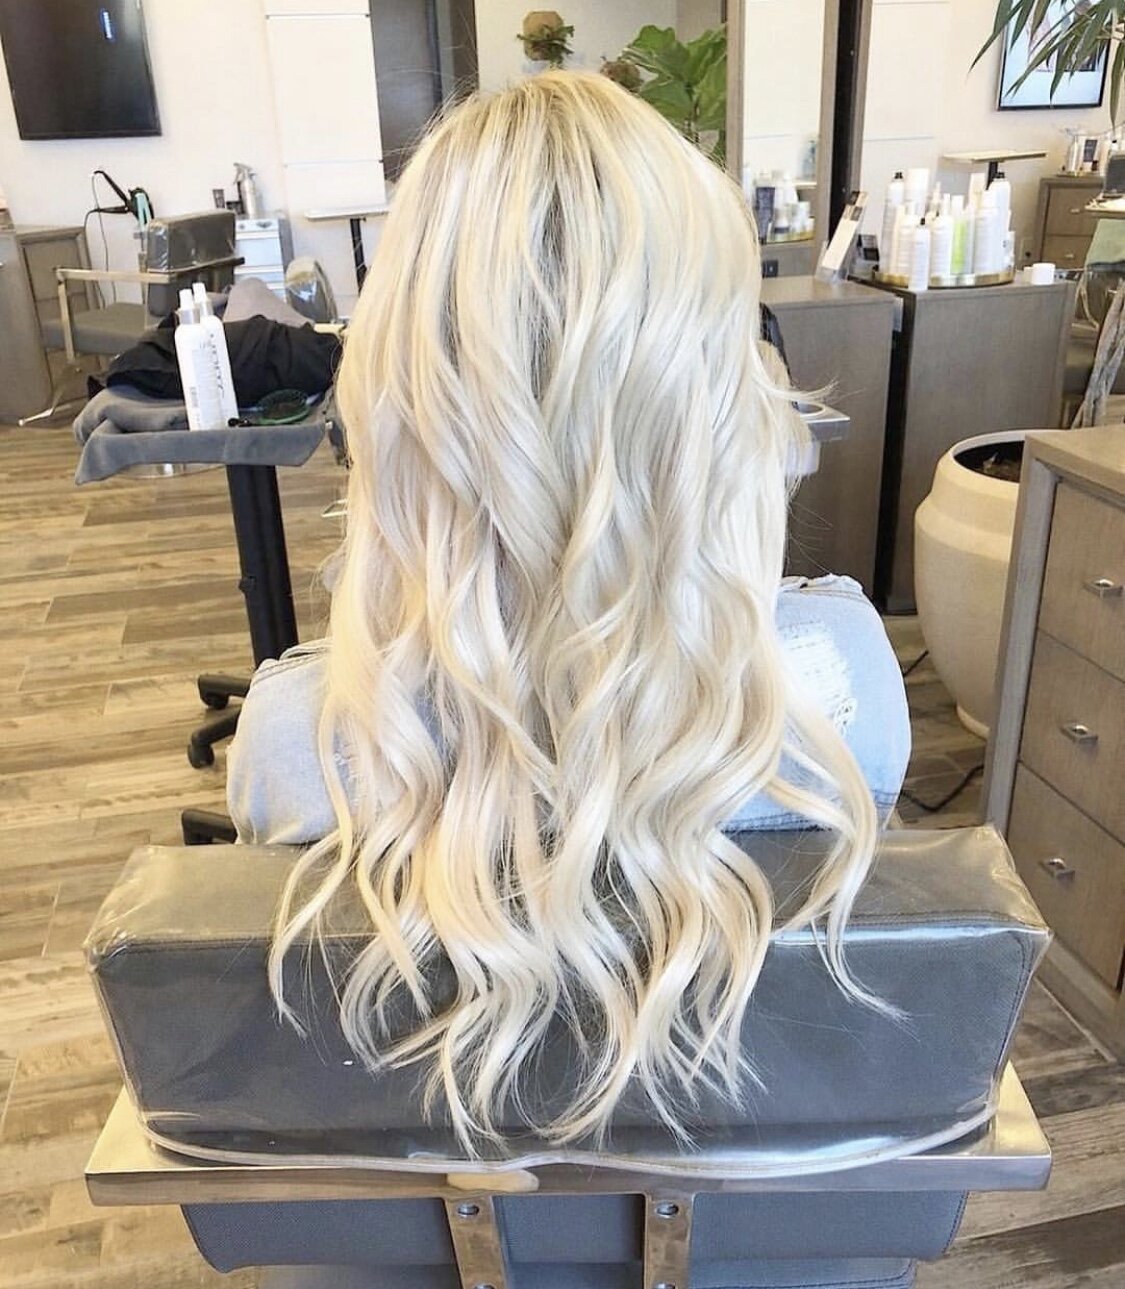
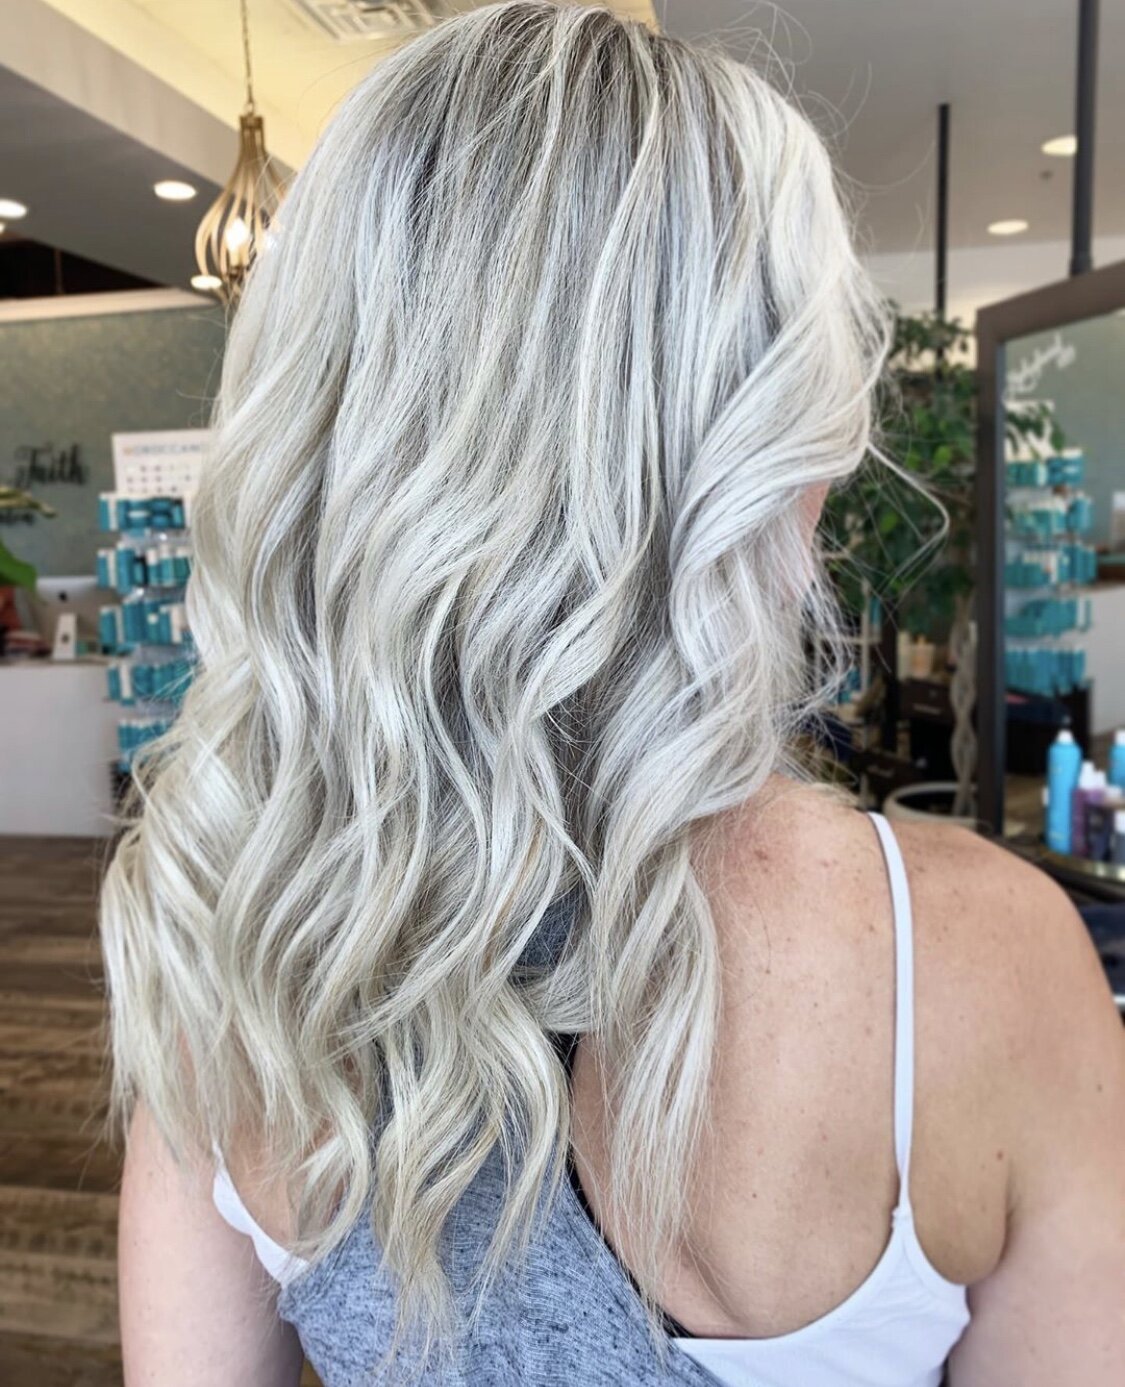
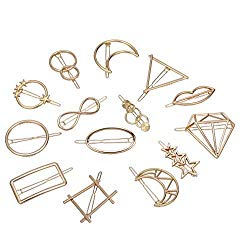
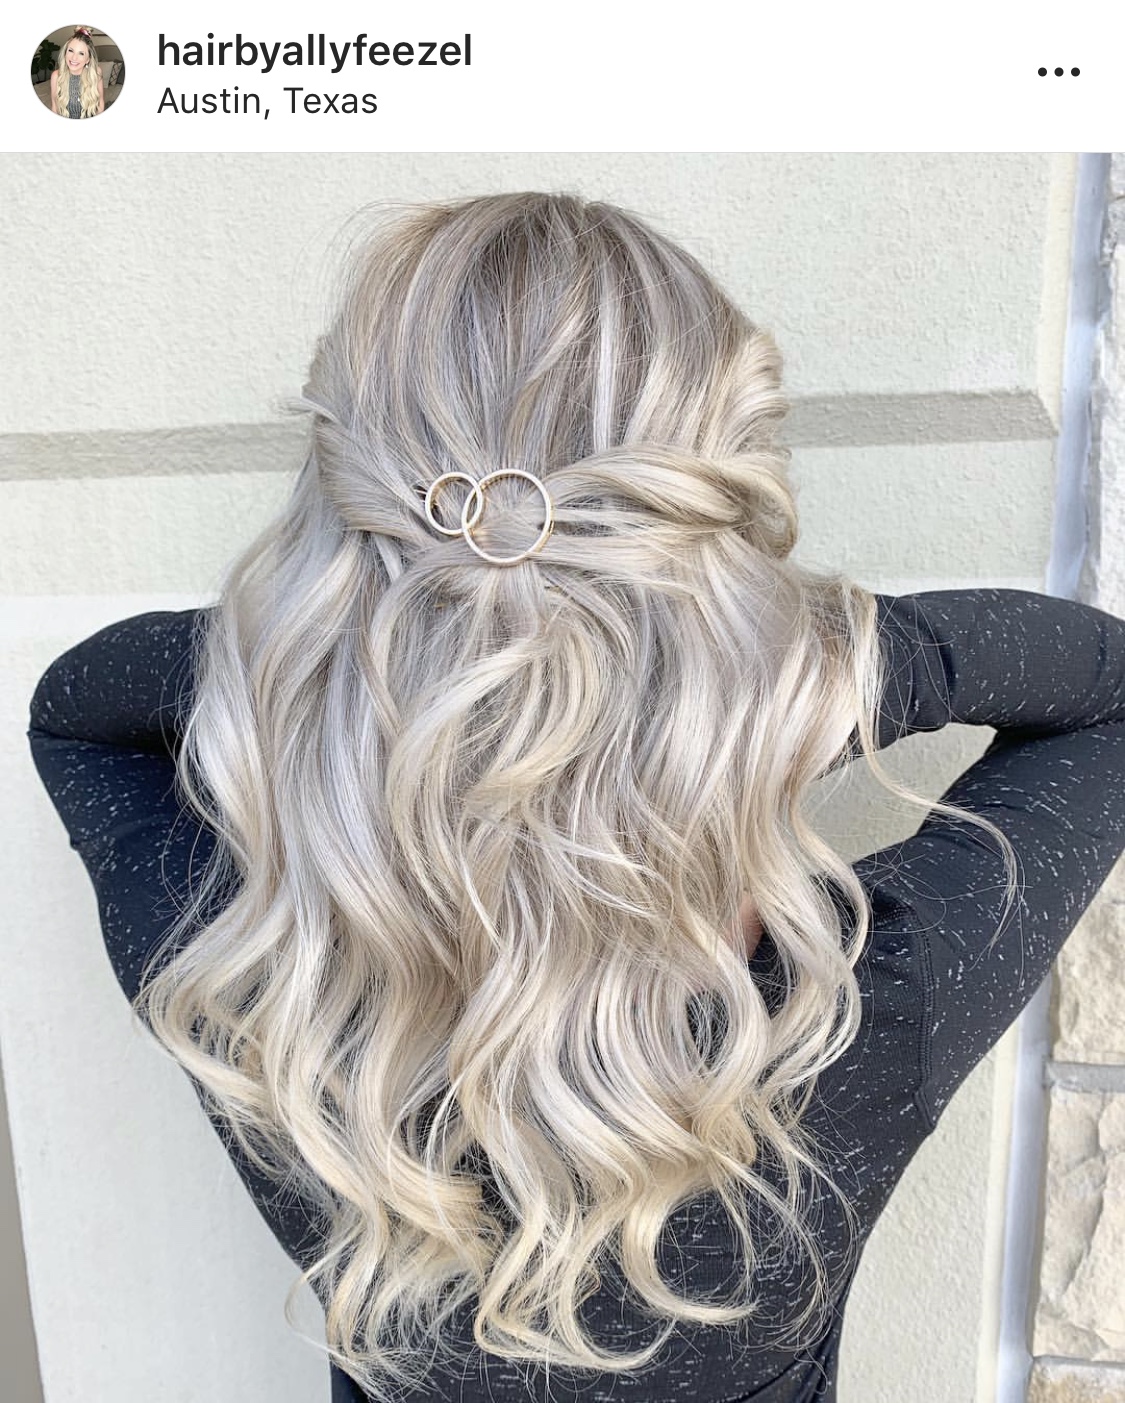
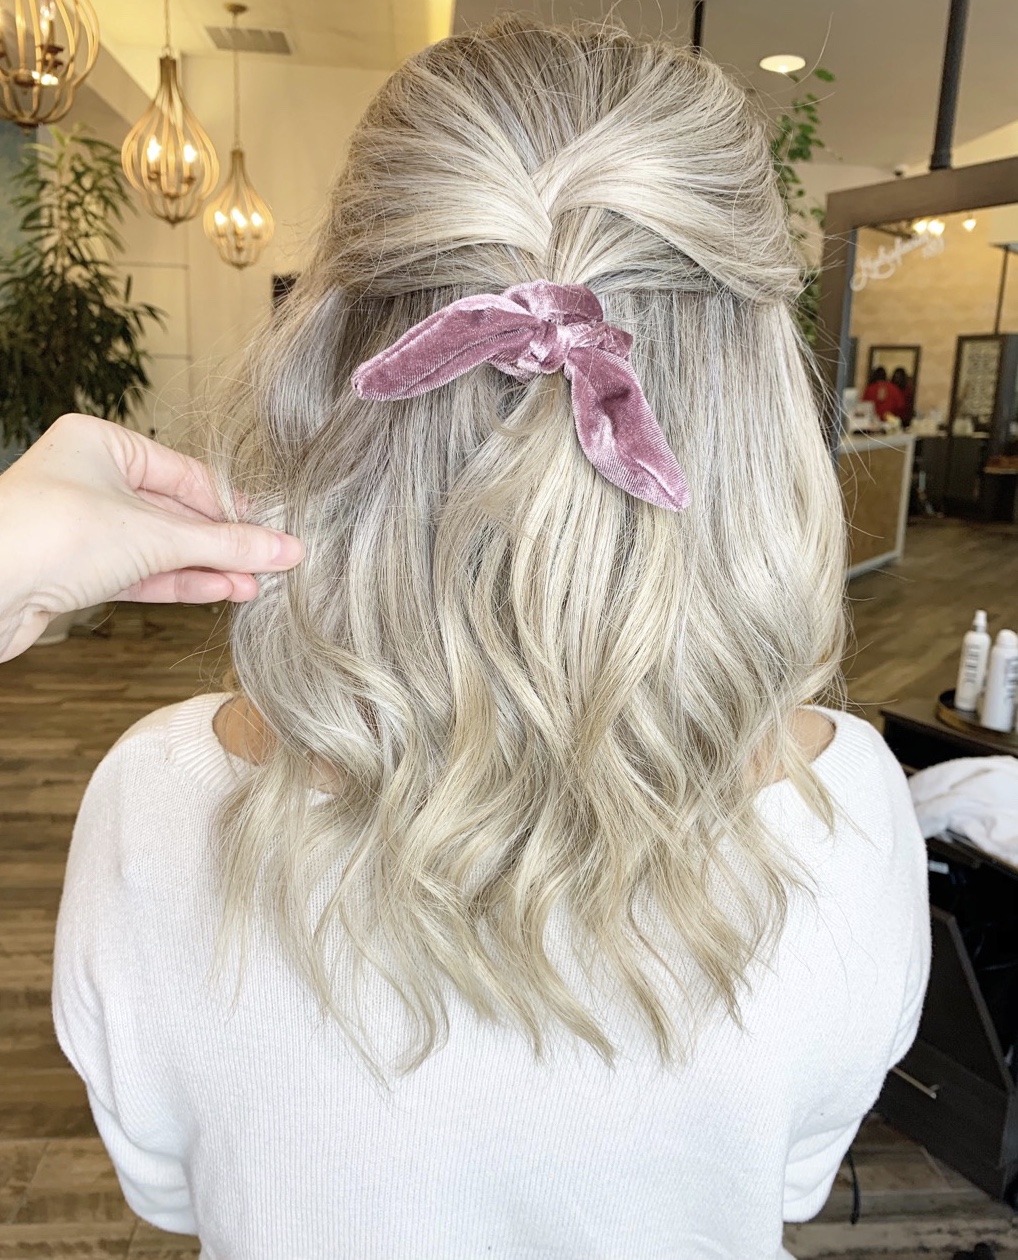
  • Let it AIR DRY & braid it or do a loose pony. DON'T wear it up In a tight pony or topknot for weeks (this will cause breakage)

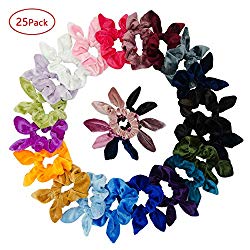
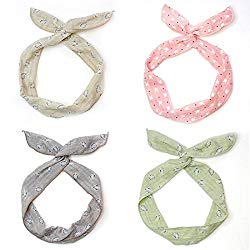
Wear your hair in loose braids, you should NEVER wear your hair up in a tight pony anyway unless its just for the day. Doing this often is just going to cause breakage. These are the best hair ties to help prevent breakage!

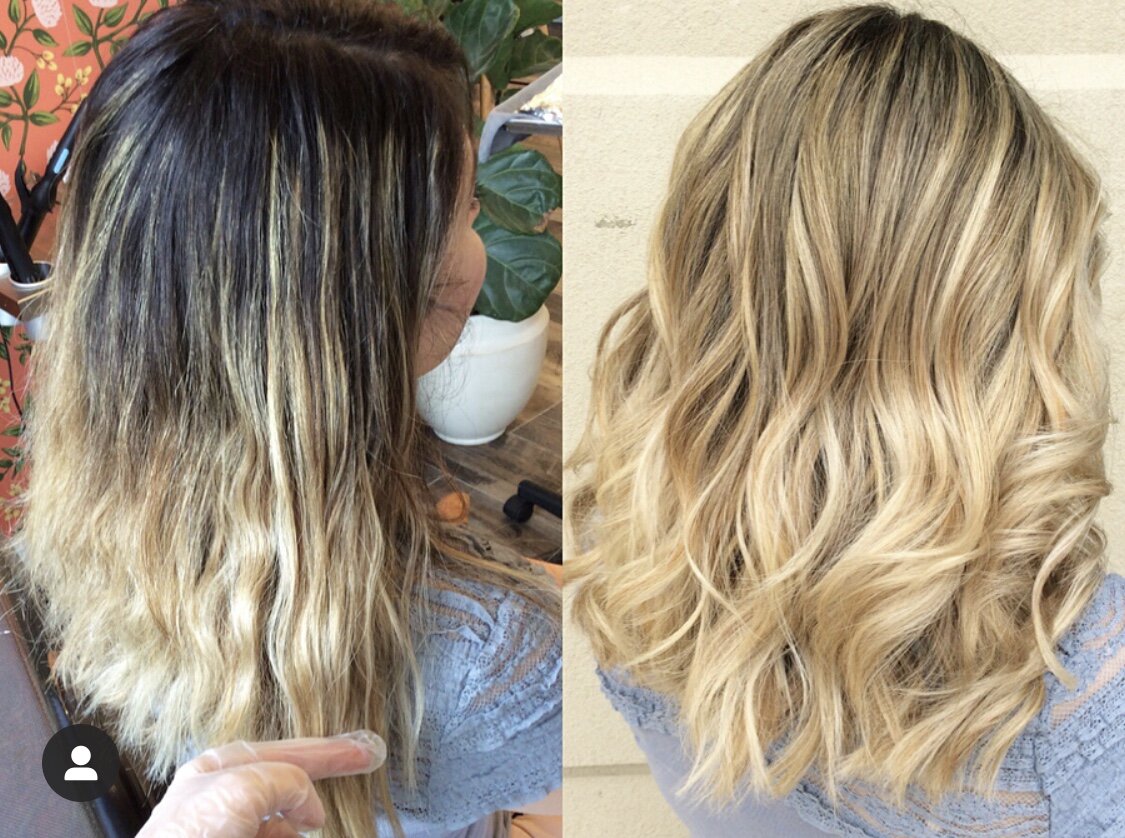
  • Whatever you do...don't panic and try

to color It yourself :)

Seriously…don’t do it!! This will just cause more damage and cost more money to fix in the long run. Everything’s going to be ok!

Charleston Travel Guide

We just got back from our babymoon in Charleston and absolutely loved it! I had a ton of you guys ask for our recommendations so I wanted to do a blog post and share everything we loved about the city!

Charleston Travel Guide

First of all Charleston is the perfect place for a babymoon! Everything is very walkable, there are delicious mocktails on every menu (which is hard to find in Austin for some reason) and they had the cutest baby boutiques on King Street! Babymoon or not… I would for sure recommend checking out Charleston!

We got in Thursday and left Monday afternoon and we felt like this was the perfect amount of time for this city. We had 3 full days there and felt like any more time would have been too much unless we planned to do a beach trip with this visit.

The time of year wasn’t the best time to go in my opinion, it was pretty cold and windy pretty much everyday. The day we left it got up to 70 (of course) and was super nice out. Most days it was in the 50’s and to me that was a little too cold! I would say going later in March or the summer would be ideal!

We walked pretty much everywhere we wanted to go and only had to take an uber a couple of times. Everything was super easy to get to and very easy to explore the whole city by foot! I LOVED the location of our hotel. It was right next to 3 really popular restaurants (we tried them all) and a very easy walk to king street, and literally anywhere else in the city!

Hotels:

We stayed at the Mills House Wyndham and we loved it! It was reasonably priced and the location was AMAZING. We were right in the middle of everything and able to walk everywhere we wanted to go! The bed wasn’t super comfortable but I’m also pregnant so nothing is comfortable to me right now haha. That was really my only complaint. Overall I would definitely recommend staying here and would again, because you can’t beat this location in Charleston.

Charleston Travel Guide

The Restoration Hotel, Hotel Bennet, and The Belmond Hotel also looked really cute, but our location seemed more ideal and the price was better at ours too!. We also looked at King Charles Inn before we went with the Wyndham.

Itinerary

Heres a little look at our itinerary and what we did while we were in Charleston! I will recap the must do’s and restaurants below as well!

Thursday

  • 167 Raw for early appetizers (there is always a wait here so we went at like 2pm)

  • 4pm Camellias for afternoon tea

  • Walk along King Street for some shopping

  • 7:45pm Hank’s Seafood

    Friday

  • Prenatal Massage at The Spa at Belmond Charleston Place

  • 1:30pm Husk for Lunch (make dinner reservations well in advance — we liked lunch better)

  • Ride bikes around Rainbow Row and look at the houses near the water

  • Go to the rooftop at the Citrus Club for a Mocktail with a view

    Saturday

  • 11am Poogans Porch for Brunch

  • 1-4pm Uber to Boone Plantation (plan to spend a couple hours here because there a tours at certain times)

  • 6:45pm 82 Queen for dinner

  • Carmella’s for Dessert

    Sunday 

  • Magnolias for lunch  1pm

  • Carriage ride around the city (could do this the first day instead to get to know the area)

  • We went back to Husk for dinner and put our name on the list at 5:15- They called us by 8 with an opening…overall we felt this restaurant was a little overrated but still good.

Monday

  • Biscuits at Callies Hot Little Biscuit for breakfast- You can download an app and order online if theres a wait!

  • 167 raw for lunch again (it was so good! & no wait mid day on a monday)

  • We walked all up King Street before our flight this day!

Favorite things we did in Charleston!

  • Take a Carriage Ride (all the companies looked about the same, private ones were expensive)

  • Ride Bikes around the city

  • King Street for shopping

  • Market Street

  • Boone Plantation (such a great tour! Forrest Gump and The Notebook were both filmed here!)

  • Rainbow Row (worth a look but nothing really too exciting, just colorful houses)

Restaurants:

  • 167 Raw books up super fast and doesn’t take reservations- we went for lunch twice and had no wait on Monday afternoon. You can put you name on a list and just walk around king street. Favorite Restaurant we went to!

  • Camellias champagne bar. This is the cutest place ever! Its beautiful and all pink inside.

  • Hanks Seafood for dinner was great!

  • We enjoyed Husk for lunch over dinner! Book in advance either way

  • The Citrus Club for Drinks and a View

  • Poogans Porch for Brunch

  • 82 queen for dinner was great! They have the best She Crab Soup in the city!

  • Carmellas for dessert! They have a TON of desserts and dessert drinks too!

  • Magnolias for dinner or lunch

  • Callies Hot little Biscut

    Other Places we didn’t get to try but had on our list:

  • The Darling Oyster Bar
    The Ordinary


My favorite hair tools

I get so many questions about my favorite hair tools so I decided to put them all in one place! These are all the tools I use personally and all the ones that have held up super well for me over the years!

This T3 blow-drier is a great mid range blow drier and what I use at home personally! I love it.

This is my all time FAVORITE curling iron! I love how its extra long and it is 1.25 inches. It gives the best beach waves!

I love GHD for flat irons! They always hold up long term and this one has silicone plates which I love because my hair always feels so soft after I use it!

This crimper is so affordable, super easy to use and works great!

I still need to test out this revlon hair drier/round brush combo but I’ve heard great feedback from clients about it who use it at home! It’s great to use on dry hair to help smooth out a blowout.

These are my all time favorite round bushes! This set comes with a pack of 4- so basically one is free! You can use the large one for long hair, and the small one can be used for bangs, around your face or at the root to help smooth out frizz.

What I've learned in my first trimester

If you haven’t already heard….we’re pregnant!!! I’m so excited to finally announce this exciting news and it has been a long couple months keeping this a secret! Since I’m now out of my first trimester I thought it would be fun to gather up some things I’ve learned, things I bought and loved, and what I know about being pregnant so far! The fact that I now have the energy to write a blog says a lot about my first trimester haha…

pregnancy announcement

I have been nauseous pretty much everyday, all day since week 6. I have thankfully been able to keep food down, but most food really hasn’t sounded appetizing to me so finding what to eat has been difficult. I would say my symptoms have been in the middle of the road. Not absolutely terrible but not super easy either!

I think I’m pretty tough, so I pushed through it and worked full time during the whole first trimester. I took 2 weeks off at Christmas time and that was the best break ever. I felt SO much better after coming back! I have been SUPER exhausted. Which I HATE. I am always on the go, and the type of person who is pretty much always doing something. I hate sitting around doing nothing! So it was hard for me to not have the energy to clean up the house, cook dinner and continue with my normal routines. Eventually I learned to just deal with it and my husband has been super helpful around the house and helping out with things he knows drive me crazy if they’re not done the way I like haha. Interestingly, this has taught me to be more calm, let things be and everything doesn’t always have to be perfect.

pregnancy announcement

If you’re anything like me, the minute I found out I was pregnant the list of things I needed and wanted to do started growing it my head. It helps me to write everything down so I don’t get overwhelmed. At the end of the day everything has been kind of falling into place but I like to be prepared and going into my first trimester it was a lot of trial and error, unknown changes, new things about my body and lifestyle that I quickly had to adapt to! Here is everything that worked for ME and how I got organized with the early stages of this journey. I’m not a doctor obviously…so this is just what worked for ME! Talk to YOUR doctor if you have any questions!!

This book has been one of my FAVORITE fun purchases so far to help stay organized! It’s called The Bump Pregnancy Planner! You can write down and journal everything about your pregnancy month by month. It has advice, questions, and places to write your baby letters!

First things first
Here is everything I did prior to getting pregnant or right after I found out to help get organized and feel on top of this new journey!

  • Touch base with your insurance company and make sure maternity is covered and ask everything you can about your hospital visits, doctor visits, etc to make sure you are well covered!

  • After you figure out your plan for insurance, set up an appointment with your in network doctor! I had to wait until I was 11 weeks to go to the doctor, which was fine but it was a longgg 7 week of waiting to see the baby!

  • Start making a list of questions for your doctor! You can find a lot of questions online, and a lot will come to your head throughout the few weeks leading up to your appointment. Write them down and bring them with you to your appointment!

  • Start taking a look at your finances and start building up that savings account if you can!! My husband and I started putting double what we normally do into savings so that we are prepared for my unpaid time off during maternity leave. It’s good to do this right away so you have plenty of time to save as much as you can!

  • See where you can cut back on expenses like getting netflix and hulu instead of cable, paying off small amounts of debt or refinancing your car.

  • Make a plan on how to tell your family! Heres a video of how we told ours! It was so fun to keep this secret and figure out a cute way to tell them.

  • Decide when and how you want to tell the world (aka social media) I personally don’t think theres really any set rule on this. We waited until week 11 right after we went to the doctor to tell social media.

  • Decide if you want to find out the gender by blood test or waiting until your 20 week ultrasound! We choose to find out at our 11 week appointment by blood test which takes about 10 days to get in. So, I will be 13 weeks when we find out the gender! For the planner in me, this is exactly what I knew I wanted to do from day one. I couldn’t imagine waiting any longer to find out what we’re having!! We did the Panorama Test at the doctor and it is NOT normally covered by insurance. It was $290 out of pocket, well worth it to us. It also does several other types of genetic testing. I did not want to do the Sneak Peak testing you can do yourself online, I’ve heard there are been false results and I personally did not feel like dealing with anything like that. I trust the doctor more than myself with something like this!

  • If you are finding out early, start to plan your gender reveal party if you choose to do one!

  • Start to plan a workout routine. I had ZERO energy to do this until right at 11 weeks. I signed up for Obe Fitness and it’s been great! Working out and at least moving during your pregnancy is so beneficial long term!! The work outs are only 28 minutes long and they even have pre and post natal work outs! But don’t stress too much if you don’t have the energy to work out right away. Just rest while you can and when you feel up to it get moving! Even if you can’t complete a whole workout, or if you’re simply just going on walks it will help boost your energy. When I’m having a hard time working out I just think of how much easier it will be to loose that baby weight later on and how beneficial it is for the baby!

  • Start buying some necessary pregnancy items, and figure out your new diet! More on this below!

    Everything I bought for my first Trimester!

    Here is everything I bought and LOVED!

  • Pregnancy Pillow- Necessary. I’m keeping mine forever haha

  • Elemis Body oil for stretch marks- started this at week 8

  • These bras help so much with breast tenderness. I haven’t really been able to wear a wire bra for long periods of time and this helps give support too.

  • Start taking care of your skin! I started breaking out more than I ever have in my LIFE! Wash your face every day twice a day with a gentle cleanser, moisturize and don’t scrub too hard! I really like this make up eraser to help get all the extra makeup off my face! I use this facial steamer too since I can’t get hydrafacials right now! AHH I MISS HYDRAFACIALS!!

  • I like these Preggo Pops for neasuea. I honestly didn’t take them very often but I liked these much better than the Ginger drops. The thought of the ginger drops makes me want to throw up still. haha but everyone is different. These just worked better for me because they are more sweet!

  • These are the prenatals I’m taking! My doctor said they are fine and I take them at night

Books I’m reading so far!

The ultimate guide to choosing your perfect tone of blonde: Lookbook Edition

haircolortones

I was watching a movie with my husband the other day and it showed some ladies in a hair salon, requesting to look through books to choose the hair color they wanted. It brought back some memories (and made me feel a little older) to the pre-instagram days where all we had to choose from for hair colors were based on what you saw in magazines and TV. I am SO thankful for instagram and all the different options there are now for clients to choose a hair color, as well as how educated clients can be just based on social media and blogs!

This got me thinking, I’ve made hair color chart, after hair color chart for my insta feed. But why haven’t I put together an organized “lookbook” for clients to browse through instead of having to scroll forever on my instagram!? So here we have it…The ULTIMATE guide to choosing the perfect tone of blonde. LOOK BOOK EDITION! Now there’s no need to screen shot picture after picture on instagram, and hopefully this helps also give some insight based on which hair color tone you’re most drawn to! Enjoy XOXO

Here are some other helpful blog posts you might enjoy!

What to ask your stylist for to get the color you want: Blonde Edition

A guide to going blonder with your hair

The truth about going Blonde

Your ultimate guide to leaving the salon happy

WARM

Warm tones are often described as buttery, honey, golden, or bronze and have underlying tones of yellow, red or orange. Golden toned blondes can be very beautiful and also appear brighter, and shinier than ashy blondes. This color works well with gold, peach or yellow skin tones.

NEUTRAL

Neutral blondes are right in the middle of cool and warm. I like to think of neutral with beige, creamy, or wheat tones. This is the perfect way get a balance of cooler and warm tones!

COOL

If you like blondes that have icy, gray, ashy, or pearl tones to them, that means you prefer a cool toned blonde. The undertones are violet, blue, and ash. If your skin tone has more pink, blue or red undertones cooler blondes will look best on you! When asking for a "cool" toned blonde, tell your stylist that you like your color to be more on the ashier side. This type of color usually takes a few visits to achieve even if starting out blonde, because you have to eliminate all warmth from the hair.

FALL HOME DECOR

FALL DECOR
FALL DECOR
FALL DECOR
FALL DECOR

HOME TOUR! AFFORDABLE HOME DECOR AND ORGANIZATION

We bought our FIRST HOUSE!!! Which explains my lack of posting lately! But now that we’re all settled in I wanted to share my favorite home finds with you guys. We are pretty busy so I’ve pretty much ordered every single item for our house online, other than our couch haha! My favorite stores I’ve gotten items from are AMAZON, and Target!

For our house I wanted everything to be a new style than what we’ve had in the past. I was really liking the Mid century modern and boho vibe. I took a quiz and found out this means my home style is “Scandinavian Bohemian”, which means light colors with rich boho texture, global patterns and lots of greenery.

I’m going to share all of my favorite rooms with the items we purchased, some of my favorite smart home items, and you’ll definitely see a love for my organization too! I would say everything we’ve purchased for our home so far has been very affordable. I’m linking everything below for you guys!

L I V I N G R O O M B E F O R E

IMG_0127.JPG

L I V I N G R O O M A F T E R

♡ MID CENTURY COUCH SET // LIVING SPACES
♡ ENTERTAINMENT CENTER // LIVING SPACES
♡ COFFEE AND SIDE TABLE // LIVING SPACES
♡ MOROCCAN POOF // AMAZON
♡ BOHO RUG // RUGSUSA
♡ MARBLE TRAY// AMAZON
♡FAUX CACTUS PLANTER // TARGET
♡GALLERY WALL // AMAZON
♡ BAR CART // AMAZON
♡BAR STOOLS // AMAZON
♡ PILLOWS // WORLD MARKET
♡ PILLOWS 2 // WOLRD MARKET
♡ CURTAINS // AMAZON
♡ DINING CHAIRS // AMAZON
♡MARBLE END TABLE // AMAZON
♡MID CENTURY LIGHT FIXTURE // AMAZON
♡MID CENTURY DINING TABLE // WEST ELM

C L O S E T B E F O R E

IMG_0122.JPG

Our closet wasn’t built with multiple rods or built ins, and a closet remodel isn’t in our budget yet so we did a lot of DIY for now!

C L O S E T A F T E R

♡ PINK AND BLACK VELVET HANGERS // AMAZON
♡ BOHO RUG // RUGSUSA
♡ SHOE ORGANIZERS // TARGET
♡ JEWLRY BOX // KENDRA SCOTT
♡ LAUNDRY BASKETS // TARGET

B A T H R O O M

Master Bathroom

♡ TILE // HOME DEPOT
♡ RUGS // AMAZON
♡ MIRRORS // HOME DEPOT
♡ PENDANT LIGHTS // HOME DEPOT

O U T D O O R

♡ LANTERNS // PIER 1
♡ RUG // RUGSUSA
♡ PATIO CHAIRS // AMAZON
♡ BLACK PILLOW 1 // PIER1
♡ GREY PILLOW 2 // PIER1
♡ TIKI TORCHS // AMAZON
♡ SOLOR STRING LIGHTS // AMAZON
♡ THE CUTEST SOLOR HANGING TREE LIGHTS // AMAZON
♡ SIDE TABLE// AMAZON
♡ 100FT HOSE// AMAZON
♡ $15 WALL LANTERN // AMAZON
♡ WREATH // AMAZON
♡ GINGHAM RUG // AMAZON
♡ FAUX HANGING PLANTERS // AMAZON

H O M E T E C H

♡ THE RING DOORBELL HAS BEEN ONE OF MY FAVORITE PURCHASES SO FAR! // AMAZON
♡ THE ROOMBA IS PEFECT FOR PET HAIR AND HARDWOOD FLOORS & THIS ONE HAS GREAT RATINGS ON CONSUMER REPORTS FOR THE PRICE // AMAZON
♡ WE LOVE THE RING SECURITY SYSTEM FOR OUR DOORS, WINDOWS AND MOTION SENSORS // AMAZON
♡ MOTION SENSOR TRASH CAN WITH ODOR FILTER // AMAZON
♡ WE LOVE TO BE ABLE TO CONTROL THE TEMP ON OUR PHONES WITH THE NEST // AMAZON

O R G A N I Z A T I O N

IMG_0152.JPG

♡ DRESSER ORGANIZERS // AMAZON
♡ FRIDGE ORGANIZERS // AMAZON
♡ SPICE ORGANIZER/ AMAZON
♡ SPICE JARS & LABLES // AMAZON
♡ PANTRY CONTAINERS // AMAZON
♡ WATER BOTTLE ORGANIZERS // AMAZON
♡ GLASS MEAL PREP CONTAINERS // AMAZON
♡ WIRE BASKETS FOR STORAGE // CONTAINER STORE
♡ POTS & PANS LID ORGANIZER // CONTAINER STORE
♡ UNDER THE SINK ORGANIZERS // CONTAINER STORE
♡ KNIFE ORGANIZER // CONTAINER STORE
♡ BAMBOO DRAWER ORGANIZERS // CONTAINER STORE

AND…the softest 4 pack of towels ever, for only $25. You’re welcome

How to get the best at home blowout

Step by Step Guide AND TIPS:

  • Start with towel dried hair

  • Use the Living Proof Repair Leave in for a silky, smooth finish while protecting your hair from damage!

  • Add the Perfect Hair Day 5-in-1 Styling Treatment to add volume, shine, smoothness, strength, and moisture

  • Brush your hair after applying product with a Wet Brush!

  • Use this round brush and this blow dryer! (My Favorites)

  • The Round Brush size should be determined by the length of your hair. Extra long hair=extra large round brush. Medium hair (like mine) should use the size I did!

  • Start by getting your hair about 75% dry by using your fingers and the wet brush as needed for tension (my hair is naturally curly and frizzy, so I need more tension than someone with more straight hair!)

  • Using a CONCENTRATOR will help control the airflow and eliminate frizz! This comes with your blow dryer :)

  • Always keep the blow dryer nozzle pointed DOWN and go with the way your hair lays! Avoid creating frizz by blowdrying the nozzle upwards on the hair shaft.

  • Start around the hairline to perfect this area first before it dries! Work away from your face to add volume

  • Move to the bottom section keeping the nozzle down, and use tension from the round brush and blow dryer together.

  • Smooth out the root & then the ends

  • Take the air off the blowdryer at the end of your hair when its done, and continue to “curl” the end with the round brush with no heat

  • Take SMALL sections! Your sections should be the size/width of your brush.

  • Continue to work up the head until you reach the top section!

  • When you reach the very top, take small sections backwards, away from the face.

  • Finish with a flat iron as needed, for hair with more frizz-like mine!

The ultimate answer to why blonde hair turns yellow or brassy

Hey guys! I’m here to fill you all in on a little secret. I’m here to tell you the answer to WHY your hair turns brassy or yellow! I have soo many new clients who come to see me and their number one complaint is B R A S S. And I’m going to be honest, I also have existing clients that complain about the same thing! I totally get it, brassy hair is not ideal. So… I know you all want to know why this happens! Are you ready for the answer!?!

blondehairtransformation

Disclaimer: This guide is here to help you understand the science behind hair color and establish knowledge of your hair. This is NOT meant for you to do your hair at home, or bring this into your stylist and micromanage your service. Please don’t sit down in your stylists chair with a color chart like the one below telling them your natural color & what you think your underlying pigment is. We all have color charts in our salons & know how to find your natural color better than you can on your own, I promise. Its SO SO important to keep in mind that everyones hair is different and I could use the exact same formula, and exact same technique on the EXACT SAME type of “before photo” but everyone has a different history, hair type, and just hair in general :)

Blonde hair isn’t any different than red hair color fading, or brunettes fading. Fortunately I am so happy that I have SOO many clients who come back to me after 6 even up to 16 weeks after I’ve done their hair & still say how good it looks! THAT is one of the best compliments! I’ve even had clients cancel their appointments and push it out further because it still looks that good! I’ll get to HOW you can make this happen later!

First, notice how I’ve been referring to yellow and brassy separately? Thats because there is a difference between yellow hair and brassy hair! I often hear clients say, my hair looks brassy..when actually it’s just yellow.

Heres the breakdown and why it matters:

Brassy hair means O R A N G E! Think of bronze, copper, or gold.

Yellow hair is…well yellow, like the inside of a banana!

And heres why I’m breaking it down differently! Your hair SHOULD actually be fading yellow! And if able to be lifted light enough your hair should not look super orange or “brassy.” It’s important to learn the difference because that will either help prevent it from happening OR help you understand WHY it’s going to happen!

Here’s an example of clients who had “YELLOW” hair in their before photos:

Here’s an example of clients who had “BRASSY” hair in their before photos:

thumbnail_IMG_8338.jpg

All of the before photos in the yellow stage are my returning clients, the brassy before’s are new clients! I wanted to show you these specific “yellow” blondes that consistently see me because even though their hair faded..it still looks good! There’s nothing wrong with your hair color fading, and honestly it’s just something that you have to live with unless you want to be in the salon every 4-6 weeks. It just happens & I’m here to tell you why!!

Let’s talk about brassy hair first, because this is something that we can try to prevent by lifting you light enough.

We’ll start with this chart below. The top of the chart is your underlying pigment, the bottom is your natural color. For example- if your natural color on the bottom of the chart is a level 6 or 7 your underlying pigment above that is pretty gold, right? This is inevitable. Every single person has this underlying warmth and when you lighten your hair you go through these stages! In order to prevent the brass you will see at a level 2-8, you must be able to lighten it to a 9 or above! Did a lightbulb just click?

colorchart.jpg

Some people can lighten past that stage of warmth and some people can’t for the first few visits and sometimes they can’t ever get that light! For example, if your hair is a level 2-4 (especially with previous color on it) it is pretty unlikely that you will be able to get to a level 9 in one visit. And you will for sure have some underlying warmth.

Heres an example of a client who had level 2 natural hair with level 5 & 6 underlying brass. We broke up as much as we could in one visit & toned her hair as ashy as possible. I’ll fill you in on a secret. Some of her hair is GOING TO GET BRASSY BETWEEN THIS APPOINTMENT AND NEXT TIME SHE COMES IN!!! Will it look like the before photo? NO. But will it fade warm. YES. Why? Because her natural color is a level 3. Because she had previous brass. Because glazes fade. Because the underlying pigment is warm. Because we were not able to lighten every single piece of hair to a level 9 or 10.

blondehairtransformation

Heres an example of a client with a natural level 4 that was lightened to a level 10. Will her hair fade brassy? Most likely. I would expect it to look like a level 8-9 at the top of this chart next time she comes in. Why? Because her natural color has underlying warmth. But the ends of her hair were lightned to a 10? YES, but all haircolor fades and so will hers. Will it fade to a level 5-6 on the top of the chart? No way! But it will still have a little bit of warmth to it. Because like we talked about earilier..everyones hair fades!

blondehairtransformation

Want to know another secret? The lighter your hair the more porous it is, and the more your glaze is going to fade because porous hair doesn’t retain the moisture as well!

The short answer to why your hair fades brassy is unless your natural color is a level 7 (sometimes a level 6) or above I would expect to see more brassy tones in your hair when it fades. This has to do with the science behind hair color and is something that you just really can’t change no matter how ashy you make the toner or glaze!

Now let’s talk about why your hair color fades to yellow!

The answer won’t be as long, because its simple. If your hair color isn’t fading to yellow its completely FRIED. Like I’ve said over and over. Everyones hair fades. But why would it fade yellow even if its lightened past a level 10 and my natural color is a 8 and it looks SUPER ashy when I leave the salon? Toners don’t last forever, nothing does! They fade with each wash and having white blonde hair is HIGH MAINTENCE! You need to go into the salon every 4-6 weeks for at-least a glaze if you don’t want your hair color to fade.

Heres some ways to help prevent your hair from turning brassy or yellow!!

  • Use a blue based shampoo for brass and purple shampoo fo yellow- (BLUE CANCELS ORANGE AND PURPLE CANCELS YELLOW!)

  • Go in for a glaze 6 weeks after your appointment so your glaze doesn’t fade too much!

  • Try to lighten your hair past a level 8 if your hair can handle it! THIS WILL BE YOUR STYLISTS DECISION!

  • Use professional shampoo & conditioner

  • Invest in a shower filter!

  • ESTABLISH A RELATIONSHIP AND HAIR COLOR PLAN WITH YOUR STYLIST & AFTER SEVERAL VISITS YOU CAN MOST LIKELY HAVE YOUR DREAM HAIR!

Heres the final answer: EVERYONES hair turns yellow or brassy at some point Every single person’s hair will fade, no matter what. Nothing in hair color is completely permanent- just like tattoos fade! It’s important to keep this in mind and have realistic expectations! I hope you guys found this post helpful!

My tattoo removal experience

This post has been a long time coming…but I’m happy to share my entire tattoo removal experience with you guys! I got a tattoo when I was 18 and loved it…for like 5 minutes. As i kept getting older I grew to hate it more and more, and it wasn’t until I started planning my wedding that I KNEW I had to get rid of it for good. I actually started the tattoo removal experience before we even got engaged because I knew that I wanted it completley gone by the time I put on a wedding dress. I got it done at Invisible Ink Tattoo Removal and saw Allison! It was worth all the time, pain and every penny spent. I always dreamed of getting my stupid tattoo removed but NEVER imagined it would literally be completely gone one day. I’m SO happy I did it!!

What type of machine was used?

After doing a ton of research I came to the conclusion that the “Picosure” laser or the “Picoway” was the best. It is the most effective and most advanced technology that didn’t leave any scaring.

Did it hurt?

YES. It hurt SO SO bad the first several times I got it done. Like on a level of 1-10…it was a 15…haha. And this is coming from someone who gets botox, and lip injections. I cried the first time I had it done haha!

It got better the more and more ink was removed from it. The last few months haven’t really been too bad at all because the ink was mostly gone.

I used ice and numbing cream each time and that seamed to help, but the first several appointments were definitely pretty painful. But worth it.

How long did it take?

Each tattoo took less than 30 seconds to be hit with a laser, which for sure helped with the pain. You can do anything for 30 seconds right?!

I started my tattoo removal almost 2 years ago, and it’s pretty much gone. I went every 6 weeks (because I had a timeline for the wedding) but she actually recommended going longer between appointments (at this point I don’t go every 6 weeks) because the longer you wait the more it will fade.

Is there any color left or any scarring?

No! You can barley see the top of my tattoo and there is absolutely no scaring at all. One thing I was so so worried about was scaring and changing my skin. But you can’t tell at all, a lot of that has to do with the type of laser used and of course the technician!

What was it like after each session?

After each session she would patch me up, and I would leave it covered for a couple days. I would clean it, and apply a special cream on it to prevent infection. I didn’t work out or let it soak in water for a couple days after I had it done each time.

It wasn’t too painful after the sessions were over, just a little uncomfortable. You are basically burning your skin off each time… so it kind of feels like you just burnt yourself in a way. But it really wasn’t bad at all after the treatments.

After each session it would for sure look pretty bad, very red and blistered but that would go away after a couple days.

How much was it?

The place I went to has a payment plan, so I actually took out a $1,500 loan, where I pay about $150 a month. On average I would plan to spend about $300 per session but can vary based on other factors like the size of your tattoo, color, etc…

tatooremoval
tattooremoval


This is my experience based on the size, color, and type of tattoo I had! Everyones experience can be different, and if your tattoo is smaller/lighter than what mine was I’m sure it would take you even less time! I still can’t believe my tattoo is completely gone and I am SO happy I made the decision to get it removed.

Thailand Travel Guide | The Islands & Culture

Thailand Travel Guide.JPG.png

Thailand Travel Guide | The Islands & Culture 

We started planning our trip knowing 2 things: We wanted to relax but also see the culture of Thailand. When we travel we are definitely not the type of people who want to stay in the overly crowded tourist areas, surrounded by western cultures like McDdonalds, Starbucks and people the same as us everywhere. That just never feels like another country to us! We like to stay in more laid back areas, a little off the beaten path, while still having the comforts of home when we come back to our hotel at night.

Also, when I say we like to relax, I’m lying. We don’t ever relax on a vacation no matter where we are. Haha, we’ve accepted this conclusion and as much as we say lets just relax by the beach our pool today, 1-2 hours after doing that and we’re up, out and exploring this world around us. But honestly, why not? You’re across the world or in a new city! Go see it! 

Thailand Travel Guide.JPG

In this post I’m go share how we got around Thailand to the different islands, where we stayed, what we did, and what we ate!

Thailand was by FAR my favorite country I have ever been to. I shed a couple tears as we boarded our flight home today, and I can’t say that happens often. It was just the most incredible experience and I can’t even begin the explain the happiness I gained from my travels here.

I will also be adding some packing essentials and beauty tips at the end of this post that really came in handy for me!

Thailand Travel Guide.JPG

Bangkok: 2 full days

How to get to Bangkok: 

  • We flew United from Austin to Houston leaving on a Thursday Morning at 6am. 

  • All Nippon Airways from Houston to Tokyo which was a 14 hour flight. 

  • All Nippon Airways from Tokyo to Bangkok which was 7 hours. Our Flight Arrived Friday at Midnight

Overall I’m not going to lie, it was a rough flight. We traveled for almost 30 hours with layovers and travel. All Nippon Airways was a good airline to fly though for sure, I would definitely recommend them and fly with them again! I would bring snacks, as I wasn’t a fan of the food choices they provided for dinner & breakfast on the flight.

We weren’t too tired once we arrived and actually woke up between 7-8am every single day of our trip (8pm our time back home) I think we were a little thrown off with the timing but waking up early allowed us to have the whole day to explore so we didn’t mind it! 

Currency Tip: We exchanged our money at the Bangkok airport so we didn’t pay transaction fees on our cards. 

Transportation Tip: We mainly took taxis and Tuk Tuks. Taxis were easy to find and SO cheap. A 30 minute ride sometimes cost us only 200 Baht. (6 USD) For a Tuk Tuk NEVER pay more than 400 baht (12 USD). We took several tuk tuks across town for only 300 baht (9usd) and had people trying to charge us 400-600 baht for a 5 minute tuck tuck ride. Always ask the price before hand & negotiate. Overall everyone in Thailand was so nice & I never got a sense that people were trying to rip us off other than with this scenario. 

Thailand Travel Guide.JPG

Where we stayed: Hotel Marriot Sukuhmvit

We LOVED this hotel! It was a great location in the Sukuhmvit area of Bangkok which was a little more upscale of an area. Great for couples, the hotel was amazing and affordable! 5 star service for sure, and it had a beautiful rooftop bar at the top with 360 views of the city as well. We actually ate at the hotel quite a bit in Bangkok because they had great Thai food and it was soo good! 

Day One in Bangkok 

Visit the Temples & Leaning Buddha 

Since we got in pretty late on Friday to Bangkok we started our adventures Saturday morning. We decided to Visit the Grand Palace, and the Leaning Buddha! It was HOT and crowded! Make sure you read the dress code before going or you’ll have to buy elephant pants like Eric! Which wasn’t such a bad thing haha 

Thailand Travel Guide.JPG

Visit the Taling Chang Floating Market 

The #1 thing I wanted to do in Bangkok was go to a floating market! There we a few different floating markets in Bangkok and the main one was about 2 hours away, which would have made an all day trip out of it. With us only having 2 days there we decided to go to a closer market that was only about 30 minutes from our hotel & it was just as fun and such a cool experience! We took a private long tail boat around the market and through the river that the market lays on. Walked around and tried some of the market food they set up. Overall we only spent a couple hours there which was better for us with our shorter amount of time in Bangkok!

After all this we went back to the hotel to freshen up & relax a little. It was about 3am our time at this point & we were tired but that didn’t stop us! Haha We took a quick break and changed to go see what Ko San Road was all about. 

Thailand Travel Guide.JPG

Take a Trip to Ko San Road 

If you’re from Austin or have been to New Orleans this is pretty much like the Thai Version of 6th Street or Bourbon Street. There were tourists EVERYWHERE and tons of backpackers staying in Hostels. There were scorpions for sale to eat and people trying to sell you all sorts of random bugs and foods to try. It was worth checking out the famous nightlife road, but we quickly left after seeing what it was all about 

Take a Tuk Tuk and End the Night at a Rooftop Bar like Octave or Sky Bar

Our kind of way to have a drink is at a nice relaxing rooftop bar with beautiful views of the city. You can’t beat that! 

Day Two in Bangkok 

Visit the Chatuchak Market!!!!

Omg what an experience. This place was overwhelming to say the least, we couldn’t even find the entrance! Haha! BUT it was SO COOL! There are over 15,000 local vendors set up here, selling anything from homemade purses, shoes, swim suits, to artwork, 2nd hand clothing, and bath towels. This specific market brings in over 200,000 visitors EVERY WEEKEND! This place was crazy!! But such a cool and fun experience. I would recommend finding a map of the market when you arrive. We just asked someone working there and he gave us one which was very helpful. It is also only open on weekends! 

We were at the Market pretty much all day, so after we left we went back to our hotel to our rooftop bar, had some drinks and dinner and relaxed before heading to our next destination! 

Thailand Travel Guide.JPG

Krabi: 1.5 days

How to got to Krabi: 

We flew from Bangkoks Domestic Airport to the Krabi Airport which was about a 1 hour flight. The only way to get to Koh Lanta was the fly into Krabi or Phuket, so we chose Krabi since we were ending our trip in Phuket! 

Overall, Krabi was honestly not my favorite at all. I wouldn’t go back, and the only reason we went was to connect to Koh Lanta. It’s tricky because you almost have to stay in Krabi at some point in order to get to Koh Lanta since that’s were the ferry and airport is. There is only 1 ferry to Koh Lanta and it leaves at 10:30am only. Looking back we would have just flew in, checked into our hotel and then left the next morning to Koh Lanta. I’ll share why below! 

Oh Also, Instead of Krabi we maybe would have just went to Chaing Mai, this is one place that we didn’t visit that we heard great things about! So maybe adding 2 days in Chaing Mai, Krabi for one night and then head to Koh Lanta at 10:30 the next morning would be the best scenario! I’ve heard really good things about Railay Beach in Krabi, but it was a little further for us to stay in order to catch the 10:30 ferry to Koh Lanta. 

Thailand Travel Guide.JPG

Where we stayed: Centara Grand Beach Resort Krabi 

Ok so this wasn’t our favorite hotel, or place that we visited. But we always like to find the positive in something here! It was in the Ao Nang beach area of Krabi and it just wasn’t our style. 

So the Pros and Cons: 

Pros: 

  • It was a nice hotel with a private beach which was really great compared to the rest of the island area that wasn’t private

  • It was easy to get to the pier from the hotel boat to leave on the ferry 

  • They Brought me a flower for my hair every night :)

  • We saw a lot of fire shows!

  • The Private Beach!!!! After waling over to the main public beach of Ao Nang, we definitely liked the private beach at our hotel lot more. 

  • The Monkey Trail connected to the hotel was cool, you could hike up for about 10 minutes and see some aggressive monkeys haha :) 

Cons: 

  • There were SO MANY KIDS. And when I say so many…I mean we literally felt like we were on a Disney cruise ship! There were even people dressed up for dinner like themed characters. I don’t mind a few kids here and there but we couldn’t go to the pool at all without hearing kids screaming and running around everywhere. It might have just been a weird timing but it just wasn’t for us.

  • It was far to get anywhere and you had to take a boat since it was a private island, which we knew this when we booked, but I think after getting there we really wanted to explore since we felt a little secluded at the hotel

Overall the hotel was nice & there are monkeys surrounding it which is so cool! It was good for a stop, but like I said, I would have rather taken a flight from Bangkok to Krabi early morning, then check out to head to Koh Lanta the next morning instead of spending another day! 

We didn’t really do much in Krabi, other than move some bean bag chairs, far far away from all the noise, see a fire show, and go look at the monkeys! The Thai Restaurant at the hotel was really good too. But looking back we probably wouldn’t have done Krabi again, or recommend it. It just didn’t seem authentic at all. 

Thailand Travel Guide.JPG

Koh Lanta: 4 full days ( I would have stayed longer)

How to got to Koh Lanta: 

There was one 2 hour ferry to Koh Lanta from Krabi leaving at 10:30am everyday. I think you can also get there by car, and there might be a speed boat. But the ferry was the best option for us. We were able to get into our hotel in Koh Lanta by 1pm so we still had a full day! From the pier in Koh Lanta, AVOID everyone trying to get you to pay, get you a taxi, or a tuk tuk ride. It’s chaotic. Walk your luggage down the street and just get a ride from someone else. It was cheaper and way easier. There are no enclosed taxis in this area. In fact, the only way I really saw to get around this island was by a tuk tuk or a moped. Our hotel was about 20 minutes from the main pier.

Where we stayed: Rawi Warin Resort and Spa

HANDS DOWN MY FAVORITE HOTEL 100% I would come back here again and again for the rest of my life. It was the best hotel I’ve ever stayed in!

Koh Lanta was my FAVORITE place we went. It was the perfect mix of laid back, culture, and we still had the comforts of home to come home to at night. It was incredible. Absolute favorite place I have ever been in my life. 

Transportation tip: We love renting scooters when we travel. And renting a scooter for the whole trip was like $15 USD and was the BEST way to explore and get lost around the island. Usually you can just ask your hotel where to rent one and luckily there was a scooter rental place right across from Rawi Warin.

Day One in Koh Lanta 

Check in and have a bite on the Ocean!

We got in around 1pm so we pretty much had the whole day to explore! All of the food at this hotel was also so good & I loved the pineapple rice bowls 

Rent a Motorbike 

Do yourself a favor and immediately rent a bike so you can explore and get around easily! (If you feel comfortable riding one of course) 

Thailand Travel Guide.JPG

After we rented our bike we just went around to explore our area and surroundings and relaxed at our resort

We went to Long Beach which is where a lot of the beach bars and restaurants in the area are. This whole island is super laid back, so pretty much everywhere we went was super quiet and not a ton of people! There are a TON of bars and restaurants to go to and they’re all really laid back with bean bags and lounging on the beach. This Island isn’t like your typical uppity beach clubs, we’re saving that for Phuket. Koh Lanta was definitely really laid back and PERFECT for a honeymoon or couples in our opinion!

Day Two in Koh Lanta 

Visit Old Town, Markets & the Sea Gypsies

Since we had our scooter we woke up relaxed at the pool for a bit, had breakfast then went into the other side of the island to see the Old Town and do a little shopping! It was about 25 minutes from our hotel so we stopped along the way at different viewpoints, and restaurants. The drive was beautiful! And we even had a group of monkeys jump out right in front of us to cross the street. It was so cool! 

Old town was made up of a bunch of markets and a good place for shopping. There is also an old village that is home to the sea gypsies of Koh Lanta, They made their homes there back 500 years ago, so it was really eye opening to see how they live. The sea gypsies village isn’t really advertised anywhere and was kind of hard to find, it was important to be respectful of the locals living here by not taking take a ton of pictures of their lifestyle.

Thailand Travel Guide.JPG

Dinner at Kindee & Bar Hopping

After a day of exploring by Moped we went back to our hotel to freshen up and went to dinner at Kindee! It was very good upscale, local Thai Food. 

Since there are so many cool bars in the area it can be overwhelming to find the perfect one. The best thing to do is talk to the locals and ask where to go for either live music, fire dances, good cocktails, parties, etc…

Day Three in Koh Lanta 

Snorkeling

For our 3rd day we took a boat out to see Koh Rok which is the one of the most famous snorkeling islands in Thailand! It was absolutely beautiful! They took us to 2 island, and then had lunch at a private island before heading home. The water was beautiful and it was such a fun experience 

Thailand Travel Guide.JPG

Private Dinner on the Beach! 

The Snorkeling pretty much took up the whole day, we got back around 5pm and had a PRIVATE PICNIC on the beach! It was one of my favorite moments of the trip! Our hotel set it up for us and was a memory I will never ever forget. 

Thailand Travel Guide.JPG

Day Four in Krabi: April 13th SONGKRAN 

Let me start by saying, if you are planning a trip to Thailand go during Songkran. Its was an unforgettable experience and both of our favorite days in Thailand. If you know me, this doesn’t seem like something I would actually enjoy, along with getting completely muddy with elephants (we’ll get to that later) But when I’m in another country I adapt. I live in the moment and become way more carefree, I emerge myself In my surroundings and adapt to the local culture. Because when else will you be able to drive around Thailand getting completely soaked with water by locals? When else will an elephant soak you with a mud bath? These are the moments out of your comfort zone that really do change your perspective & open your eyes to how big this world we live in in 

IMG_6043 2.JPG

So for Songkran here are my tips: 

It is largley celebrated in Bangkok, Chaing Mai and Phuket. I’ve heard Chaing Mai is a great place to celebrate. Phuket and Bangkok seem like they would be CRAZY but hey if that’s your thing go for it, I’m sure it would be a BLAST!

Koh Lanta  was the perfect place for us to celebrate. There were very few tourists, and we literally felt like we were the only Americans celebrating the new year with all of the locals in Koh Lanta which we absolutely loved. Everyone was so happy and we were invited into private parties thrown by locals to enjoy a homemade meal and beers. I knew what we were getting into, but the extent of immediate DOWNPOUR of water on me the minute we entered the main part of the town was unreal haha. We were absolutely soaked within seconds, like we just stepped out of a pool! People were pouring water down our shirts, down our backs, right in our faces using hoses, buckets, and squirt guns. Some water was ice cold, some was warm… weird. Some people came up with white and red paste to rub on your face. Still didn’t know what that was.. haha. Here are some tips if you go during this time!

  • Bring a waterproof Phone Case to put your phone and money in!

  • Wear Clothes you don’t care about getting wet or dirty 

  • I Bought Clothes along they way for $3 at a local market 

  • Don’t get the water in your mouth…lol 

  • Buy a BIG water gun

  • Drive around on the moped, carefully, but also find a local spot to post up and place people with buckets!

  • HAVE FUN! 

IMG_6022 2.JPG

Dinner at Anya Garden and Restaurant 

After the festival we were hungrrryyy! So we went to Anya Garden and Restaurant! It was so good! 

Same Same but Different was also another really cool bar/restuarant a little bit far from our hotel but we really liked this place! 

IMG_5788 2.JPG

Half Day in Phi Phi and then on to Phuket

How to get to Phi Phi and Phuket: 

We took a 30 minute speed boat to Phi Phi Islands and from there took a 1 hour speed boat to Phuket! 

We went to Phi Ph just for the day to hike up to the view point! We honestly didn’t really like Phi Phi too much and we were glad we didn’t say here. Don’t get me wrong it was beautiful and I’ve heard great things about it! But after leaving our secluded island of Koh Lanta, Phi Phi was overcrowded with tourists, and just didn’t feel as authentic Koh Lanta did. I know the resorts are nice away from the pier but for us we would have felt a little too secluded staying on another secluded area after Krabi and Koh Lanta, which is why we chose Phuket for our next stop! Overall, Phi Phi just seemed really overcrowded, but it was beautiful!

If you’re passing through Koh Lanta to Phuket, you might as well stop in Phi Phi because its such a short ride! For our personal taste we just didn’t want to stay here for several days 

Phuket 3 full days 

Where we stayed in Phuket: Twin Palms Resort

Ok let me start by saying we did a TON of research about Phuket because sooo many people online said they hated it because it was overrun by tourists, etc. We were a little nervous about going here because as you can see from our other choices of destinations, we love the more authentic places. 

But we LOVED this hotel and location too! We stayed on the border or Surin Beach and Bang Tao Beach, which was the perfect location for us. It was more private, more cultural, filled with beach clubs, and a little more upscale compared to the main part of Phuket (Patong Beach) 

If you stay in Phuket, Bang Tao Beach is definitely the place to stay & we LOVED Twin Palms!

Thailand Travel Guide.JPG

Day One in Phuket 

This is where we did the day trip from Phi Phi so after we got in it was around 6 and rented yet an other scooter and went to get dinner at Catch Beach Club! Which was one of our favorite hang outs of the whole trip. The beach clubs in Phuket were definitely a little more upscale and popular which was a perfect change from the rest of our trip!

Day Two in Phuket 

Relax at the Hotel Pool, & Get a Thai Massage 

Our hotel pool was soo cozy & relaxing! We finally felt like we relaxed here! We went over to Catch Beach Club to get a Thai Massage. Can I find this in America?!?!? The best hour long massage ever for only $20

Go shopping around the markets in the Bang Tao Area & Take a drive to Patong Beach/Bangla Road just to check it out 

We turned back around immediately when we got to Patong. It was INSANE and just didn’t feel like Thailand at all. I can see why people don’t like Phuket if they’re staying in this area. It was lacking culture and overrun by tourists! Bang Tao was for sure the place to be! 

After this we had Dinner at Palms Sea Side! It was SOO Good & a beautiful atmosphere! 

IMG_6327 2.JPG

Day Three in Phuket

GO TO THE ELEPHANT SANCTUARY! 

I posted a little about this on my insta but I’ll share on this too. This was on of the most ethical sanctuaries we could find in Phuket. If going to Chaing Mai this specific company has one there too, so I was glad to find one in Phuket not far from our Hotel. 

The elephants there are rescued from years of abuse and tourture for tourism purposes. It was such an incredible experience to be able to bathe, swim, and feed the elephants. They were so beautiful, sweet and loving animals. And was on of my favorite parts of the trip for sure.

Thailand Travel Guide.JPG

After this we had an upscale Thai dinner at Silk Restaurant then checked out some local bars along Bang Tao and Kamala Beach

Day Four in Phuket! 

We ACTUALLY RELAXED THIS DAY! HAHA! We just hung out by our pool all day and got ready to leave. 

Our flight left at 6pm to head from Phuket to Bangkok, from Bangkok to Tokyo, and from Tokyo to Houston and then Austin. Another 30 hour travel day. But leaving at Night helped because we slept a lot! 

Packing Tips: 

  • Bring Tissues: I brought these…a lot of the bathrooms in Thailand don’t have toilet paper and these really came in handy to carry around with me in my purse. 

  • Bring your Hydro Flask- while most of the hotels provide water, the Hydro Flask was a great way to keep it cool throughout the day and night 

  • Don’t pack a curling iron. It is SO hot and I didn’t curl my hair once. I put it in braids and a messy bun every day because it was too hot to wear it down

  • Don’t pack a lot of make up either. Again, since its so hot and you’re on the beach you don’t need a ton of makeup. TAKE IT FROM ME, I bring makeup and hair stuff everywhere I go…you don’t need a lot here 

  • Bring Bug Spray 

  • Lots of Sunscreen & Elta MD Face sunscreen! The Elta SAVED my face! Seriously we got pretty burnt using regular sunscreen but my face didn’t really get any sun at all because I was using the Elta everyday on my face. We went through over 3 cans of sunscreen…bring a lot because the sun is SO much stronger here and we had to apply it all day!

  • No need to bring heels. I wore mine once 

  • These portable chargers always come in handy for us when traveling 

Thailand Travel Guide.JPG

Overall Thailand was an INCREDIBLE experience and I am so glad we made the journey across the world to experience it. I will forever remember this trip, the people and the memories that have changed my life for the better. 

7 Steps to throwing an unforgettable Bridal Shower

Bridal Shower

Hey guys!! I am excited to share this post with y’all because I have seriously developed a LOVE for planning events after planning our wedding last year! My sister in law is getting married at the end of March and I was SOOO excited to throw her a bridal shower & I wanted it to be absolutely PERFECT! I really feel like I’ve developed quite a niche for this whole planning thing… who knows maybe I’ll add event planning to my list along with being a hair stylist & blogging full time? Everyone has been telling me I should start doing event planning on the side…but for now…I’ll just share my tips with yall and go from there!

D7C3E539-09ED-4F12-8642-F5377699A707.JPG

Below I’ve mapped out the PERFECT way to throw an inexpensive, organized and beautiful shower of any kind, without breaking the bank! I know for me my bridal shower was so special because I got to have ALL of my favorite girls in one place! So, I hope I was able to give my sister in law the shower she always dreamed of! :)

Here are links to most of the items used!

Step 1: Create a vision board on Pinterest & Canva

The first thing on your to do list is to create a vision board of what you the theme to be! I use pinterest to get a general idea of what I want the shower to be like & then I create my own vision board & color scheme on canva.com! You’ll need to download Canva anyway to do make some of the decor I’m linking below, so this should be one of your first steps! It’s super easy to use and comes with templates as well!

When searching pinterest I search for specific genres for a shower, since “bridal shower” is wide range of ideas and can get overwhelming. I searched for things like “pink bridal shower” or “floral bridal shower” to help narrow down my specific ideas! I knew I wanted her shower to be all things girly, floral and pink!

Here is the vision board I created! Refer back to this anytime you’re buying decor, or making decorations, etc! And Click here for the bridal shower pinterest board I created!

bridalshower.jpg

Step 2: Make a google spreadsheet of items you’ll need, with prices like the one below!

Untitled+spreadsheet+-+Sheet1.jpg

Step 3: Send out invites

Instead of sending out mailed invitations, I sent everything via https://www.paperlesspost.com/ which is an online invitation website that sends everything out through email! I was able to keep track of people who RSVP’D, and send notes about the shower along the way! Here is the invitation I made below! Paperless post was pretty inexpensive to use & super easy! Along with the theme, I had everyone wear pink and wrote that on the decorations so everyone matched! It was SO cute!

IMG_5706.jpg

Step 4: Plan the Decor

This is the FUN part! I will link all of the decor I purchased below!

Step 5: Create fun games to Pay!

I used canva to make the games myself, which is similar to what you buy on etsy. For me, they are super easy to make on canva so if you can use a template to create games I would recommend that for sure!! We played :

-Who knows the Bride best, where each guest wrote down answers to questions about the bride!

-I had a jar of Diamonds set up for each guest to guess how many “diamonds were in the jar!

-We also played a game where we had 5 pictures of the bride at different ages and each guest guessed what age she was in each photo!

- Another fun thing was having each guest bring a handwritten Letter to the Bride that I put in a box for her to open at a later point!

Step 6: Buy the Food, Drinks and Decorate as much as possible the night before!

For food we got pretty much everything the day before, so it was all nice and fresh! Here is my grocery list & it was definitely enough food for the 15 people there!

-Orange Juice, Grapefruit Juice, and Mango juice for Mimosas
-Garnishes for Mimosas- Raspberries, Mango, Strawberries
-Water, Tea and Topo Chico
-Fruit Tray
-Cheese & Crackers
-Mini Bagles & Cream Cheese
-Deviled Eggs
-Chicken Salad Croissants
-Mini Cupcakes
-Donut Holes
-Flowers
-Rose Gold Balloons
-My mother in law also made 2 breakfast Casseroles!

Step 7: The day of!

And finally, when the day of the shower arrives its time to put it all together! I usually set up everything how I want it all to look the night before so that when the morning comes it’s all ready and all you really have to do is put out the food! Here are some helpful tips for the day of to help you stay organized:

-Have a bag for trash so you can throw gift wrap it
-Also have scissors nearby the bride too to open up boxes
-Have a pre-made gift log & have someone write everything down since you’re most likely going to be the one handing the bride all the gifts
-Make sure to get a group photo of everyone!

IMG_6025.JPG
IMG_6075.JPG
IMG_5982.JPG
IMG_6100.JPG


My all time favorite Amazon Purchases

I’m rounding up all of my favorite amazon purchases ever! From hair accessories to hair tools and my favorite travel purchases. Hair accessories are super trendy right now and I’ve bought all of the best ones! Everything linked below are items I have actually purchased, use and am not sponsored in any way! I am an amazon affiliate do get a credit if you purchase anything below from my site! Enjoy my favorites!

Hair Accessories

The versatile hair clips that you’ve seen me posting on insta! They come in so many different shapes & are such a cute way to add something extra to a simple hairstyle!

A perfect way to store all of your scrunchies, hair clips, or bobby pins with this stackable hair accessory organizer! 

storage.jpg

The secret to setting your curls for longevity is with these duckbill clips! (Tutorial on this here!)

duckbill.jpg

The ultimate jaw clip that holds up even the THICKEST of hair! Perfect for sectioning curls, blow drying & a great way to clip your hair up at night!

These “bunny” scrunchies are the best value! These are the scrunchies that have the ribbons on the ends & the ones I’ve been posting on instagram! You get 25 schruncies for $15!

The cutest twist bow wired hair scarfs! Perfect for braids or ponys!

hair scarfs.jpg

Love these neutral, boho headbands. They look cute with any outfit & are perfect those unwashed hair days & traveling! They would also be perfect for the beach, pool & protecting your hair from the sun!

Hair Tools

A perfect way to get volume around your face without using a curling iron are with these Hot Rollers (Tutorial on this here!)

hot rollers.jpg

My all time favorite curling iron, that helps elongate your curls & gives a perfect beach wave! All of my clients LOVE this curling iron & I use it everyday at home and in the salon!

curling iron.jpg

My favorite blow drier, that’s lightweight and helps speed up your blow dry! Its under $200!

t3 blow drier.jpg

Beauty Hacks

These wine wipes that are perfect for a wedding or event (I like to buy them in the closed packaging rather than the box because they dry out if not sealed!)

wine wipes.jpg

I use these razors to “shave” my face every couple weeks! It’s the perfect way to get off peach fuzz and a great alternative to derma-planning- I feel like these aren’t as abrasive as derma-planing so the hair doesn’t grow back as hash. I’ve actually derma-planned my face with a professional derma-planing tool & felt like these were a better alternative for me & a little more gentle. They didn’t take off as much hair which I liked & made it seem like a softer outgrowth.

shave your face

The perfect way to add some glow to the inner corner of your eyes or cheek bones! I love this NYX Shimmer Pigment

shimmer .jpg


This ultimate at home facial! This
facial steamer is seriously a game changer for my skincare routine and makes my skin SO glowy and fresh!

steamer.JPG

Travel

This Portable Charger that is a traveling game changer!

charger.jpg

Stylish luggage that is big enough for the over packer like me. Super inexpensive and large!

luggage.jpg

The ONLY way to pack your jewelry when you travel! Its compact, lightweight and separates everything- so no tangles!

jewlerytravel.jpg


Los Angeles Travel Guide

Los Angeles travel guide

So..my all time FAVORITE place in the United States is hands down California. I love Los Angeles (specifically the West Hollywood/Beverly Hills area) and would live there in a heartbeat if it wasn’t for the traffic and cost of living. So just a dream…but traveling there is seriously my happy place! I’ve been to LA several times and I honestly think that city was made for just me. The first time I went I was like…I feel at home. Now after visitng about4 times, I feel like I have the city figured out based on what I like to do! Thats why I wanted to share my favorite things to do in LOS ANGELES with yall! From my favorite restaurants, things to do, and where to stay!

I learned very quickly on one of my first trips to the city where my favorite place in Los Angeles was- West Hollywood. I love the restaurants, hotels, the nightlife, the shopping, the people watching and the day dreaming of life in the not so far away Beverly Hills… We always stay in West Hollywood because of the location! Specifically on the Sunset Strip because most of the hotels have gorgeous rooftop views and there are great restaurants.

My Favorite Things to Do in the Los Angeles Area:

  • I’m pretty extra, so I ALWAYS rent a convertible to explore the city even if its just for a day or two, theres nothing like driving around Cali in a convertible

  • If you rent a car, you MUST take a drive along Mullholland Drive. One of the best scenic drives in the US, and this is where you can see the Hollywood sign!

  • Visit the Grove Farmers Market

  • Go to Santa Monica

  • Pool Hop along the Sunset Strip - Specifically the Sky Bar at the Mondrian

  • Take a day trip and drive to Laguna and Eat at Las Brisas

  • Shop on Melrose & Window Shop on Rodeo Drive

  • Visit the Griffith Observatory for a beautiful view of the City

  • On our last trip we randomly found this restaurant/bar called “Craigs.” The reviews said celebs go there so of course I wanted to check it out and we decided to stop by for a drink. And we will 100% go back every time we’re in Los Angles from now on. At first we thought it might be cheesy, but it was my only time in LA seeing the paparazzi go crazy & it was so fun to see celebs & paparazzi outside waiting for them to get done eating! Most of the celebs that go here want to be seen by the paparazzi- we saw Tara Reid. Haha. But it was such a fun experience and felt like something you have to do in Hollywood!

Paparazzi at Craigs

Paparazzi at Craigs

Here are my favorite Hotels in West Hollywood:

  • The Jeremy West Hollywood** FAVORITE HOTEL!!

  • The Chamberlin West Hollywood

  • Andaz West Hollywood

  • Mondrian Los Angeles

  • Petit Ermitage

  • The Hollywood Rosevelt

The Jeremy Hotel on Sunset

The Jeremy Hotel on Sunset

Los Angeles travel guide

Favorite Restaurants

  • The Ivy for Brunch

  • BOA Steakhouse (for celeb sightings)

  • PUMP

  • Catch in Santa Monica

  • The Little Door

  • Laurel Hardware

  • Spago in Beverly Hills

Los Angeles travel guide

The top 6 salon client questions!

Hey guys! Here are the answers to the TOP 6 most frequently asked salon questions! I hope you guys enjoy this video and comment below with any other questions! I’m answering these questions below the video as well in very short responses, so check out the video for the detailed answers!

\/ \/ \/ CLICK THE VIDEO BELOW TO HEAR THE ANSWERS! \/ \/ \/

Is it better to come to my color appointment with dirty hair or clean hair?
CLEAN HAIR!!

Are extensions damaging?
•All extensions can be damaging to your hair just like heat, and color can be damaging.

•It just depends on how well you take care of your hair

•I think the best extensions are the tape ins and the hand tied.

•The only extensions that have no damage at all is the halo piece.

•Most people who have extensions don’t have the most healthy hair to start with so a little bit of damage isn’t a huge deal for what the end result gives you.

•I have never seen severe damage from the methods we offer and in fact I feel like my hair has been healthier since I don’t use as much heat on it now!

Why does hair color cost what it does?

Pricing for color varies depending on so many different things-
•your stylists experience
•credentials
•your amount of hair
•your hair history
•your starting color
•your desired color
•the steps taken to achieve your result
•the time taken on my schedule

What is the difference between balayage and baby lights?

Baby lights are very fine highlights breaking up your root! Usually face framing and breaking up your natural color. Balayage is mostly your natural color at the root with brighter pieces painted upwards but still allowing your root to show. Think of ombré but with pieces painted higher to break it up. Basically balayage is a technique meaning hand painted highlights. Usually all of my colors have a combination of baby lights and balayage

So many people try to pin point exactly what the photo is & really that’s not your job to figure out and can just be confusing. Don’t worry so much about what the technique is because for me most of my pictures you see are a combination of everything

Why can’t my hair get blonder?

Here is a link to my most popular blog post ever that answers this question in detail! The Truth about going blonde!

Can brunettes go lighter without having brassy/orange tones?

The short answer is yes & no! It depends on your starting color & your hair history! If your hair is able to lighten past a level 7- then your hair can lighten past the stage of warmth. Therefore you are able to eliminate warmth from your hair with a glaze. If your hair does not lighten past a level 6 then there is going to be underlying warmth. And this just depends on your hair and the history of it. There is no way around that. So you have to get your hair to at least a level 7+ to prevent warmth in a brunette! And sometimes it is not possible get to a level 8 in one visit. Again, depending on your starting color. Also, the link above “The truth about going blonde” is a great article that explains this as well. Here is a color chart guide for reference- that EVERY SINGLE PERSON has underlying pigments of warmth in their hair! You just have to be able to lighten it to the least amount of underlying warmth that is possible in order to prevent warmth. But even then, everyones hair does fade to yellow or warm eventually. There is no way around that as you can see below because that is what is underneath your hair! !

IMG_3514.jpg


The truth about how I became successful despite my challenges

This post is going to be a little different but I wanted to really open up to you guys and talk about how I got to where I am today in my career! I will also be sharing the steps I took to build up my clientele at the end of this posts for any hairstylists who are reading!

First I want to say- I am so so so thankful for my career, and feel so incredibly lucky that everyday I get to wake up and never feel like I'm just going to "work" I am going to my job, but also my career, my passion, my hobby. It's a career that is always changing, rewarding, and really allows me to get "lost" in my craft while I'm at work.

It’s creativity and passion, but also can be very emotionally exhausting at times. When you are so passionate about something it's really easy to bring your work home with you for days at a time, and really causes you to put so much of yourself into your job. If someone wasn’t happy- you think about it for dayyyysss. But at the same time, when someone cries in your chair because you made them feel SO much better about themselves and gave them the confidence they’ve been missing (for sometimes years)- you feel so accomplished, and have a long lasting “high” that outweighs anything else. And both of these emotions can happen in one day- sometimes minutes apart!

How I became successful

I feel like a lot of people think being a hairstylist you just wake up, play with hair and go home. But it's so much more than that, at least it is for me. Thats how my idea got started about this post & why I wanted to walk y'all through a day in my life! But first, I wanted to give y'all a little back story on how I got to where I am today.

I started beauty school when I was 17 years old, after graduating High School a year early! I wasn't sure which route I wanted to take in life, and was always under the impression from some family members and teachers that going to beauty school instead of college was the wrong path to take. Despite feeling uncertain, my mom suggested I enroll in beauty school and it was the best decision I ever made. 

I was living outside Chicago at the time, and I was 17 years old still living at home with my family. I went to beauty school 5 days a week, from 9am to 5pm. I had to get 1500 hours in order to get my license. (a little over a year)

I didn't even have my own car at the time, and knew if I wanted to work at a nice salon and make good money I would need to get a job on the side to help with getting to and from work. I went to beauty school 5 days a week, and then worked until 10pm after school every night at a tanning salon- ugh it made money but I do regret those tanning days lol. Then I worked all day every Sunday and Monday (my days off school)

So I was working 7 days a week-about 70 hours between beauty school & my job.

I didn't have a single day off school or work for an entire year, and I didn't miss one single day of either.  I worked so hard to finish school, saved up enough money to buy a crappy car (that broke down after 2 years) LOL and graduated beauty school without missing a single day.

I knew exactly what salon I wanted to work at when I was done with school, and applied there before I even graduated. I knew it was the perfect place for me to start my career. After applying at The Color Room, I didn't hear anything for a couple months, so I took a job at a salon as a “shampooist”. One day, a few months later I got a call from the Color Room and they wanted to set up an interview. I obviously accepted and went in for the interview a couple days later. I got a call the next day offering me a job as a full time apprentice. I've never been so ecstatic. 

How I became successful

I will never forget my first day at The Color Room. I was like a kid going into her first day of school, wide eyed, clueless, and on cloud nine. I worked all the time, my schedule was usually about 7-8 hours a day, but I was so eager and excited that I went in a couple hours early and stayed late most days. My schedule on Saturdays was the worst! I had to be at the salon before 7:30AM. All of my friends were in college and went out on Fridays- I literally never went haha. I pretty much had no social life.

It was very different because while most 18 year olds were starting college I was starting my actual lifelong career. I brought in models every Thursday morning to practice color, cutting and updos on. I had absolutely no idea what I was doing. You don't learn anything in beauty school, so I was completely starting over, learning from someone who could do hair with her eyes shut.

The owner trained me, and was intimidating and very tough on me. She had been doing hair about 30 years. I often left our Thursday morning classes in tears, wondering if I was ever going to succeed in this industry because I just didn't get it at first! I struggled with EVERYTHING. Styling, Color, Cutting, Updos. I was seriously like WHY AM I TERRIBLE AT HAIR. I don’t know why but doing hair just didn't come easy to me at first.

For our classes, I had to bring in my own “model” to practice on every week. On a few occasions I didn't have a model, and on the 3rd occasion this happened she said, "if you don't have a model next week, you're done." I was devastated! But, I did everything I could from that point forward to have a model, and I didn't come to class without a model ever again. In fact, it got to a point that I was booked a couple months out with models!

How I became a successful hairstylist

I now know why she threatened me and why she was so tough on me, it’s because she KNEW I had it in me to succeed and she was pushing me to my fullest potential. It’s because she knew I would have tough clients, and tough days, because being a hairstylist IS a rollercoaster of emotions, and she was preparing me for my future. She was making me tough, and better, and a fighter. She was showing me that in order to succeed I had to work my butt off and take constructive criticism and not be a little baby about it. Because what was I going to do if my client didn’t like her hair? Cry in front of her? NO. I was going to own it up and FIX it. What was I going to do if I didn’t have clients on my books? Keep showing up each day without them making no money? No. I was going to bust my ass to make money and succeed. And I did. And I am truly grateful TO THIS DAY- 10 years later for the tough love Pam Anderson gave me from the Color Room Salon in Dyer, Indiana.

I was on the path to completing my apprenticeship at The Color Room and start taking my own clients, when I decided to move back down to my hometown of Austin. I told my boss that I was moving, cried, and she wished me luck, and even wrote me a letter of recommendation. I've even gone back to visit her and the salon a couple times when going to visit my family in Chicago...the last time I visited was about 2 years ago and when I walked in she said "well look at this, miss big shots here! or something along those lines. I got chills. Wow. Talk about the best feeling ever..

After moving to Austin when I was 20, I worked at a salon downtown, making $12 an hour, doing haircuts only. I didn't even know what I was doing, it was my first time taking clients without guidance but it helped me build up a little confidence. I knew this job I had wasn't long term, but I needed a steady income since it was the first time being on my own. The salon I worked at had a bad reputation of turnover. The owner had a repuation for firing people left and right. I would pull up to work- and when you saw him outside pacing back and forth you knew someone was next. It was weird. Sure enough I pulled up one day right after New Years and he was outside pacing. I knew it was my turn to go. I got fired- my one and only time getting fired from a job. I left in tears. He said he was firing me because of my customer satisfaction, and because I wasn’t succeeding. But I knew he was wrong. I knew he was just a jerk that fired people left and right.

I then moved out to the Cedar Park area and took a job as a stylist for about a year and a half. This is where I built up my clientele and career! I was at a salon that required you to pass certain “benchmarks” in order to “move up.” Within 6 months I exceeded the requirements and got promoted. I got promoted within 6 months of getting fired from my previous job.

I thought I worked a lot in beauty school and during my apprenticeship... but while building my clientele I worked Tuesday-Saturday anywhere from 9am to 7, 8, 9 at night. I pretty much took clients whenever they wanted to come in. No matter what time. But I was getting booked, getting requests, and doing pretty good! It was towards the end of the year that I saw Blonde Faith was opening and I knew from the minute I met with Karen, the owner, I had found my forever home. I felt an instant connection with her (as most people do) and I waited about 6 months for Blonde Faith to open, and FINALLY started working there, while bringing about 95% of my clients with me! I STILL have clients that starting seeing me at my first salon in Cedar Park before I worked at Blonde Faith.

Back when Blonde Faith FIRST opened!!

Back when Blonde Faith FIRST opened!!

I couldn't believe everyone followed me, and it was then that I became more confident in my self and knew I grew a lot as a stylist...but this really helped boost my confidence in my career. I started working with Karen at Blonde Faith, and had steady following of clients, but I wasn't booked by any means. Blonde Faith was different and thats how I knew I would stay here. I cared about the bones of it, the image we gave others, the reviews, the happiness of every client- not just my own.

When I first started about Blonde Faith I think we had about 5 employees? We now have about 23 and have more than doubled in size since we first opened.

I was still working quite a bit building my clientele, and it wasn't until about 7 years into my career that I started a "normal" schedule working Monday-Friday 10-5. I am able to make my own schedule, take time off, travel, and have an amazing work life balance.

I am so lucky to have a boss that helped me succeed and given all of that to me to this point. I can travel to places I’ve always dreamed of going because of my hard work yes- but also because of one woman whose dream of opening up a salon in Cedar Park, Texas became my lifelong career. Because of her success as a salon owner, I became more successful than I ever believed was possible as well. Because of her dream- my dream came true. And literally every day I see her, walk into my job, I feel so lucky. I’m not perfect- I’ve made mistakes along the way and I’ve fallen. But she’s always been there to help pick me back up & given me everything I need to succeed. I literally wouldn’t even be writing this blog post if it wasn’t for her.

Now, over five years after my career at Blonde Faith started, I am booked weeks in advance, have my own assistant, 2 chairs, grown my social media presence, won and chosen for Educational opportunities across the US, and am making about 6 times what I was when my career first started. Now I train new stylists- like I once was trained. I have honestly worked my BUTT off to get to where I am today.

How I became a successful hairstylist

I wanted to share this with anyone who is struggling not just in the beauty industry but in anything in life. The purpose of this post was to show you all where I STARTED. Because yall. I literally started from the BOTTOM. Through hard work I succeeded and I’m at a place I never thought I’d be 10 years ago.

My career has helped me grow as a women through patience, perseverance, dedication, confidence and professionalism. I can honestly say I am truly proud of the person I've become in my career, and the women I surround myself with every day have played a huge role in my accomplishments. They say you become like the 5 people you spend the most time with & I’m so glad I’ve found my “people.”

For the stylists out there!
Here are a couple ways I helped build my clientele pre Instagram:

During my apprenticeship- I didn’t really know many people in the Chicago area since I grew up in Texas:
-I asked a top stylist at the salon if she knew anyone that wanted to be a model. Luckily she did & helped me book up my schedule with her friends & family who wanted free hair services! A few other stylists knew people too.
-I asked random people I saw with good hair to be models- at the grocery store, gas station, or the mall. Most people wanted free hair

During my first salon job in Texas- Also pre instagram, it’s SO much easier now with instagram!!
- I gave my card and left it out everywhere
-I literally made FLYERS and went to a nearby shopping center & hobby lobby and put them on peoples CARS yall. I was a H U S T L A haha
-I gave incentives to clients- like refer 3 friends get a free haircut or prebook 2 services and get a free haircut
-I took clients late and on weekends

Now after building for 10 years things are a little different but you never stop growing! I no longer have to hustle the same way I used to but I’m so glad I did. Instagram and word of mouth is 100% how I gain clients at this point in my career. Also, exceeding my clients expectations, a good personality & having good customer service keeps them coming back.

My advice for anyone starting out is to give out your card to anyone and everyone, ask friends, family and clients for referrals, post the crap out of your work, post your best work, and work until you don’t have to hustle anymore. It will be worth it..I promise.

I hope you guys enjoyed my story! I’ve actually been working on this post for a couple years and kept coming back to it. I decided to finish it this year. On my 10 year anniversary of my career. I think for my next post I will do a "day in the life" Let me know what you guys think! :) 

How I became successful

Fredericksburg, Texas Travel Guide

Hey y’all! We just got back from another fun weekend in Fredericksburg! I love going to Fredericksburg for a quick weekend getaway from Austin because it is always so relaxing and easy to get to! If you haven’t been to Fredericksburg in a while it is really growing like crazy! There are so many wineries, cute vacation rentals, and restaurants! I get so many questions about where we like to go, where we stay and what we do there! So I wanted to share our recommendations with you guys here!

Where to stay

We normally rent through a website called Absolute Charm. They have vacation rentals all over Fredericksburg and we have found their properties to really fit our wants and needs when traveling for a quick romantic getaway. Most of their properties have private hot tubs and fireplaces which is so fun and cozy. And their pricing is pretty affordable! Their rooms start at $80 a night and go up to $700. They are all in cute little private cottages which is so fun.

patio sisteres 3.jpeg

We most recently stayed here at the Patio Sisters cottage and it was so cute! Try to stay in the room “ Claire” which is more private and in the corner of the property. It was also walking distance to main street which was awesome! All of their different properties are super cute & for sure recommend booking through Absolute Charm if you’re staying the weekend in Fredericksburg!

patio sisters1.jpeg

Where to eat

Alright time for the FOOD! Ahh I love the food in this charming german town! My favorite is for sure Ottos, but here are some of my other favorites!

  • Ottos (German)
    Cabernet Grill

  • Mamacitas (Mexican)

  • Crossroads (Make a reservation!)

  • Navajo Grill- (Haven’t been yet but it’s supposed to be good!)

  • Vaudeville (best brunch)

  • Sunset Grill (also good for brunch!)

  • Auslander Restaurant (German)

  • Fredericksburg Brewing Company (German)

  • August E’s

Fredericksburg travel guide

Favorite Wineries

I looooveeee wine! It’s so fun to try different wines at the wineries in Fredericksburg! Here are the places we like and that we feel are worth going to. Some places we’ve tried have definitely been a waste of time. I’m not big on calling these places out publicly so feel free to reach out if you have a question. These are OUR personal favorites

  • 290 Wine Castle
    Signor Vineyards (favorite)
    Augusta Vin
    Heath Sparkling Wines (Champagne- great vibes)
    Ab Astris

  • Hye Meadow

  • Kuhlman Cellars

  • Pedernales Cellars

  • Hilmy Cellars

  • Becker Vineyards

  • 4.0 Cellars

  • Barons Creek Vineyards

Other things to do

Other than eating and drinking wine its super fun to just walk around the town and check out the different boutiques. One place we really like going to is Rustlin' Rob's Texas Gourmet Foods they have a TON of different spices, salsas, and hot sauces to try and it’s super fun to walk around the shop and taste everything!

Another fun activity is to dance the night away at Crossroads. There have live music and a dance floor and it really has the Texas hill country feel to it. You’ll for sure see some locals dancing in their cowboy boots and hats. Doesn’t get much more Texas than that.

We love just relaxing in our room and looking up a the Texas stars! In Austin we don’t really get to see many stars because of all the city lights so its super fun to just sit out in the hot tub under the Texas Sky.

IMG_2960.JPG
Fredericksburg travel
Plaxima Studio.png

Brunette to blonde in one visit!

Going from brunette to blonde is so fun but sometimes is a difficult process. Watch the video to see how I took this client from “brunette” to blonde safely in one visit! You can also check out this blog post I did a while back on The Truth about Going Blonde It’s one of my favorites & the most popular blog post I’ve done! You can also check out this post to get advice on what to ask your stylist for to get the “blonde” you want!

For this client we did a heavy full highlight and then did a root-shadow to help with a lower maintenance outgrowth!

Hope you guys enjoy!

brunette to blonde
IMG_2476 2.JPG
Plaxima Studio.png

San Diego Travel Guide

San Diego is one of my favorite places in California! It will also always hold a special place in my heart because its where Eric and I got engaged! So, I wanted to share my San Diego Travel Guide with you guys! On this trip we rented a convertible and drove up the coast to LA after visiting San Diego for a few days! It was so fun!

Where we stayed:

We stayed on Coronado Island at the Marriott Coronado Island Resort! The hotel was very nice, affordable and had amazing views of downtown! We loved staying on Coronado Island and it was pretty easy to get everywhere in San Diego. La Jolla or the Gaslamp district would also be a great area to stay.

IMG_2437.JPG

What to do:

  • Bike around Coronado Island

  • Visit the Hotel Del for drinks on the beach

  • Go to the San Diego Zoo (so fun for any age!)

  • Visit La Jolla

  • See the sea Lions in La Jolla

  • Go to Sunset Cliffs National Park (where Eric proposed!)

Sunset Cliffs National Park

Sunset Cliffs National Park

The Gaslamp has tons of restaurants and shopping!

The Gaslamp has tons of restaurants and shopping!

IMG_2459.JPG

Where to eat/drink

The Gaslamp

The Nolen (rooftop bar in the gaslamp)

Mister A’s (upscale restaurant with great views!)

Vin De Syrah (a super cute Alice in Wonderland Themed wine bar)

Georges on the Cove (La Jolla)  

IMG_2811.JPG