6 things a hairstylist would never do to their own hair
/

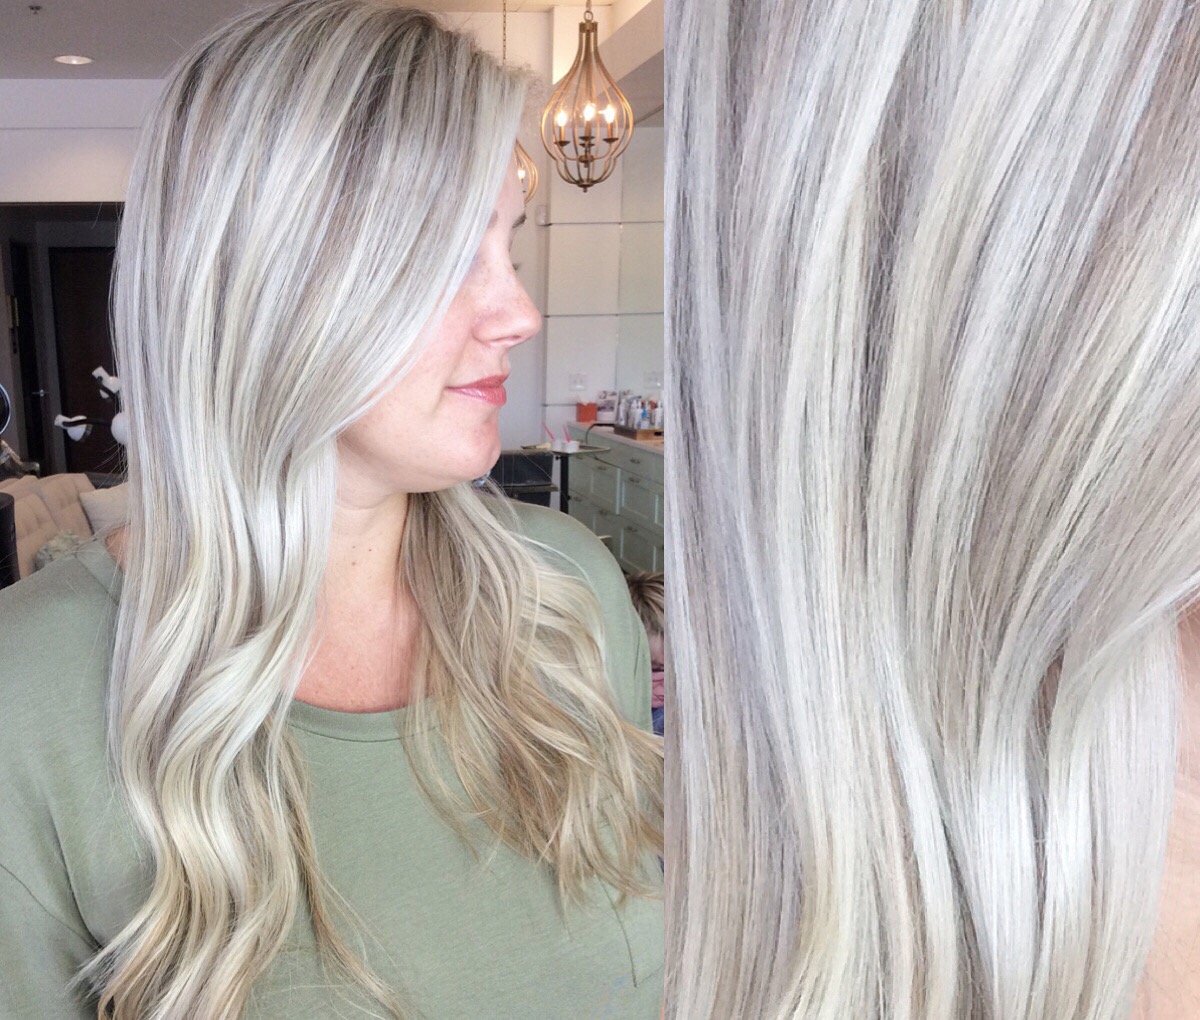
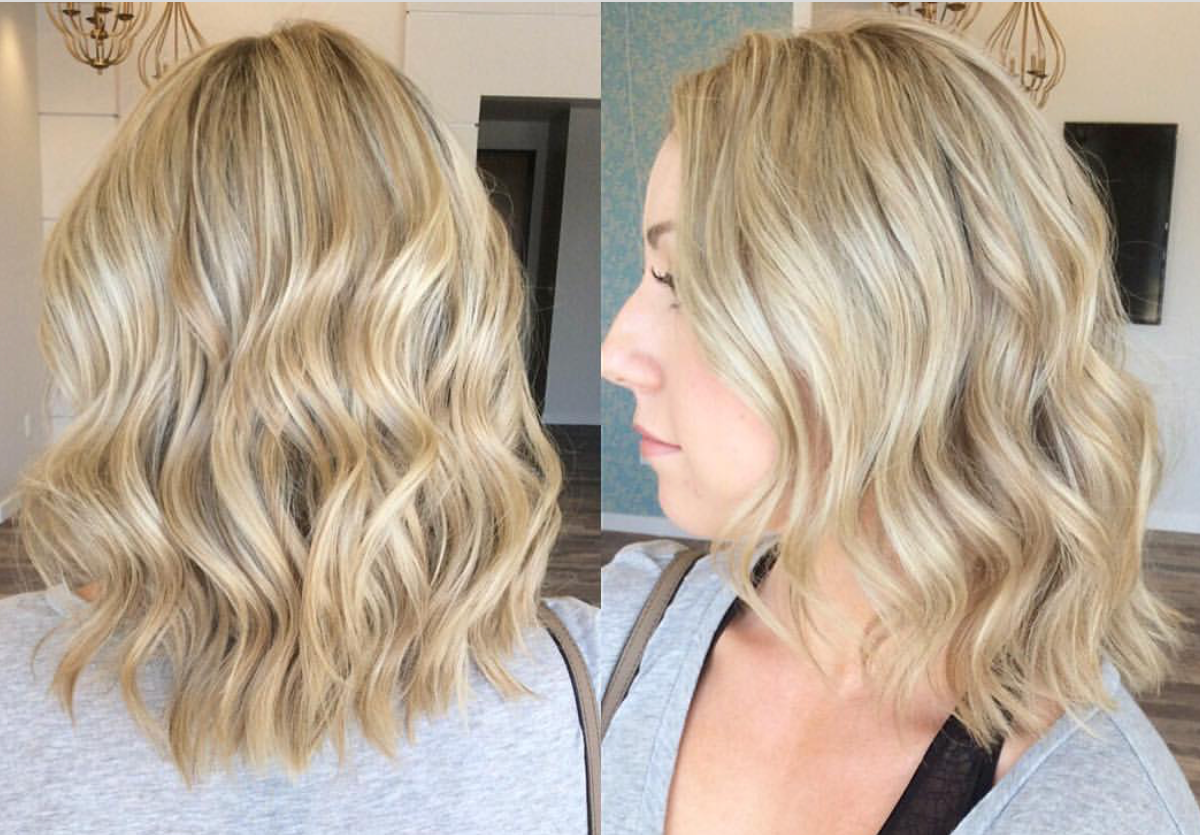
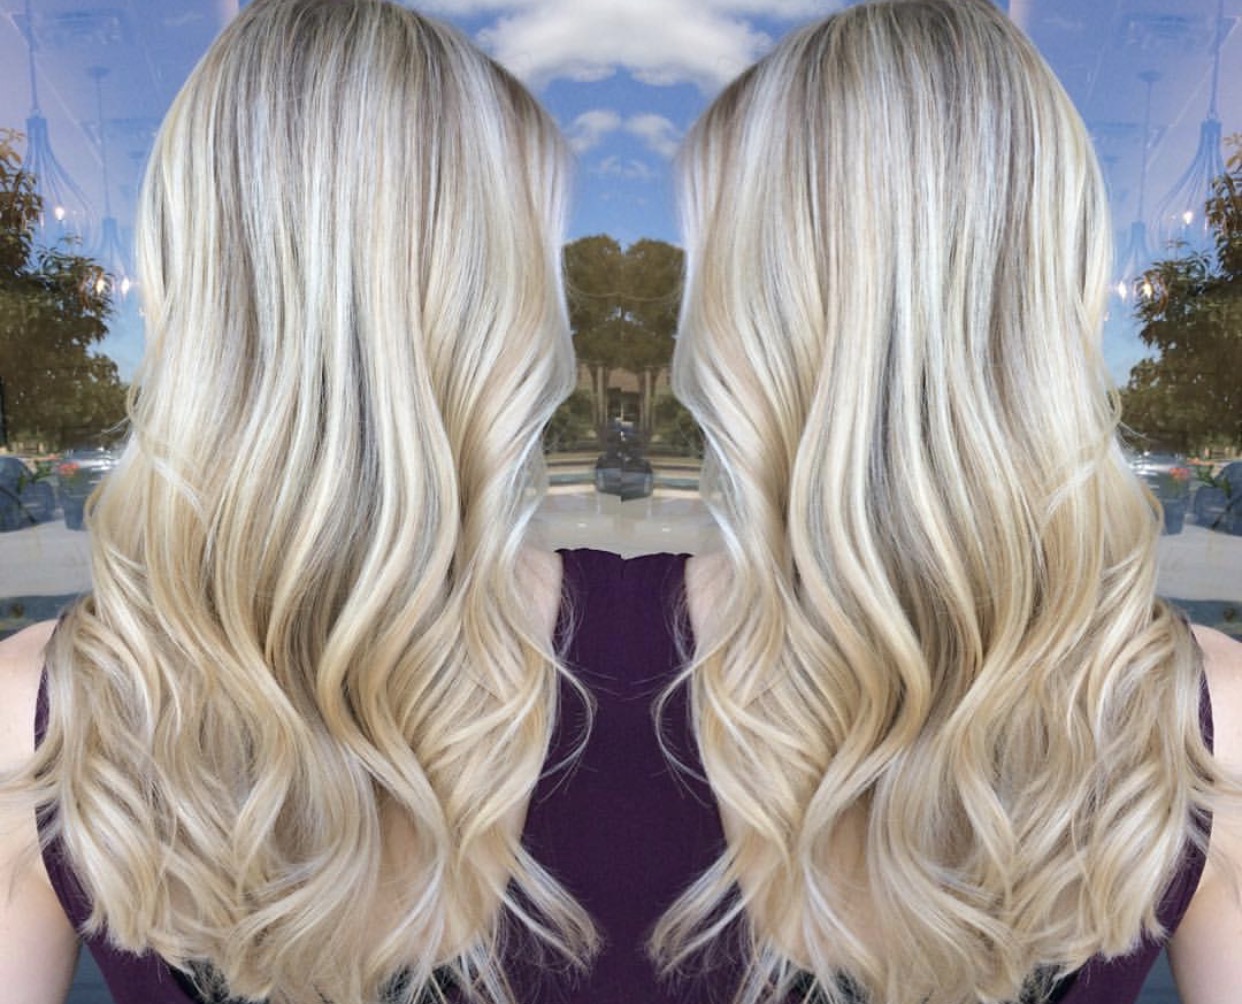
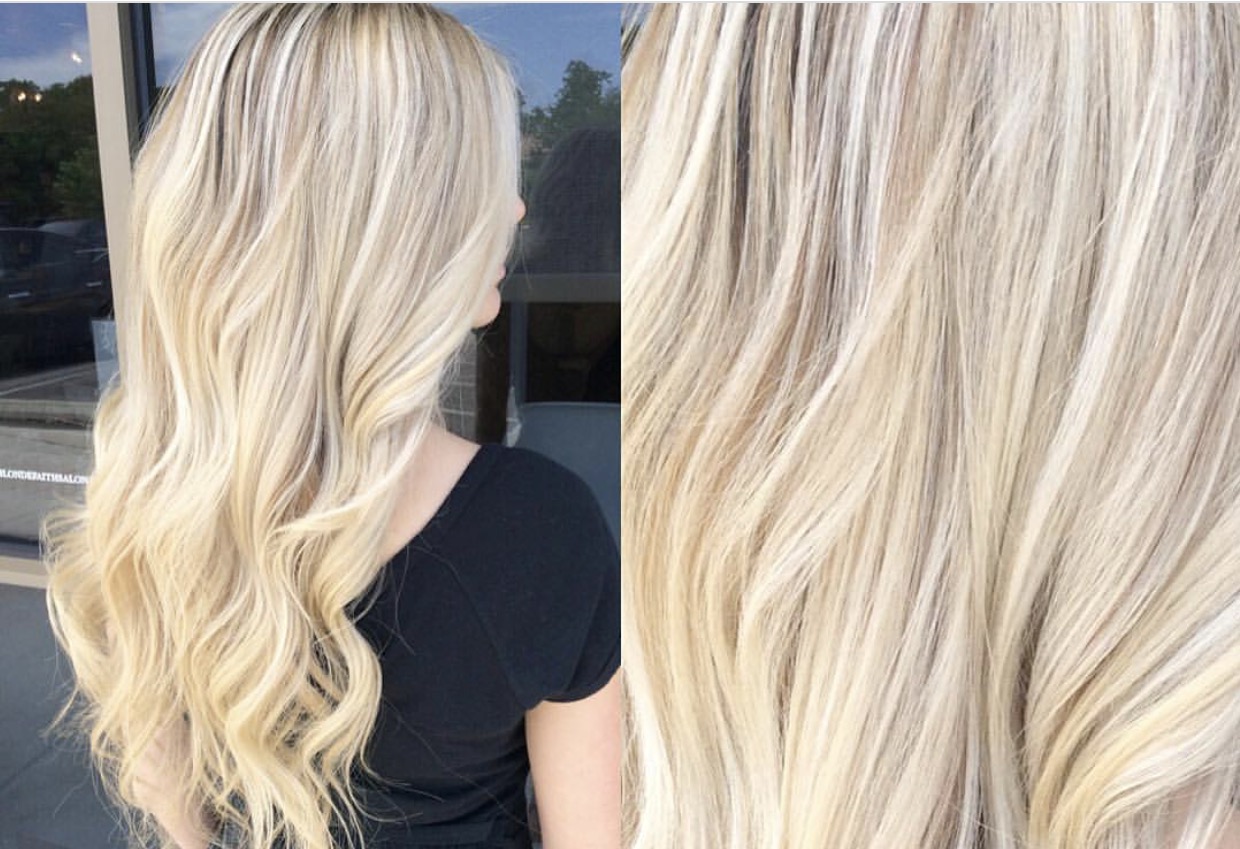
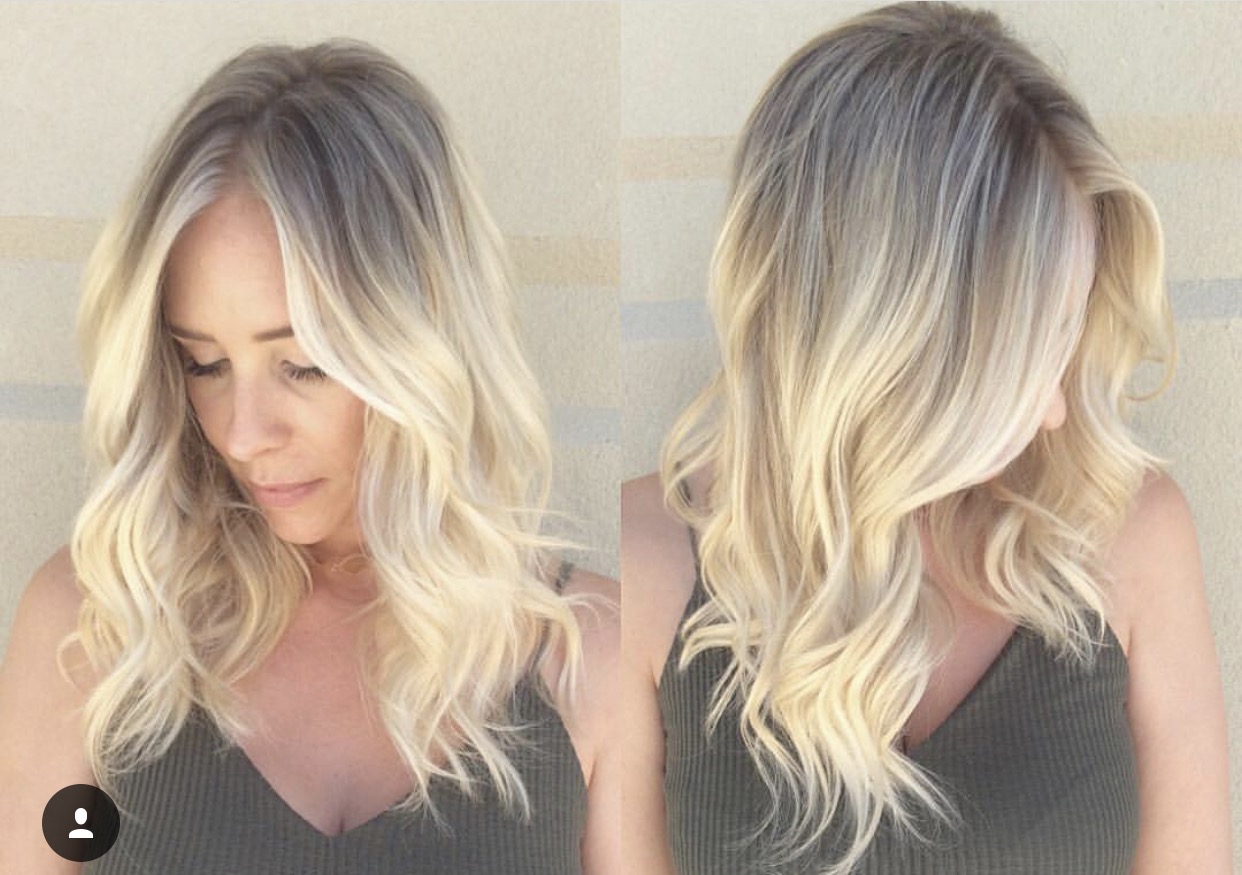
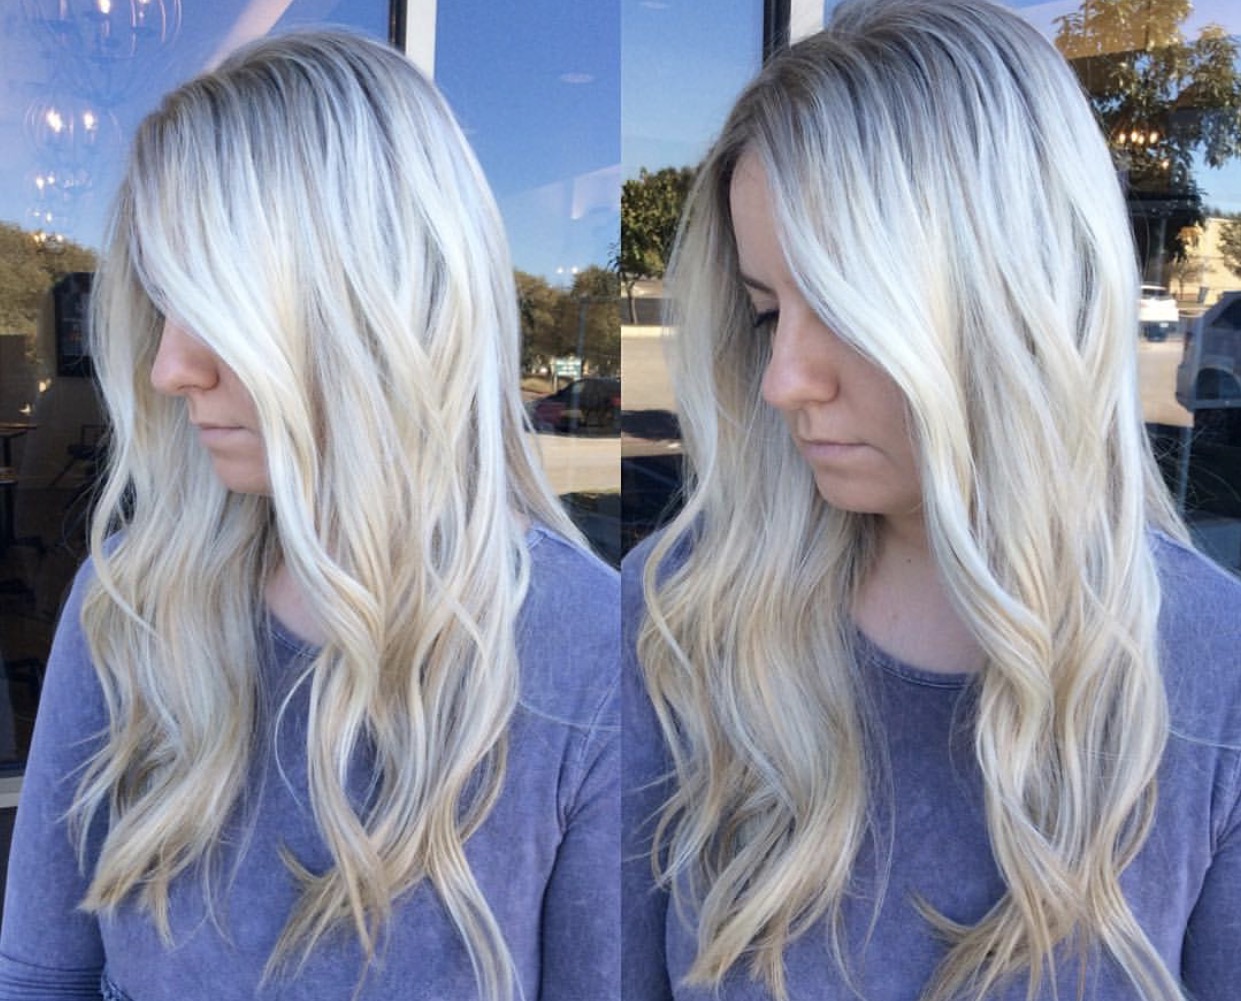
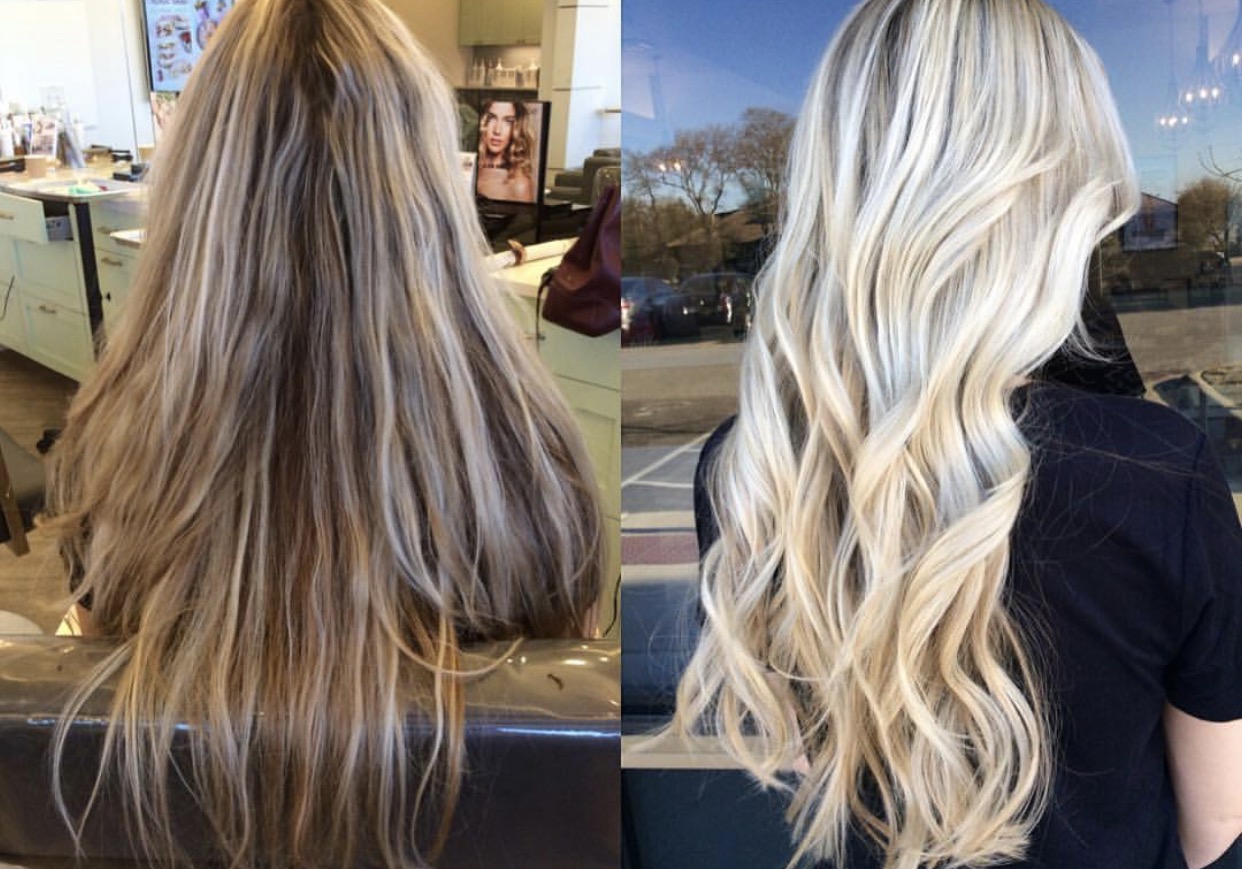
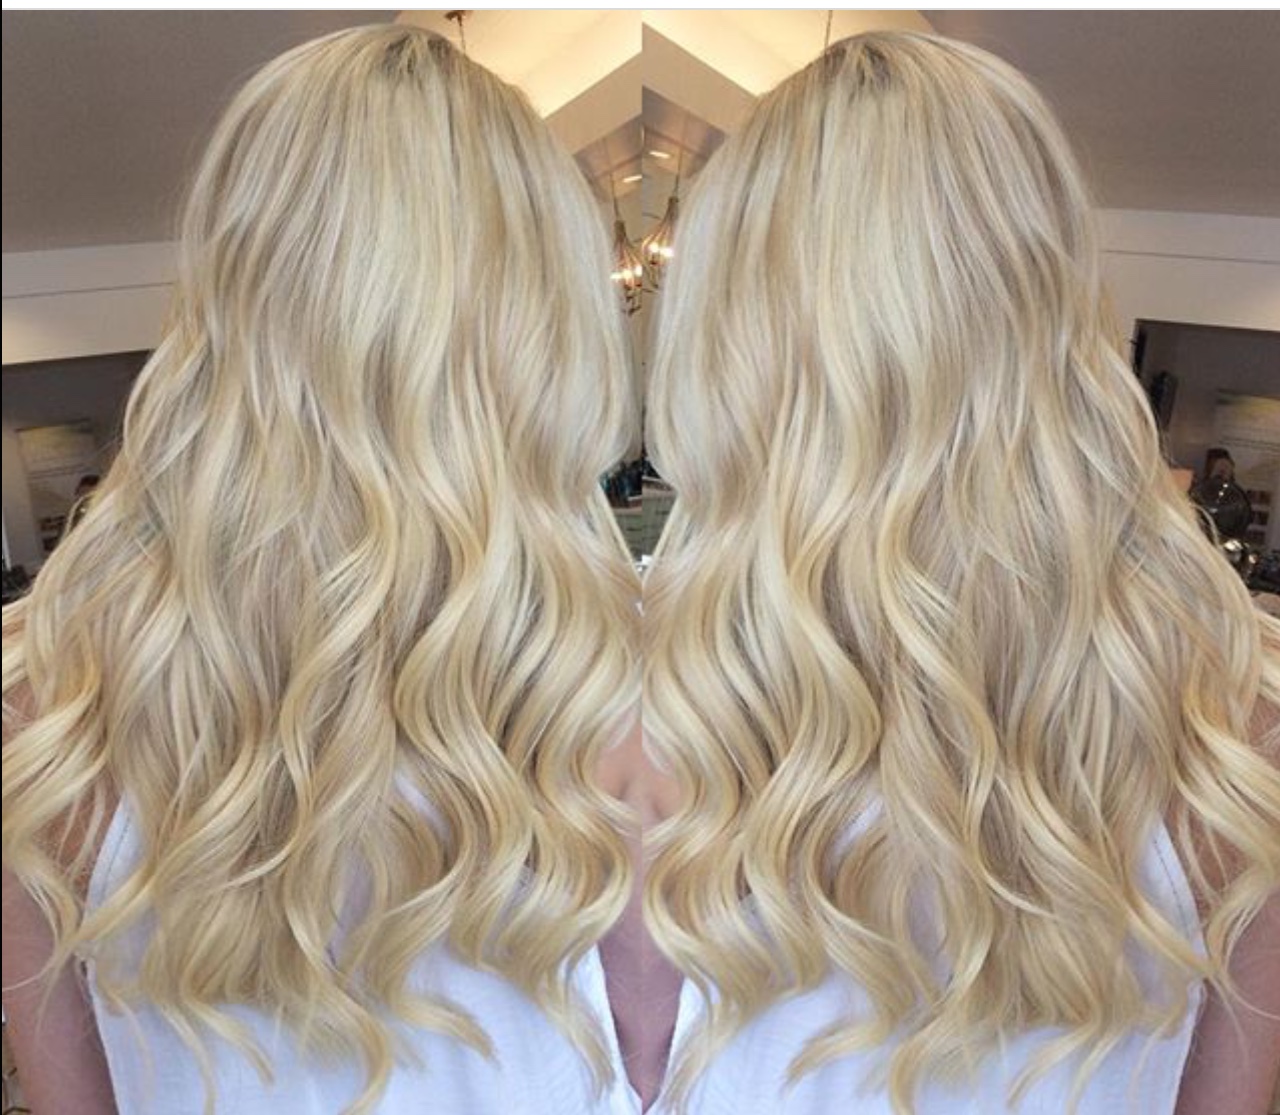
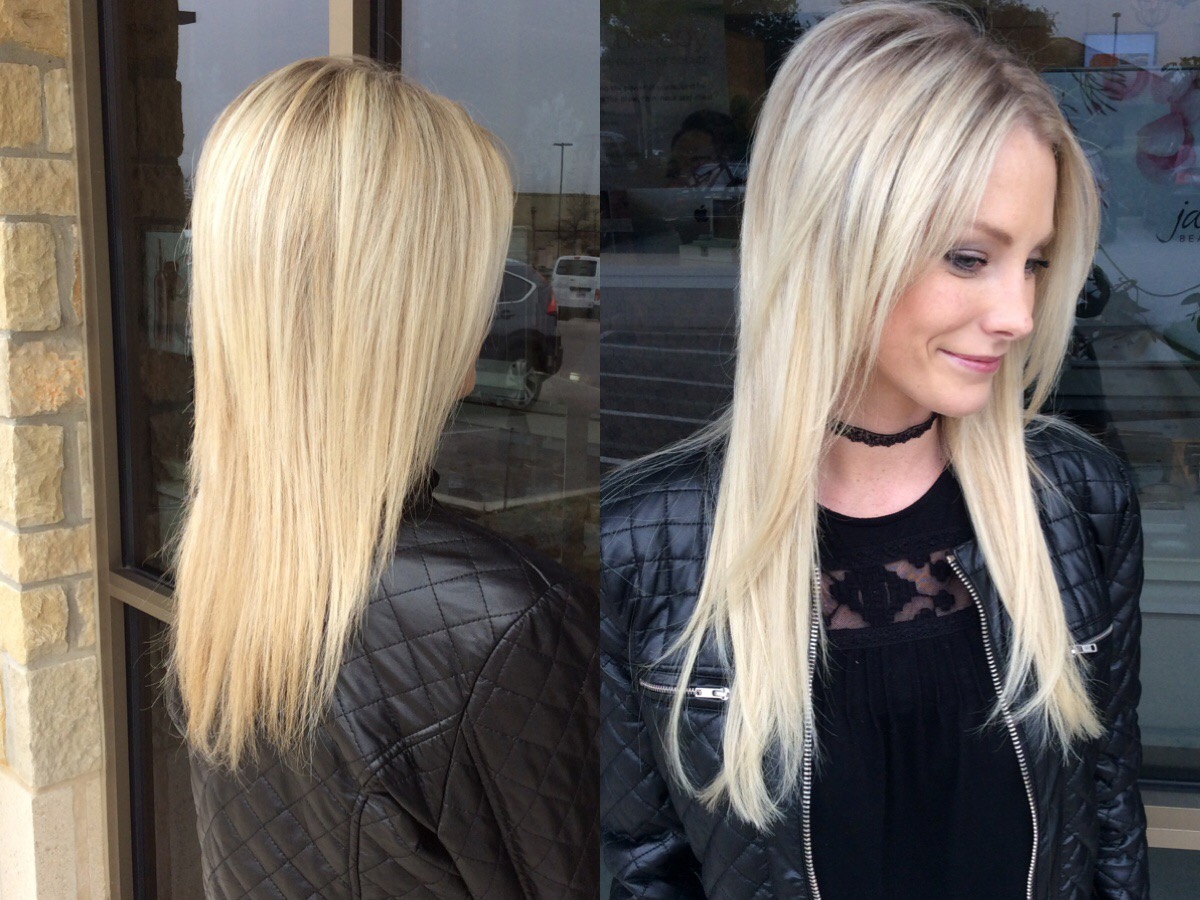
Over-process
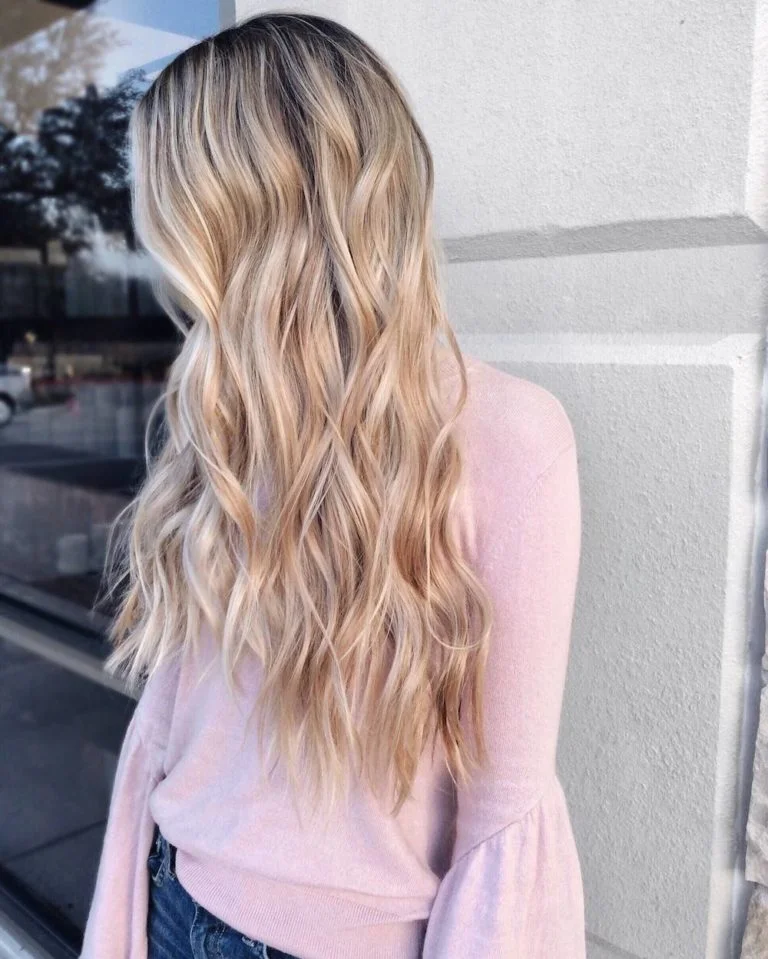
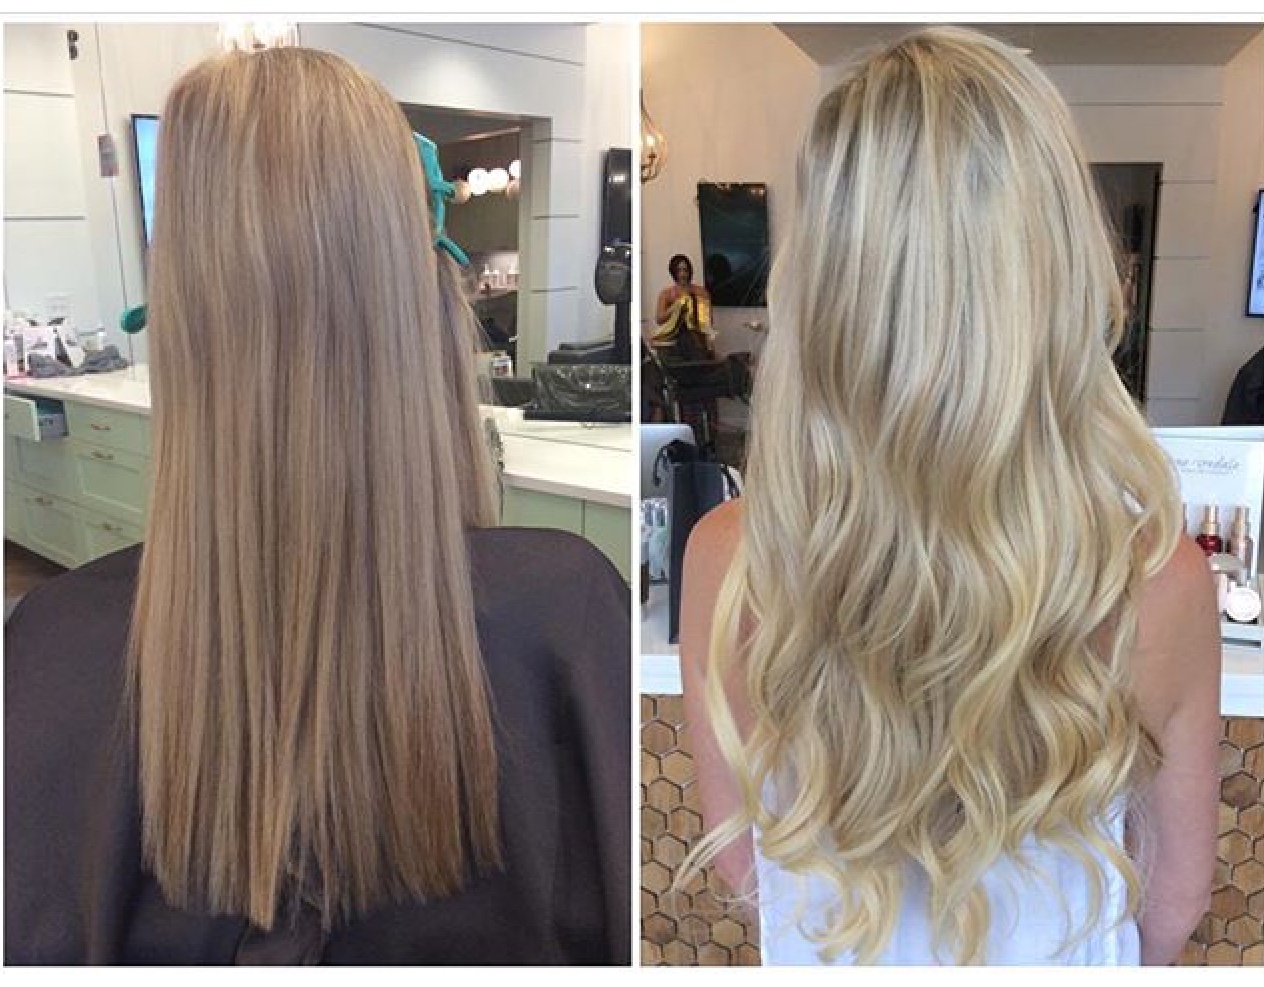
If I knew going lighter with my hair wasn’t in my best interest and would be damaging to my hair, I 100% wouldn’t do it. No matter how much I wanted to be blonde! Over processing your hair can be super devastating and isn’t worth it if your hair’s going to be damaged because of it. Sometimes the best thing to do is ask yourself if you want healthy hair, or super blonde hair. If your stylist tells you not to go blonder, don’t do it!
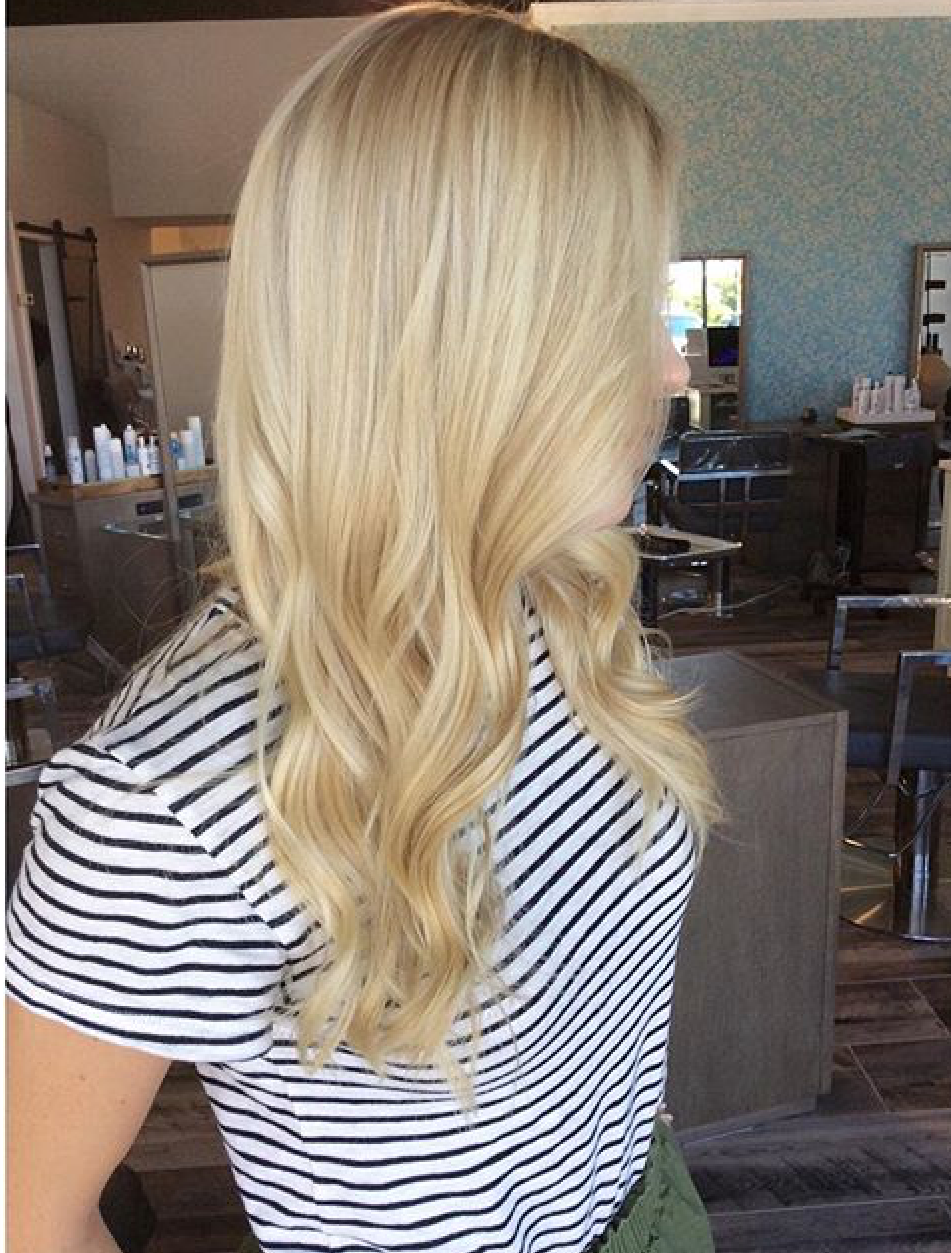
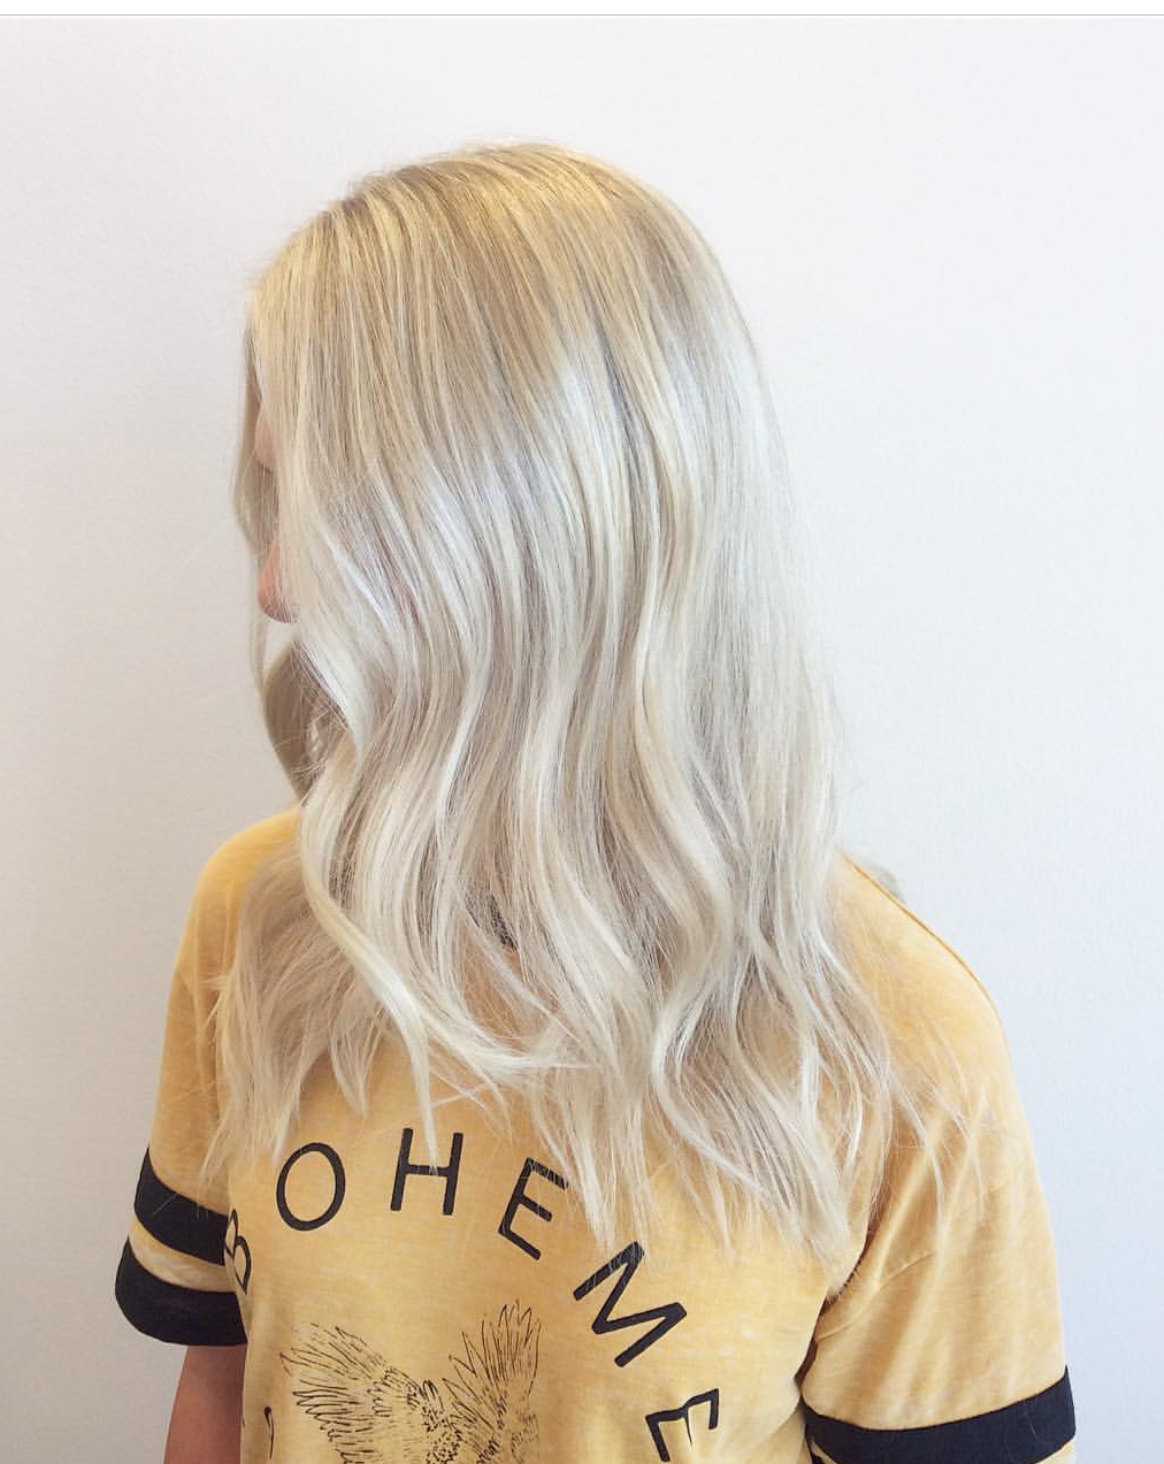
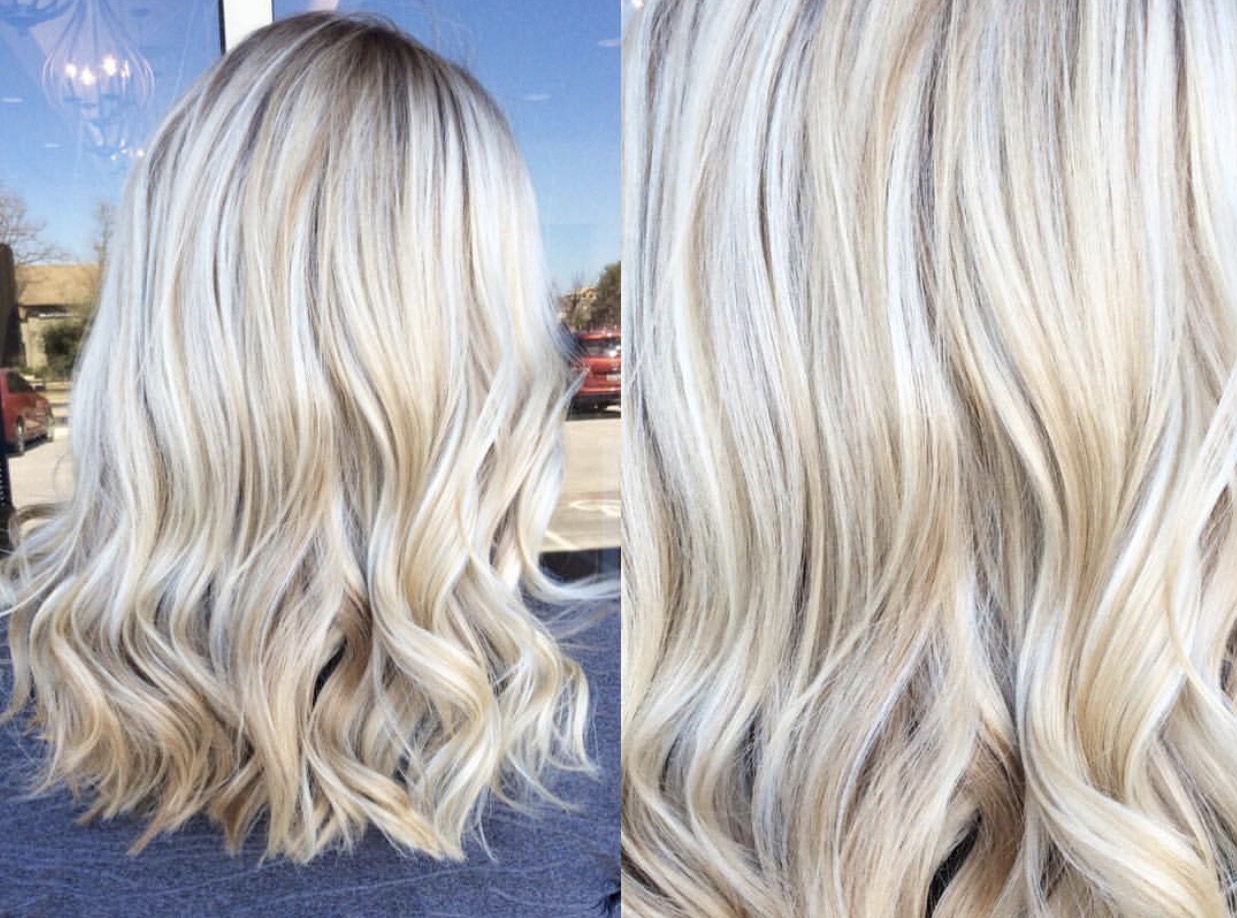
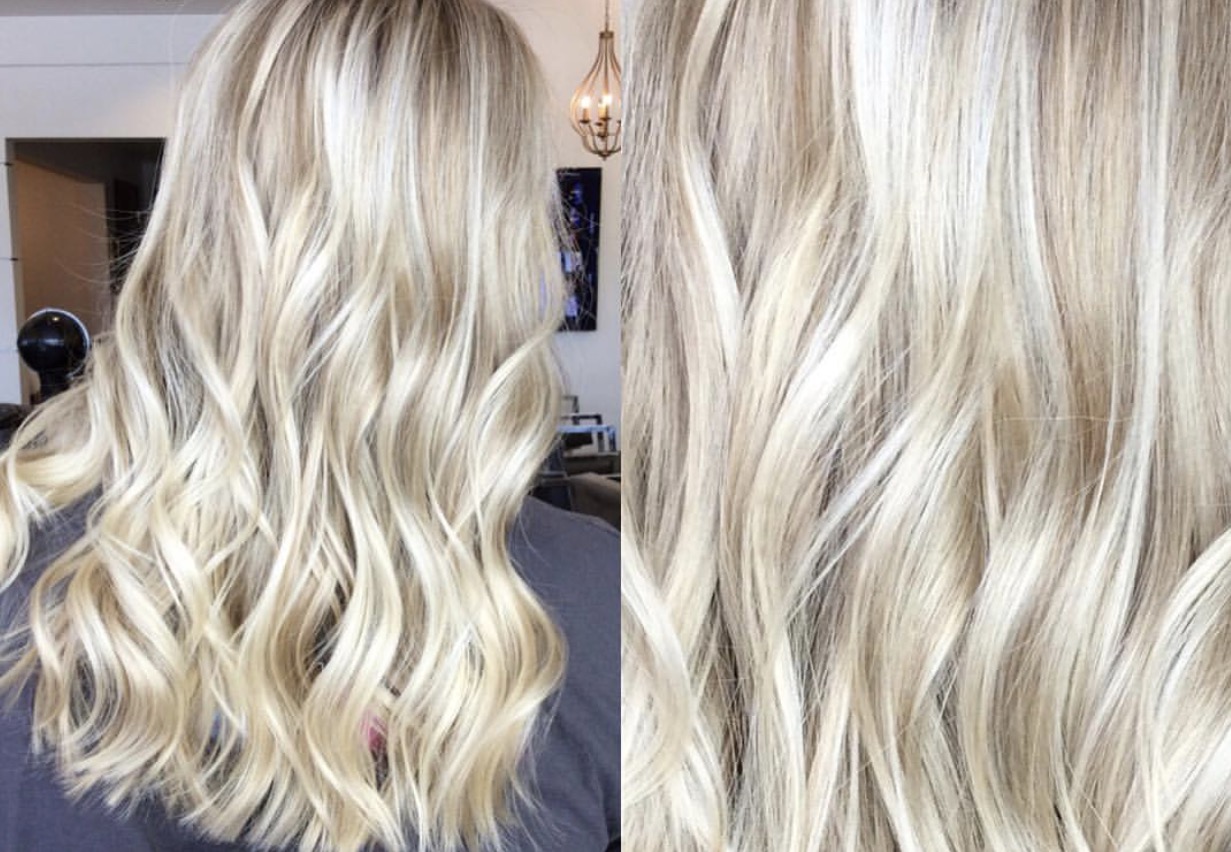
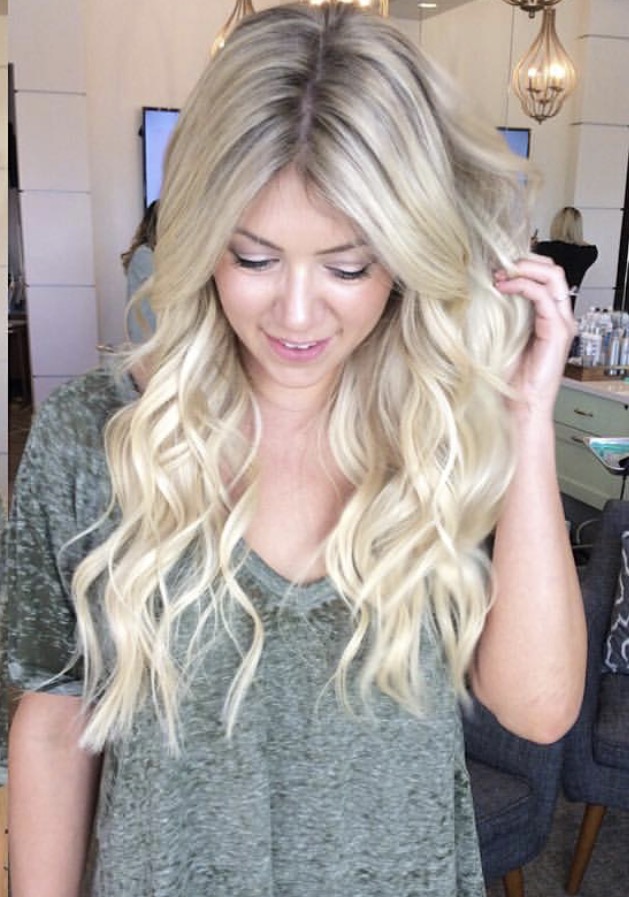
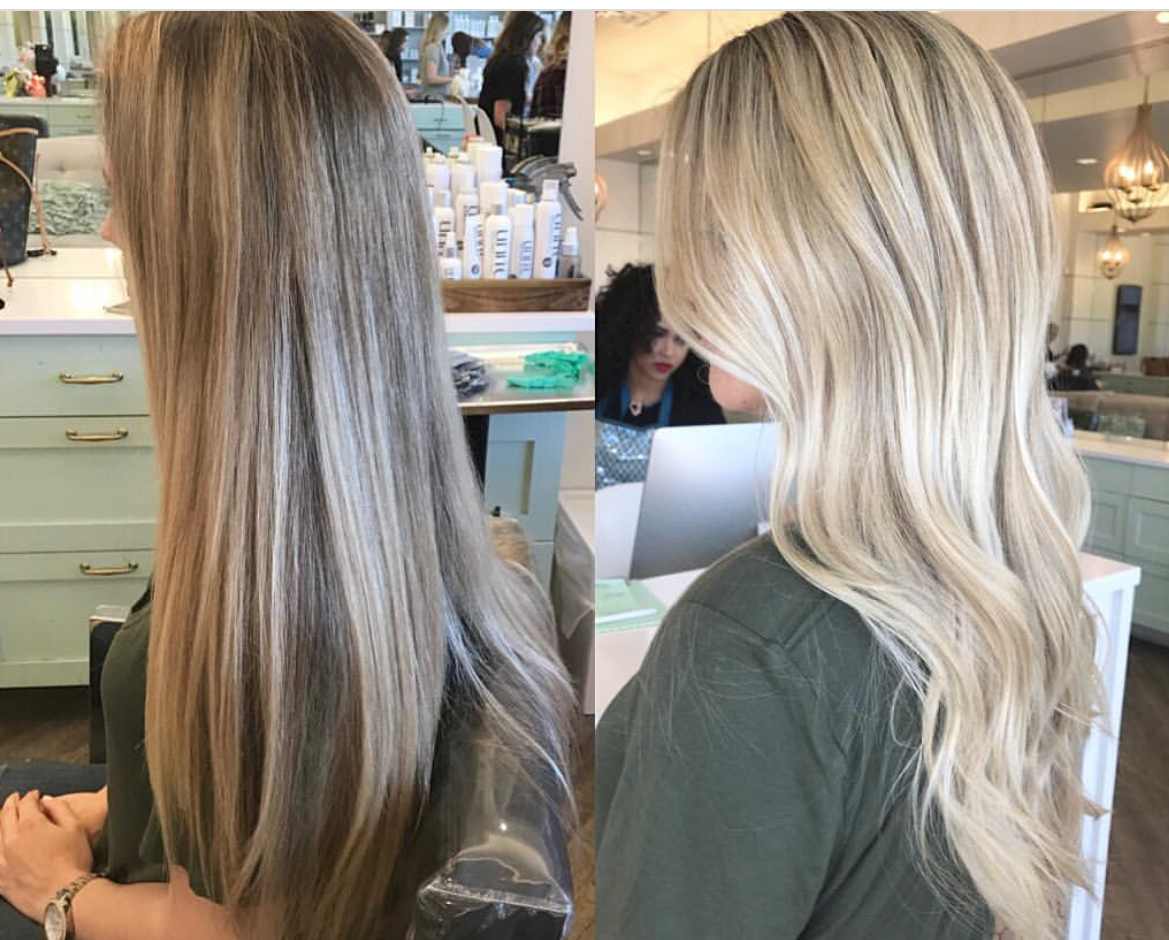
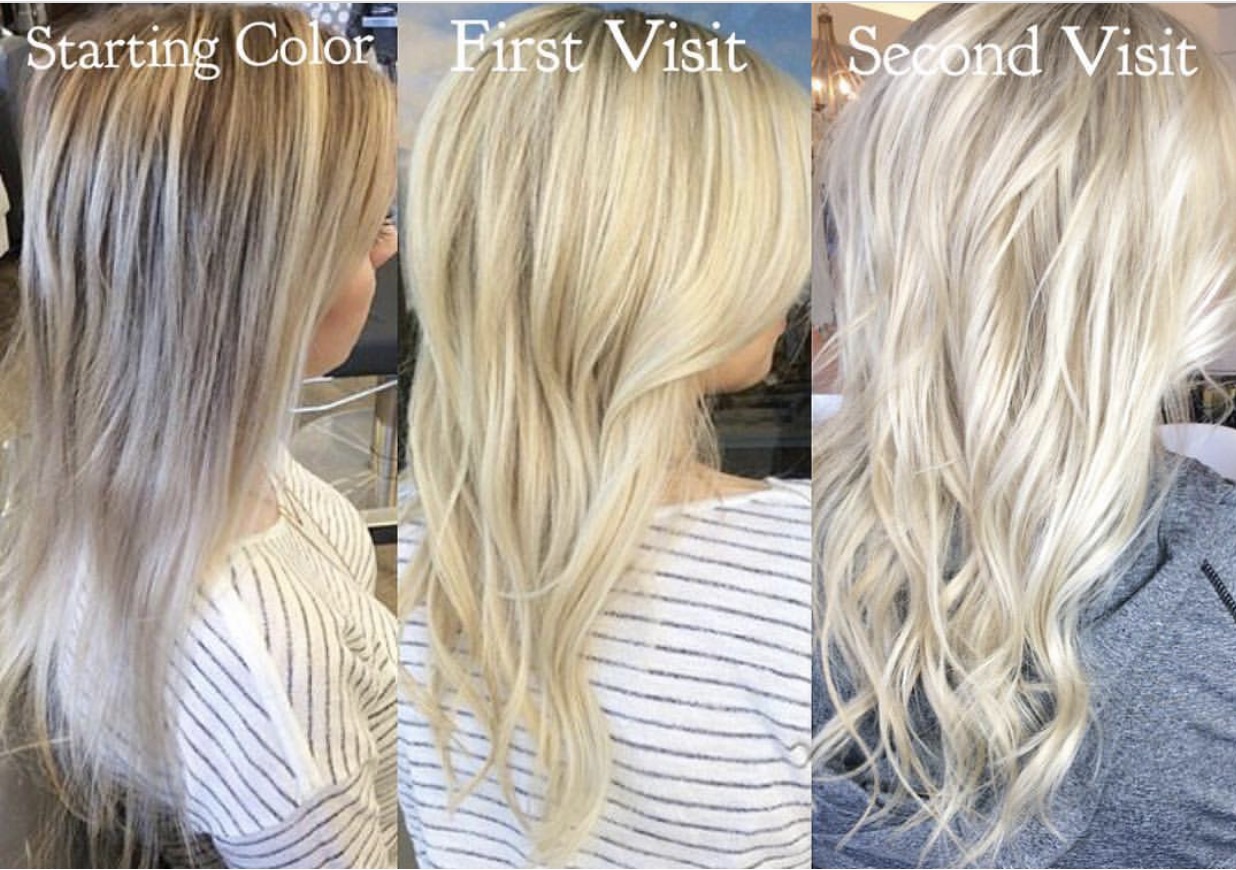
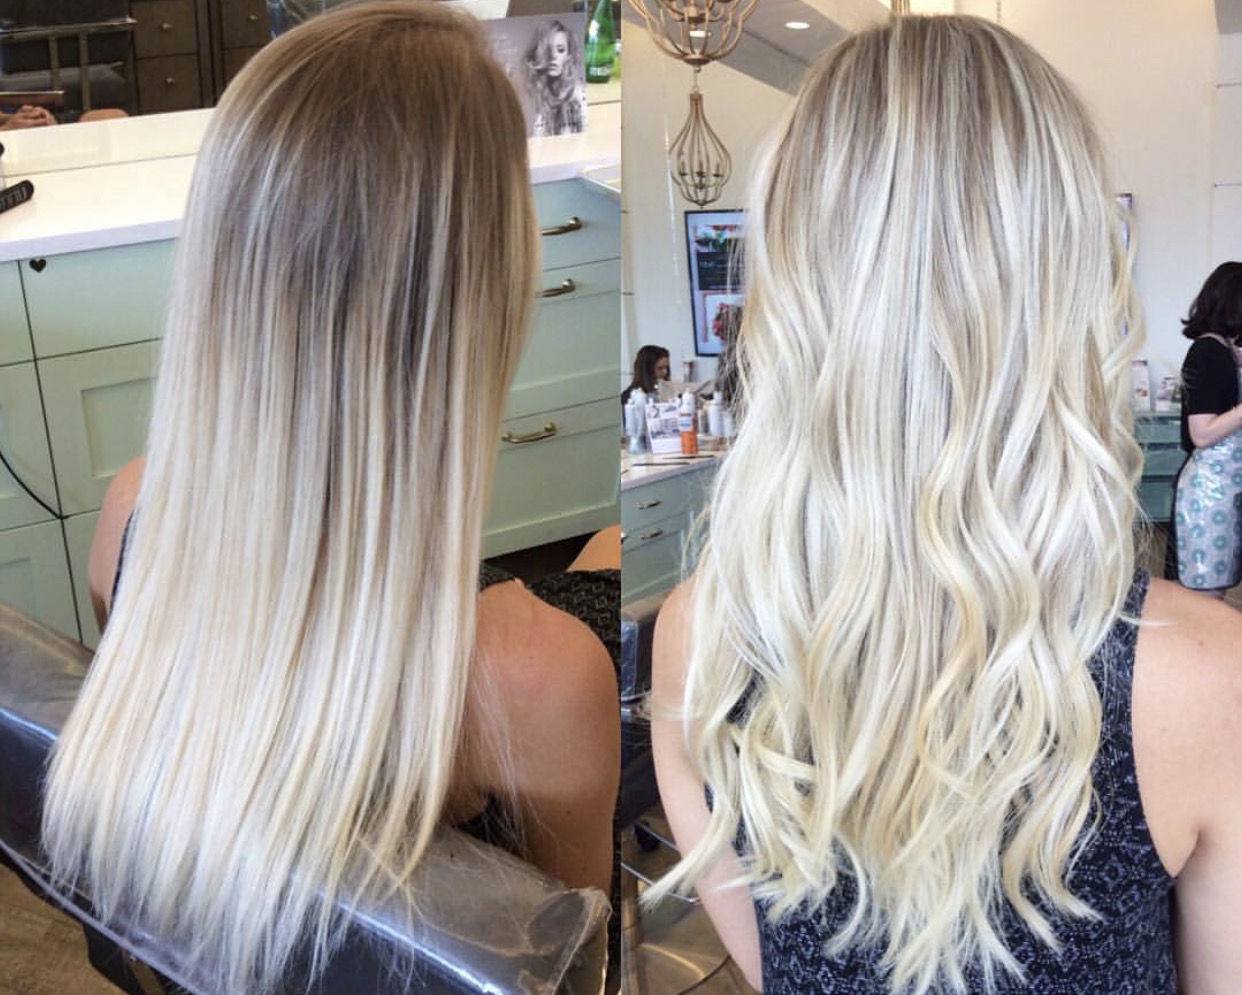
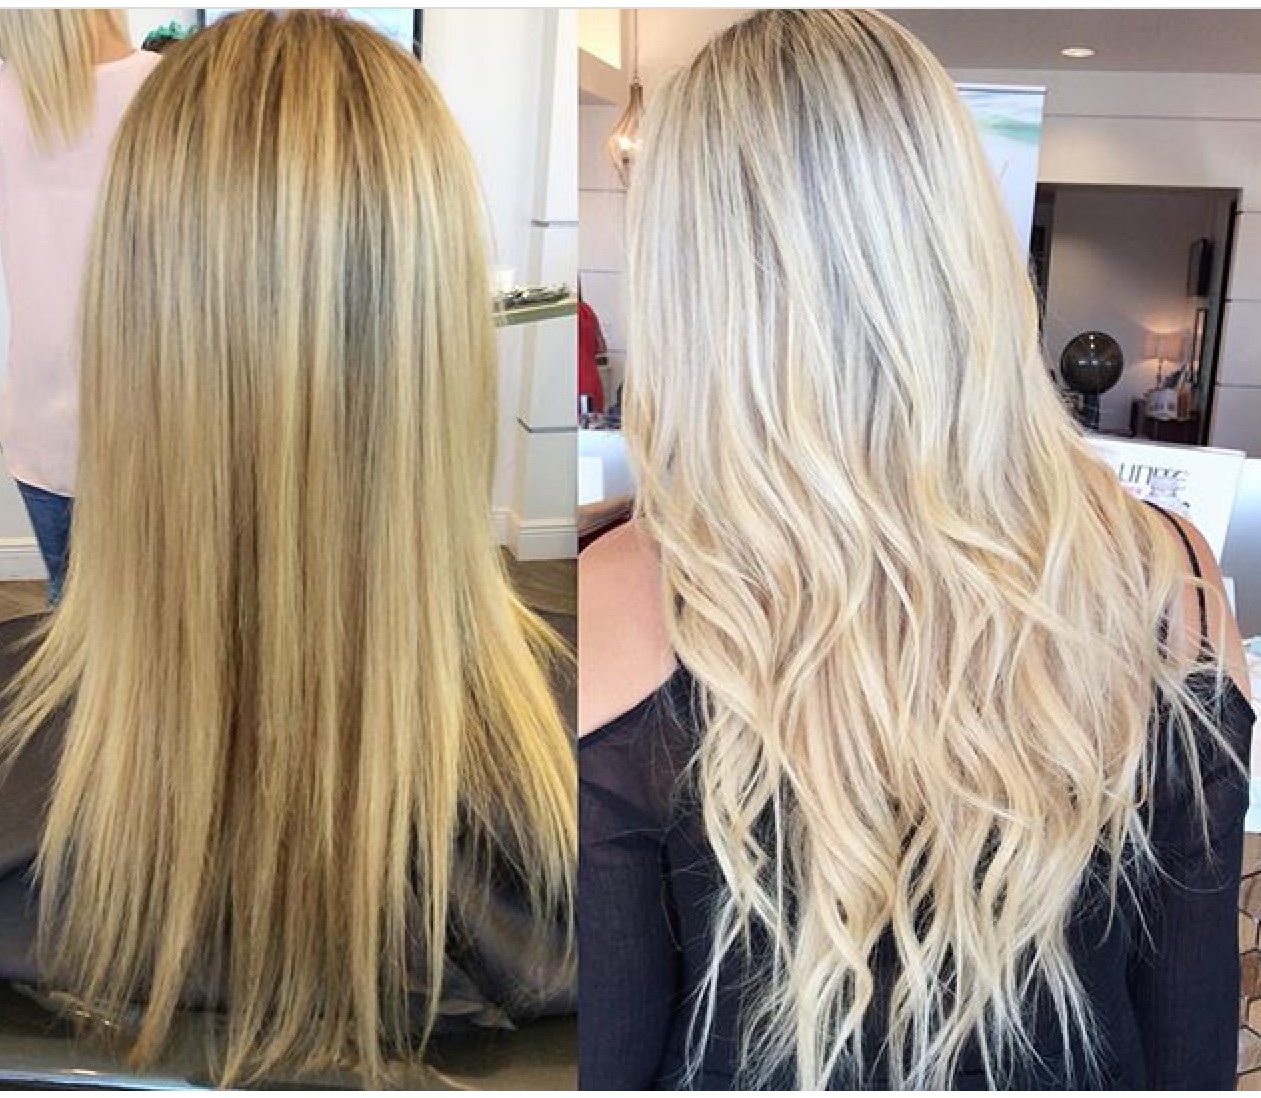
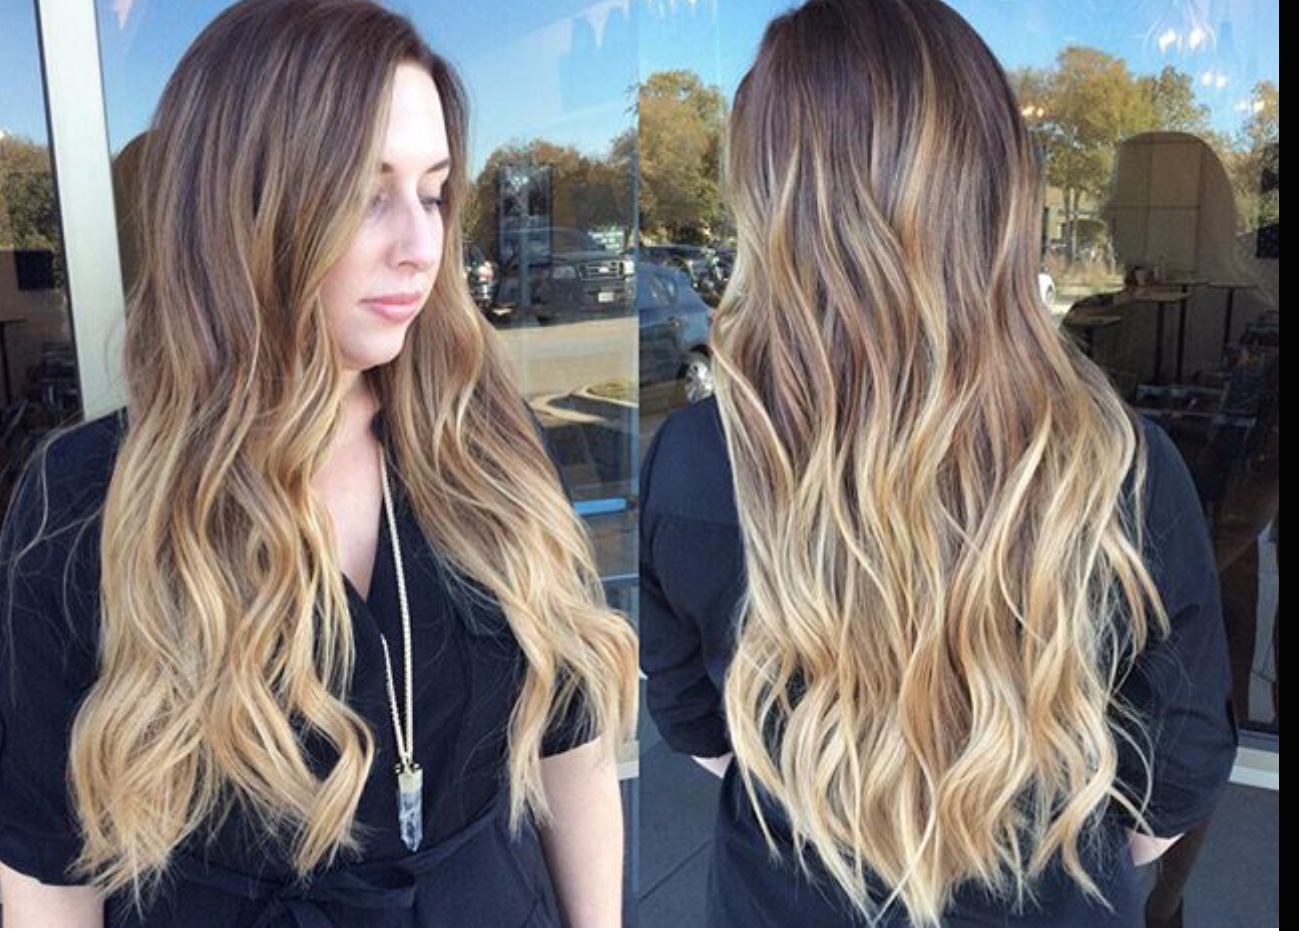
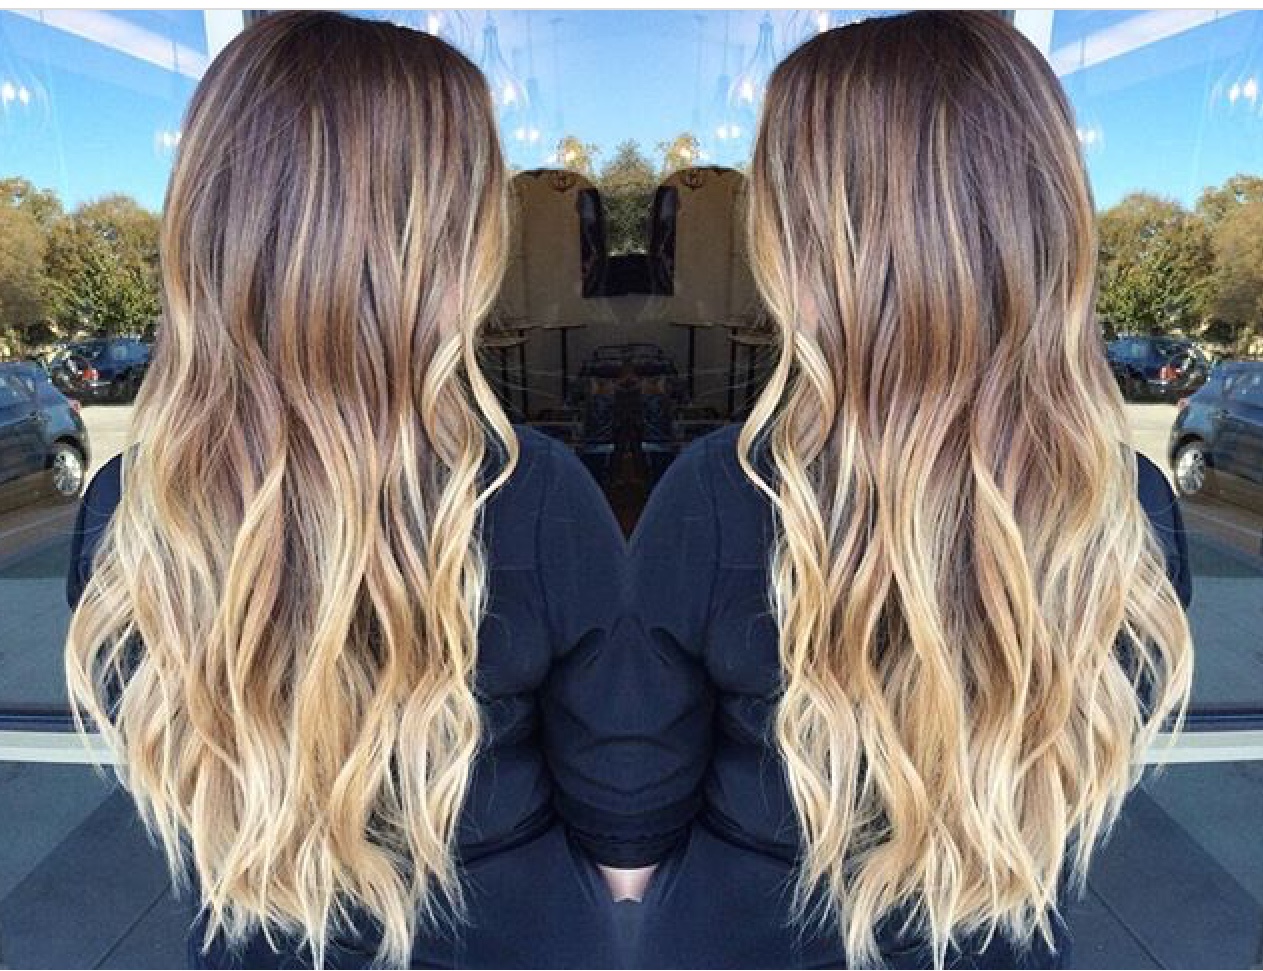
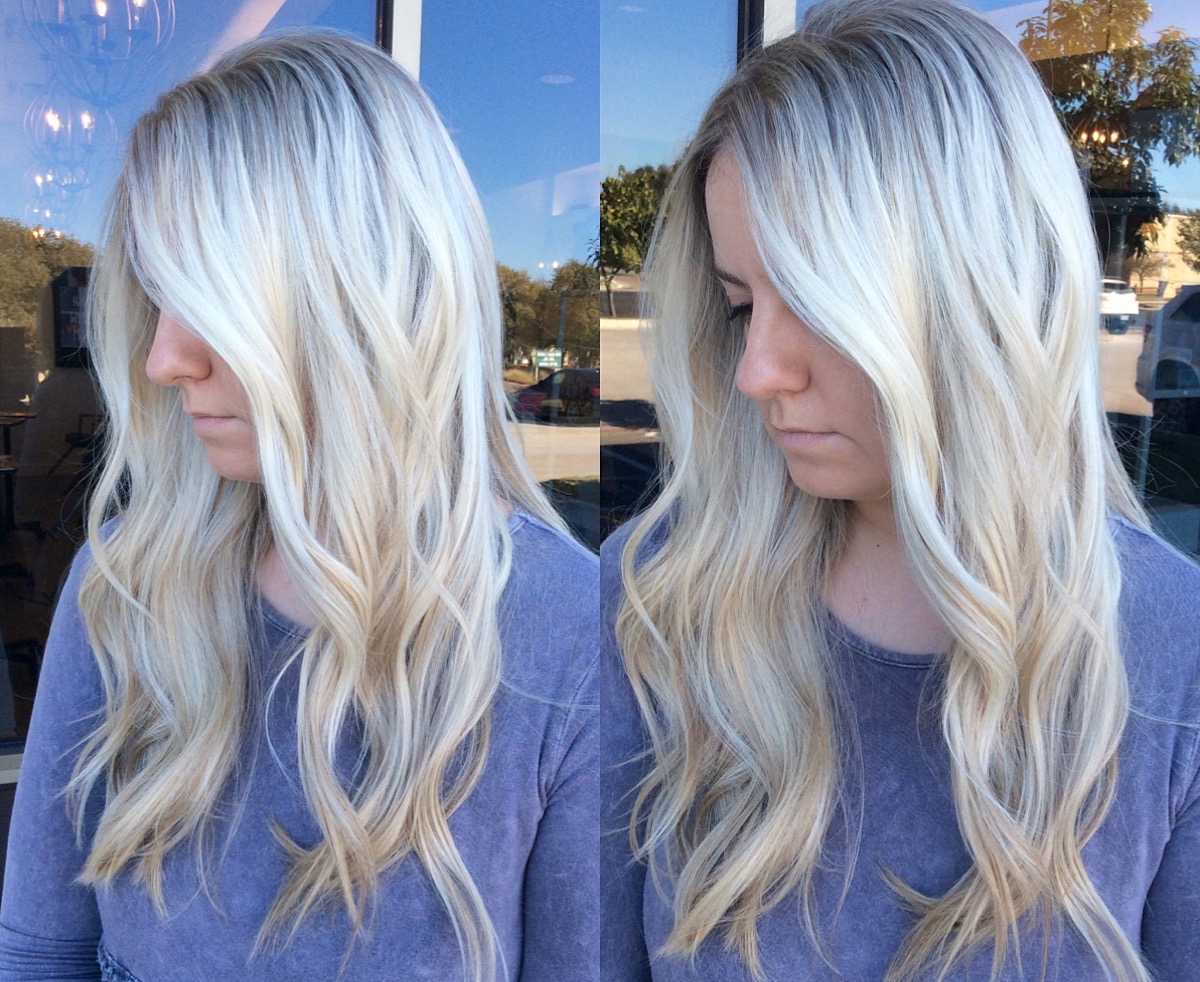
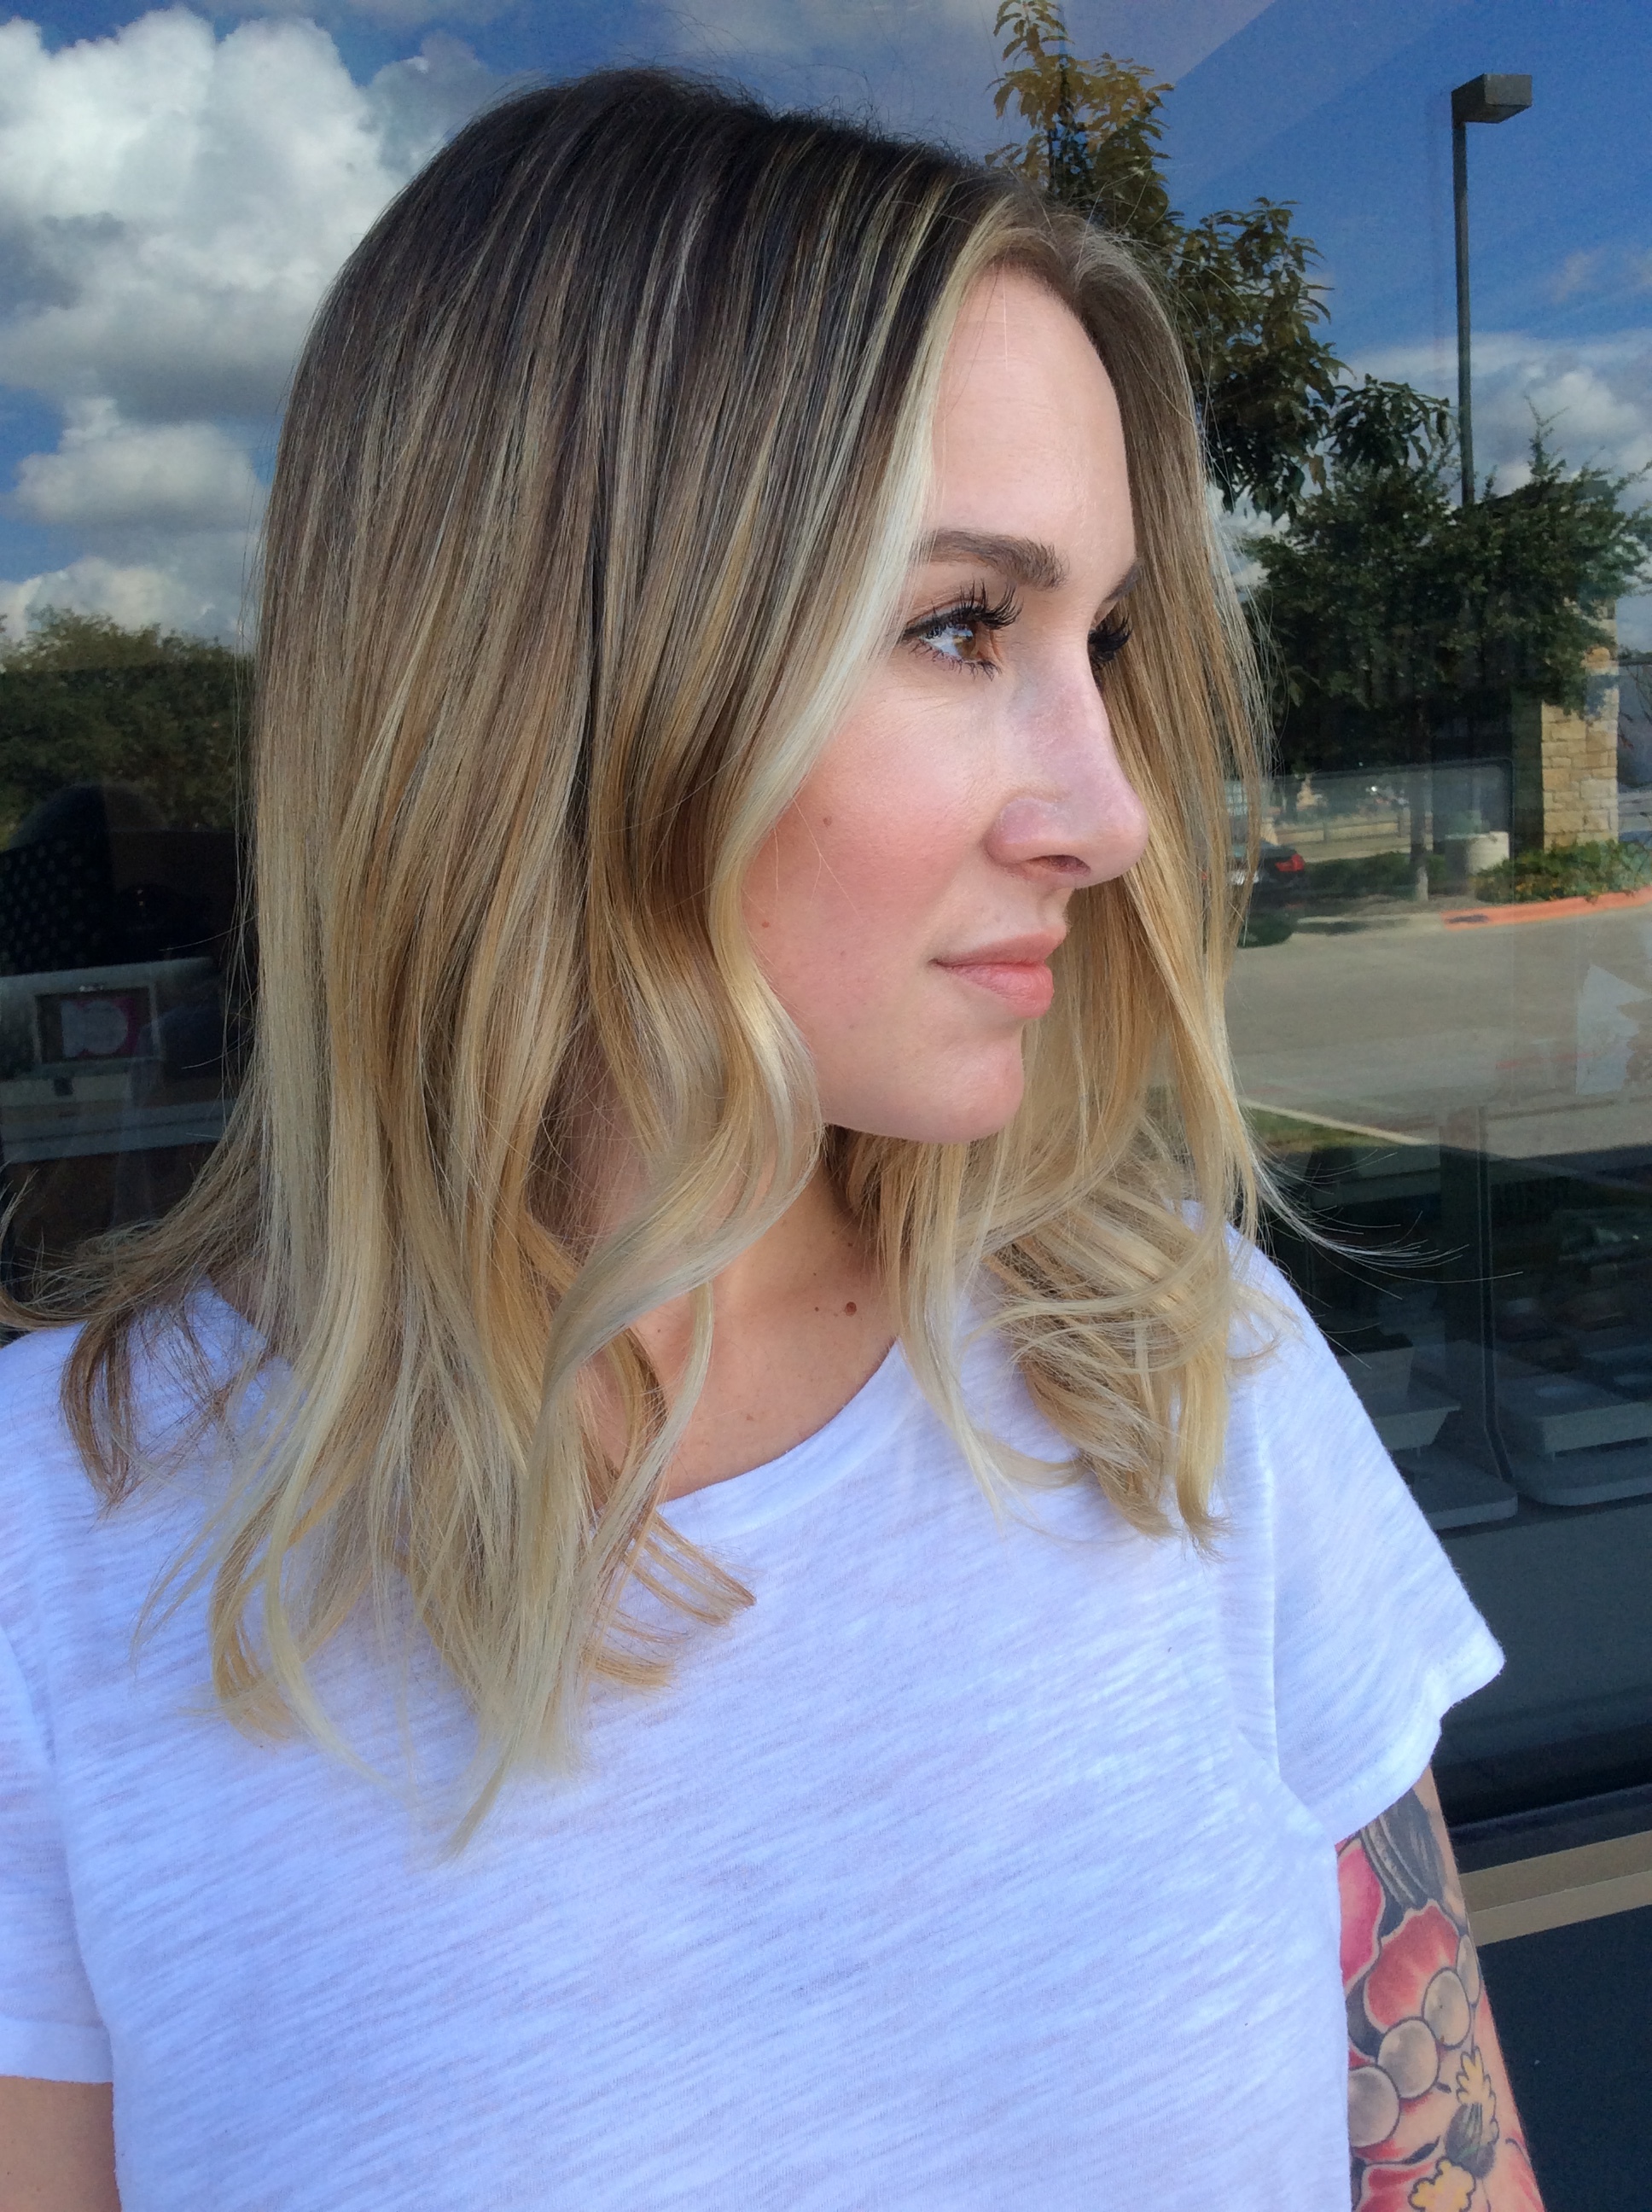
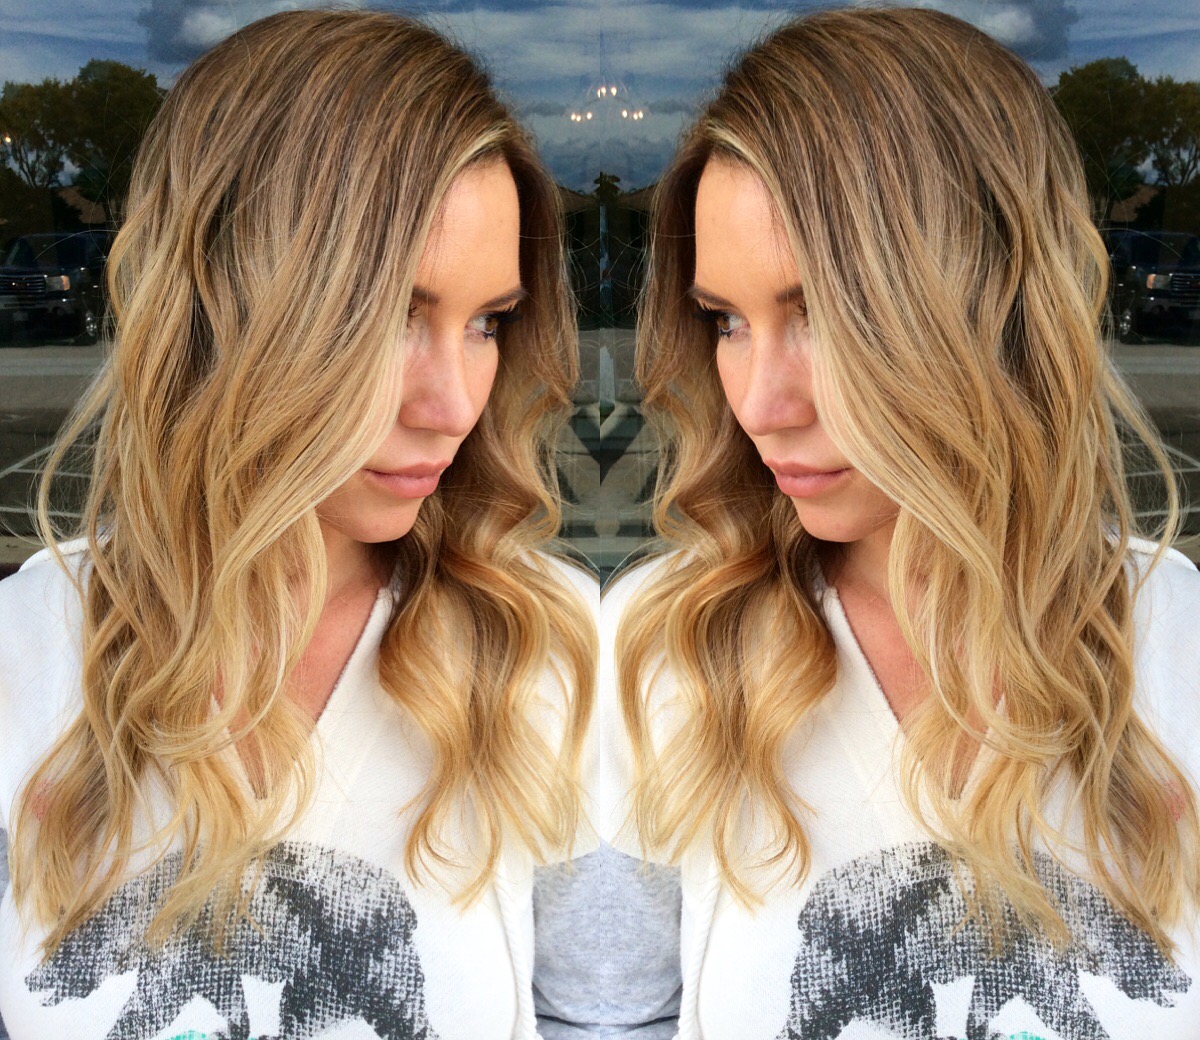
2. Go blonde, then brunette, then blonde again
This kind of goes with over processing your hair, but I would never go dark, then blonde, then dark, then blonde. It’s just not good for your hair! It’s best to find a color that works for you, and change it up within a few levels of your current color if you’re looking for a change. For example- if you like to go darker in the fall and blonder in the summer, don’t go from one extreme to another every year. Instead, add lowlights for a subtle change that can easily be taken lighter again when its time. I’m not saying you can never drastically change up your look. but it’s not recommended to do it too often, especially if only in a short period of time.
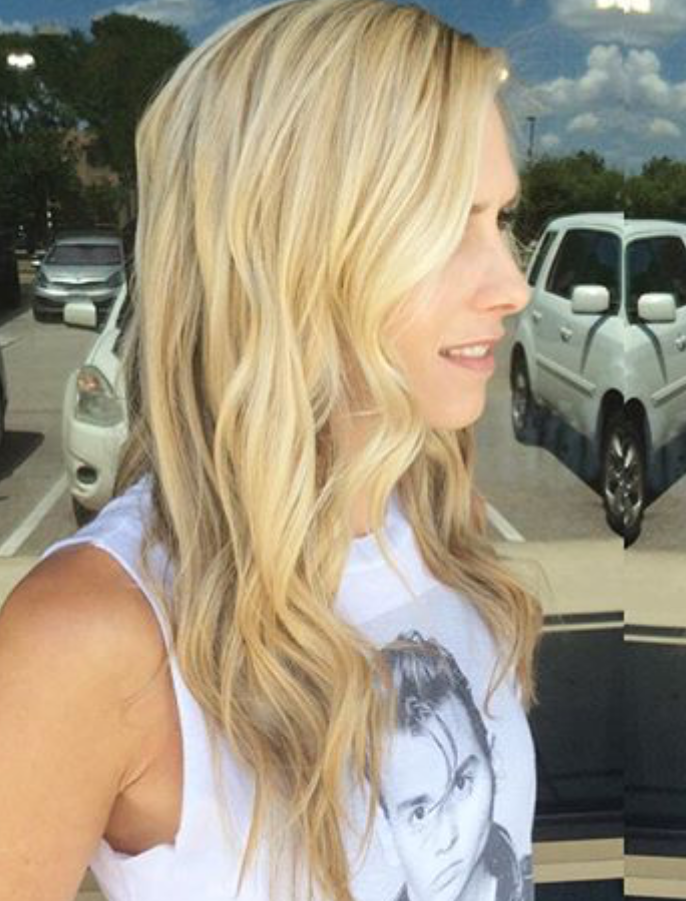
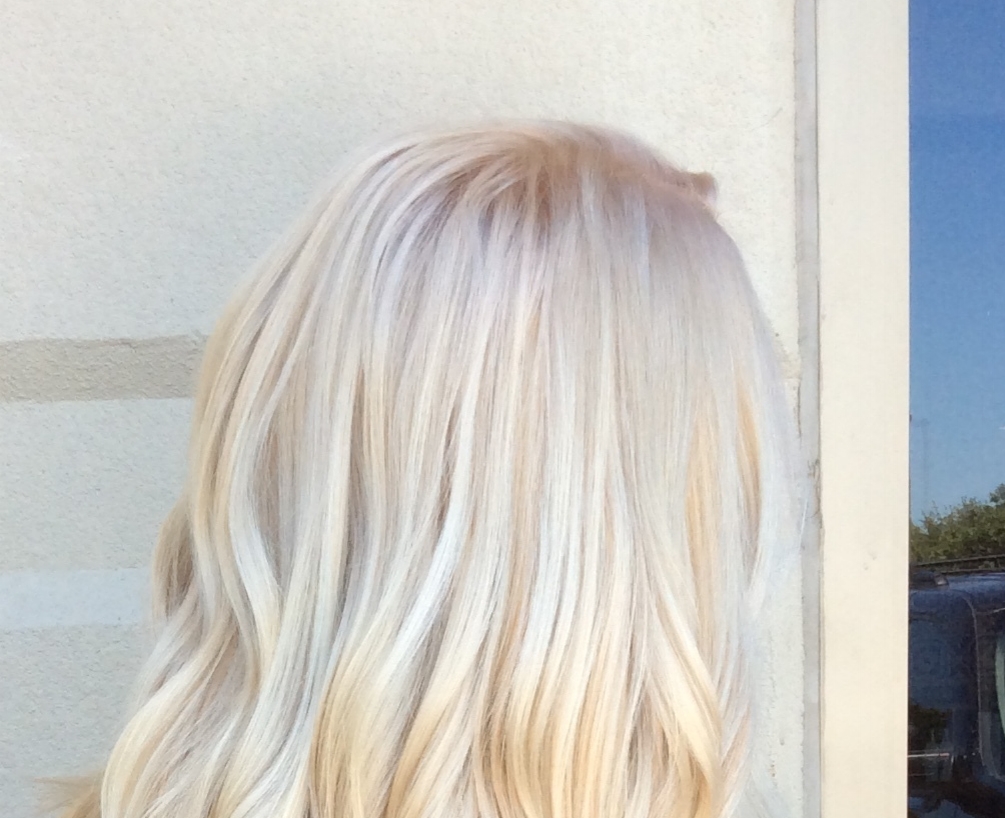
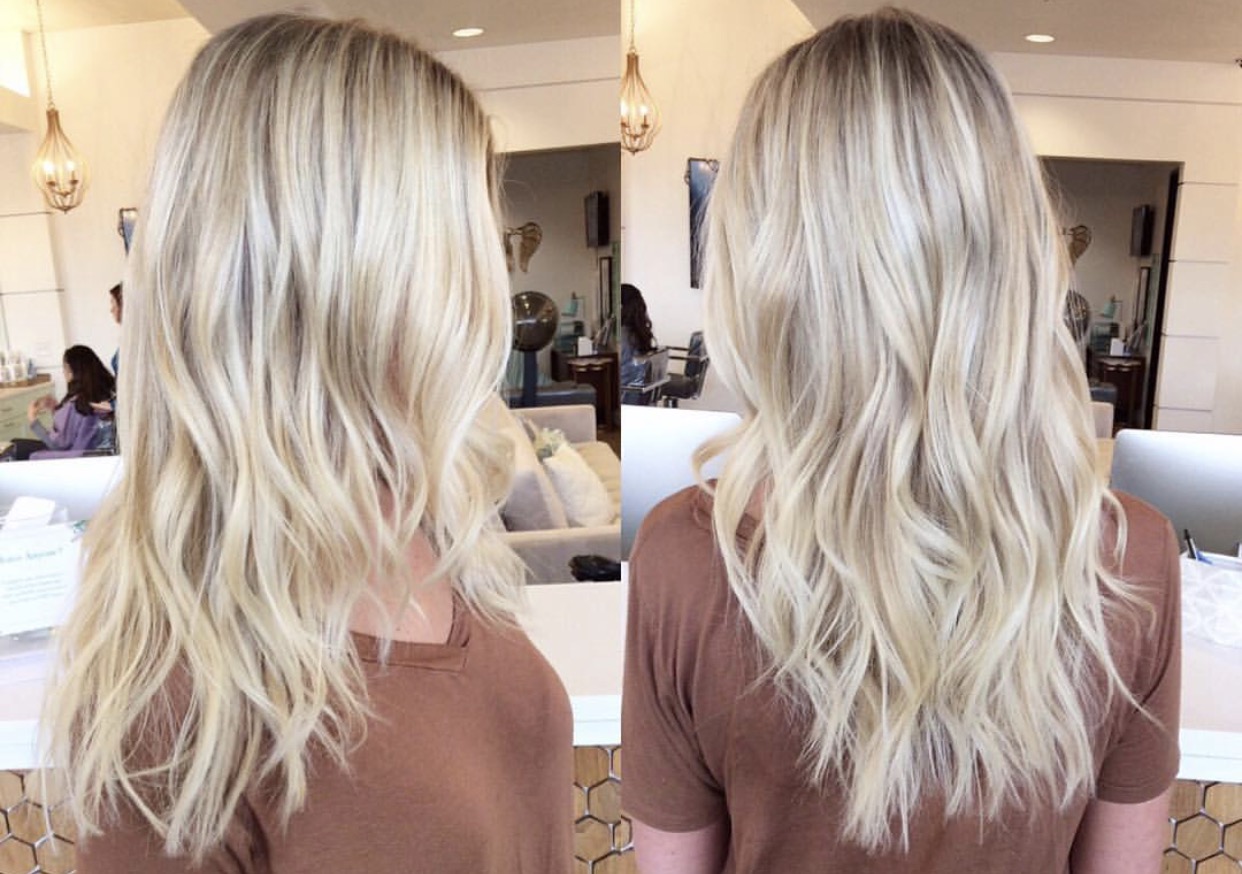
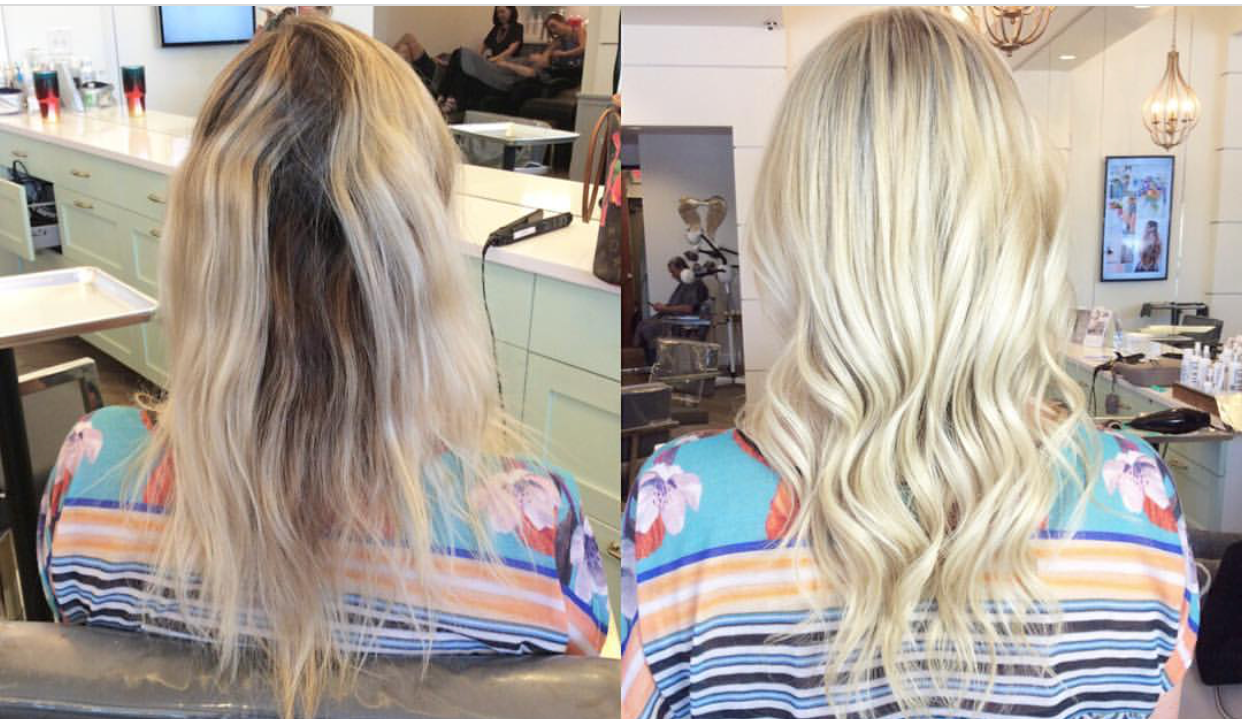
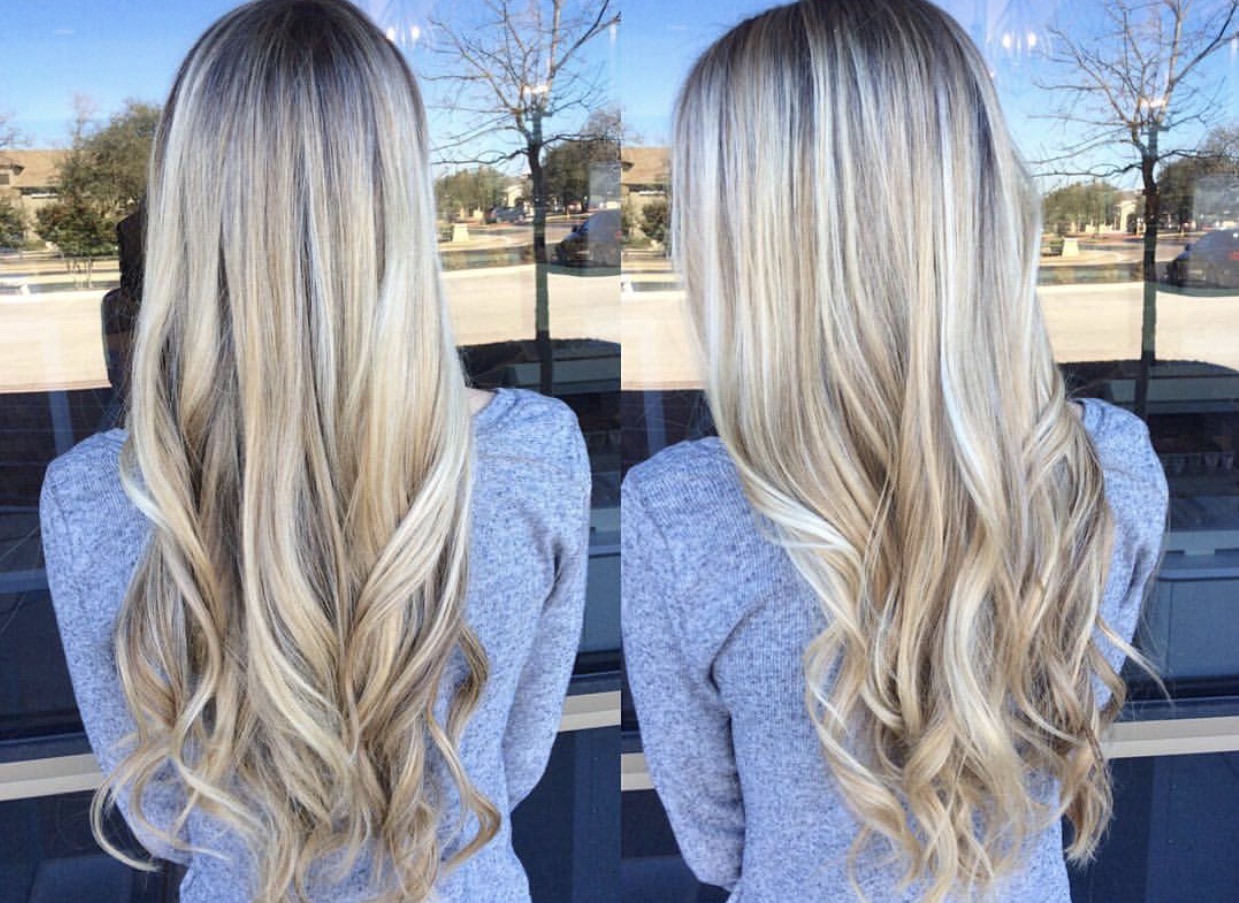
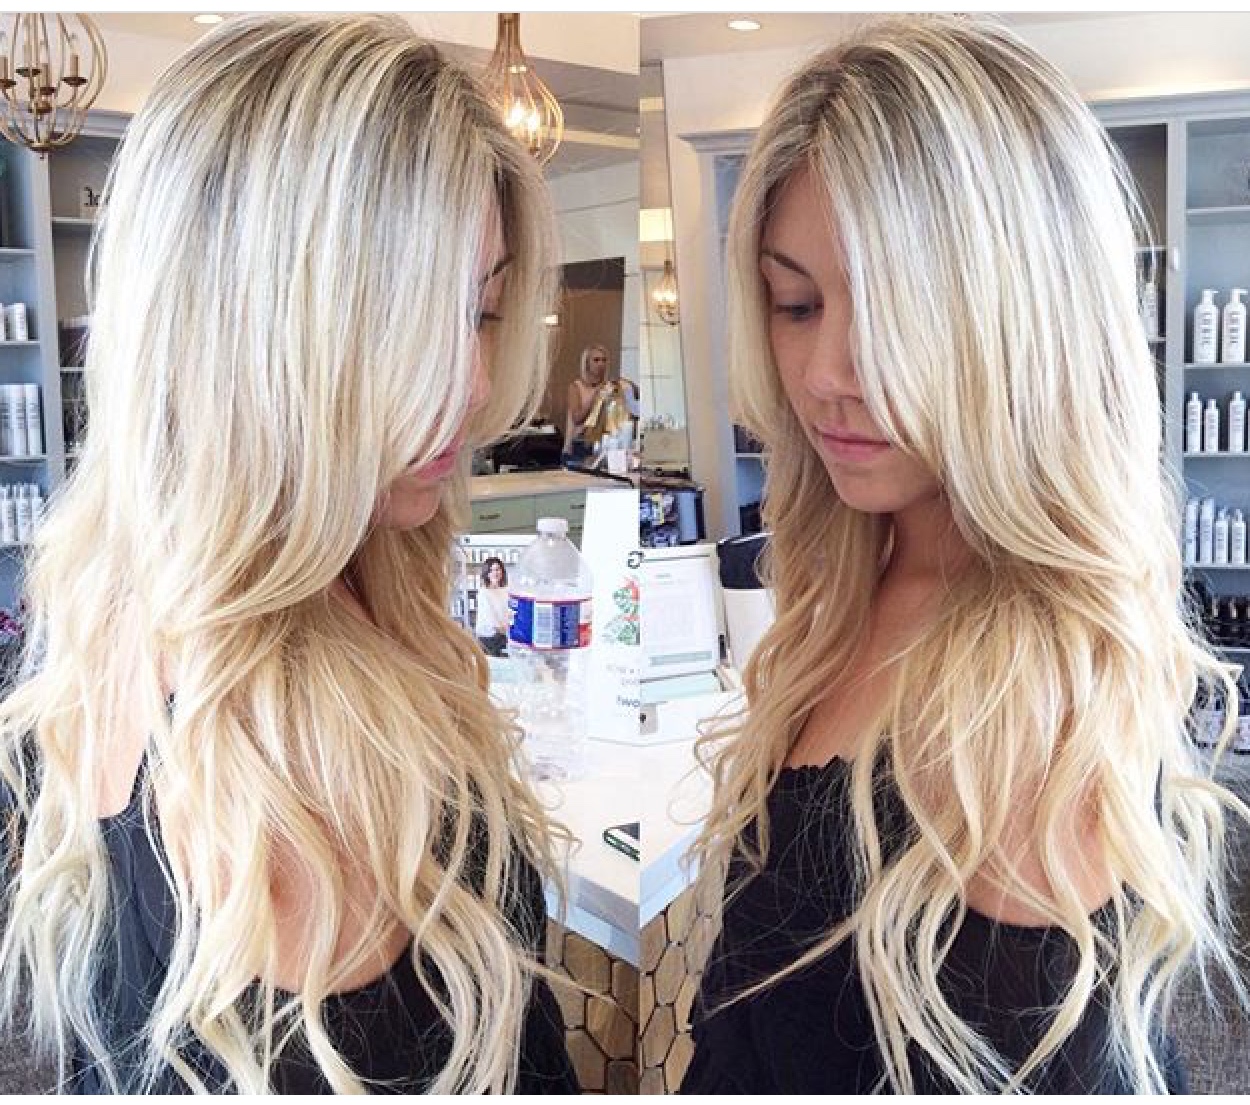
3. Highlight my own hair
I wouldn’t ever highlight my own hair- and I know what I’m doing! It can be damaging, and unpredictable. Not to mention its just hard to do and not relaxing!

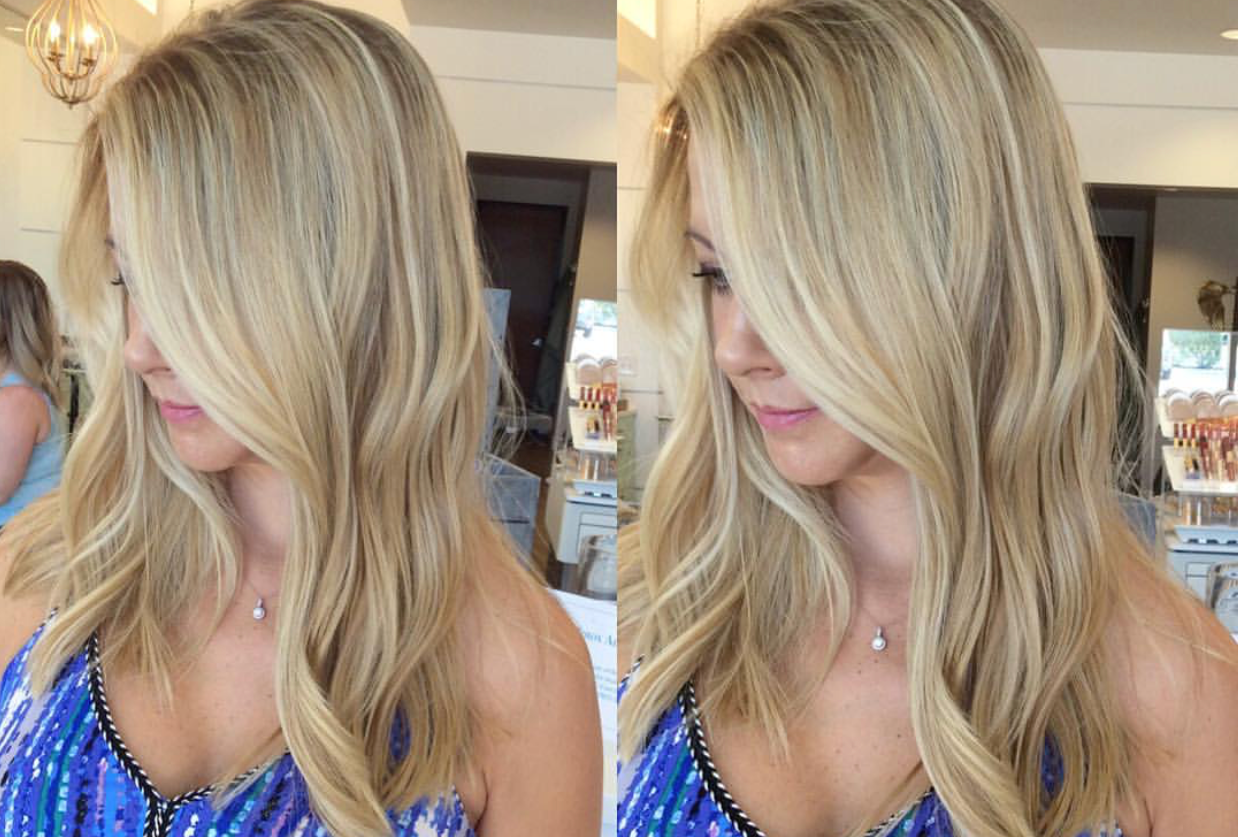
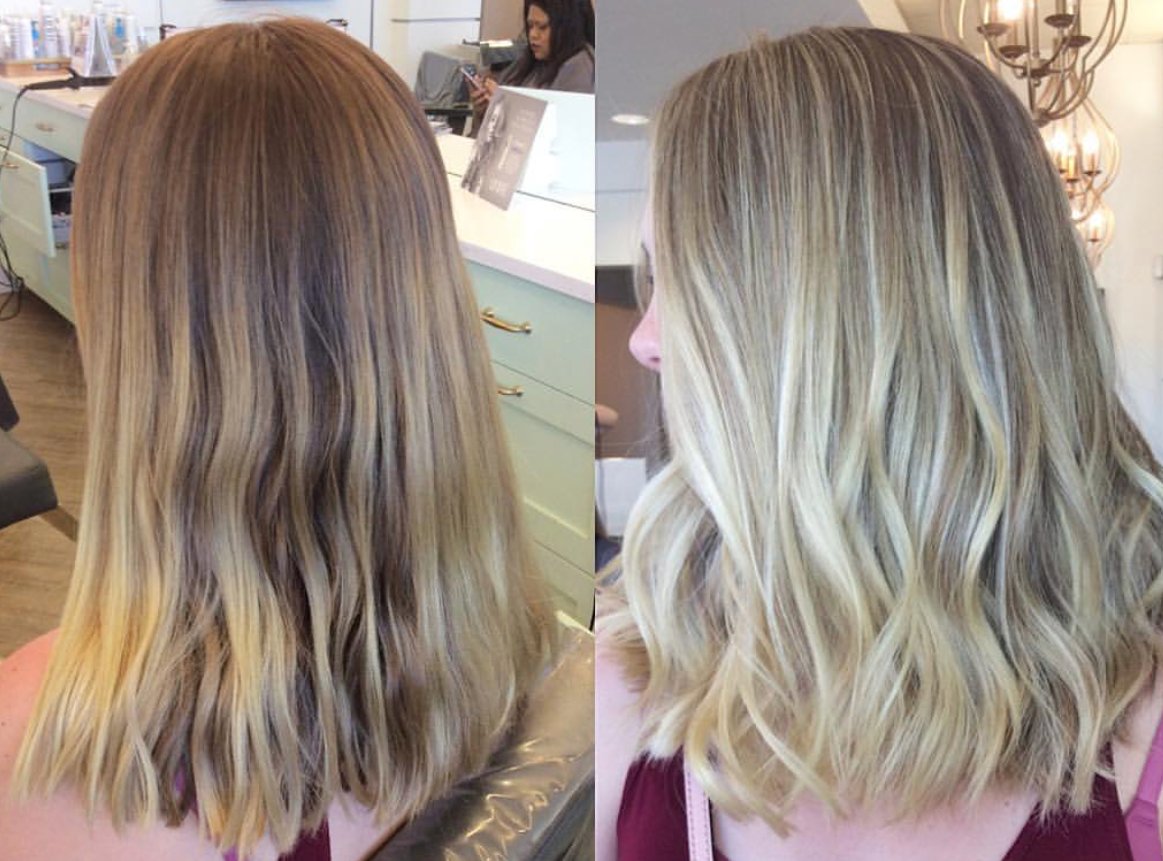
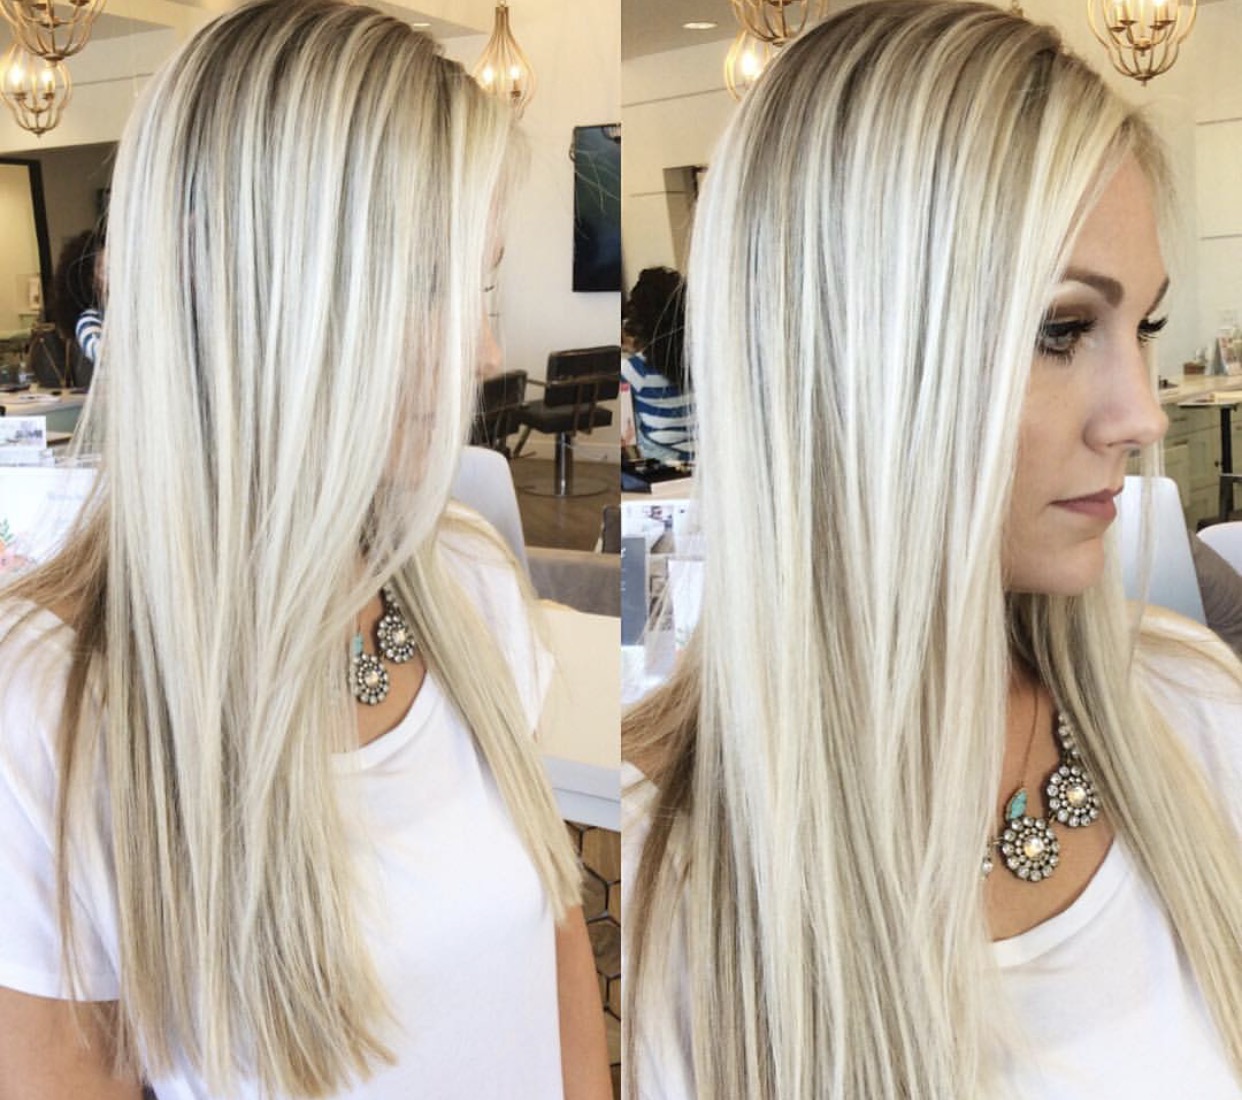
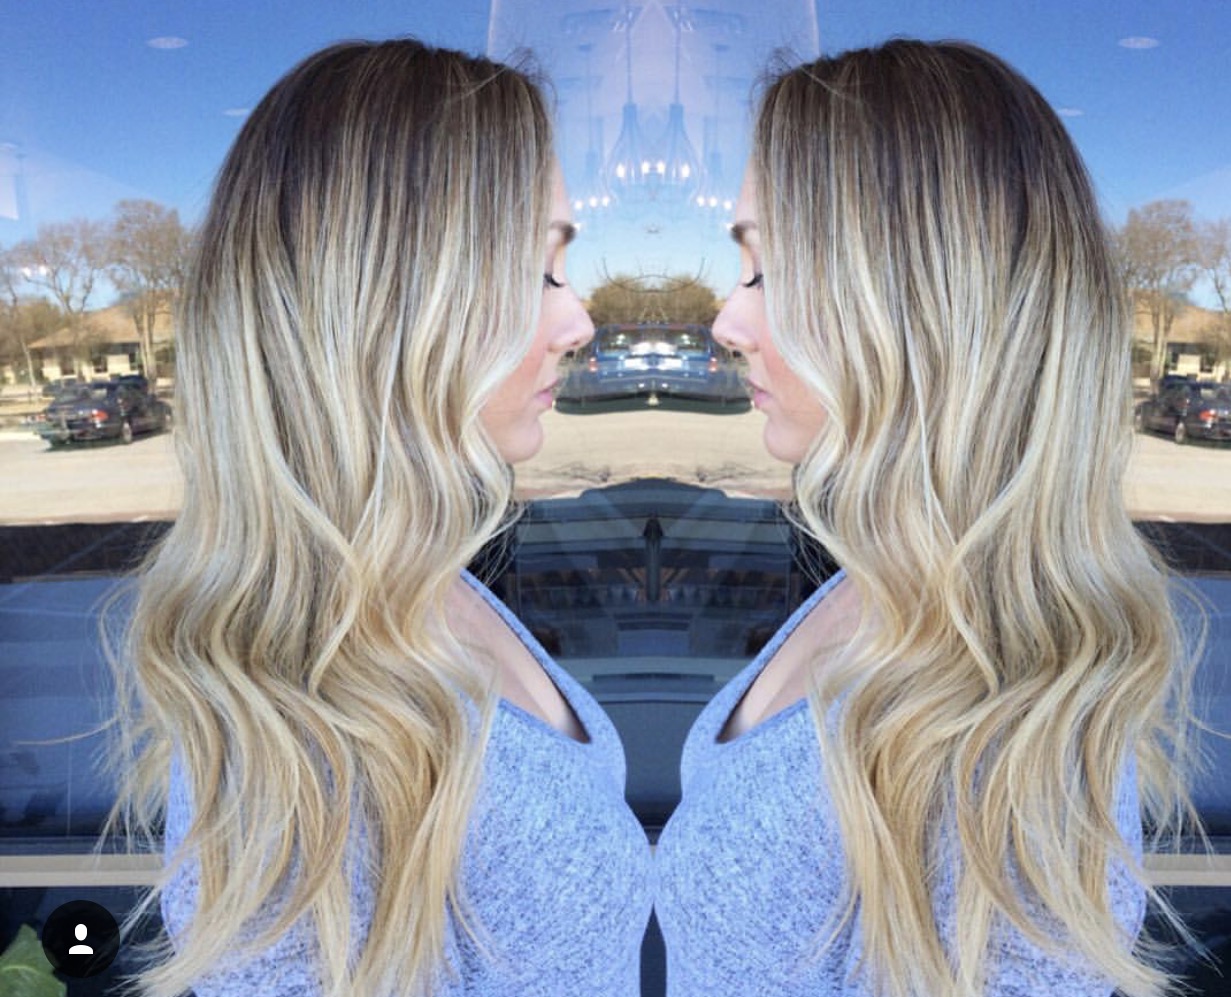
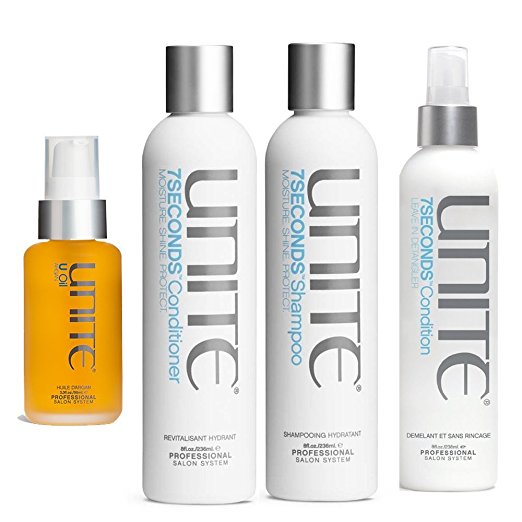
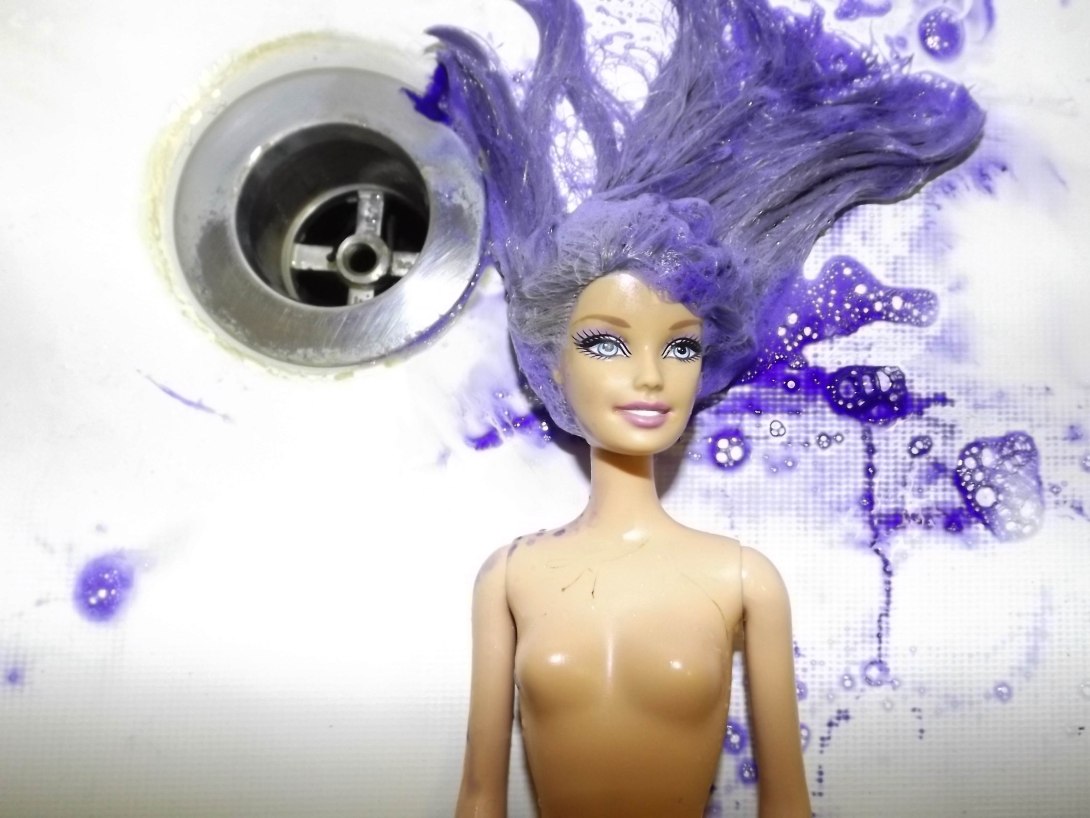
4. Use cheap hair products or no products at all.
I would neverrrr use cheap drugstore hair products on my hair! Your hair is an investment and you should take care of it just like you do your skin! If you wouldn’t use cheap skincare products, you shouldn’t use cheap hair products if your hair is colored- especially blonde. Cleanse, Protect and Moisturize your hair just like you do with your skin.
It’s also super important to always use a heat protectant and use leave in products to protect your hair from damage.
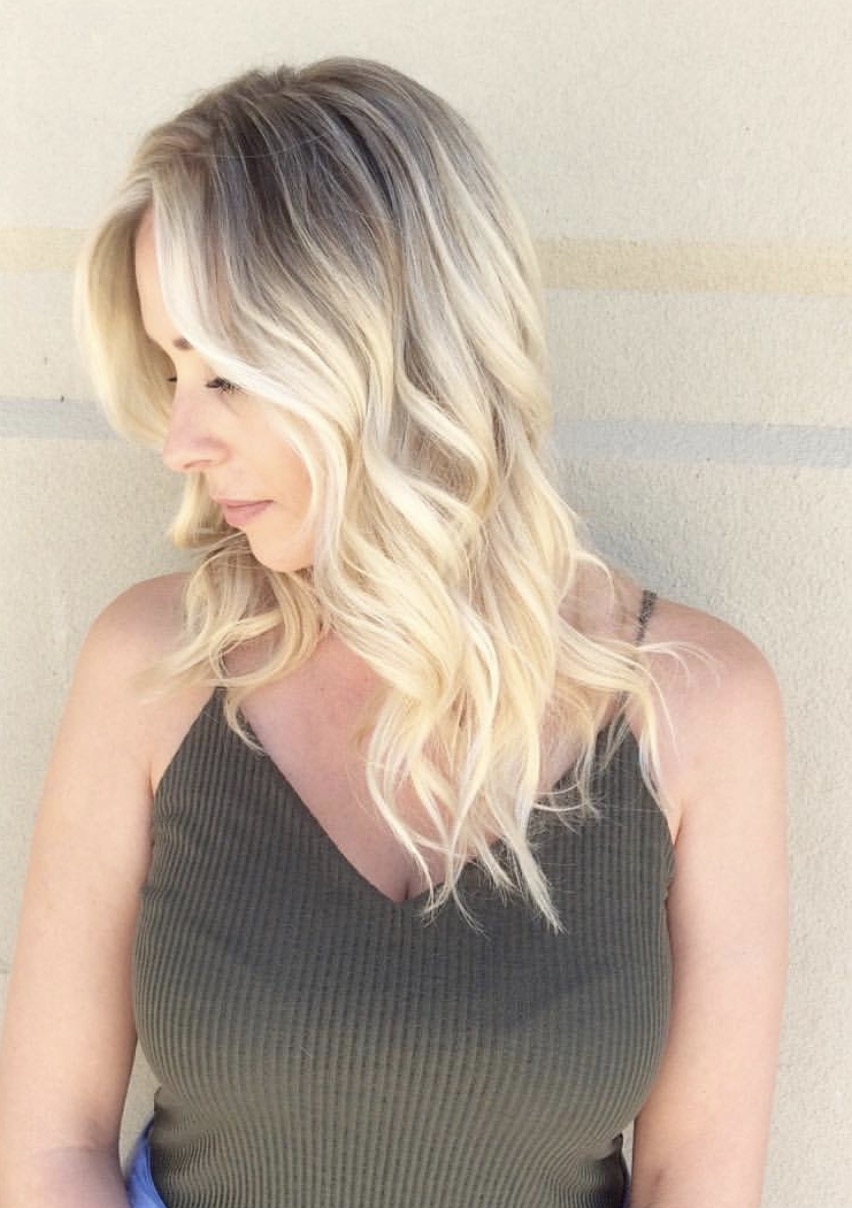
5. Use too much heat
Using too much heat on your hair daily is so bad for it! I could never imagine using heat on my hair everyday of the week. Find a way to switch it up and wear your hair up in a cute style a couple days a week instead of curling or flat ironing it.
6. Flat iron/curl my hair when its still damp
Again, super damaging to your hair! Wet hair is much more fragile than dry hair so it’s SO bad to use a flat iron or curling iron on your hair when its still damp! Don’t do it!